By Julie on December 9th, 2020 This site contains affiliate links to products. We may receive a commission for purchases made through these links.
Looking for FREE embroidery designs and PDF patterns?
Subscribe to the Machine Embroidery Geek newsletter
For tips, how-tos, loads of inspiration and access to the resource library full of free machine embroidery designs and PDF patterns.
Thank you!
You have successfully joined our subscriber list.
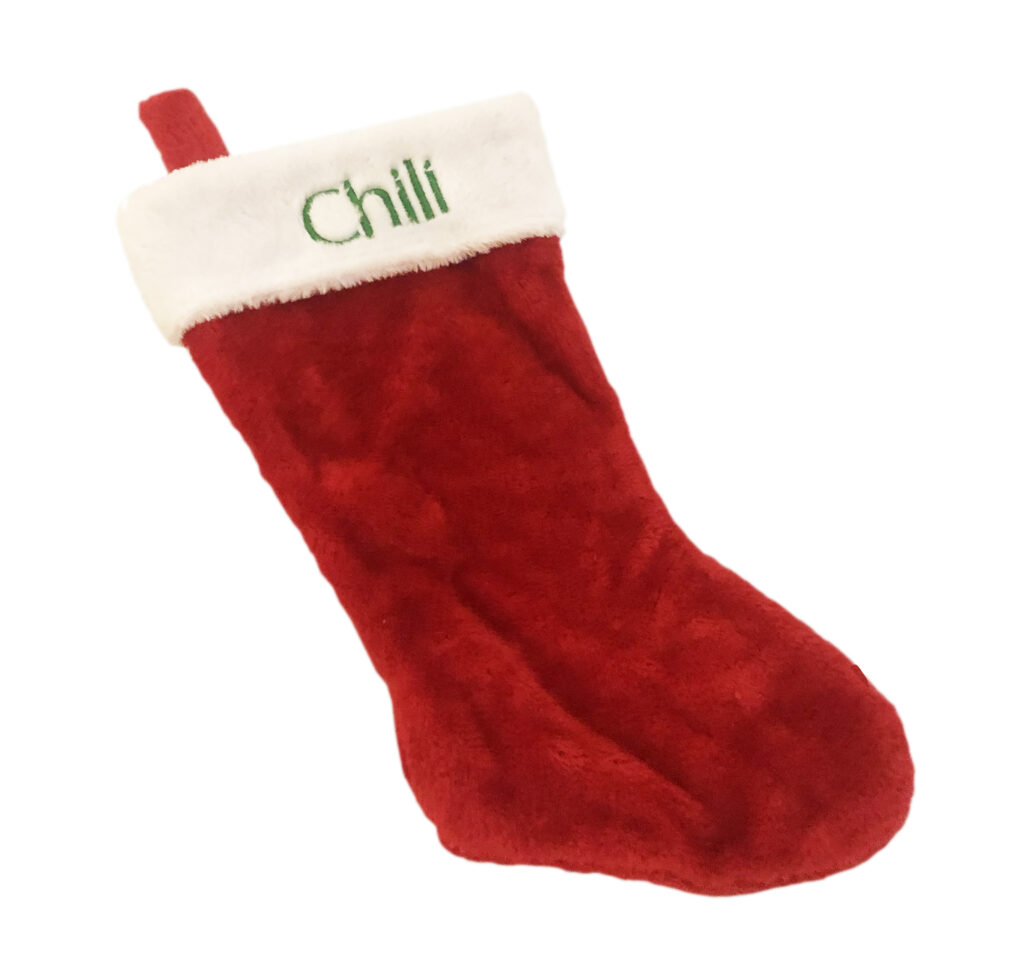
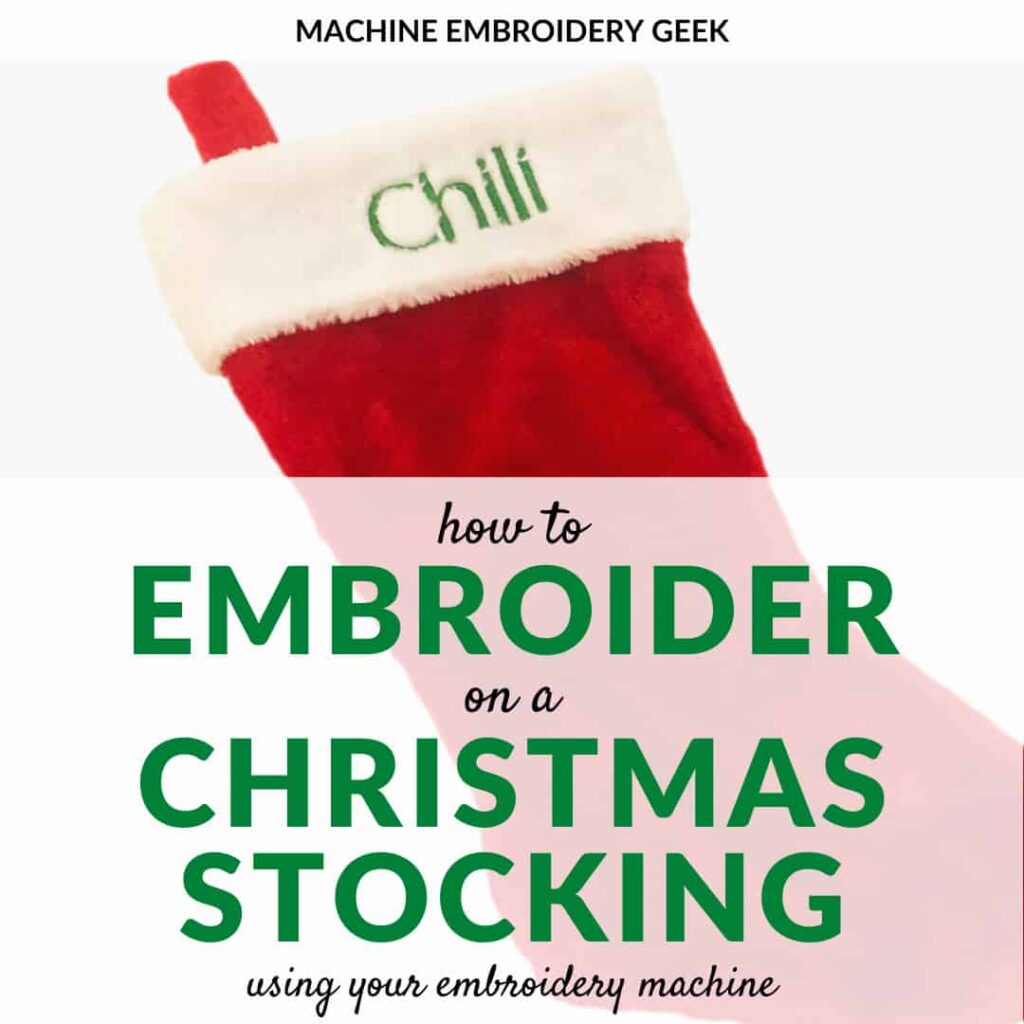
We have a new addition to the family, our dog Chili. I’m not really a dog person. In fact, this is actually the first dog I’ve ever owned. But, as we were hanging up our Christmas stockings this year, I realized, now that Chili is a member of our family, she should probably have one too. So, I picked up a simple stocking for our mutt and used my embroidery machine to embroider her name on a Christmas stocking. And you know what? It was pretty easy.
This is why, weeks later, when I was perusing the posts in my embroidery Facebook groups and saw members complaining about embroidering on Christmas stockings, I was a little perplexed. In fact, a fellow machine embroidery enthusiast actually proclaimed that she refused to embroider on any stockings for anyone anymore. She said, it was just too difficult. Really?
Well – the more I investigated, the more I learned that some Christmas stockings are harder to embroider on than others. And a lot of machine embroidery enthusiasts really hate to do it. However, I believe, that if you are strategic, there are ways to make the task a bit easier.
There are a few reasons why embroidering on a stocking can be a bit challenging. First of all, the opening in the stocking is narrow area, so it’s almost impossible to hoop. You either need to really small hoop, or you must float it. I prefer to float just about everything.
Another reason why it’s tricky to embroider a name on a Christmas stocking is due to the material that stockings are often made of. A furry trim is challenging to embroider on because the embroidered letters can get lost in the nap. And, knit stockings (like those those that are knitted or crocheted) can be tricky because the materials is stretchy which makes it difficult to keep them in place while embroidering.
Yet, despite these issues, embroidering a name on a stocking is far from impossible – especially if you use some of these tips.
Tips for embroidering on a Christmas stocking
1) Choose a stocking with a cuff
If you have a choice of stocking, try to get one that has a cuff that flips up. The cuff makes the area easier to access. Or, at the very least, find a Christmas stocking that has a big enough opening that allows you to push it open for embroidering.
2) If necessary, open the seam
If the cuff is very small or sewn all the way down, you can always rip the entire stocking seam out which will allow you to lay the stocking flat on the hoop. Then, after you stitch out the name, you can stitch the stocking back together. Sometimes the pain of ripping it out is less than the pain of struggling to get the stocking on the hoop.
3) Or – better yet – choose a stocking that zips open!
Let’s face it. The easiest items to embroider are ones that are completely flat. If you make your own stocking, you can personalize it before you sew it all together. And while Christmas stockings are not expensive, making a stocking from scratch has got to be a lot cheaper than buying any off-the-shelf Christmas stocking.
If you decide to make your own stocking, you could probably just trace an existing one to make the pattern. But, if you want to make a more complex style, there are some pretty great Christmas stocking patterns out there.
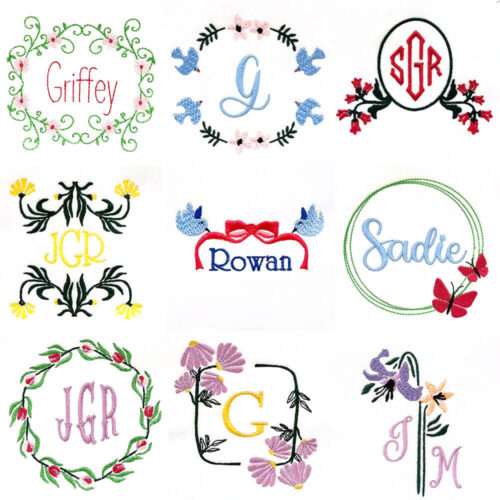
5) Choose an appropriate font
A lot of Christmas stockings are made of thick, nappy fabrics. So, a name stitched out in a thin, wimpy typeface will get lost in all that texture. Choose a thick font that will stand up to all that nap. And, for sure lay a layer of water soluble stabilizer over the fabric before you start stitching.
6) Consider a knock down
Sometimes a layer of water soluble stabilizer is not enough to keep nappy fabric from appearing through your stitching. When this is the case, you should consider using a knock down stitch underneath the name. A knock down stitch is a lower density area of stitching used to tamp down really nappy fabric so that you can embroider on top.
How to embroider a name on a Christmas stocking
I have to admit, I went a bit on the cheap side when purchasing a stocking for our dog. But, I was sure to purchase a stocking that had a cuff to make it a bit easier to get the stocking on the hoop. I also floated instead of hooping the stocking, because my standard hoop was too large to hoop the stocking, and my littlest hoop was too small to accommodate the name.
If you have a Christmas stocking (with a cuff) on which you want to embroider a name, here’s how you do it.
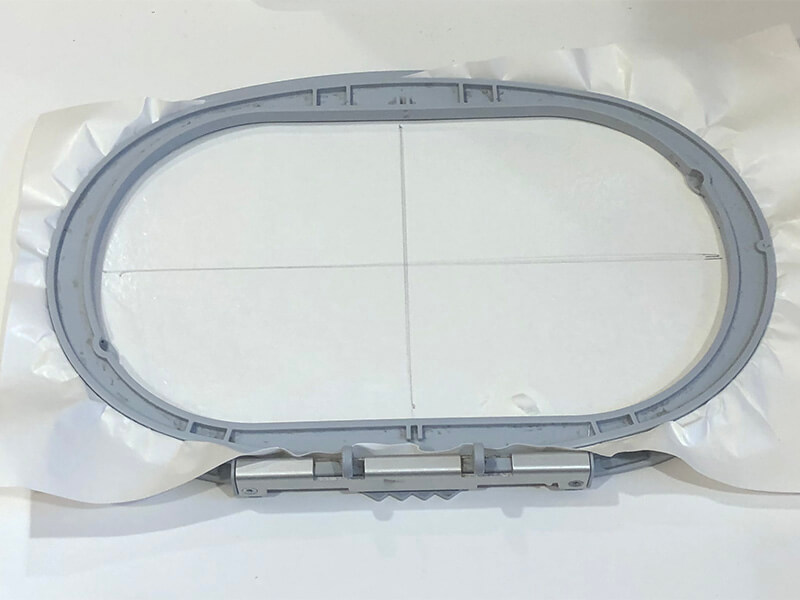
Hooping the sticky back stabilizer
Hoop a piece of adhesive-backed stabilizer, shiny side up. Then score the inside edge of the stabilizer with a pin to create a small tear, allowing you can peel the paper away.
After you peel the paper away, draw a horizontal and center line through the center point of the hooped stabilizer using a disappearing ink pen and a ruler.
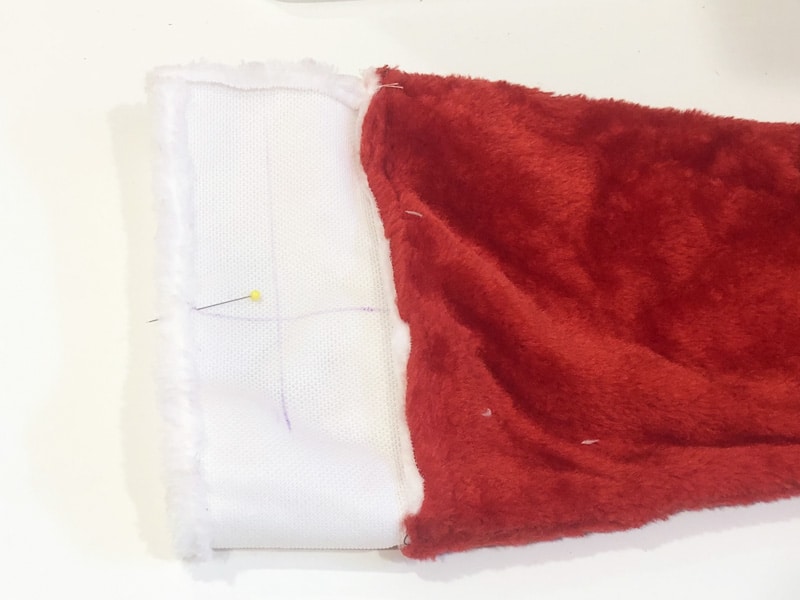
Next, turn the stocking inside out, and mark the center of the stocking name on the wrong side of the cuff with the disappearing ink pen. Extend the horizontal and vertical line through the desired name center.
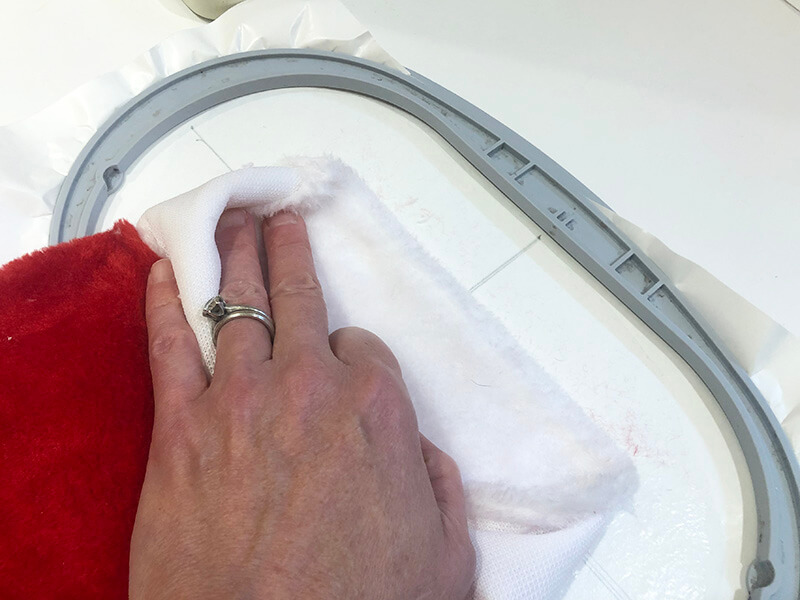
The stocking should now be stuck onto the adhesive-backed stabilizer, with the desired center of the name aligned with the center marked on the hooped stabilizer. The stocking should also be oriented so that the excess material hangs away from the inside of the machine.
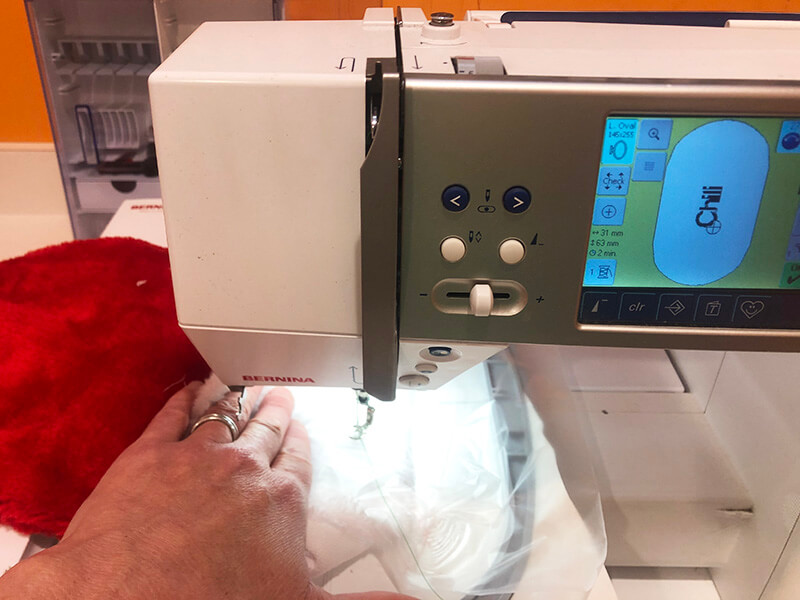
Load in the embroidery file containing the name and rotate it so that it stitches right side up on the cuff. Lay a piece of water soluble stabilizer over the cuff before you start stitching out the name.
Stitch out the name, holding the excess fabric out of the way. Then remove the excess water soluble stabilizer.
.
Once you are done stitching the name, tear the stocking out of the hoop, and trim your jump stitches with some nippers. And then, you are all done!
So there you have it. Stitching a name on a Christmas stocking is really no big deal. Just choose wisely when buying (or making) your stockings and don’t forget my tips!
Happy stitching!
xo
Julie
Want to remember this? Save “How to embroider on a Christmas stocking” on your favorite Pinterest board


 Fold the cuff back over on itself along the vertical line. Then align the fold along the horizontal line on the hoop. Smooth open. Learn more about how to center items on the hoop.