Save money on embroidery stabilizer using these tricks
By Julie on August 19th, 2019 This site contains affiliate links to products. We may receive a commission for purchases made through these links.
Looking for FREE embroidery designs and PDF patterns?
Subscribe to the Machine Embroidery Geek newsletter
For tips, how-tos, loads of inspiration and access to the resource library full of free machine embroidery designs and PDF patterns.
Thank you!
You have successfully joined our subscriber list.
Stabilizer can get expensive, especially when you use a fresh piece for just about everything you embroider or appliqué. When I first started using my embroidery machine, I went through A TON of stabilizer. And, it was costing me a fortune! Since then, I’ve come up with a few strategies to save money on embroidery stabilizer that I thought might be beneficial to share.
Yes. And this is not an area to skimp. While you may be able to find some kind of hack alternative, my advice is to just stick with using legit stabilizer for stabilizing your embroidery work. Embroidering on fabric without any type of stabilize will cause your embroidered area to buckle and, frankly, look pretty horrible. Why waste your time with anything else?
Save money on embroidery stabilizer strategy 1: Buy in bulk.
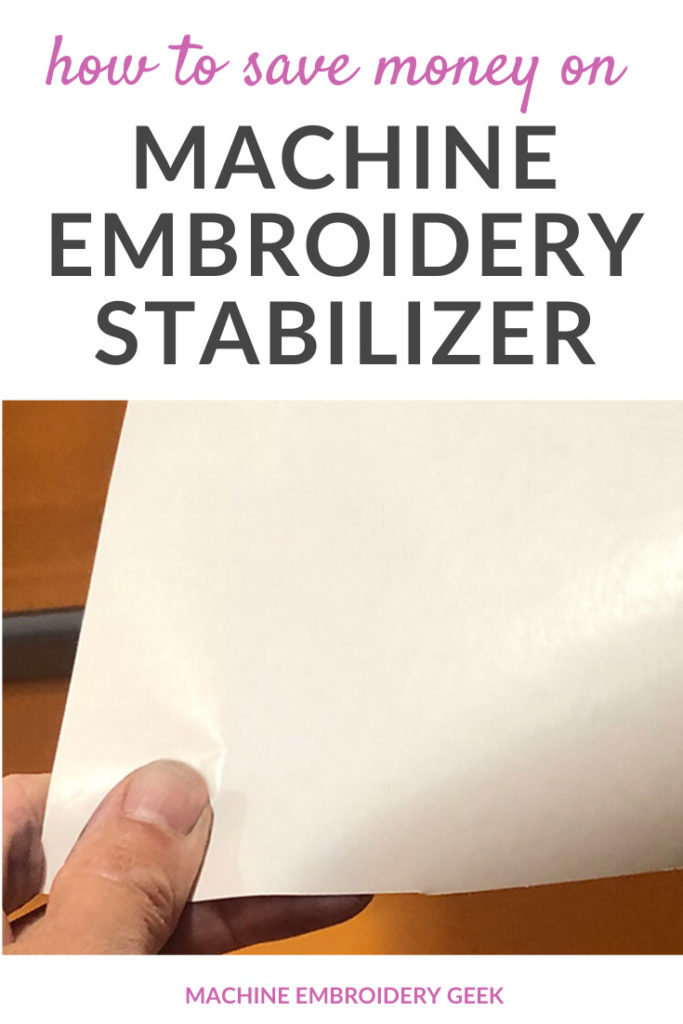
The stabilizer I use most is a tear away, adhesive-backed stabilizer. It is has a peel away backing on one side that allows you to stick your garment or fabric on the stabilizer.
I use this type of stabilizer for almost everything I embroider. I begin almost every project by hooping a piece of this type of stabilizer (with the peel away backing facing up), then scoring the edges with a pin, and, finally, peeling back the paper and sticking my garment or fabric onto the stabilizer.
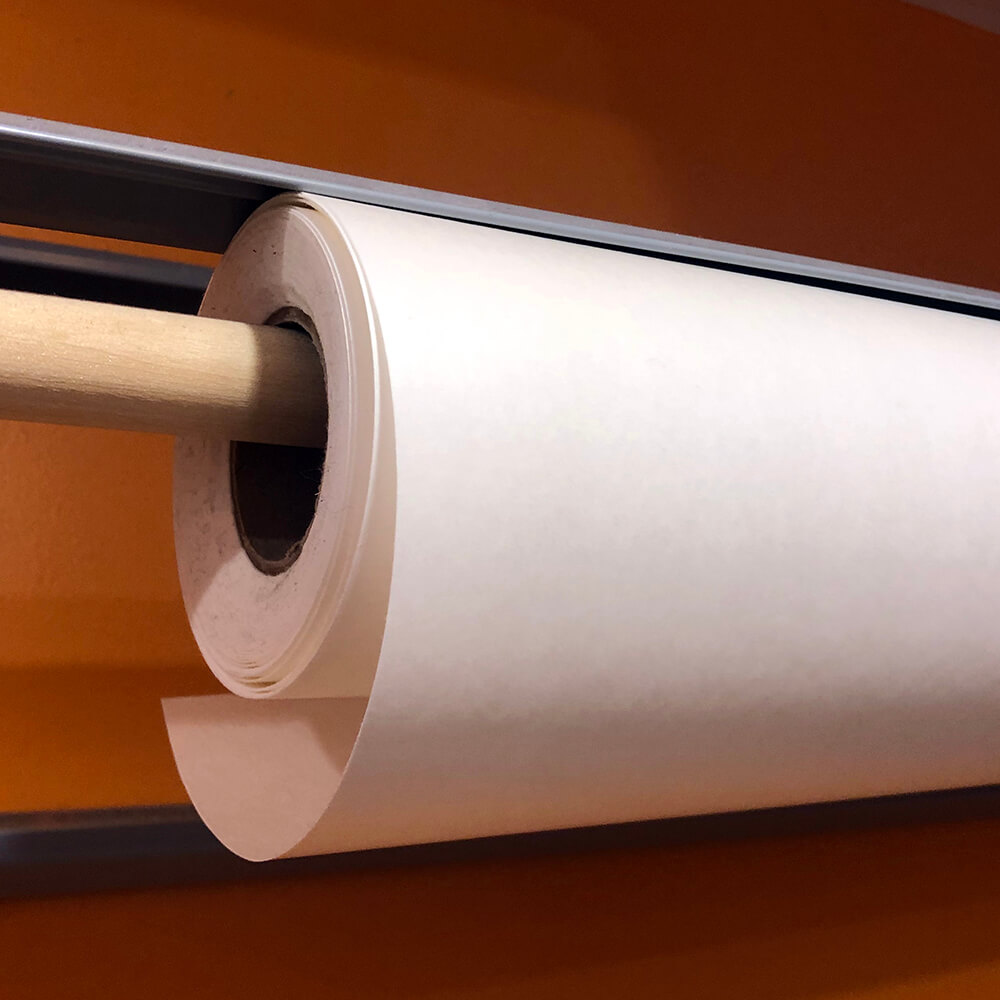
The benefit in buying the adhesive-backed stabilizer by the roll is that it’s easy to store. I actually put the roll of stabilizer on a on a rack in my sewing room designed to hold rolls of wrapping paper. The device makes it really easy to cut of small pieces or even rip off pieces pretty cleanly.
I store my roll of adhesive backed stabilizer on a wrapping paper dispenser.
Save money on embroidery stabilizer strategy 2: patch stabilizer holes.
Learning how to patch the holes in my hooped stabilizer was a game changer for me. Very early in my embroidery career I was getting frustrated by the amount of stabilizer I was going through. I had two hoop sizes – one small and one large. But, it seemed to me that the majority of the items I was embroidering fell somewhere in between. I was wasting so much stabilizer using my large hoop for small to medium sized designs.
I had concluded that the solution to my problem was to buy a medium-sized hoop, because it would allow me to use so much less stabilizer. So, I went to my embroidery machine dealer with the intention of making this purchase. It was near closing time so I thought I would be rushed out but instead, Bev (one of the employees) was really chatty. She was doling out embroidery tips so I just let her keep talking.
When I finally got a word in edgewise and told her that I needed to buy a medium sized embroidery hoop, she enthusiastically DISAGREED. Needless to say, I was pretty shocked. It’s not too often that a sales person talks you out of a purchase.
Bev explained that you can avoid un-hooping and hooping between each project by simply patching the hole in the back of your adhesive backed stabilizer. After carefully tearing away the item you embroidered, you simply stick a small piece of adhesive-backed stabilizer on the back of the remaining hooped piece to cover the hole. Genius!
Each time you finish embroidering an item, you tear away the completed project, then peel away the old patch and apply a new one.
Recommended Products
Save money on embroidery stabilizer strategy 3: embroider from smallest to largest embroidery design
When you are using this patching technique to embroider a number of items, it is most efficient to embroider the smallest design first, then work your way up to the largest. This is because the hole left by the embroidered item will get increasingly larger. So, the patches you will need to cover these holes will start small and eventually get larger.
Think about it. If you were to stitch the largest designs first, you would always need a large patch to cover that first hole in order to stitch subsequent designs. And, the larger the patches, the more stabilizer you will go through.
Therefore – start with the small designs and work your way up!
Save money on embroidery stabilizer strategy 4: save your stabilizer scraps for patches.
One of the best ways to save money on embroidery stabilizer is to use every scrap! When you do the patching technique, eventually your hooped piece of stabilizer starts to wear out. It gets a bit fuzzy and not so sticky and maybe even a bit loose in the hoop. Or the hole gets so large that the patch is not as effective. At this point, it’s time to replace the hooped stabilizer with a fresh piece.
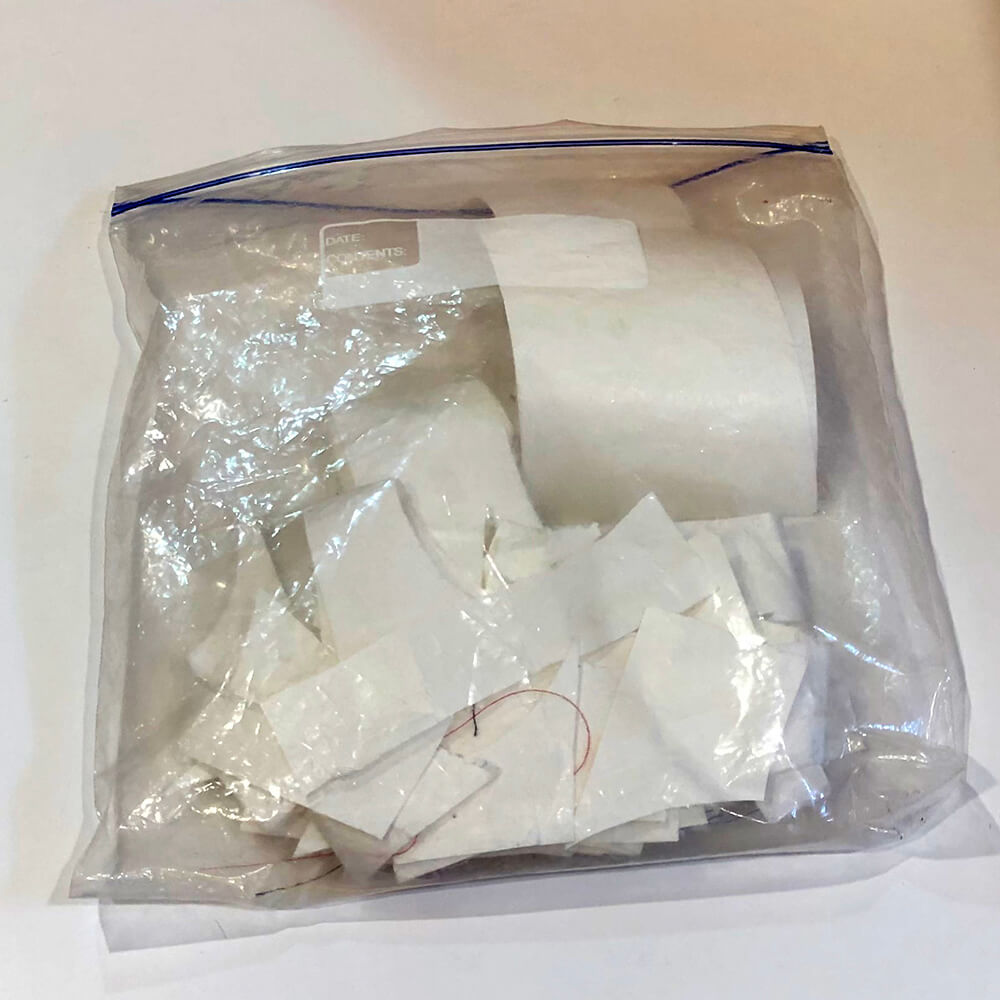
But before I throw away the remnants of what is left, I cut out any unused pieces where the paper is still adhered to the back of the stabilizer and throw them in a Ziploc bag. If they are super wrinkled, then I will iron them to flatten them out. I then use these scraps as patch pieces going forward using my patching technique. Even though these scraps are often random sizes, usually I can make a decent patch by putting a few together.
My bag of adhesive backed stabilizer scraps. Perfect for patching.
Save money on embroidery stabilizer strategy 5: buy wholesale
If you are running an embroidery business, you can set up a wholesale account which will allow you to get the best prices on all embroidery supplies, including stabilizer. Check out these embroidery suppliers, comparison shop and explore options for wholesale accounts.
Frequently asked questions about saving money on machine embroidery stabilizer
How many times can you patch your embroidery stabilizer?
It really depends. If you embroidery a bunch of small items again and again in the same spot, you can usually get away with patching the same piece of patched stabilizer again and again.
If you are embroidering on fuzzy fabrics, the lint that sticks onto the hooped stabilizer can make it unusable after a after a couple of rounds of patching.
Where can you buy the cheapest embroidery stabilizer
Check out my list of machine embroidery suppliers. Prices change all the time, but if you buy in bulk or wholesale, you will get the best prices.
Who has the best quality of embroidery stabilizer?
I’ve purchased machine embroidery stabilizer from several different suppliers and have only noticed subtle differences in quality. For example, the most recent batch of sticky back stabilizer I purchased is a little bit to activate than other versions. I find that the paper is just harder to peel away the backing. But, generally, it works just as well.
Ready to save some money on embroidery stabilizer?
Looking back now, it’s hard to believe that these techniques did not occur to me when I was starting out. But, as they say, you live and learn. I hope these tips will help you save money on stabilizer throughout your embroidery endeavors.
4 thoughts on “Save money on embroidery stabilizer using these tricks”
Daisy Marrero
Thankyou very much for these valuable information. I am sure I will use if again and again . It is the most clear and extense paper that I have found about stabilizers. I will keep my notes handy for references.
I am just starting to adventure on to machine embroidery as a new hobby. I have tried many You Tube videos, but the one that I found most helpful was the course “Master the Machine: Embroider Like A Boss” found on the Machine Embroidery Geek website. The information is comprehensive and so easy to understand. The instructor uses videos, demonstrations, and handouts that you can print off your computer.
And as a bonus, you will get free embroidery designs and fonts, plus step-by-step instructions on completing a few projects. She starts the course with information on buying the best machine that fits your needs and ends with info on how to start your own business. It is worth every penny that you spend on this course, as you will learn the basics that you need to know to master the embroidery machine!!


Thankyou very much for these valuable information. I am sure I will use if again and again . It is the most clear and extense paper that I have found about stabilizers. I will keep my notes handy for references.
Genius!!! You saved my money and my day! Thank you!
Amazingly obvious but I too didn’t think to buy wholesale. I’ve been patching but without the adhesive to help.
Thanks for the tips!
Thank you never would I have thought to patch my stabilizer