By Julie on May 17th, 2023 This site contains affiliate links to products. We may receive a commission for purchases made through these links.
Looking for FREE embroidery designs and PDF patterns?
Subscribe to the Machine Embroidery Geek newsletter
For tips, how-tos, loads of inspiration and access to the resource library full of free machine embroidery designs and PDF patterns.
Thank you!
You have successfully joined our subscriber list.
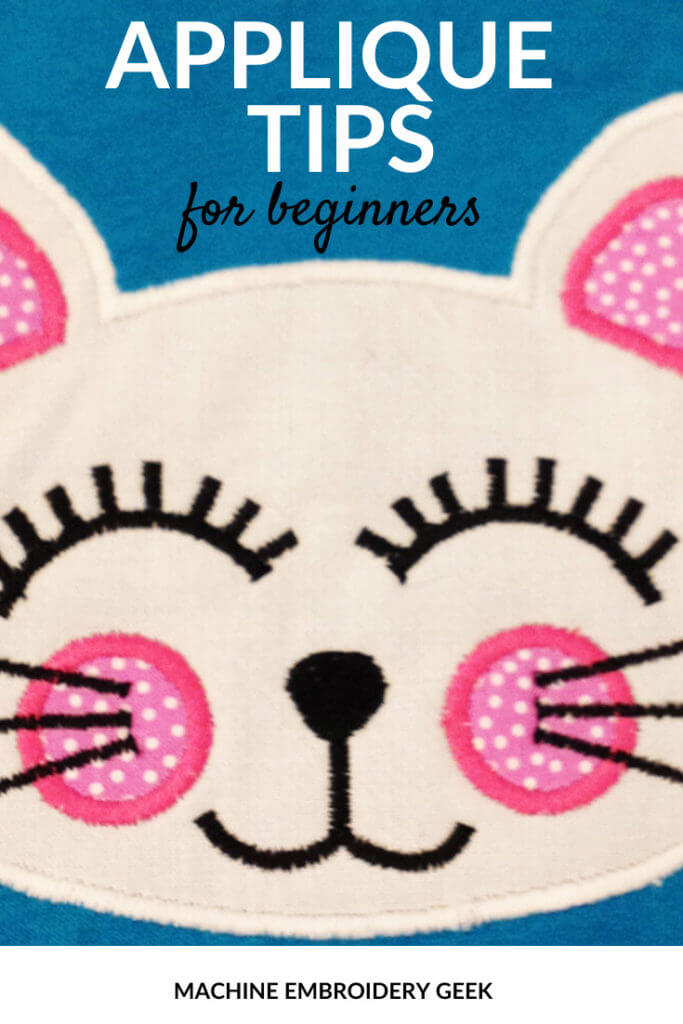
When I was just getting started in machine embroidery, appliqué was new and enticing, but a little frustrating. It took a lot of trial and error to get it right. But, now that I’ve put in hours behind the embroidery machine, studied up, and digitized many of my own appliqué designs, I can officially offer up some appliqué tips for beginners. My hope is that it will lead you to success a lot quicker than me!
But first – if you’re on the fence about trying to appliqué on your embroidery machine, you just need to leap right off! Yes, I know, it can be a bit more time consuming than stitching out a filled embroidery design. Preparing the appliqué fabric and trimming it between rounds of stitching can be tedious. But, the resulting effect of an appliqué design can be very dramatic without such a high stitch count.
When you are working with very textured fabrics, appliqué is often the only way to go because embroidery can get lost in the fabric. A dainty embroidery design stitched on corduroy, for example, would not be a winning combination. (Speaking of which, check out my corduroy skirt makeover using a funky flower appliqué design!)
Ok – so you got it now? Ready to appliqué? Here are my top 10 appliqué tips for beginners.
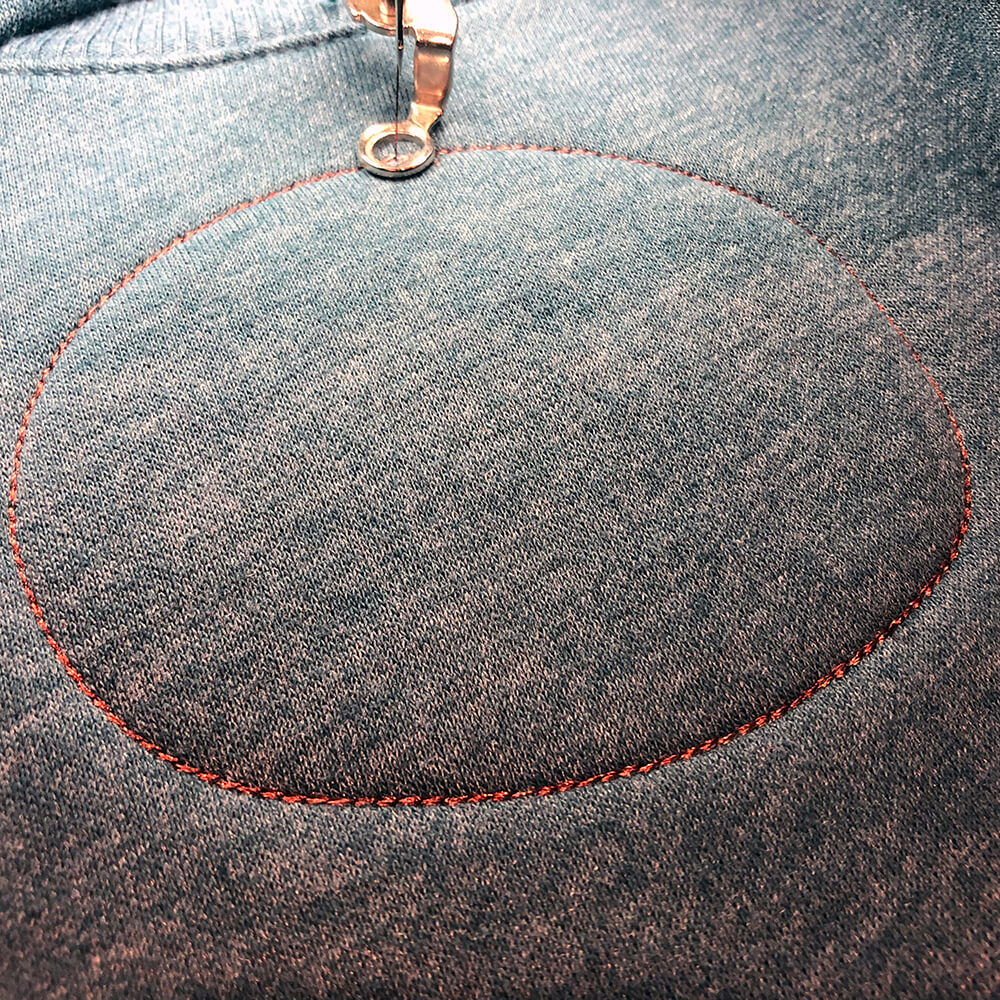
1) Buy good appliqué designs, specifically ones with a placement line of stitching.
A placement line is the first round of stitching set up in an appliqué file that shows you where to place the appliqué fabric. Without this line of stitching, it would be pretty hard to know where to place the appliqué fabric, right?
So always ask or read the product description – if buying a machine appliqué design, “does this have a placement line.” Most reputable companies that sell embroidery designs will normally include this layer of stitching in the design and explain which thread color it is.
The placement stitching shows you where to lay the appliqué fabric.
2) Wash and dry both the appliqué fabric and the garment before stitching
Washing and drying the appliqué fabric prior to starting the project is probably the most important of all these appliqué tips for beginners. This is because an appliqué fabric and the garment on which you are stitching the appliqué design to be quite different.
Different fabrics mean that they will shrink different amounts. Therefore, you should always wash and dry both your appliqué fabric and the fabric on which you are applying the appliqué.
You don’t want one to shrink after the fact. It will cause buckling and look TERRIBLE.
A few years back my sister made an ADORABLE dark brown corduroy dress with an appliqué scottie dog (in Burberry fabric) on the front. It was a Christmas gift for one of my girls. Believe it or not, it was actually so cute that I was a little jealous that I hadn’t made it myself. (I know, I know… I’m petty.)
Anyway – the first time I pulled the dress out of the laundry, it had completely lost its charm. The scottie dog was all wrinkled up and was pulling at the corduroy. Clearly, she had not washed and dried the fabric prior to doing the appliqué. And, of course (terrible person that I am), I was a little bit smugly satisfied.
3) Apply HeatNBond Lite to the back of the appliqué fabric.
When I was first learning how to appliqué I wondered how I would get the appliqué fabric piece to stay in place while the machine was trying to stitch it on to the base fabric. One solution I learned was to spray temporary adhesive on the appliqué fabric to stick it to the base fabric. However, the problem with spray adhesive is that it’s messy, and when you use it for a while, your embroidery hoop gets pretty gunky. So I went a different route and started using HeatnBond Lite.
HeatNBond Lite is an iron-on material that that allows you to fuse one fabric to another. I simply fuse it to the back of my appliqué fabric, then peel off the backing. If the appliqué piece is quite large, then I would fuse the appliqué to the bottom fabric. But, most of the time, I don’t bother, because the tackiness of the HeatNBond Lite seems to keep it from moving around during the stitching process.
An added bonus is that the HeatNBond Lite keeps the appliqué fabric from fraying and wrinkling.
4) Do not use fabric softener when washing and drying your appliqué fabric
I know, I just told you to wash and dry your appliqué fabric. Out of habit, you may throw it in a load of laundry in which you add a fabric softener. STOP! Don’t do this. Fabric softener leaves a coating on your appliqué fabric which will keep the HeatNBond Lite from adhering to it.
5) Heavily starch your appliqué fabric if it is a bit flimsy
On occasion, I’ve run into the issue of the appliqué fabric puckering and wrinkling a bit when I start my first round of stitching. Puckering can occur when you are trying to appliqué a fabric that is really flimsy because it starts to bunch up.
One way of giving your flimsy appliqué fabric a little bit of stiffness is to spray it generously with spray starch. The spray starch makes it super stiff which which allows you to trim the appliqué fabric more precisely, and helps prevent bunching when its being stitched.
6) Pre-cut your appliqué fabric
There are two camps when it comes to pre-cutting appliqué fabrics: those who do and those who don’t. I, personally, do not pre-cut my appliqué fabric, but I know many who do and swear by it.
The benefit of pre-cutting the appliqué is that you don’t have to take the hoop off the machine and trim the appliqué fabric after the tack down stitching. The downside is that your placement of the appliqué fabric needs to be spot on, otherwise your stitching will NOT catch the edges of the appliqué fabric.
If you want to pre-cut your appliqué fabric, you can do this by exporting an SVG file from the embroidery design in your software. Both Embrilliance Essentials and SewWhat-Pro have tools that allow you to do this. It’s important to precisely cut out the appliqué shape.
You can either cut out the shape by hand or use your Cricut (or any other cutting machine) to cut it out. If you are cutting by hand, you can get a more accurate cut by spraying the paper pattern onto the wrong side of the appliqué fabric using spray adhesive, then cutting it out.
7) Pre-cut slits in any “holes” in the appliqué fabric.
Some appliqué designs have a hole on the inside where fabric will need to be removed. This can be daunting for a newbie, as you will likely worry that when trimming the appliqué fabric you may put a hole in your garment.
If you make a small slit in the appliqué fabric, where the hole will be, it makes it a lot easier to trim the fabric away once it has been tacked down. Just be careful where you make the small cut and that it is where the hole will eventually be. Make sense? If not, check out my previous appliqué tip on how to remove the appliqué fabric in an enclosed area.
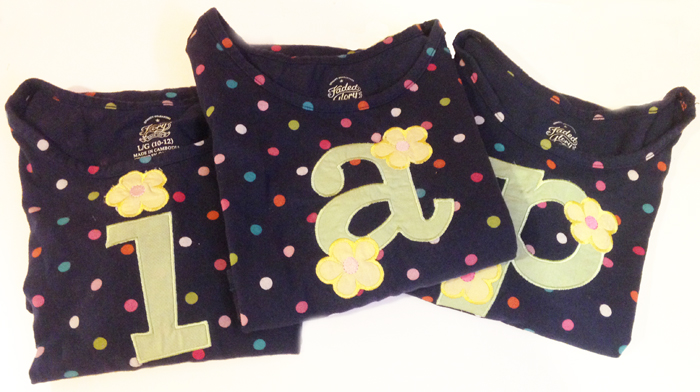
If you pre-cut a slit in your appliqué fabric, it is easier to cut away the fabric int he enclosed space such as in the open space inside of the letters “a” and “p”.
8) Always trim the appliqué fabric using appliqué scissors.
Another important appliqué tip: hold the edge of fabric up at slight angle to cut it with your appliqué scissors. This allows you to get very close to that tack down stitching line.
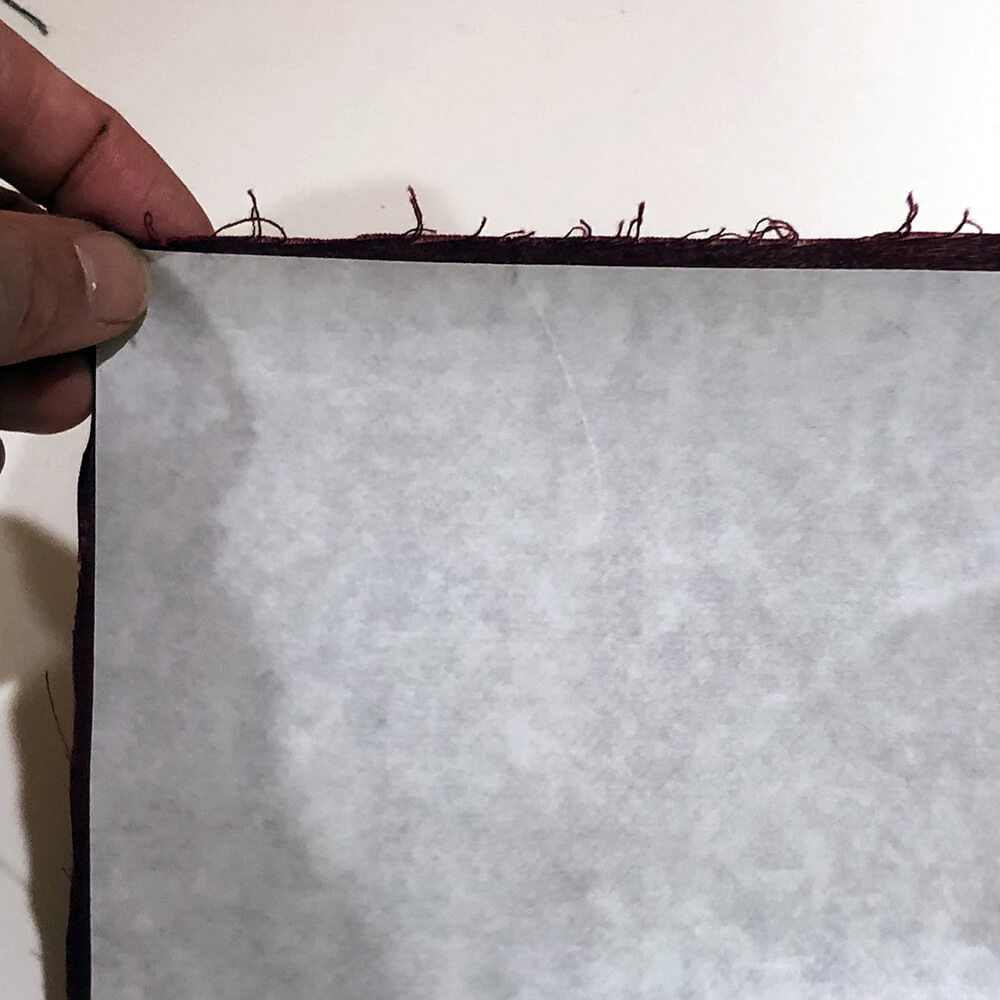
Some people just leave the tear away stabilizer on their garment and let it eventually wash away. But, I think it looks a little ugly and like to remove as much of it as possible once I finish my appliqué.
Any easy way to remove it is to simply spray some water on it, let it soak in and then peel it away. A spray bottle of water is really handy and prevents you from dousing the garment.
10) Soften the inside of an appliqué with Cloud Cover
Ever stitched a design on the chest of a baby onesie? The back of the appliqué would likely be irritating to a baby’s skin. So, you can iron this material called Cloud Cover over it to soften the surface. It works amazingly well and baby stays comfy.
Appliqué can be tricky to get the hang of, but with these tips you should have a better understanding of how it works. Pre-cutting appliqué fabric and making slits in any holes will make your stitching easier and more precise. Additionally, using appliqué scissors to trim close to the tack down line is essential for creating clean edges on your finished product. Finally, adding Cloud Cover inside an appliqué item such as a baby onesie will soften the back side so that it won’t irritate delicate skin. With this knowledge in hand, you’ll be able to tackle any applique project!
So now what are you waiting for? Let’s get out there and make some appliqués.
“I am a novice machine embroiderer and this class [Master the Machine – Learn to Embroider Like a Boss] is proving to be extremely helpful in understanding the basics. I love that you are so practical and sincere in your suggestions and recommendations.”


Which stabilizer would you use to machine embroider appliqué on a cotton quilt square? I am having trouble with it puckering. Thank you
I would probably use a cut away. But with finer materials like cotton quilting fabric – I would use a thin needle.