Disclosure: Some of the links on this site are affiliate links. This means that if you click on them and make a purchase, I may earn a small commission at no extra cost to you. Please know that I only recommend products and services I trust and use myself.
It’s a lesson that is taken taken me a long time to learn. When you take care of things – they last longer. I know it may seem obvious, but for me it took years to appreciate that sentiment. And, it is one that definitely applies to your embroidery machine. The better you take care of it, the longer it will last, and the better it will operate. But, what exactly does it mean to properly maintain an embroidery machine? Well – different machines have different care and maintenance guidelines, but there are a few simple tips I’ve learned for optimal embroidery machine maintenance.
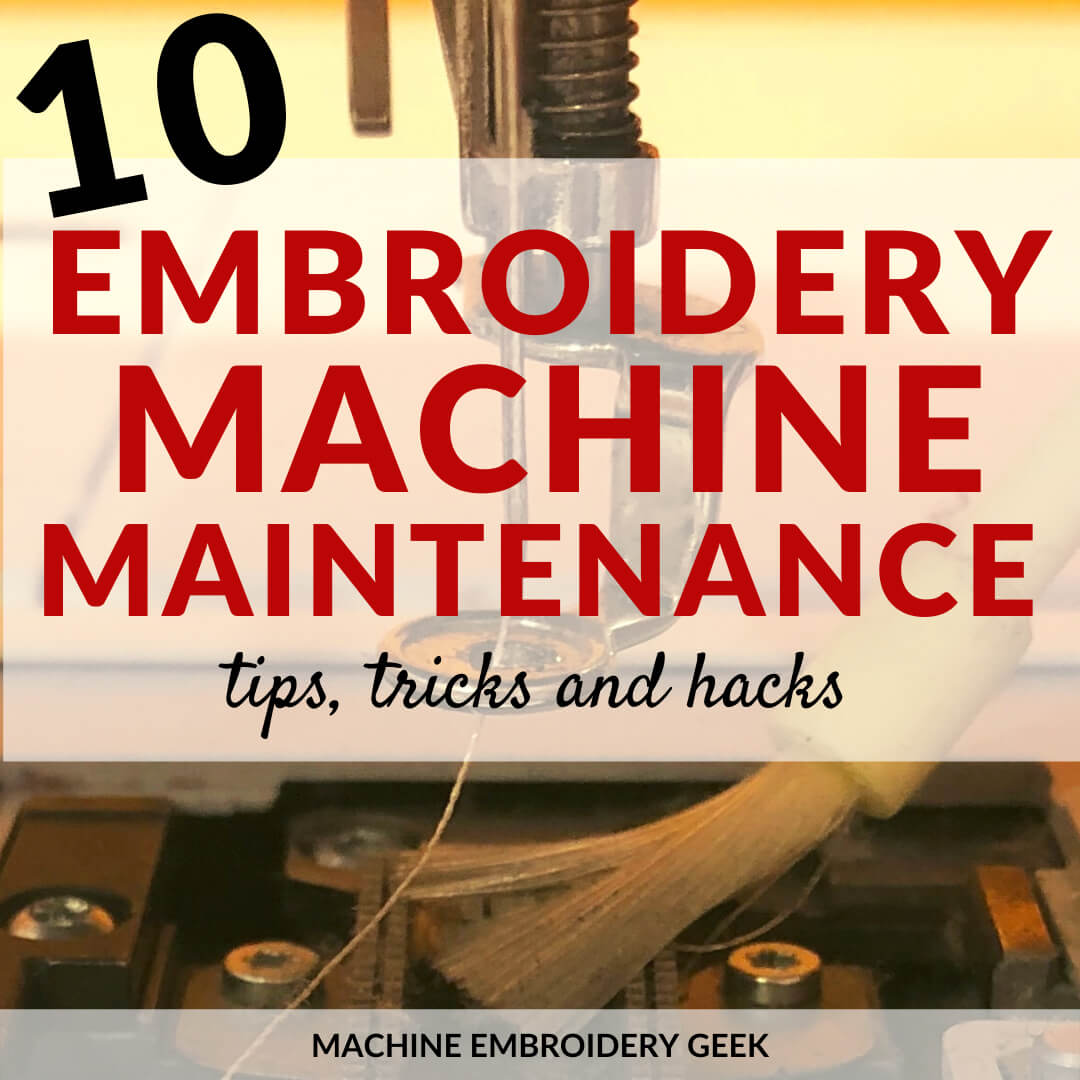
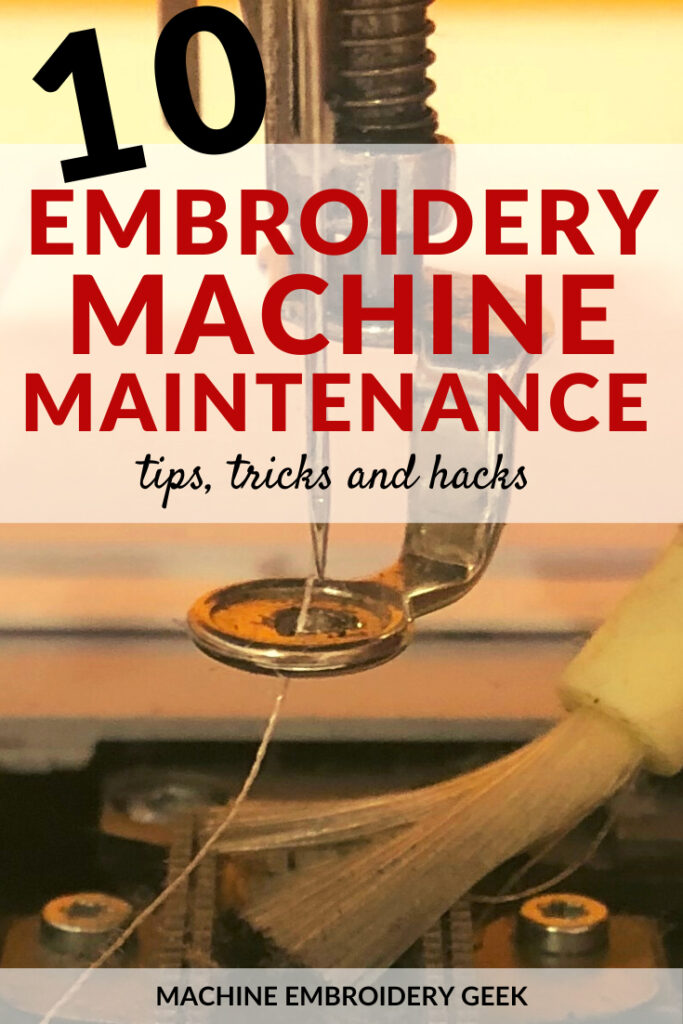
Caring for your embroidery machine – top maintenance tips
Clean your machine
Every machine has different protocols for cleaning. So, you should definitely check your manual and see what is recommended for your specific make and model.
Then, actually do it!
I find that it helps if I put a reminder in my calendar each month. But, you may need to clean your embroidery machine more frequently if you use it on a daily basis. I have learned some great cleaning tips over the years from my embroidery pals.
A simple way of removing little threads and bits of lint from your embroidery machine is to use a makeup brush to clean out your bobbin cage. I actually recommend getting a set of makeup brushes exclusively for this purpose because you will get a variety of sizes that will work well in different areas.
Another great cleaning hack is to use a thin business card to clean underneath the bobbin cage screw. Little threads like to get caught in there as well. Ever notice how when you break a thread somewhere along the thread passage, bits and pieces get stuck in there?
Well, if you “floss” the entire thread passage some unwaxed dental floss, you can oftentimes remove a treasure trove of little threads and lint. It’s tempting to want to use canned air to blow out your entire machine, but this can actually be detrimental. It can force pieces of thread and lint deeper into the machine.
I’ve also been tempted to blow (with my mouth) into the bobbin cage to try to remove excess lint – but this too is a bad idea. It introduces moisture into your embroidery machine which is a big NO NO.
Cover your thread
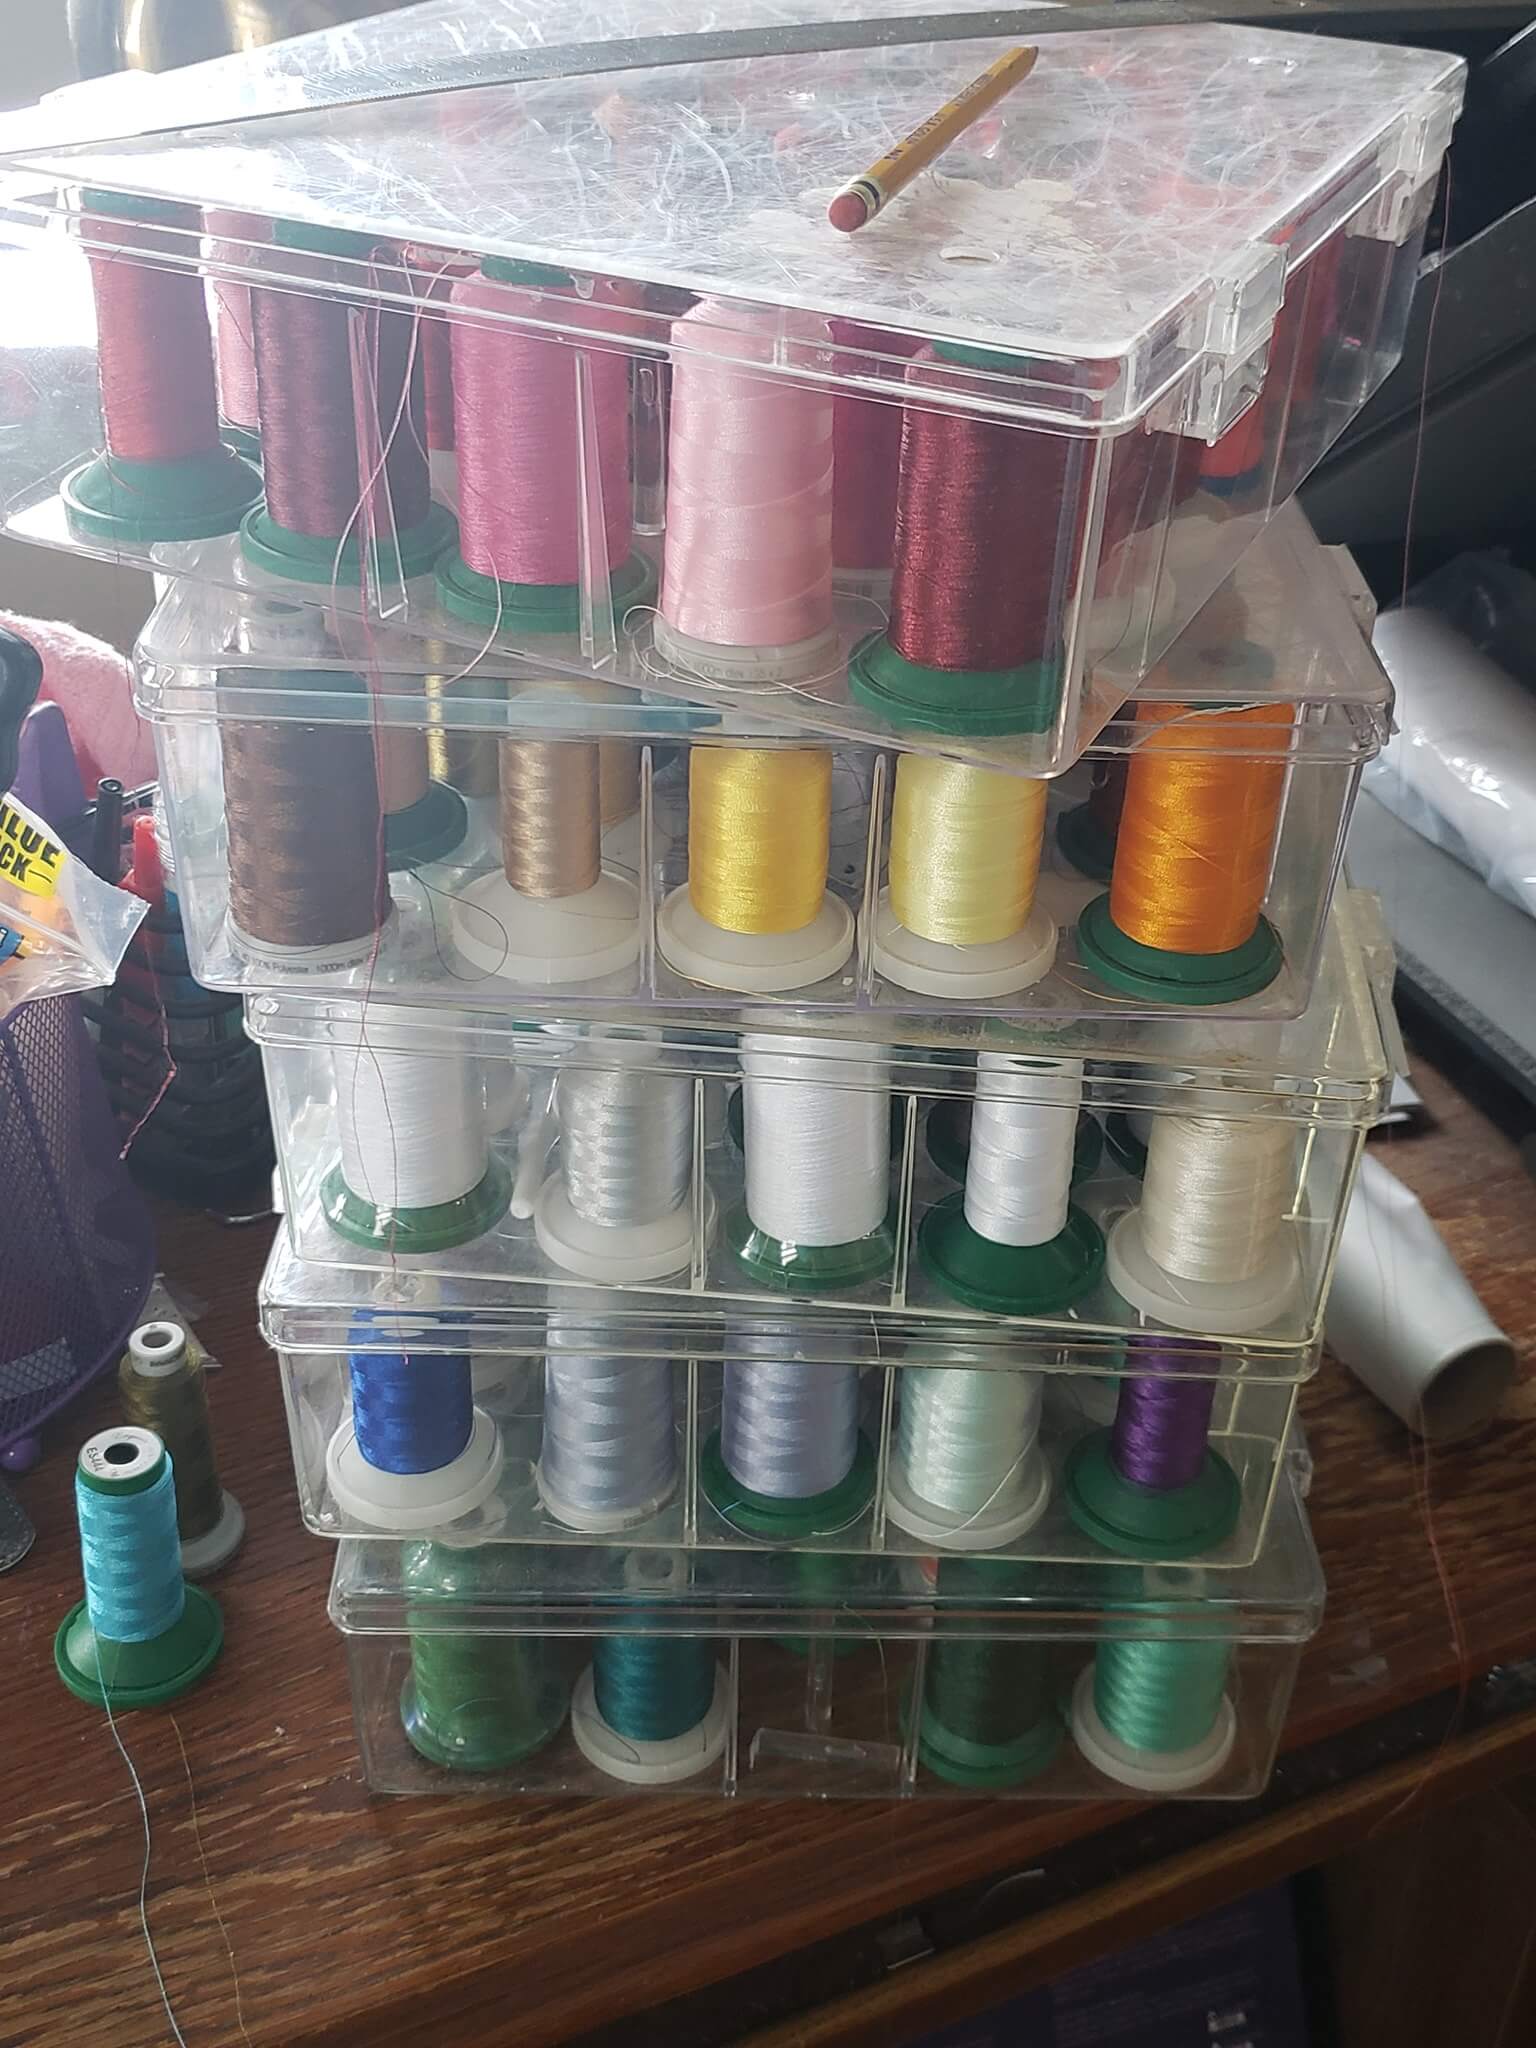
When you leave your machine embroidery thread out on shelves or thread racks, it can collect a lot of dust. Then, when you put that thread through your embroidery machine, it can introduce a lot of excess debris into the machine.
Dust, lint and bits of thread can mess up your tension and the machine will not stitch as well. So, by storing your thread in a storage bin, you may be able to prevent embroidery machine maintenance issues.
Check out these other creative ways to organize store thread for sewing and embroidery.
Wipe down your machine after use
After a bit of use, my embroidery machine can get covered with thread pieces, dust and lint. Rubbing a nearly dry cloth over the machine to remove some of this debris will prevent it from getting inside of your embroidery machine and in turn, keep it running smoothly.
Cover your embroidery machine
You want to know the best way to keep your embroidery machine clean and free from dust, lint and moisture? Cover it! If your machine came with a cover, then use it. But, if you need a cover for your embroidery machine – you can easily make one.
Check out these PDF patterns for almost every make and model of embroidery machine on Just Sew Patterns. Just think, if you make the cover yourself, you can easily monogram it before stitching it all together. Genius!
Turn off your machine when you are not using it
I learned this lesson the hard way, I burned out the screen on my embroidery machine and I think it was due in part to leaving it on all the time. (I mean – I left it on – A LOT!) It cost me about $400 to replace that dang screen.
If you’re not using your machine, then turn it off. Save some energy and extend the life of your screen. I know it takes a second for the machine to boot up, but believe me, once you spend $400 for a new screen, you get a bit more patient.
Use the correct weight of embroidery thread
Embroidery machine are calibrated for a specific weight of embroidery thread. If you veer from that, then you will have issues with your tension which might be difficult to correct and require servicing of your machine.
It can be tempting to use regular thread on your embroidery thread, which too, is not recommended. Regular sewing thread does not travel as smoothly through your needle, so you will likely get more breakage.
In addition, those spools of regular thread often have notches on the edge of the spool. It’s easy for thread to get caught in there which can cause your thread and sometimes a needle to break. Broken needle particles can get stuck inside your machine and cause a whole lot of trouble.
So… read your manual, figure out what weight embroidery thread you should buy and stick to that. A lot of people have strong embroidery thread brand preferences, but they really run the gamut. A lot of people buy their first set of machine embroidery thread on Amazon, and based on the reviews are pretty happy with it.
Change your needles regularly
The best way to avoid getting pieces of broken needle stuck in your embroidery machine is to not have your needle break. And the best way to avoid needle breakage is to change your needle regularly.
You know when I used to change my needle? When it broke. But this is not a good idea. Needle can get gummy, get nicks and burrs and even bend slightly. Once this happens, they are more prone to breaking.
Oh – and while we are on the topic of needles, be sure to use embroidery machine needles instead of regular sewing needles in your embroidery machine, because there definitely is a difference between the two.
Oil your machine or don’t oil your machine
The jury is definitely out on this one. Some service people say not to oil embroidery machines with sewing machine lubricant because if you get oil in the machine, it will damage the electronics. First, check your manual, then inquire wherever you get your machine serviced. Then just do what they say.
The best places to oil your machine are the spots where there are moving metal part. Around the outside of the bobbin case is a prime location to keep the bobbin rotating smoothly.
Avoid spray adhesive
Spray adhesive is great until it gets all over everything! Did you ever see the picture of how nasty and gunky my embroidery hoop got before I figured out how to clean it? If this was what my hoop looked like – imagine what it looked like inside my embroidery machine. A gunked up inside of an embroidery machine is not going to perform well at all.
I definitely try to avoid spray adhesive and use sticky back stabilizer whenever possible. However, in some cases I have no choice but to use it – such as when I stick a piece of cut away stabilizer on the inside of a garment. I try to spray it in a sink (although that gunked up my sink) so it’s best to just use it outside.
Be gentle with your machine and its accessories
I find that when I’m working quickly, I can be a bit aggressive with my machine. But, you can easily break a hoop and even parts of your machine when you push a bit too hard.
My friend, Ellie, has a graveyard of broken embroidery machine hoops as a result of her getting a bit too aggressive when hooping her projects. So, slow down, relax, and be gentle with your embroidery machine, and it will last a whole lot longer.
Get the embroidery machine serviced regularly
I know it’s hard to part with your embroidery machine for a few days, but yearly or even bi-yearly servicing (depending how often you use it) can help keep it in tip top shape.
Think of it like a trip to the dentist. Post college I went a couple years without going to the dentist. Big mistake. I ended up with a root canal and a crown. The lesson I learned was that preventative maintenance facilitates longevity which is a bit of wisdom I apply to my teeth as well as my embroidery machine.
Frequently asked questions regarding embroidery machine maintenance
How often should you service your embroidery machine?
The Brother website suggests getting your embroidery machine serviced after every 1500 hours of use. I use my embroidery machine about 4-5 hours per week. So, (if you do the math), based on these guidelines, I should get my embroidery machine serviced yearly. But, if you are running an embroidery business (using your machine 8+) hours a day, you should probably get your machine serviced quarterly.
Should I oil my embroidery machine?
While you do not want to get any oil into the electronics of the machine, it’s a good idea to lubricate the moving parts – especially inside of the bobbin cage.
What type of oil should I use to lubricate my embroidery machine?
Liberty oil is highly recommended as a great lubricant for your embroidery machine. The long metal tip at the end of the bottle allows you to dispense a minimum about of oil at a time.
Where can I get my embroidery machine serviced or repaired?
The most logical place to take your embroidery machine for service and repair is to the dealer where you bought the machine. But, sometimes dealers are the best technicians.
The dealer from whom I purchased my embroidery machine has now closed, and I’ve been disappointed by the new sewing shop that I’ve been using for embroidery machine service and repair.
So, I now take may machines to a local sewing and embroidery machine repair guy that I found via a Google search. Fortunately – he’s about 1 mile away. Talk about fortuitous.
The last time I saw him – I said “hope to not see you soon.” Now that I’ve gotten better about taking care of my embroidery machine – I am betting this will be the case!
A well maintained embroidery machine makes machine embroidery more fun
Taking care of your embroidery machine is key to ensuring its longevity. By oiling the moving parts and getting it serviced regularly, you can keep your machine running like new. If you have any questions about embroidery machine maintenance, be sure to ask your dealer or a qualified technician.
When your machine is running well, machine embroidery is much more enjoyable.
Happy stitching!
xo
Juile
Want to remember this? Save “Top Embroidery Machine Maintenance Tips” on your favorite Pinterest Board

I love my PE800 machine I have 001947006 stitch total count on my machine. I’ve had it 2 years. Do I need to be locating a sewing machine service maintenance now?
Probably. I would call around and see if you can find someone to service it.
Following the regular cleaning, oiling, and servicing tips outlined here will help prevent issues from arising. The recommendations drew on your valuable experience using different machines over an extended period. Learning proper threading techniques and avoiding potential hazards like spray adhesives are also important takeaways. Overall, this was a very helpful reference for both beginners looking to properly care for a new machine, as well as more experienced embroiders looking to extend the life of their current setup.