How to make a monogrammed infinity scarf
This site contains affiliate links to products. We may receive a commission for purchases made through these links.
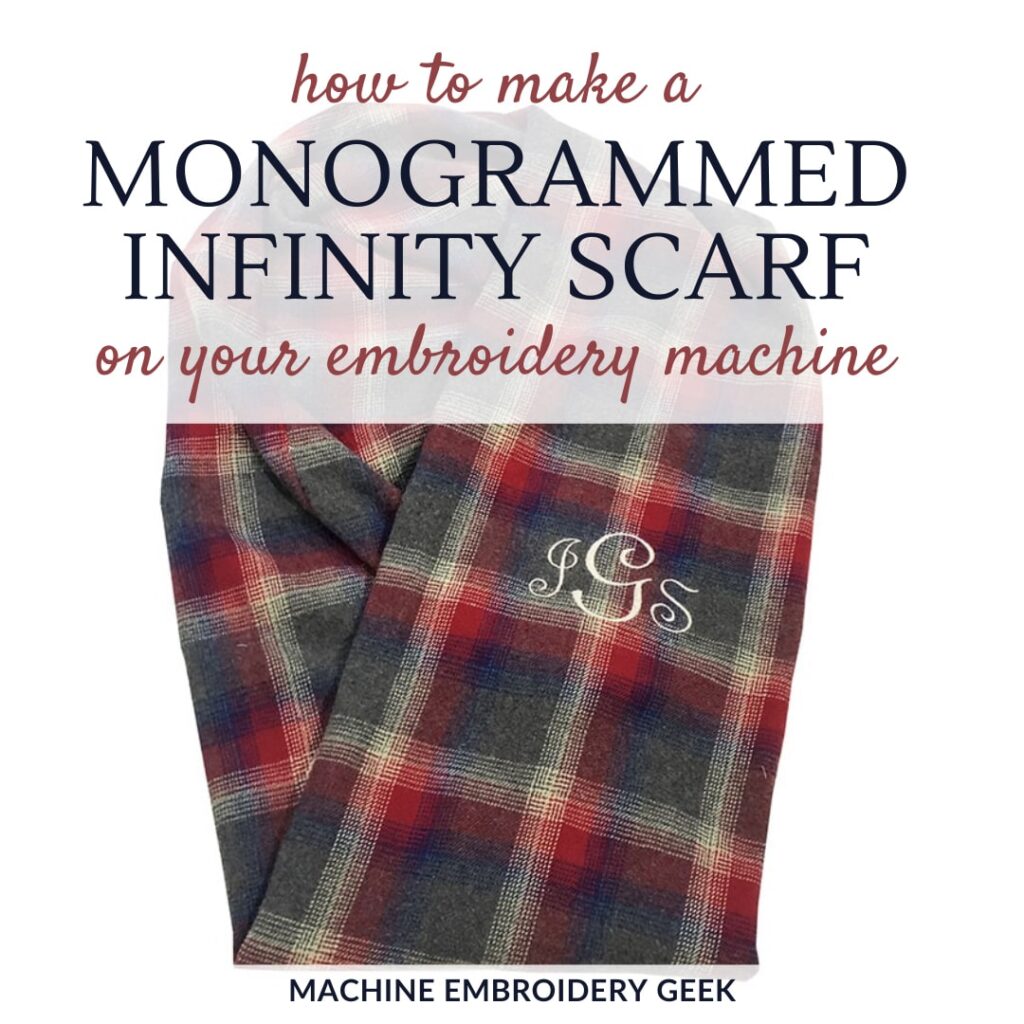
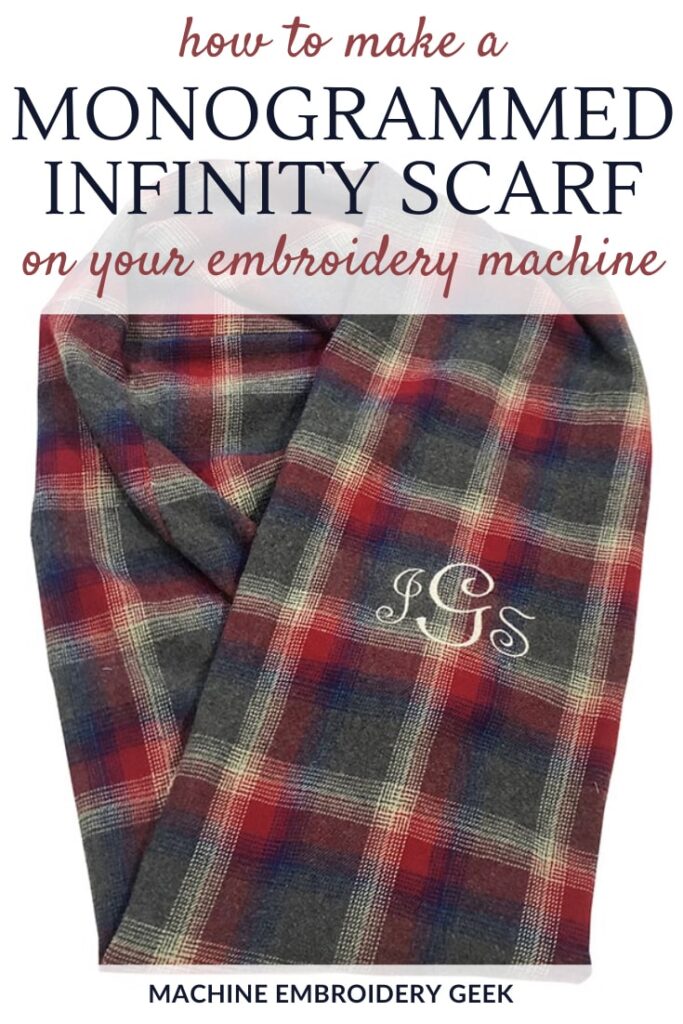
Last week was my mother-in-law’s birthday, and do you know what I gave her? Nothing. ugh. But, what do you give your mother-in-law in the midst of a global pandemic, and the most exciting part of her day is going out for a walk around the neighborhood? Well… how about something to keep her warm and stylish on those daily walks? I had recently seen some really pretty infinity scarfs that I thought I might be able to replicate so I thought I decided to take a stab at making a monogrammed infinity scarf. That with a pretty sweater would be the perfect gift.
Products mentioned in this post
- Flannel (if you want to make a scarf like mine – other fabrics will work)
- Pins
- Adhesive backed stabilizer
- Disappearing ink pen.
- Water soluble topper
- Fusible poly mesh stabilizer
What is an infinity scarf?
This is exactly the question my son asked me a few times yesterday. “Mom – what’s an infinity scarf?” Well – it’ like a tube – so it goes on forever. In fact – if you twisted it midway – it would look exactly like an infinity symbol.
The beauty of an infinity scarf is that it won’t slip off your neck. It’s literally a tube that keeps your neck cozy. I have a few that I absolutely love. And I always wear them with my wide necked sweaters that allow too much of a breeze down my shirt.
How to style an infinity scarf
You can wear an infinity scarf a couple of different ways. You can just wear it as one big loop around your neck. But, you can also double it up to make a tighter loop around your neck. You can also criss cross it in front and hang it over your shoulders. And if you really want to get funky, you can put the scarf over your head like a little hood. So, so versatile!
Inspiration for the project
I have to admit, I did not come of with this project myself. I was actually inspired by one of my oldest friends, Jeannette, who (coincidentally) likes to sew and embroider. Anyway, Jeannette showed up at a party a while back wearing the prettiest plaid flannel scarf. She had it artfully draped around her neck, and it looked fantastic. When I complimented her on it, she informed me that it was literally a piece of fabric. But, what made it look cool was the fact that the flannel was really pretty and she had hand-fringed all the edges.
While I decided to forgo the large fringy style scarf and instead make an infinity scarf, Jeannette was still very instrumental in convincing me this project could turn out as well as it did.
How to make a monogrammed infinity scarf
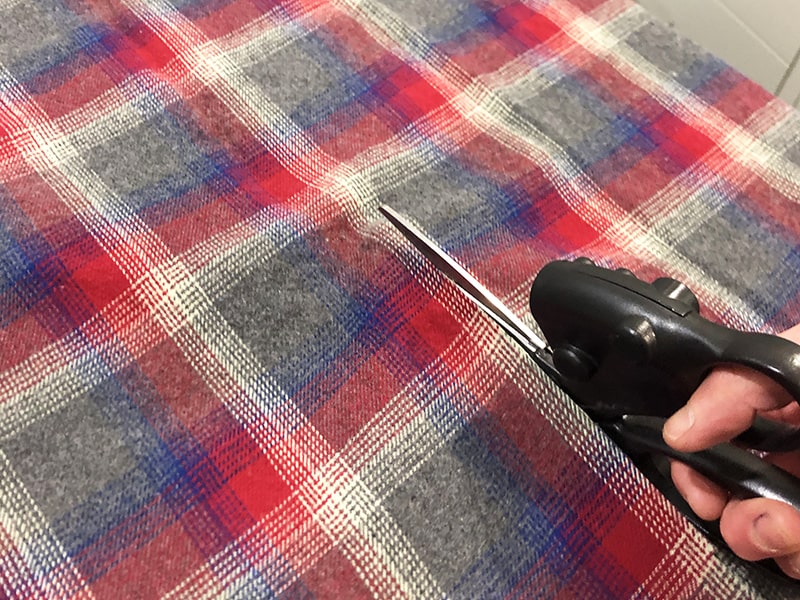
STEP 1: Cut out the fabric
This monogrammed infinity scarf can be made from one piece of fabric, approximately 60″ x 20″. How you cut out the scarf from a piece of fabric, though, depends on the width of the fabric you purchase. You can make an infinity scarf out of woven or knit fabrics, however, these different types of fabrics typically come in different widths: 58″ – 60″ for knits and about 44″ – 45″ for wovens. So, the way in which you cut out your fabric is dependent on the type of fabric you choose.
If you have a woven fabric (like the flannel I chose), you can cut out your scarf from 7/8 of a yard of fabric. You will just have two seams in the scarf. The first step you will need to take is to attach one short end of the two pieces you cut out to another to make one long piece about 60″ x 22″.
If you have a knit fabric – the ladies at the fabric store will do all the cutting for you. Just ask for 5/8 of a yard and you will have a piece suitable for an infinity scarf.
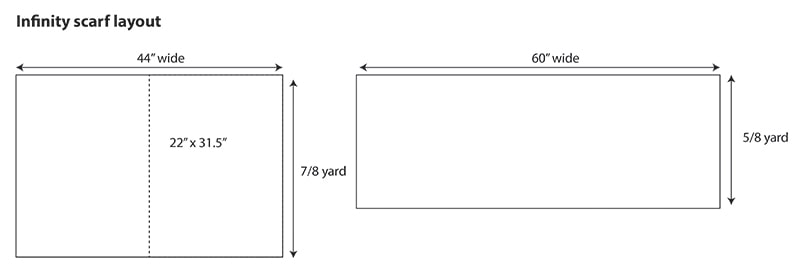
Of course, you could be making this scarf from remnants of fabric you have laying around and then you can ignore my layout advice altogether and just cut this scarf out whatever way makes sense.
STEP 2: Locate the center of the monogram
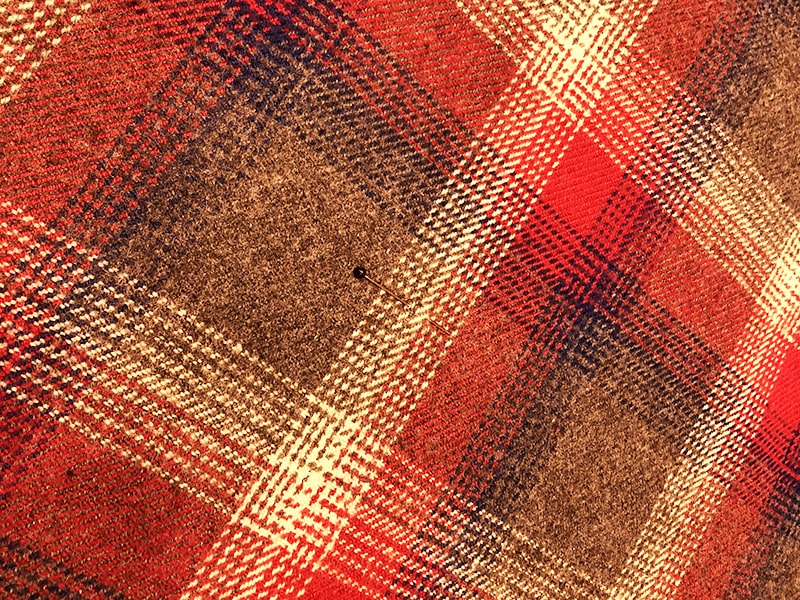
Once you have your (approximately) 20″ x 60″ piece of fabric, you need to locate the center of the monogram. I think a suitable position for the monogram is smack dab in the center. You can easily locate the center by folding the scarf in half both ways. Mark this point with a pin.
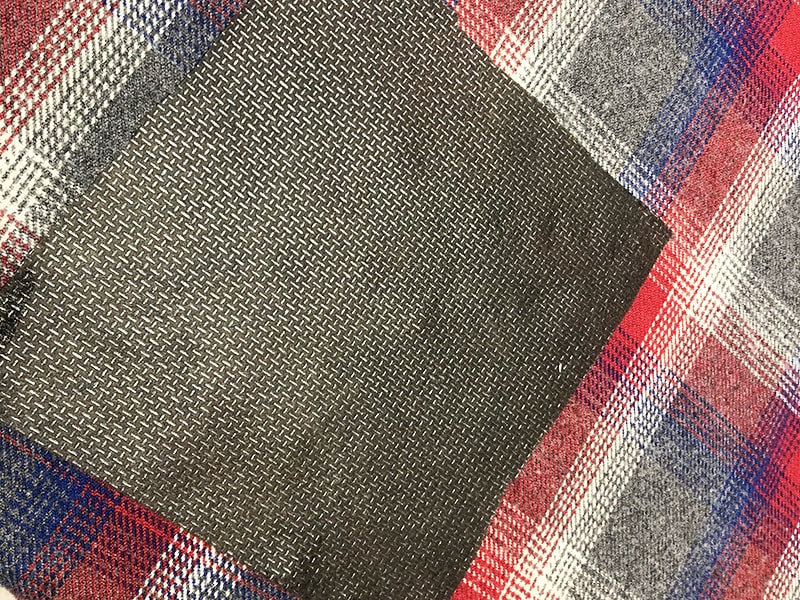
STEP 3: Fuse a piece of fusible poly mesh on the back side of the scarf to help stabilize the monogram
Just cut a piece of fusible poly mesh about an inch or so larger than the size of the monogram. Fuse it on the wrong side of the fabric centered on the center of the monogram.
STEP 4: Float the scarf on a piece of tearaway stabilizer
Never floated? It’s easy. Just hoop a piece of adhesive backed stabilizer (shiny side up). Use a pin to score the top paper layer. This little tear will allow you to peel away the paper. Next, mark the center of the hoop (on the stabilizer) using a disappearing ink pen.
To center your scarf on the center of the hoop, use the folding method described in this previous post.
After you have the scarf appropriately placed on the hoop, lay down a piece of water soluble topper over the fabric. Yes – I know – flannel isn’t the nappiest fabric, but the monogram will look nicer if you use a topper.
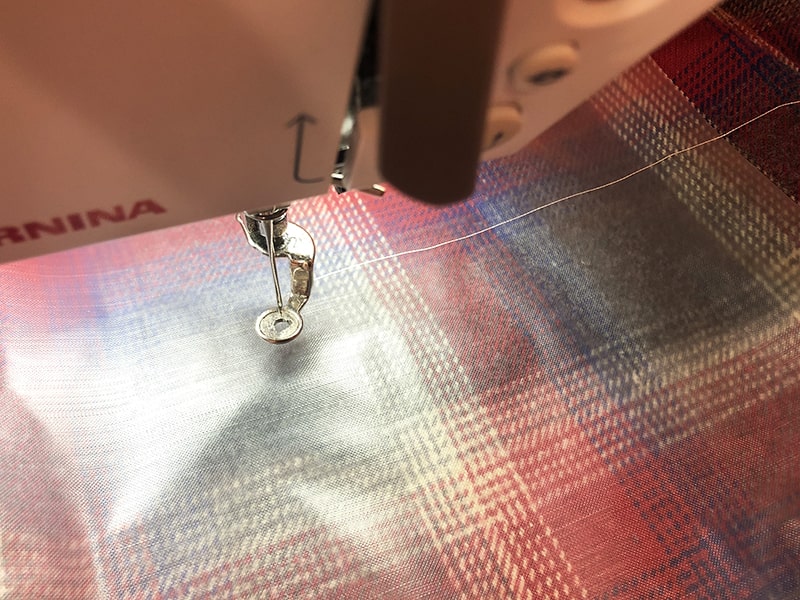
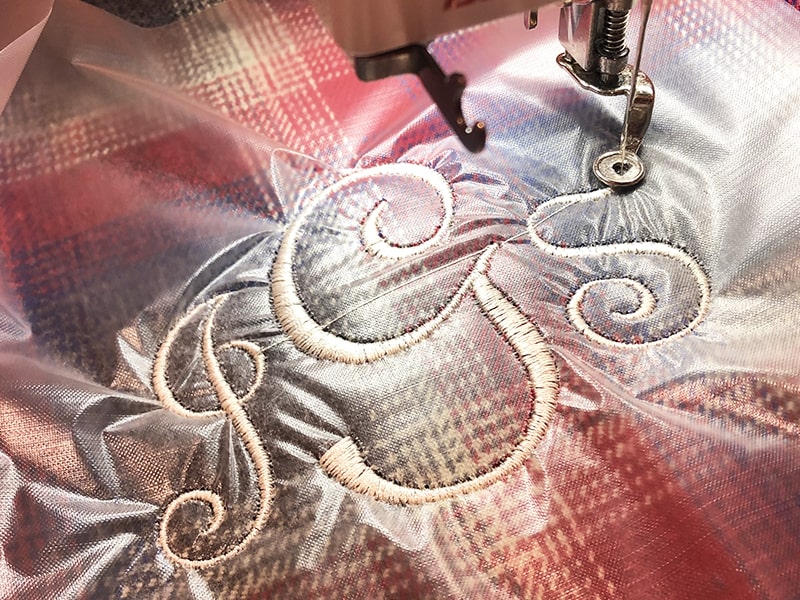
STEP 5: Stitch the long sides of the scarf together
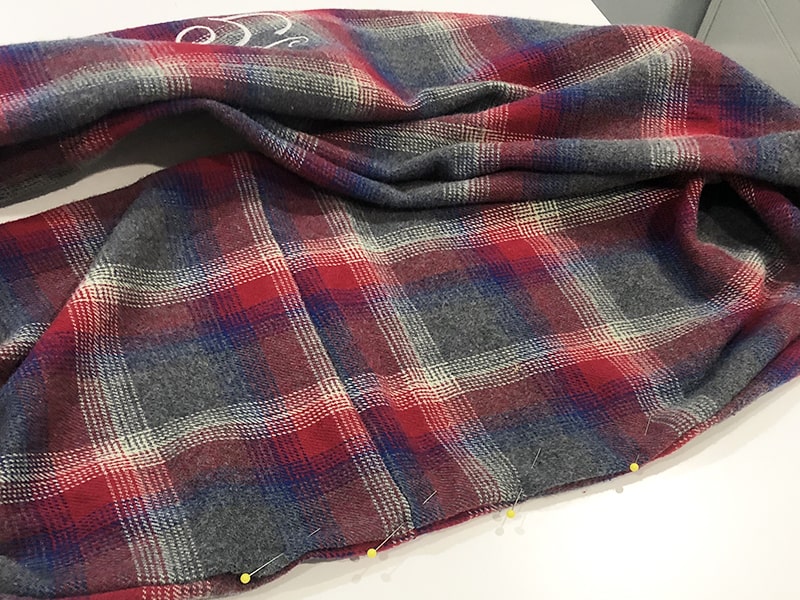
Fold the scarf in half to line up the long ends of the scarf. Pin together. Stitch this seam closing. But – start sewing about 6″ from the top and stop sewing about 6″ from the bottom.
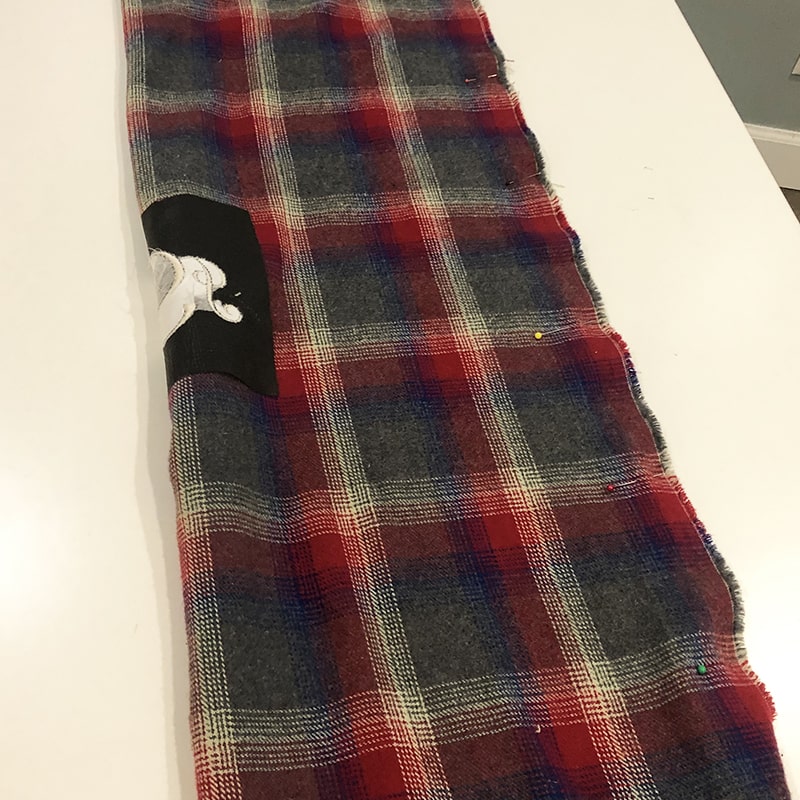
STEP 6: Stitch the short ends of the scarf together
Turn the scarf right side out and, with the right sides facing each other, pin the short ends together.
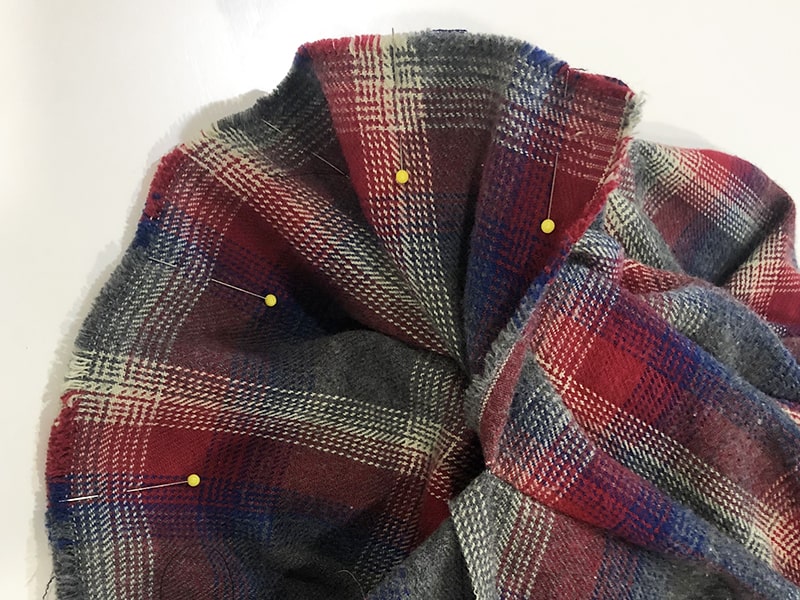
STEP 6: Slip stitch the hold closed
Finally – slip stitch the scarf opening closed.
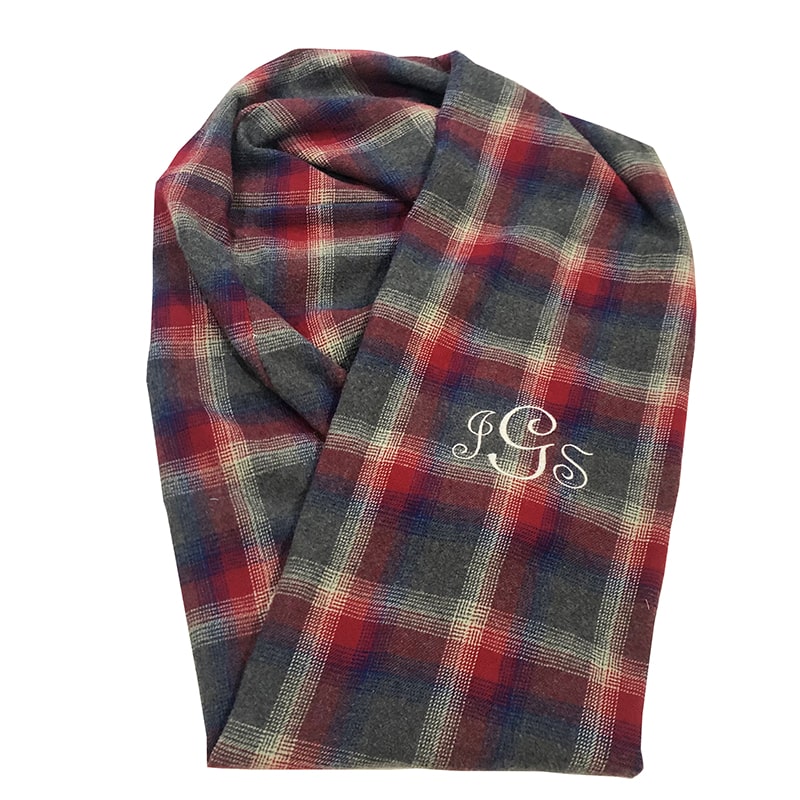
All done!
Just trim any strings and your scarf is done. See – I wasn’t kidding… this is a super easy project to make and personalize. Now the hard part – finding a sweater that matches. I actually got lucky and found a gorgeous slate grey cashmere cardigan at Nordstrom Rack. And I CANT WAIT for my mother-in-law to open her gift.
Want to remember this? Save “How to make a monogrammed infinity scarf” on your favorite Pinterest board
