Disclosure: Some of the links on this site are affiliate links. This means that if you click on them and make a purchase, I may earn a small commission at no extra cost to you. Please know that I only recommend products and services I trust and use myself.
It wasn’t long after I started using my embroidery machine that I recognized its potential as a labeling device. Back then, my kids were little and we had bins of toys and doodads everywhere. So, I started stitching out words on cloth and attaching them to the bins with glue or (eventually – after I realized the glue was destroying the bins) a metal ring. Little did I know that there was a vast array of pre-made in-the-hoop tags that I could download and stitch out on my embroidery machine that would have made my bins look a heck-of-a-lot nicer.
If you haven’t discovered the micro niche of in-the-hoop tags, get ready for your mind to be blown. There is a vast array of style for almost every purpose. And, in this post, I’ll show you how to make one.
Products mentioned in this post
- water soluble stabilizer
- interfacing
- thin (1/8″) ribbon
- cording
- clear vinyl
- metallic embroidery thread
- in-the-hoop gift tags *
- luggage tag – in-the-hoop
- message tags – in-the-hoop.
- “handmade with love” in-the-hoop tags
- jar label tags in-the-hoop
- dog tag in-the-hoop tag
- gift card in-the-hoop tags
- scalloped in-the-hoop tags
* Design used in this post.
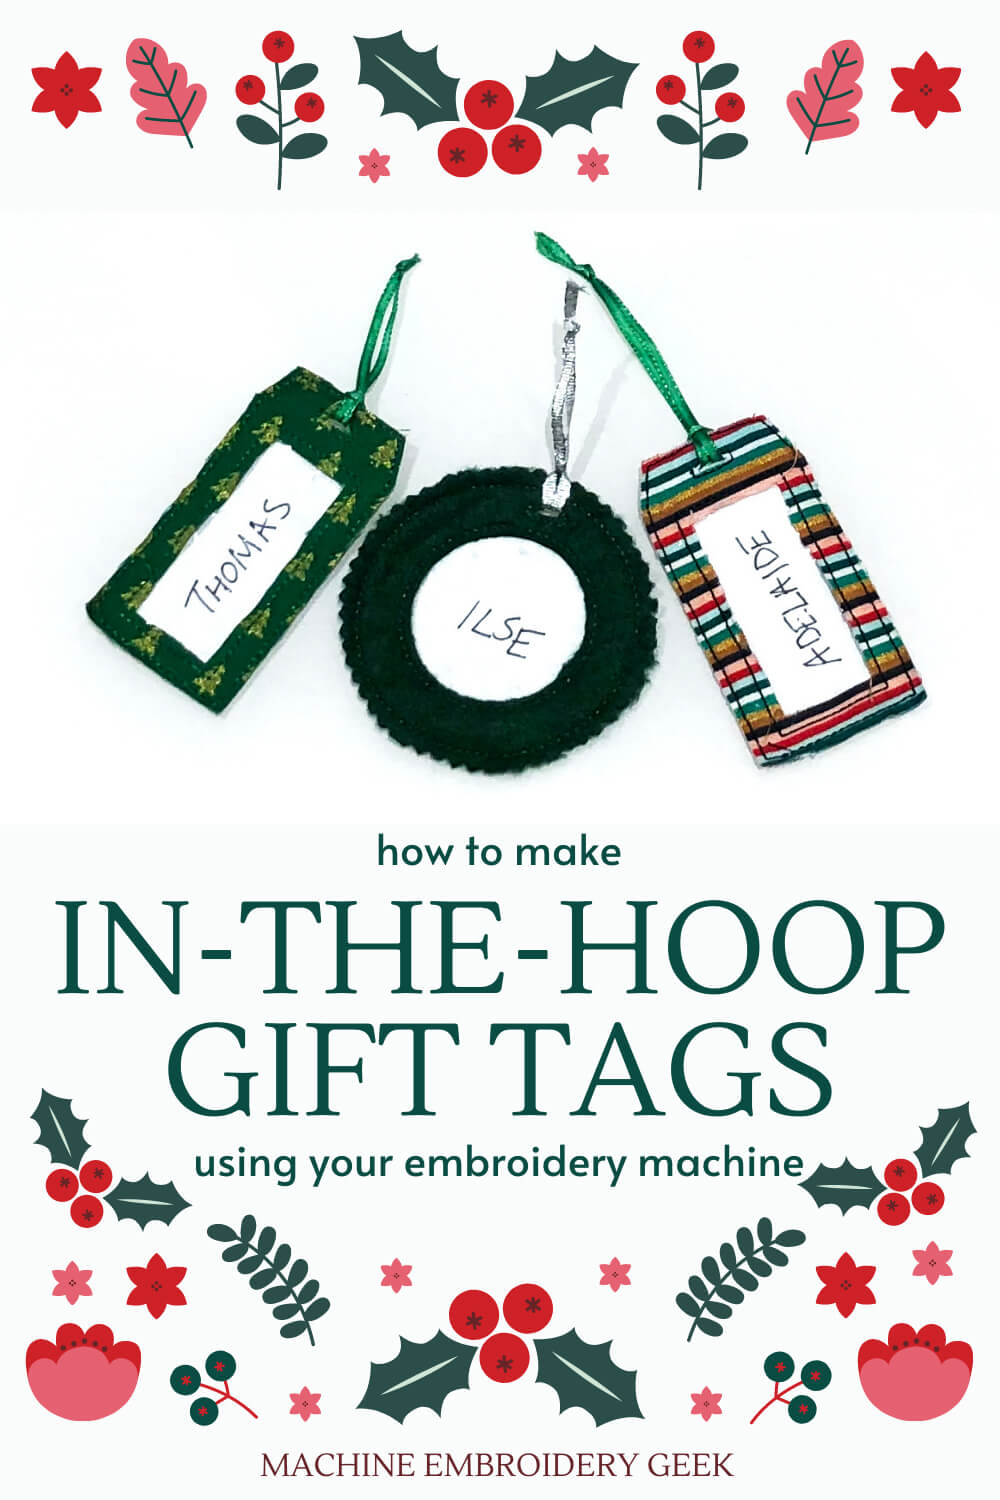
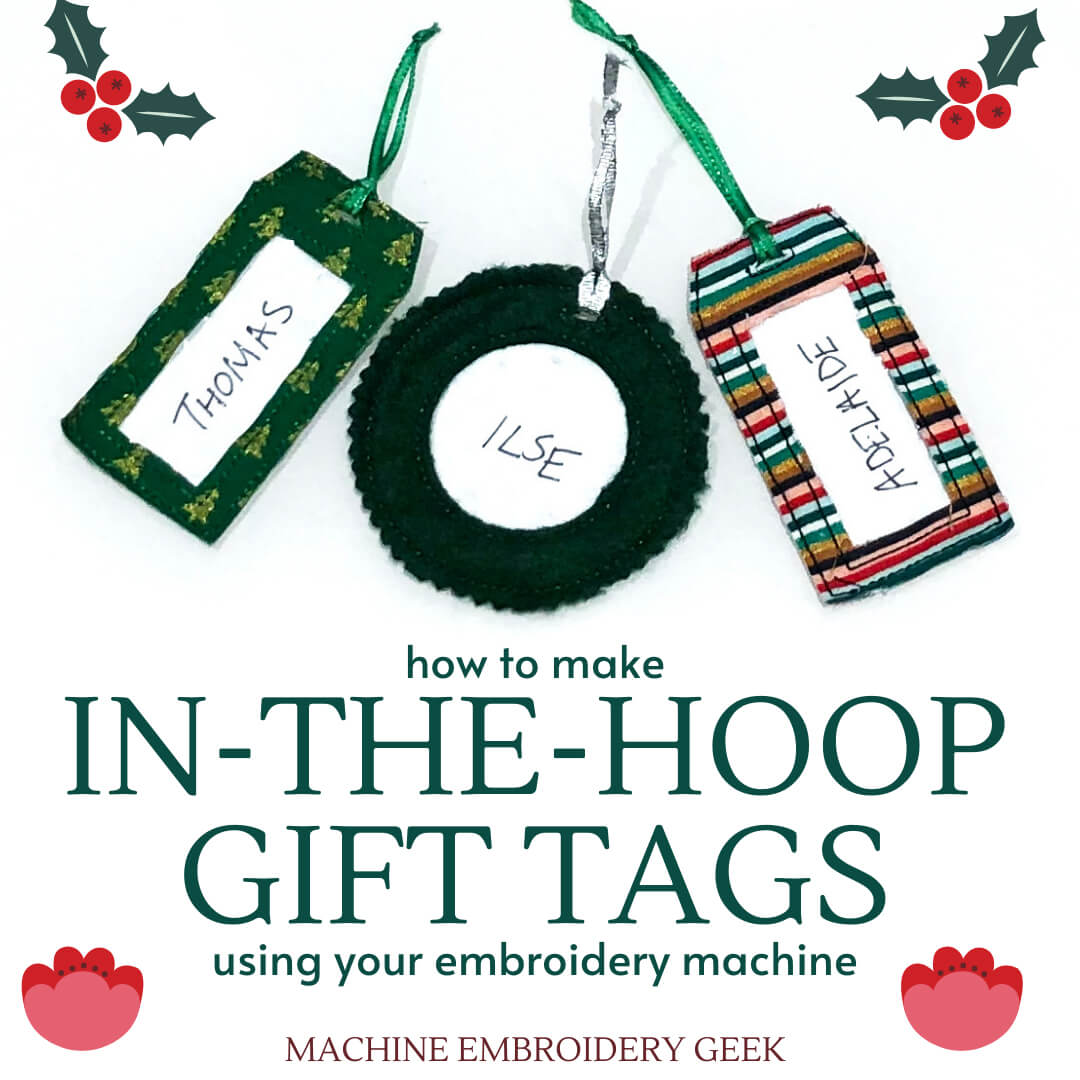
Tags are actually quite a popular in-the-hoop item, especially around the holidays when we are all exchanging so much stuff! One type of in-the-hoop tag that is particularly useful around the holiday is an in-the-hoop gift tag.
If you take pride in your gift wrapping, you are likely well aware of the fact that the gift tag is a crucial component for a classy wrapping job. There are several different styles of in the gift tags available to download and stitch out where are you simply embroider the name of the recipient on the tag. But, that to me seems like a lot of work for something that might just get thrown away.
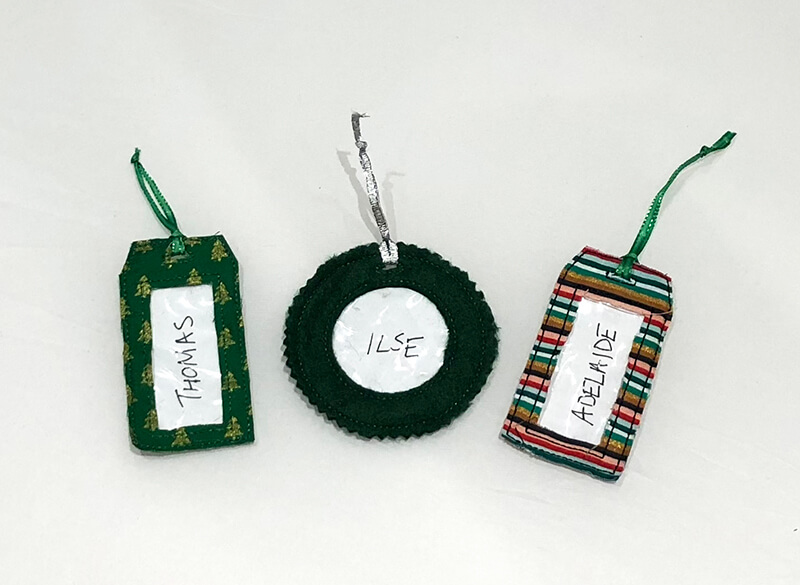
This is why I designed my in-the-hoop gift tag to be reusable. My version has an opening in the back where you can slide in the name of the recipient that you write out on a piece of paper which will allow you to reuse your gift tags year after year.
Ready to learn how to do it? Here we go!!!
How to make an in-the-hoop gift tag
Supplies
Water soluble stabilizer
Because this design has raw edges, I suggest using water soluble stabilizer so that you can wash it away when you are done and you don’t see the stabilizer along the edge of the tag.
Scrap fabric
In order to make these tags you will need about 8“ x 4“ of fabric cut into three pieces. You can use almost any type of fabric, keeping in mind that the edges of the tags are left raw.
Interfacing
if you want the tags to have a little bit more stiffness then fuse interfacing onto your fabric before putting it on your embroidery hoop.
Thin ribbon or cording
You will need some type of thin (1/8″) ribbon or cording to pull through your tag and attach it to your gift.
Clear vinyl
You will need a very small piece of clear vinyl to serve as the window for your gift tag.
Machine Embroidery Thread
You will make this entire project with embroidery thread – the color of your choice. I used some metallic embroidery thread which I thought gave my in-the-hoop gift tags a festive look.
Steps
Setting up
Before you get started you should first change your bobbin thread color to be the same as your top embroidery thread. This is because the back of your gift card tag will be visible, so you want the stitching on the back to look just as nice as the stitching on the front.
Cut your fabric into three pieces. Both pieces should be 4″ x 4.” Leave one alone but cut the other one into two pieces so that one is 4” x 2.5” and the other is 1.5” x 4”. On the two pieces of fabric you just cut, fold over a half inch of fabric along the line you just cut. The fabric should be folded over from the right side to the wrong side of the fabric. Press down this fold.
If you are working with a material like felt, there is no need to add the fold. This is just to create a finished edge look for a fabric that has a tendency to fray.
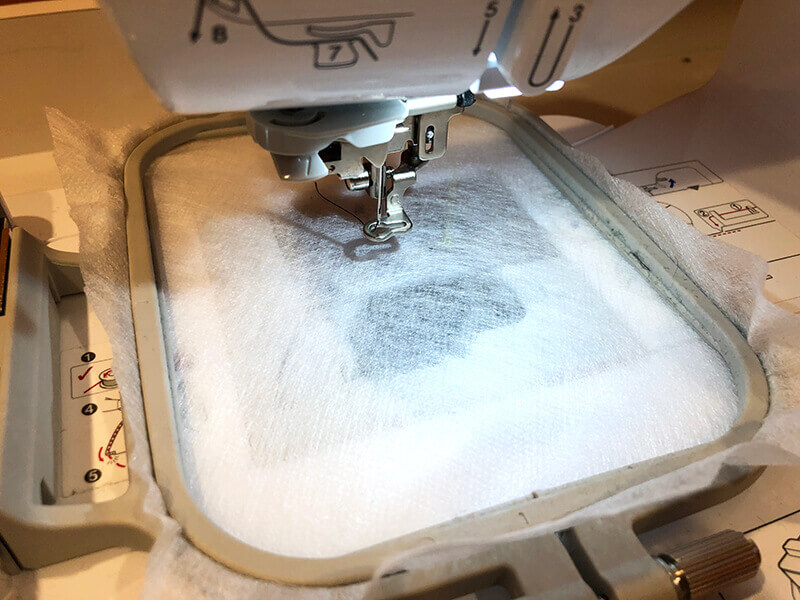
 Finally, hoop a piece of water soluble stabilizer very securely in your embroidery hoop.
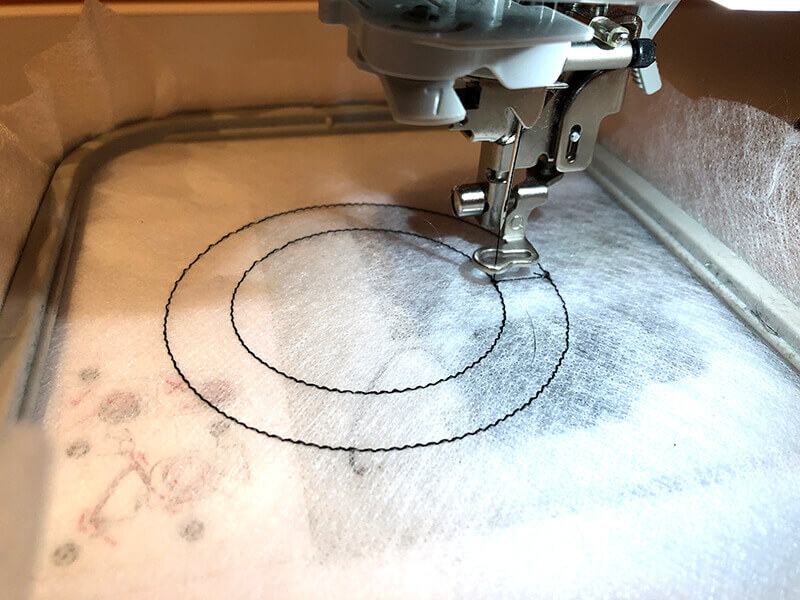
Start stitching out your design
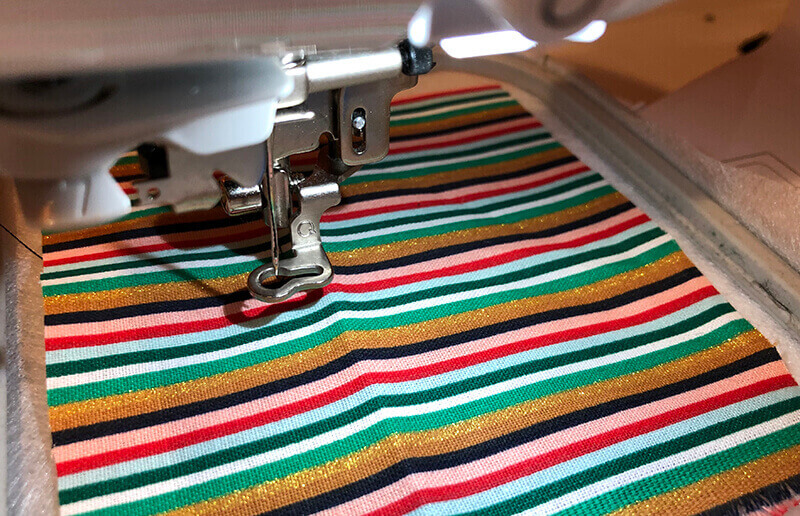
Load your file onto your embroidery machine and start stitching out the first thread color. This is your placement stitching for both your vinyl window and your tag front
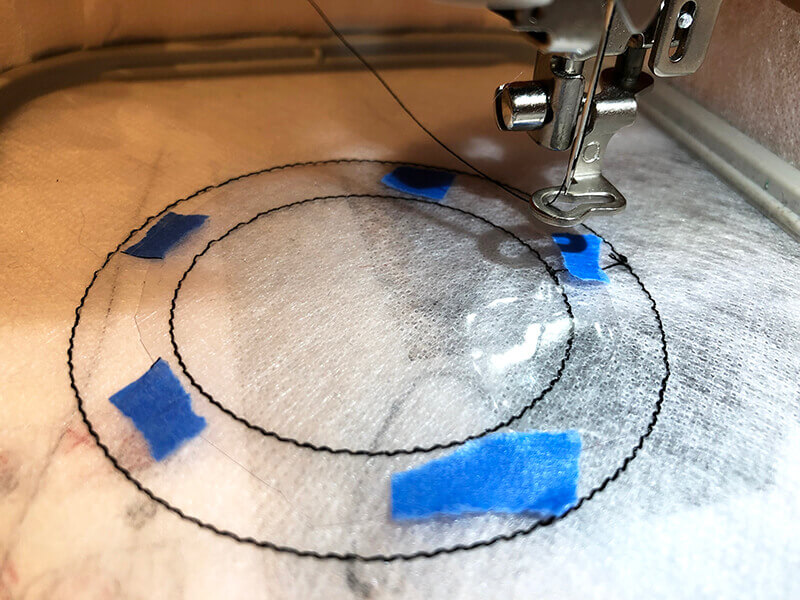
When your stitching is done, lay a small piece of vinyl over the inner rectangular (or circular) shape of your placement stitching. Make sure that the vinyl piece does not overlap the outer placement stitching line. Tape the vinyl in place with very small pieces of tape that don’t extend beyond the outer placement stitching line.
Lay a piece of fabric over the entire placement stitching area.
Now you are ready to start stitching out the next thread color. Your embroidery machine will stitch out a rectangle (or a circle depending on which version of the design you are using) which will tack down both the fabric and the vinyl shape.
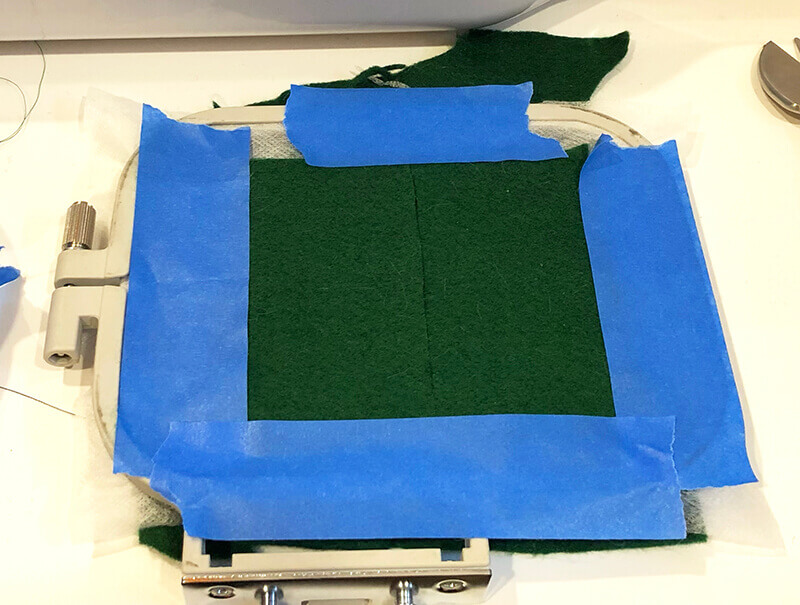
Remove the embroidery hoop from your embroidery machine and tape The two pieces of fabric onto the back of the stabilizer. Positioning these pieces of fabric is key. You want to keep the two folded over edges touching each other but you want to position the spot where they come together high up on the tag. Ideally these two pieces should come together right at the spot where the tag tapers from a rectangle to a quadrilateral or in the top quadrant of the circle.
Tape the fabric in place around the outside edges.
Return the embroidery hoop to the embroidery machine and start stitching out your next thread color. When this is complete you, you are ready to remove the embroidery hoop from the embroidery machine.
Finishing the tag
Cut out the tag completely around the outside line stitch line. Now you need to cut away the fabric that is obscuring the vinyl window. This can be a little tricky as you only want to cut the fabric and not the vinyl. I suggest using a seam ripper to make a tiny cut in that top layer of fabric over the vinyl window which will allow you to get your appliqué scissors into that hole and cut away that fabric.
The last cutting you need to do is to make a small slit inside of the button hole shape at the top of the tag.
Cut a piece of ribbon recording about 6 inches in length. Fold it together and feed the two ends through the buttonhole slip front to back. Don’t pull the ribbon all the way through. Hold onto the folded end, then go back through the ribbon loop and pull it tight. Now, tie a knot around the two ends of the ribbon to create a loop.
You will see that the water soluble stabilizer is completely obscuring the vinyl window. So you just need to soak your little tag and let it dry.
All you have to do now is cut a little piece of paper slightly larger than the vinyl window and write who the gift is to. Then, you can slide the little piece of paper into the tag using the opening you left in the back.
And now you are done.
If you think this seems like too much work for a little gift tag, you can also use this as a luggage tag and simply write your name address phone number and email on that little piece of paper. This is why I set up this file to be a little bit larger so that you could also use this pattern as a luggage tag and have enough room to write all of your information out on the little piece of paper.
Well I believe this is quite a useful little tag, it’s not the only in the hoop tag on the market. In fact there is quite a very wide variety of in the hoop tags you can make up for different purposes.
There are a lot of different styles of in-the-hoop tags you can make on your embroidery machine for many different uses. Here are some of the different styles available for you to download and stitch out.
In-the-hoop luggage tag
Wow! This is probably the most elegant in-the-hoop luggage tag that I’ve ever seen. Adding a monogram on the back elevates it even more.
In-the-hoop message tag
Attach any sentiment to a gift with these little in-the-hoop message tags. Want to tell someone thank you with a gift? Well – there’s a in-the-hoop tag for that. Need to say “Get well soon?” Well, there’s a tag for that as well. With the price of greeting cards costing a few bucks – you’re much better off delivering your message with an in-the-hoop message tag.
Handmade with love in-the-hoop tag
If you took the time to make something, make sure you tag it. Stitch out a bunch of these in-the-hoop “handmade with love” tags to iron or sew in everything you create.
Jar label in-the-hoop tag
Give your canning some style while marking the contents and year with these in-the-hoop jar label tags.
Since dogs can’t say their names, they definitely need a tag so that they can be identified if they are ever lost. You can can stitch out this in-the-hoop dog tag with the dog’s name and clip it on your dog’s collar or just clip it to your own keychain to remind you of your pup.
If you like to add a little gift card on top of a gift, then you might like these in-the-hoop gift card tags. They tie onto anything and snuggly cradle a gift card. The Christmas tree design makes them perfect for the holidays.
You really could use these in-the-hoop scalloped tags for anything. But they sure make identifying a bag or a backpack easy when they are tied around the handle.
I hope that I have inspired you to make some in-the-hoop tags. Who knows what you will tag next!
xo
Julie