Disclosure: Some of the links on this site are affiliate links. This means that if you click on them and make a purchase, I may earn a small commission at no extra cost to you. Please know that I only recommend products and services I trust and use myself.
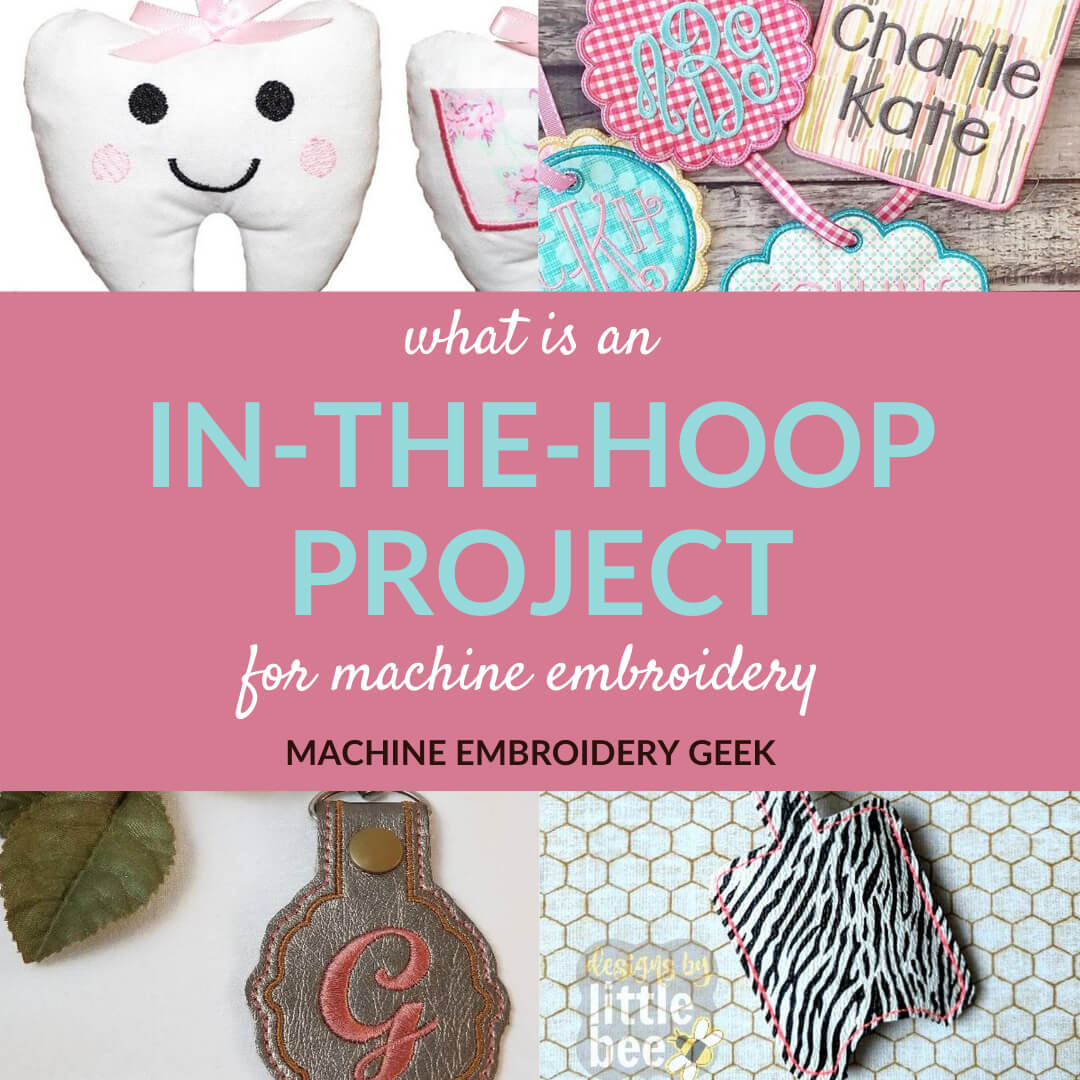
It wasn’t long after I started regularly using my embroidery machine that I started hearing about in-the-hoop projects (or ITH for short). To be honest, I had no idea what they were talking about. Isn’t everything you do with machine embroidery in the hoop? What is an in-the-hoop embroidery project, I wondered.
To better describe what an in-the-hoop project actually is, it helps to explain what it’s not. When you embroider or appliqué an item, you are applying some type of surface decoration to that item using your embroidery machine. In the case of appliqué, you are attaching another piece of fabric to your base fabric. But nonetheless, you are still embellishing an item using your embroidery machine.
[do_widget id=custom_html-5]
In-the-hoop projects (also referred to as ITH projects) are different from regular embroidery and appliqué because you are actually making the complete project from scratch. In-the-hoop projects generally require you to add material/notions at different points, but you should never have to unhook or rehoop. So, the backing may be placed on top of the stitched design then stitched in place and the design turned right side out after removal. Or, the backing may be applied to the back of the stitched design and a satin stitch run around the design to secure it.
Some in-the-hoop items may need more than one hooping, for example, if the back and front are quilted. You would get one part ready, then remove it from the hoop, then start the next bit in the hoop, and finally adding your first part to it
Products mentioned in this post
- In-the-hoop designs
- Personalized banner – FREE
- Koozie closer – FREE
- Key fob – FREE
- Napkin rings – FREE
- Heart Earbud holder
- Modern coasters
- Letter banner
- Adorable tags
- Hand sanitizer holder
- Elegant in-the-hoop key fob
- Play food felties
- Chapstick holder
- Tooth stuffie
- E-book and in-the-hoop file set: “In-the-hoop for the Holidays”
Why do people love in-the-hoop embroidery projects?
Ok – no – I haven’t polled every embroidery machine owner to see how they feel about in-the-hoop projects. But it’s pretty telling when you find Facebook groups called “Totally Addicted to In-the-hoop.” Clearly, a lot of machine embroidery machine owners clearly like to make items in-the hoop.
My guess is the satisfaction of creating something from nothing is what appeals to many. Also, there are no patterns to trace and cut out. And the stitching is always consistent. Just follow the steps and the project will turn out just fine. I find that the more I make one particular in-the-hoop project, the less I have to think to make subsequent ones.
What embroidery hoop size is needed for in-the-hoop projects?
When it comes to making items in-the-hoop, generally, a bigger embroidery hoop is better that a small one. For example, you can only stitch out these in-the-hoop wine bags with an embroidery hoop with at least an 8″ x 12″ hoop. but there are still some in-the-hoop projects that can be made with a 4″ x 4″ embroidery
Are there free in the hoop embroidery designs?
Yes, several sites offer free in-the-hoop designs. Check out:
For a more comprehensive list, see free in-the-hoop embroidery designs.
Free in-the-hoop designs come and go. In fact, just a quick search on Pinterest of articles advertising free designs led me to a lot of 404 errors. Sites may offer a design for free for a while and then take it away. So, it’s a good idea to subscribe to these site’s associated Facebook groups and e-mail lists to be notified when a new free design is released. Then download it and add it to your collection. It’s not difficult to find free in-the-hoop designs. Just start Googling! You may be surprised by what you can find for free.
I actually offer a few free in-the-hoop designs in the resource library of this site. Check out my previous posts that include free ITH designs:
What are some easy in-the-hoop embroidery projects that can be made with a smaller embroidery hoop?
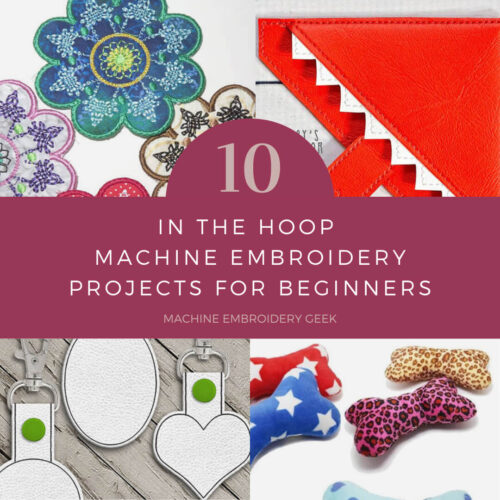
If you are a bit nervous about jumping onto the in-the-hoop bandwagon, it’s a good idea to start with some of the simpler in-the-hoop projects. Here are 10 (actually maybe 11) EASY in-the-hoop projects that are great for newbies.
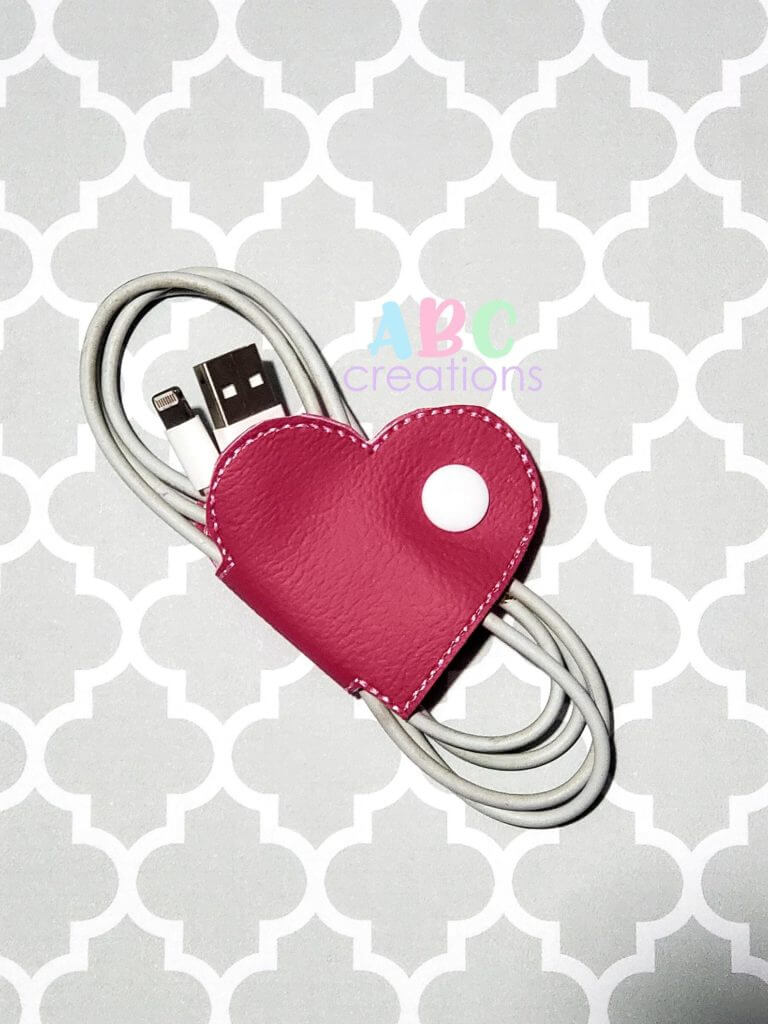
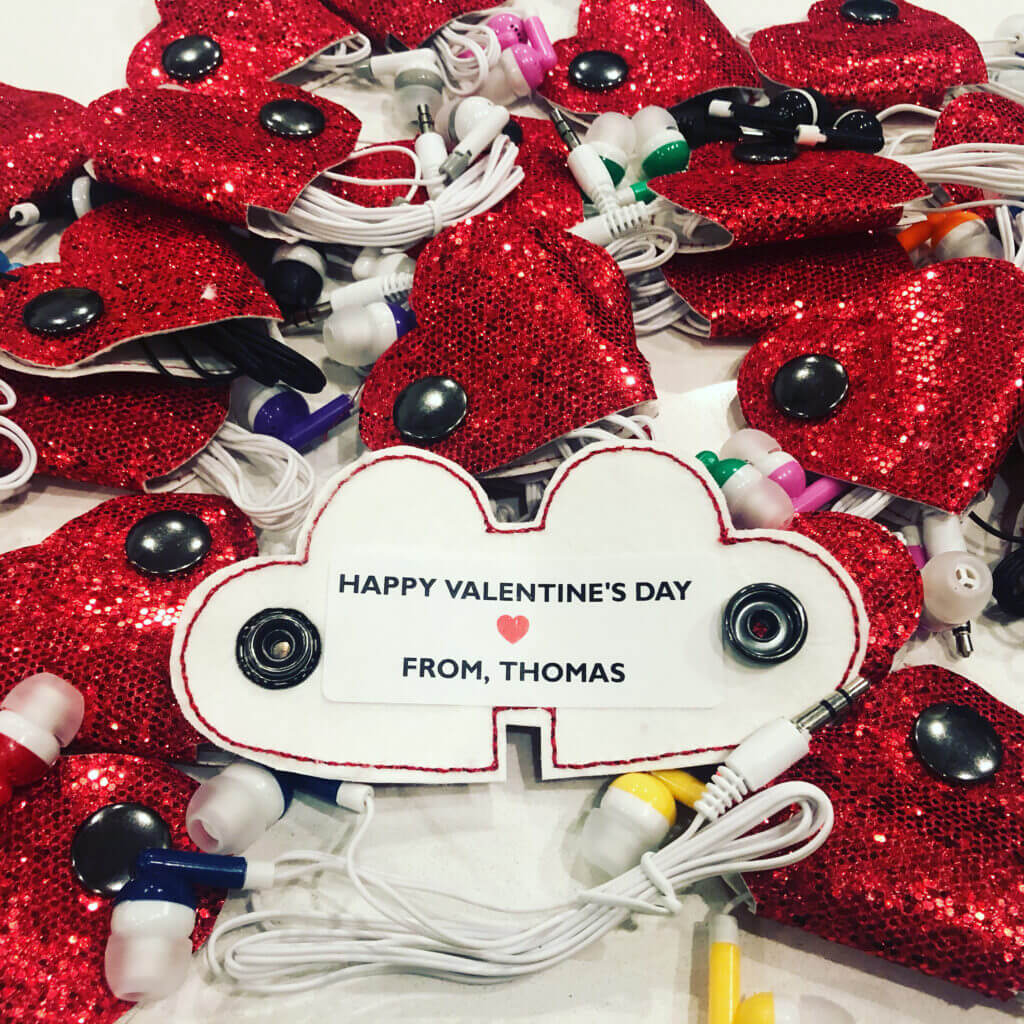
Earbud holders
Earbuds are becoming an essential school supply. But they can easily get tangled and lost. Earbud holders neatly secure them in place and make them easier to find inside of a purse or backpack. Earbud holders are also a super simple in-the-hoop projects.
Back in February, I stitched out 20-something earbud holders as Valentine’s Day cards for my son’s class. They were a total hit and a super easy in-the-hoop project. I got the earbud holder ITH design from ABC Creations which has tons of other in-the-hoop earbud holders in addition to the heart-shaped one I used.
Coasters
It doesn’t get much easier than this. Coasters are usually pretty simple squares and circles, and they are flat. So, it doesn’t require much manipulation on your embroidery hoop to stitch some of these out. I especially like the modern coasters from Five Star Fonts. And guess what? They are sized PERFECTLY to be stitched out in a 4″ x 4″ embroidery hoop.
Banner
Again – a banner is flat like a coaster so it’s super easy to stitch out. Albeit, if you want to spell out anything with your banner, it’s going to be quite a bit of stitching. I love these simple ITH banner-ready letters that are designed to be strung with a ribbon to make a banner from Abigail Michelle. Each banner letter comes in a bunch of different sizes, including a small one that will fit in a 4″ x 4″ hoop.

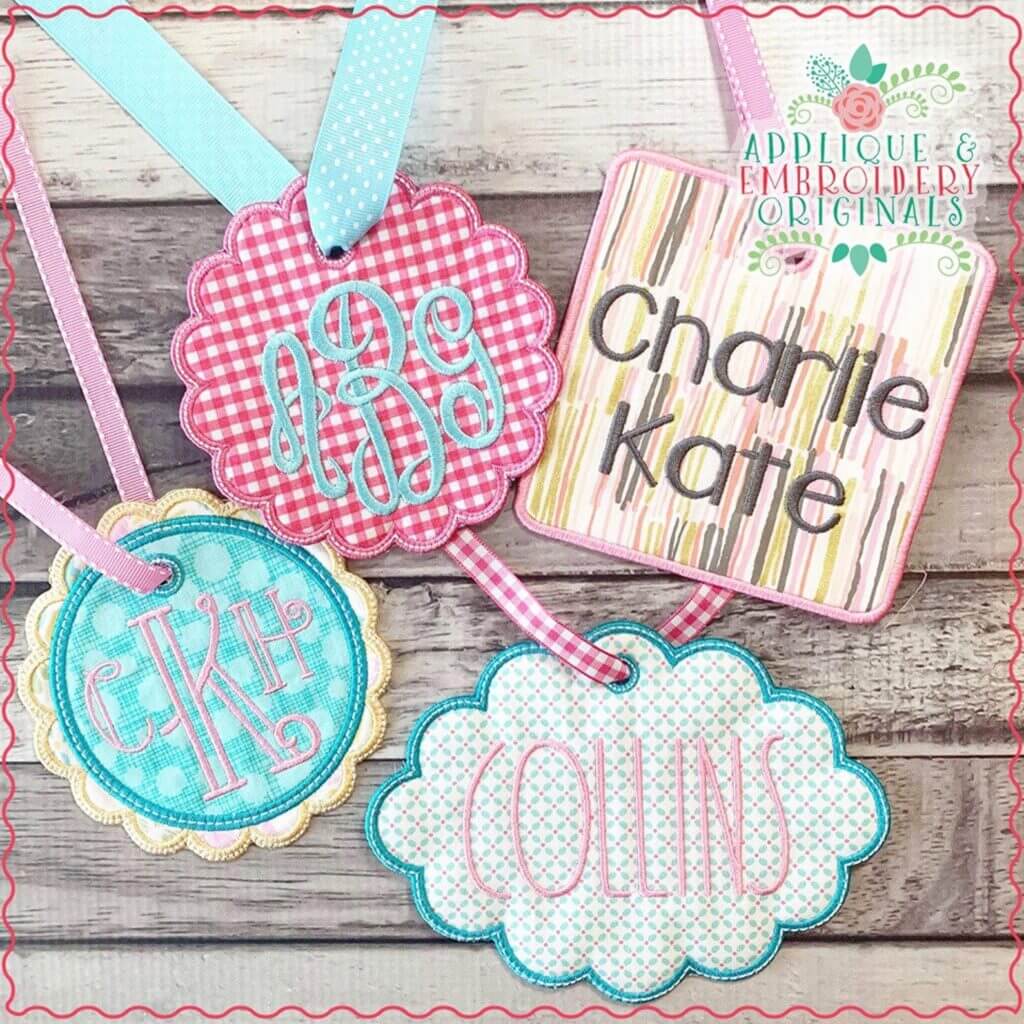
Want to glam up your suitcase and make it a lot easier to identify? Then check out these adorable tags from Appliqué and Embroidery Originals. This in-the-hoop tag design set is comprised of a few different tag shapes and styles. (You can also buy them separately.) And (once again) because the item is totally flat, it’s easy for even a beginner to do this project.
Hand sanitizer holder
Here’s an in-the-hoop project that’s super useful: a hand sanitizer holder. This particular ITH hand sanitizer design from Designs by Little Bee is blank which allows you to add any name or monogram onto the holder. It also is designed to snap over a clip that can attach to a purse or a backpack. There’s even a version you can stitch out in a 4″ x 4″ embroidery hoop.
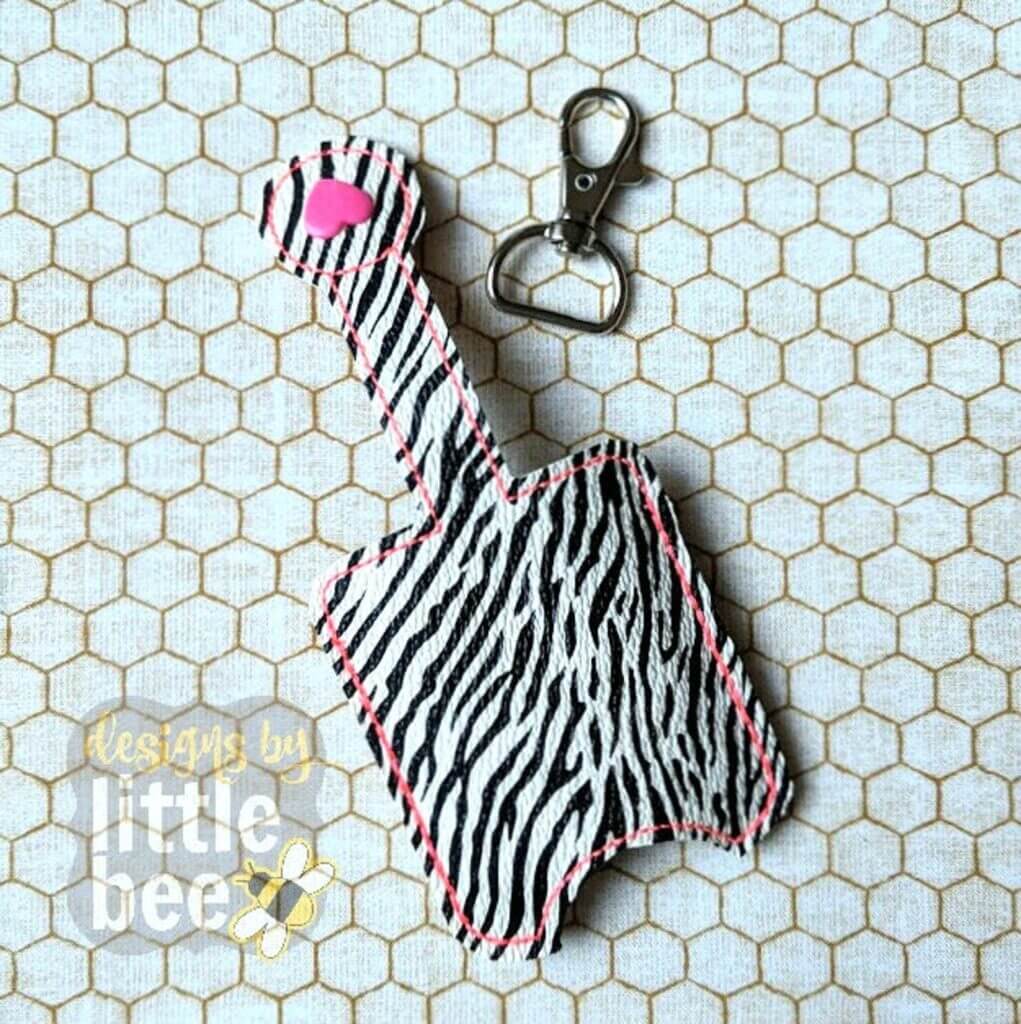
Designs by Little Bee owner, Melissa, offers some tips on stitching out these in-the-hoop hand sanitizer holders.
What material to use
[My in-the-hoop hand sanitizer holder] can be made with any non-fraying fabric. The best is upholstery weight vinyl, such as marine vinyl. I started with the basic colors from Joann Fabric on the large rolls in the home decor department. They will sell by the inch, and there is always a coupon available. I have also gone to a local upholstery shop and asked for scraps. They will often sell or give them to you.
Where to find vinyls for in-the-hoop projects
Since snap tab key fobs, lip balm holders, and hand sanitizer holders have become popular, many sellers have begun to sell adorable print vinyls. If you search “embroidery vinyl” or “faux leather fabric”, you will find LOTS!! Some of the printed vinyls are very stiff (not buttery soft like most are), and they do not work well for pockets, as they tend to perforate along the stitch line. If I want to use one of those, I will use it on the front of the sanitizer holder, then use a softer, more flexible vinyl for the pocket. Some great sites for finding printed and glitter vinyls are right here on Etsy, hudsontextiles.com, mypunkbroidery.com, glitterbugfairy.com, tccraftlady.com. What you want to avoid are the vinyls used with cutting machines for decals and heat transfer.
Where to find snaps for in-the-hoop projects
The best snaps for the snap tab versions are made by KamSnaps (kamsnaps.com or ilikebigbuttons.com are the best places to get them). They have three tools for applying the snaps: a hand press, a heavy table press, and something that is between the two – I think it’s called a professional press, or something! Sometimes, with the hand press, it is hard to get a good attachment with two layers of thick vinyl. Some people choose the long prong snaps when using the hand pliers. I have never bought long ones – I always use the regular length, but I have a table press.
Where to learn more…
Our friend, Eve Lowry, has created the BEST video tutorial, which may include some other great tips!
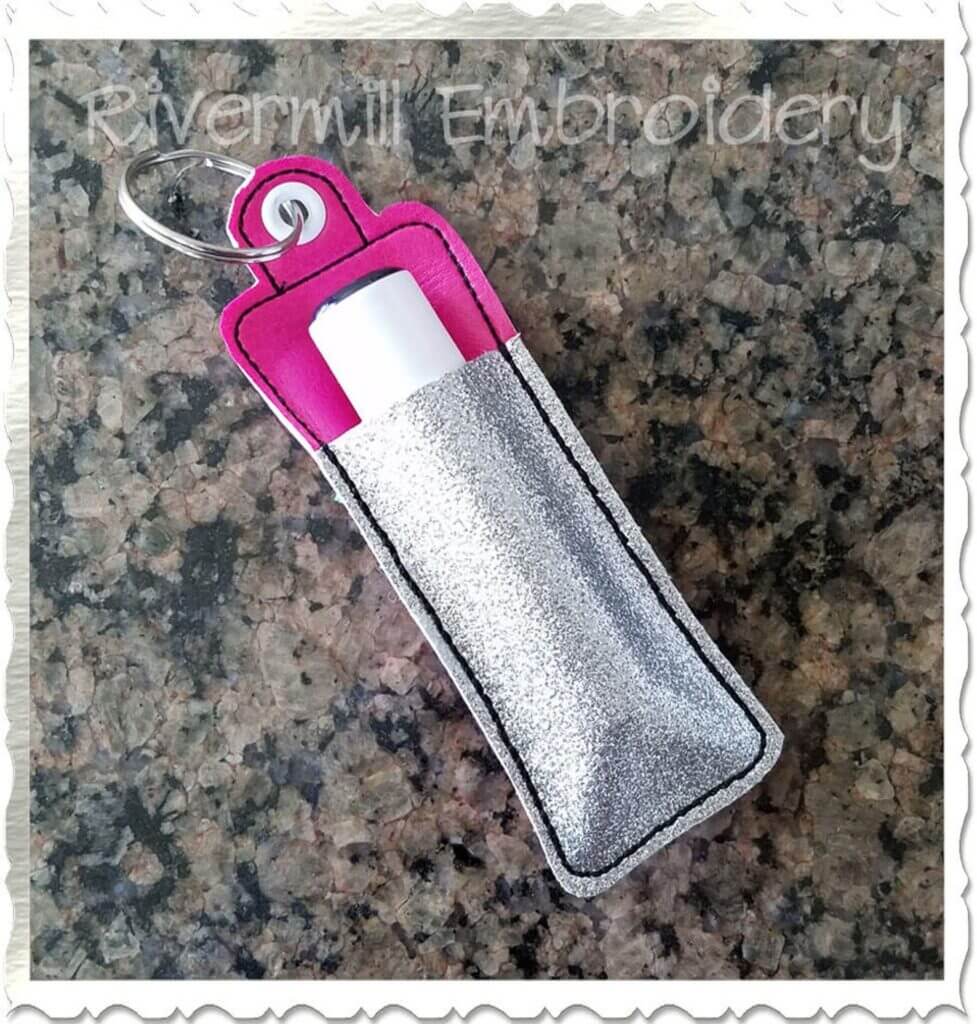
Chapstick holder
Remember the days before we became obsessed with hand sanitizer? We carried around chapstick as well! This very simple ITH chapstick holder from Rivermill Embroidery is designed to be attached to a key ring, so it goes everywhere you do. The aforementioned tips for stitching out the hand sanitizer holder would definitely apply to this in-the-hoop project as well.
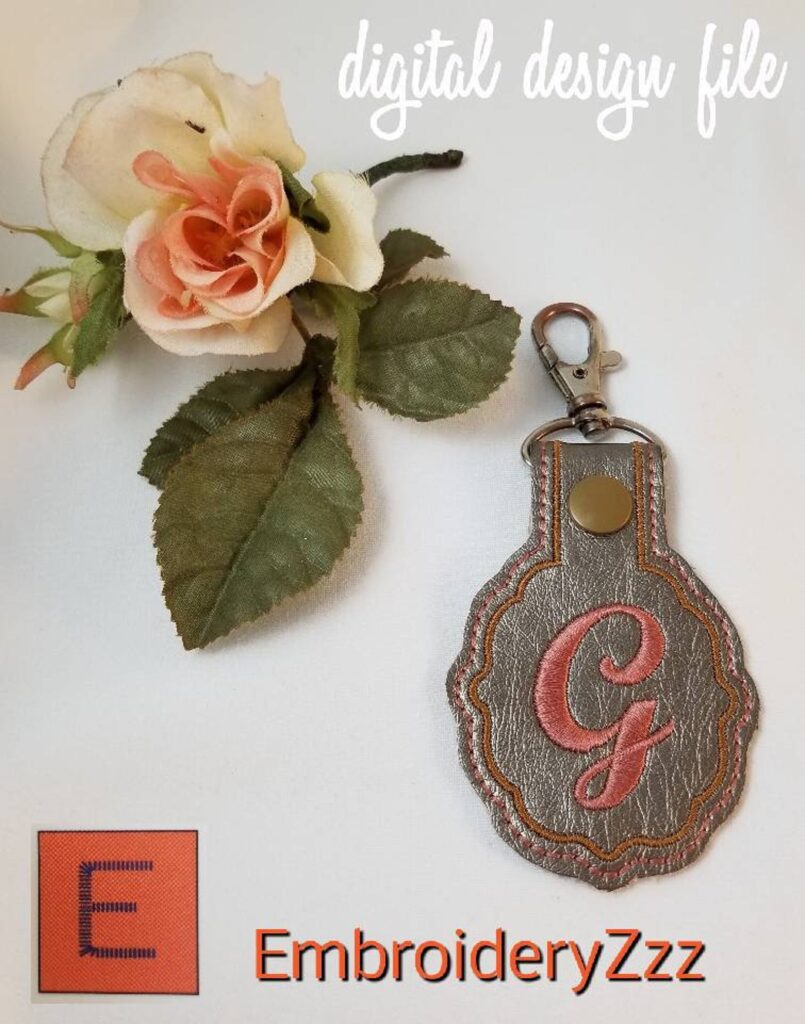
Key fobs
If you want to make a more grown-up key fob personalized for someone special – or yourself – check out this sophisticated in-the-hoop key fob from Embroidery ZZZ. It’s really a great project for a beginner because it’s only comprised of a bit of stitching, cutting and installing some hardware: a snap and a keyring clip.
Want to try this design: Embroidery ZZZ is offering you 50% off of this and any other in-the hoop snap tab design. Just use the promo code: EMBROIDERYGEEK to get the 50% off.
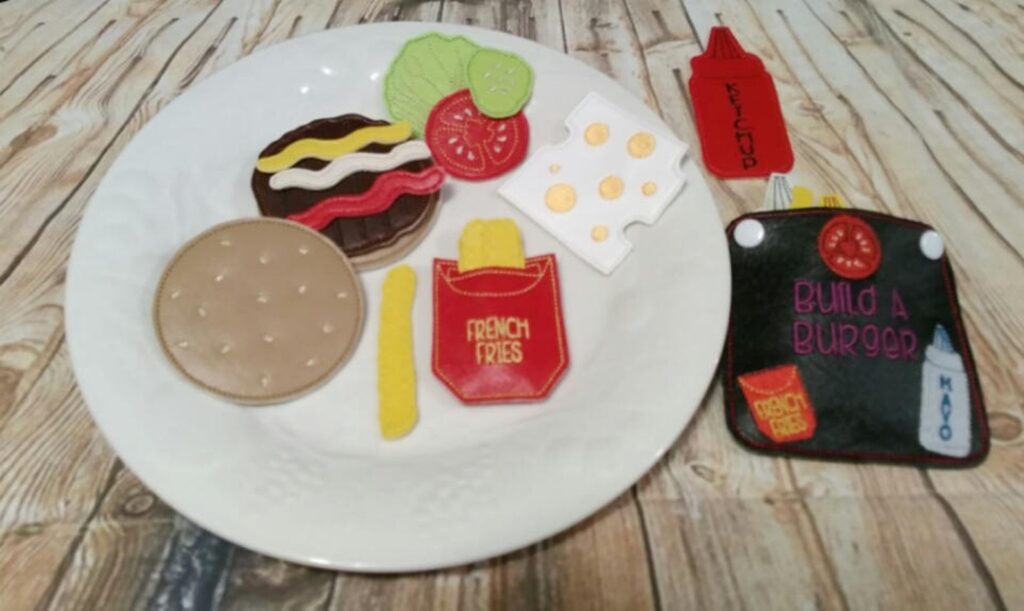
Felties
When I first heard about and saw in-the-hoop “felties”, I really didn’t get the point. Then I discovered some pretend items made as felties and I got it. How fun is this? You can make a whole play meal out of these in-the-hoop play food felties from Nanas Homemade Baby.
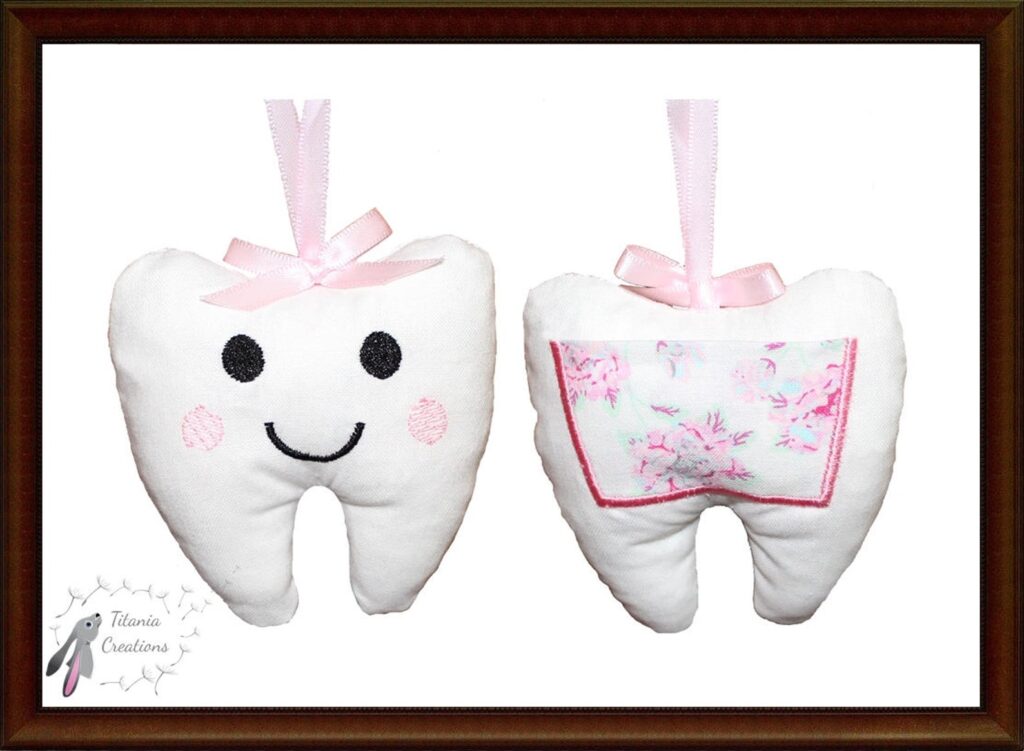
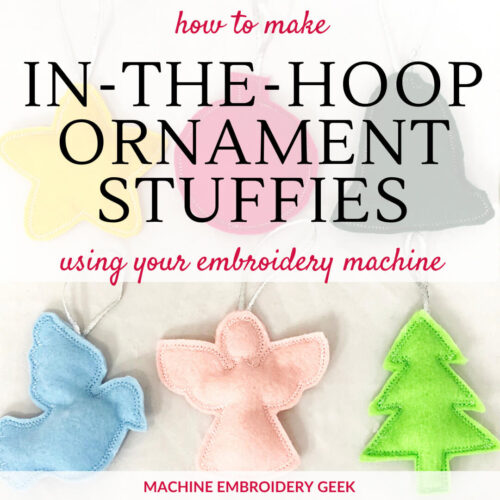
Stuffies
Very similar to in-the-hoop felties are in-the-hoop stuffies! They are just two layers of felt or some other soft material filled with stuffing. Of course the stuffing part happens after you take the project out of the hoop. I really like this tooth stuffie from Titiana Creations because it has a real purpose. (Ok – do I sound like a mom who recently purged all the stuffed creatures out of her house?)
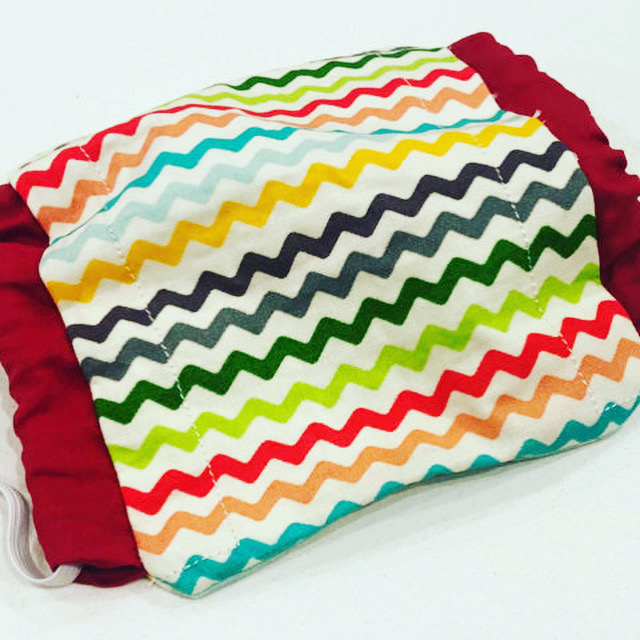
Masks
Right now, you need to stash a mask just about everywhere. Sad, but true. Fortunately you can whip these out in-the-hoop. You can read more about the in-the-hoop mask that I made, and some of the in-the-hoop mask patterns available. Although you will likely need at least a 5″ x 7″ embroidery hoop, I found the project to be rather simple.
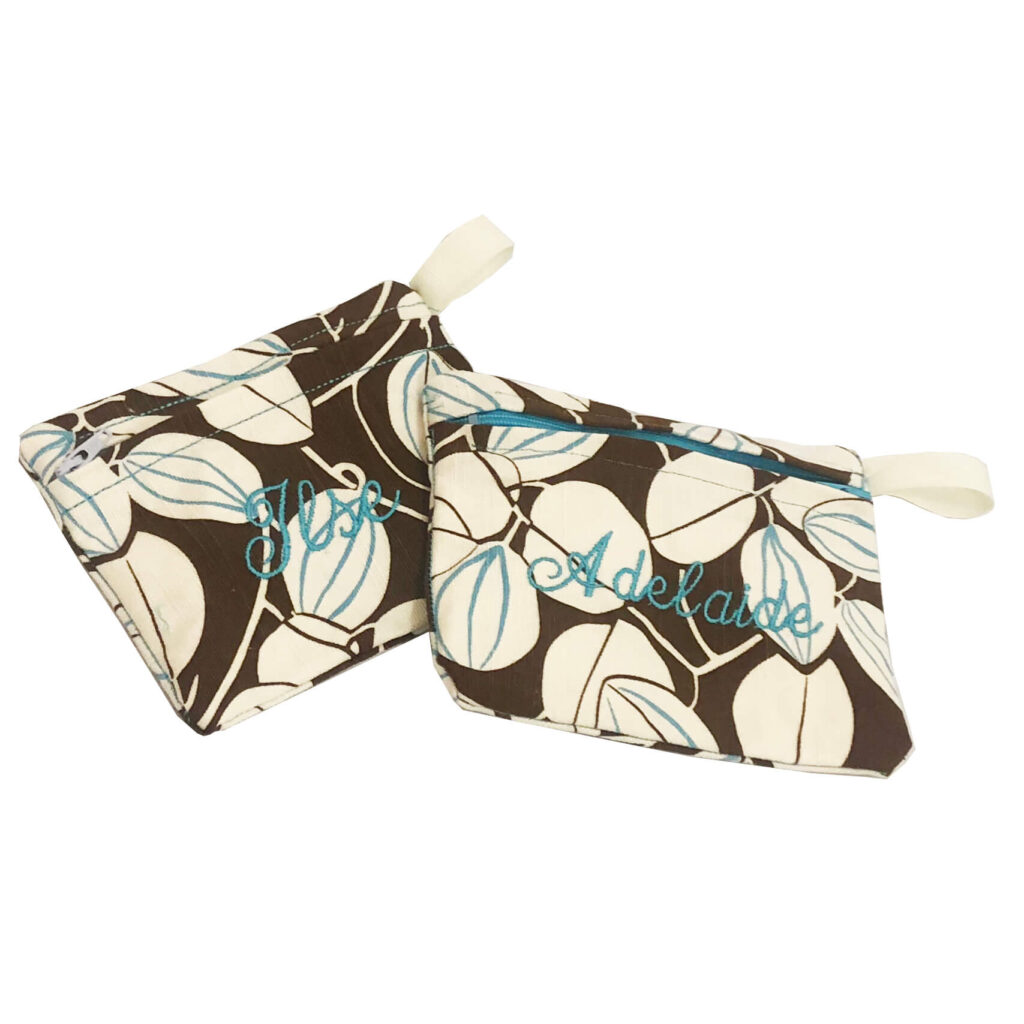
Pouches
Ok – I’ll admit we are getting into a bit more complicated territory when it comes to in-the-hoop pouches. The reason why? The zipper. You have to be careful where you place that zipper because if you try to sew over one of the hard, metal ends, you will break a needle for sure. Check out my recent post on how to make an in-the-hoop pouch.
Frequently asked questions about in-the-hoop projects
Can you do in-the-hoop projects in a 4″ x 4″ hoop?
Yes! But there are many in-the-hoop projects that will fit into this small embroidery hoop, including keychains, hand sanitizer holders, bookmarks, earbud holders and more.
What type of stabilizer do you use for an in-the-hoop project?
It depends. If the stabilizer is not hidden when the project is done, then you would use a water-soluble stabilizer. The instructions that come with the in-the-hoop project will advise you.
What type of bobbin thread do you use for an in-the-hoop project?
It depends. If the bobbin thread will show, then you should match your bobbin thread to your top thread.
Ready to give an in-the-hoop embroidery project it a try?
So – there you have it – what exactly an in-the-hoop project is. If you are ready to try it, check out these in-the-hoop projects specifically geared towards beginners.
And – if you happen to be reading this around the holidays, check out these fun in-the-hoop Christmas ornaments. and these AMAZING in-the-hoop toys and games you can make on your embroidery machine. I’ve actually designed a set of in-the-hoop projects specifically for Christmas. Check out my e-book and file set: “In-the-hoop for the Holidays.”
But if it happens to be coming up on Halloween, check out these crazy in-the-hoop Halloween costume accessories.
See? In-the-hoop projects are really fun and satisfying. Watch out – you may even get addicted! I wish you luck in this new, fun endeavor.
XO
Julie
[do_widget id=custom_html-10]
[do_widget id=custom_html-9]
Want to remember this? Save “What is an in-the-hoop project” on your favorite Pinterest board
Coin purses? You betcha I use them! It’s so convenient to keep extra change (even bills) in a coin purse at your work desk in a drawer for munchies time; you can stash it easily in your evening bag when out on the town; throw one in your car for extra change in the drive-thru; store lip balm, safety pins, lipstick, small nail file, dental floss, anything small in one inside your purse. …oh, the list goes on! Once you make an ITH project, you’ll be hooked!
Ok ok… you are right.
Pingback: How one can make an in-the-hoop Easter egg -