Make a wine bag with your embroidery machine
This site contains affiliate links to products. We may receive a commission for purchases made through these links.
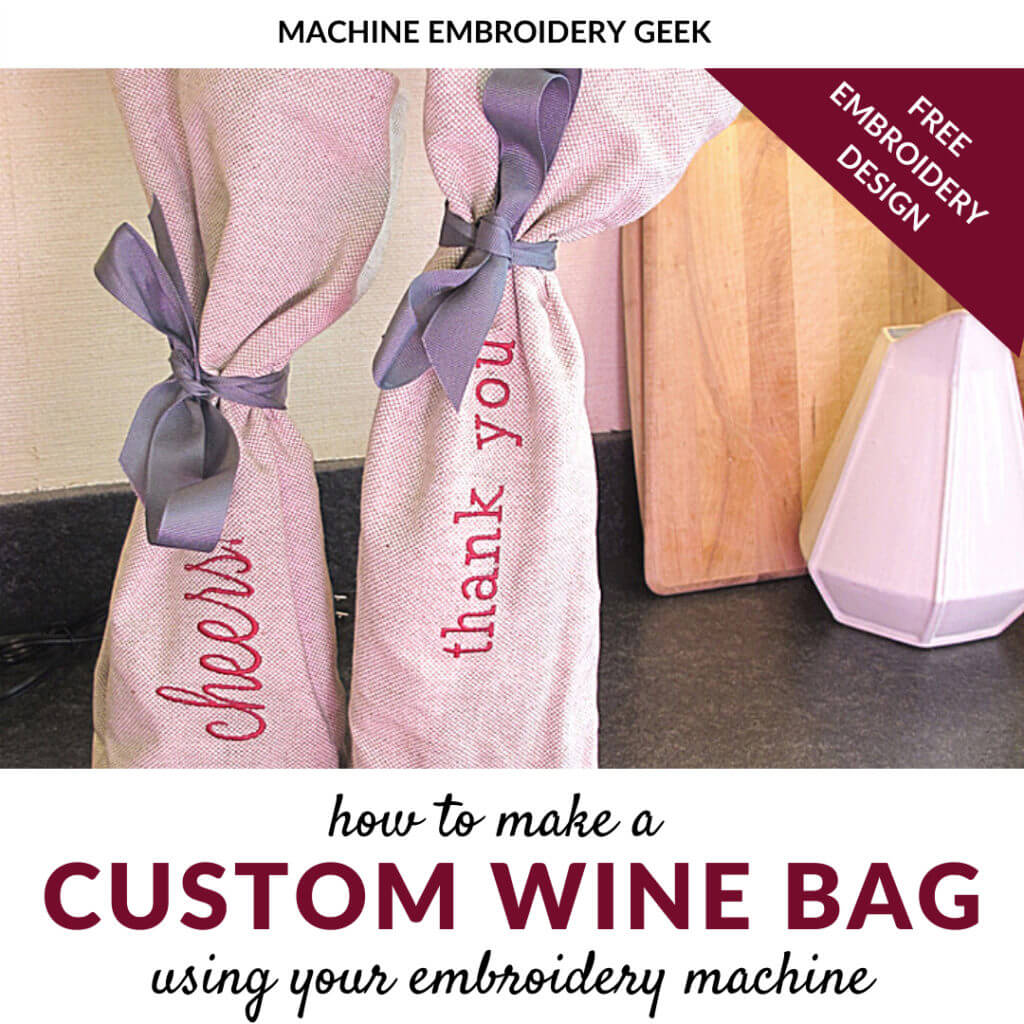
Quite often my friends come up with projects for me to make on my sewing and embroidery machines. One of the latest? Wine bags. One of my friends pointed me in the direction of a site that sold adorable wine bags with celebratory messages printed down the front. And then she informed me “you could totally make these on your embroidery machine, but obviously much, much cuter.” Challenge accepted. Since I had an impending graduation party (for another friend who had recently completed her PhD), I had the perfect opportunity to make a wine bag embroidered with an appropriate congratulatory message.
Why make a wine bag?
If you are wondering, “why bother making a wine bag?” allow me to make my case. A wine bag actually serves a few purposes. First, it protects the bottle. The last thing you want to happen when you are hustling off to a party is for the wine to break and spill all over your car. Even with the amazing Wine Away – red wine is not fun to clean up.
A wine bag can also make transporting the wine a bit easier. Holding onto a a few bag handles is a lot easier than juggling bottles in your arm, especially if you are using them to carry a casserole, dessert, child, etc…
And, finally, a wine bag can help inform your host who brought the wine. Ok – call me petty – but I hate walking into a party, setting down the bottle I brought for the host somewhere, and not having them know that I contributed in some way. I do want them to see that I have some manners. With a bag, you can tuck a card inside, or you can even personalize an entire message on the bag. The host definitely will not miss that!
Can you make one in the hoop?
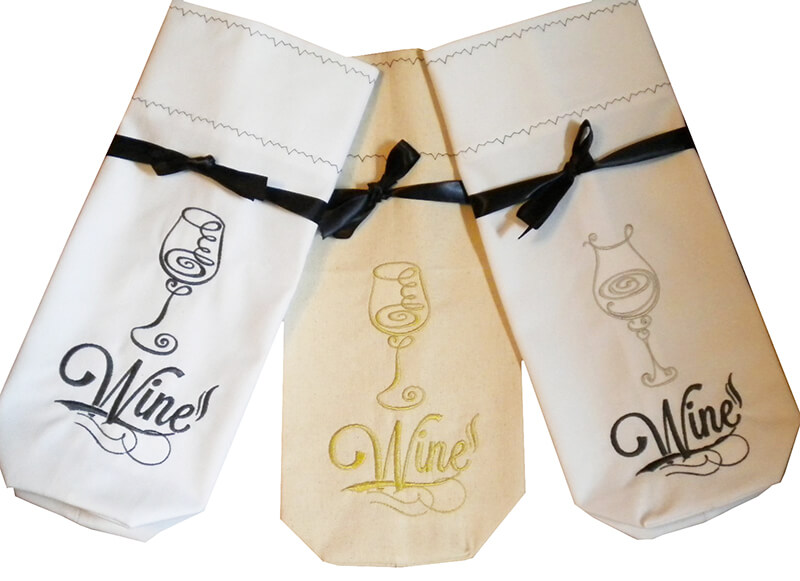
Yes – of course! If you are lucky enough to have a large enough embroidery hoop, you can stitch out a wine bag entirely in the hoop. There are a couple of in-the-hoop wine bag designs that would be quick and easy to stitch out.

One of my favorite in-the-hoop wine bags is from CraftiStitch. The bold design on this “Keep Calm and Drink Wine” in-the-hoop wine bag is super fun. And the pattern is also easy to understand because the design is so straightforward. You can even add more flair by choosing a more flashy ribbon. The only caveat is that you will need at least an 8″ x 12″ embroidery hoop to be able to stitch it out.
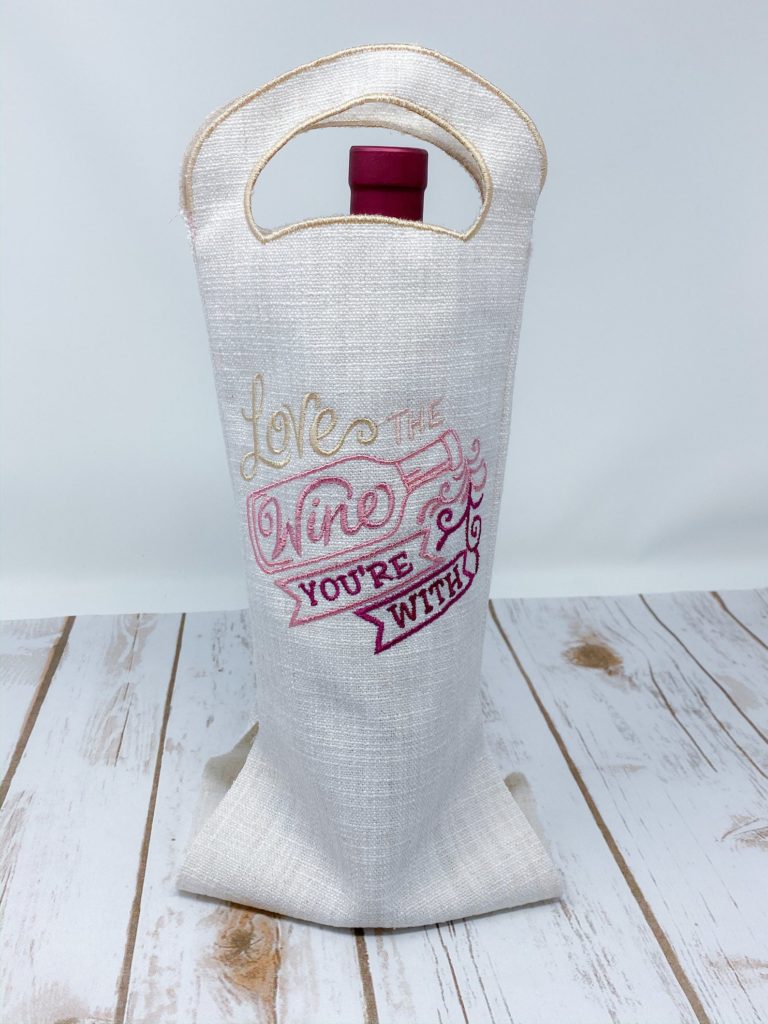
Sew What Embroidery Designs also very unique and different style of in-the-hoop wine bag. And, it actually has a handle! What I love about this bag is that you can stitch out this design in a hoop as small a 6″ x 10″.
Stephanie of Sew What Embroidery Designs suggests adding a few finishing touches after the bag is removed from the embroidery hoop.
The maker should take it to her sewing machine or serger while the bag is still inside out to close the bottom, making sure to corner their edges and trim them. This makes the bag look complete and sleek when giving as a gift or when displayed at a show.
For both of these in-the-hoop wine bags, you can substitute the embroidered design on the bag with a personalized message or something more appropriate for the occasion.
How to sew a wine bag
Alas – not all of us have a big enough embroidery hoop on which we can stitch out an entire wine bag. But not to fear – it’s pretty quick and easy to stitch one up on your regular old sewing machine. And, there are plenty of funny messages and wine related embroidery designs to stitch out on the bag. The benefit of making the bag yourself is that you can lay the fabric flat while you stitch out the design and you don’t have to try to embroider in such tight quarters.
Supplies needed
- About 1/2 yard of fabric. The fabric I used for the wine bags was a stiff, coarse, linen-like fabric. I think this worked really well because the fabric’s thickness allowed the bags to stand up on their own.
- An embroidery design to personalize the bag. I digitized the designs on my wine bags myself so – if you like the “cheers!” design – I posted it as a free embroidery design – so go ahead and download it if you would like. If you are using the bag to present a bottle of wine for no special occasion in particular, check out some of the really fun and cute wine-related designs that would be appropriate for this project. A few of my favorites include:
- Disappearing ink marking pen to draw your pattern pieces on your fabric.
Steps
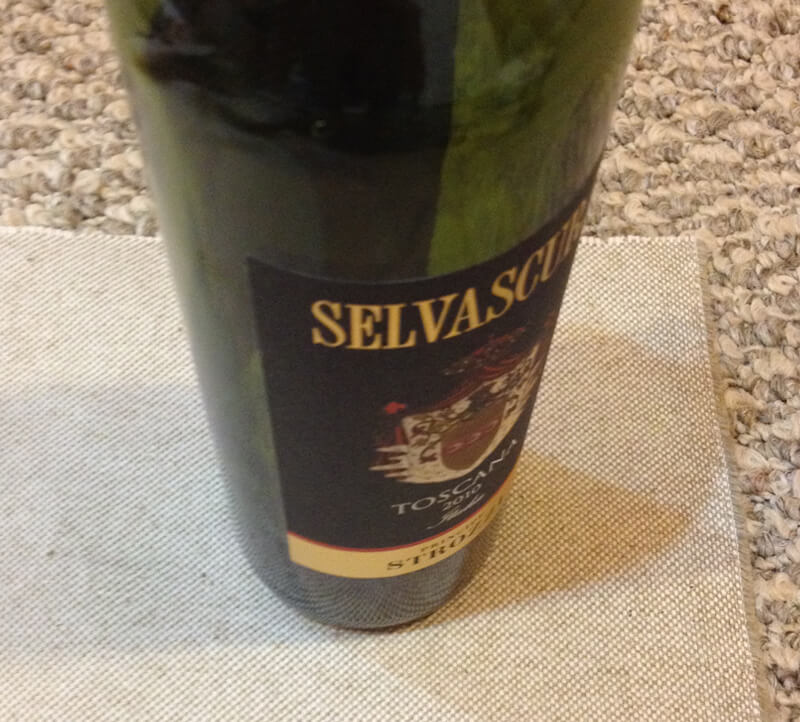
Step 1: Trace the bottom of the wine bottle on the fabric. I like to use a disappearing ink marking pen.
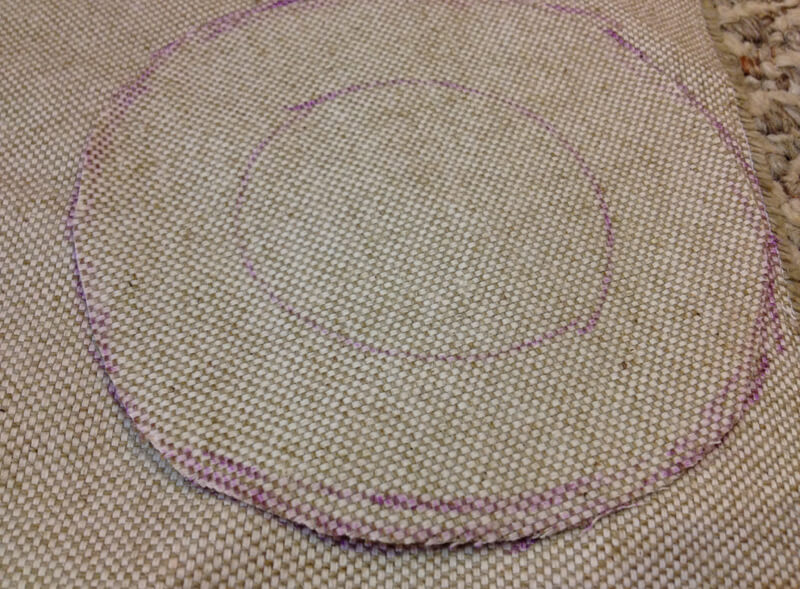
Step 2: Draw another circle around the bottle outline about one inch off of the original circle and cut out two pieces (one for outside of bag, one for lining) of the fabric this size.
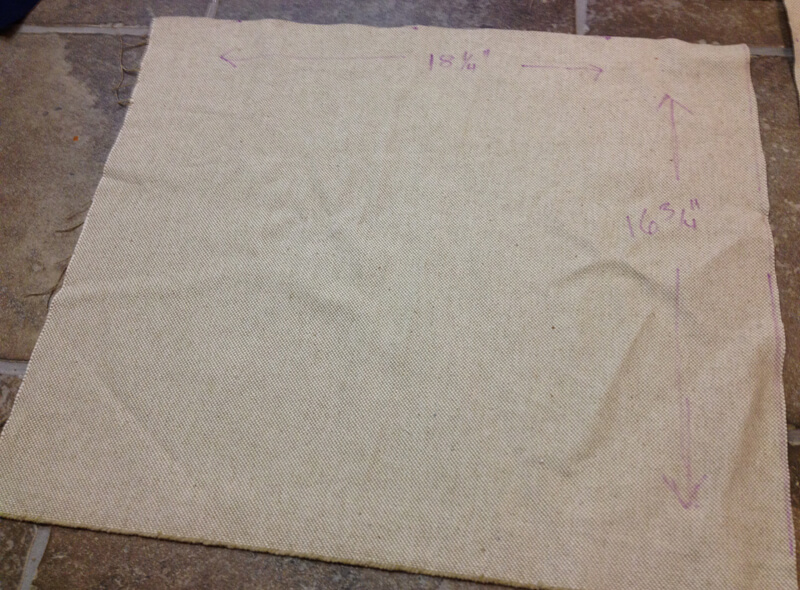
Step 3: Cut out two pieces of fabric for the sides of the wine bag. The height should be a few inches taller than the wine bottle, and the width should be based on the diameter of the bottom circles you just cut out. Measure the diameter of the circle, then subtract an inch for seam allowance then multiply that number by 6.28 and add another inch. This is the width of your side piece. My pieces were 18 1/4″ x 16 3/4″. If you don’t want to do the math – just use my dimensions!
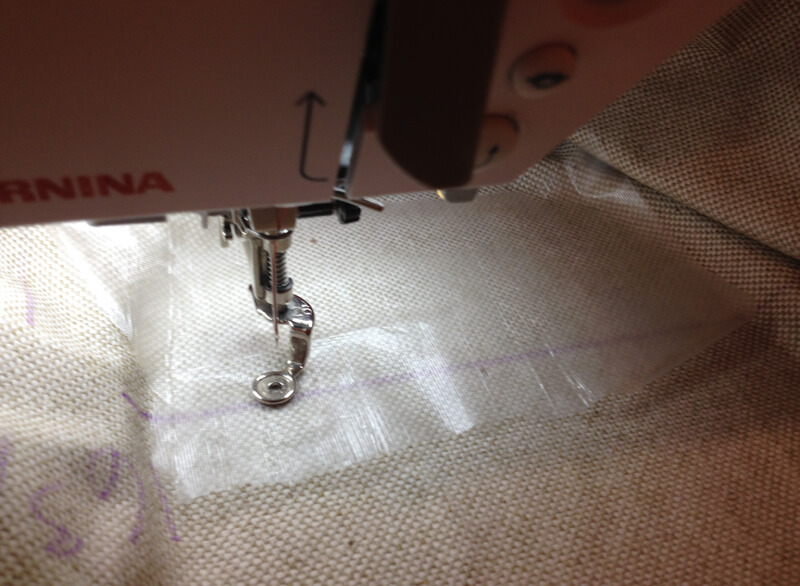
Step 4: Lay a layer of sulky down on the fabric and stitch out the design that goes on the side of the wine bag.
Step 5: Sew the side pieces together to form a tube then sew the bottom to the side pieces. You should now have two bags – one for the inside and one for the outside.
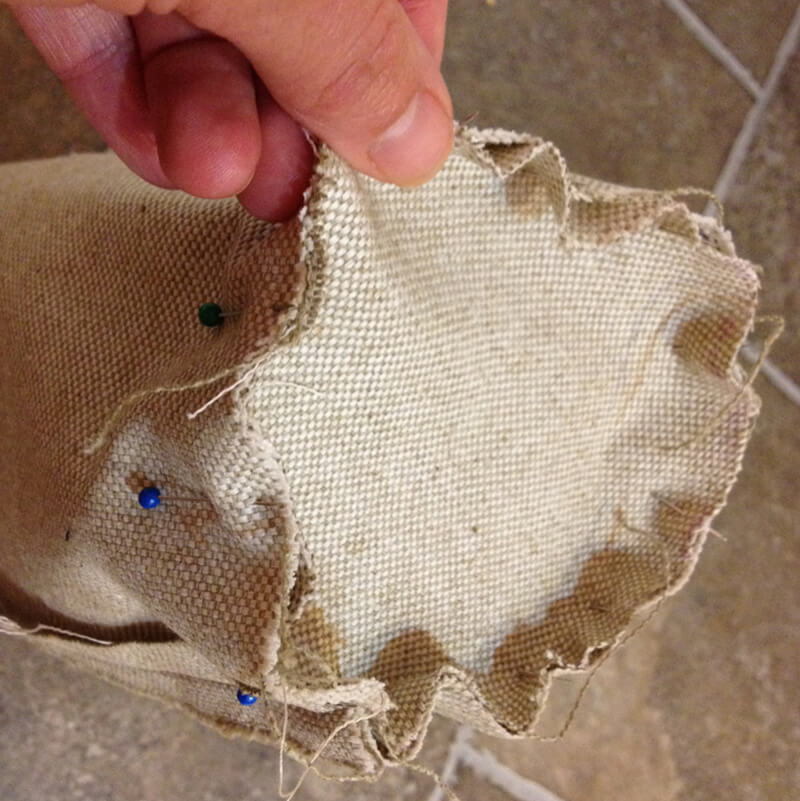
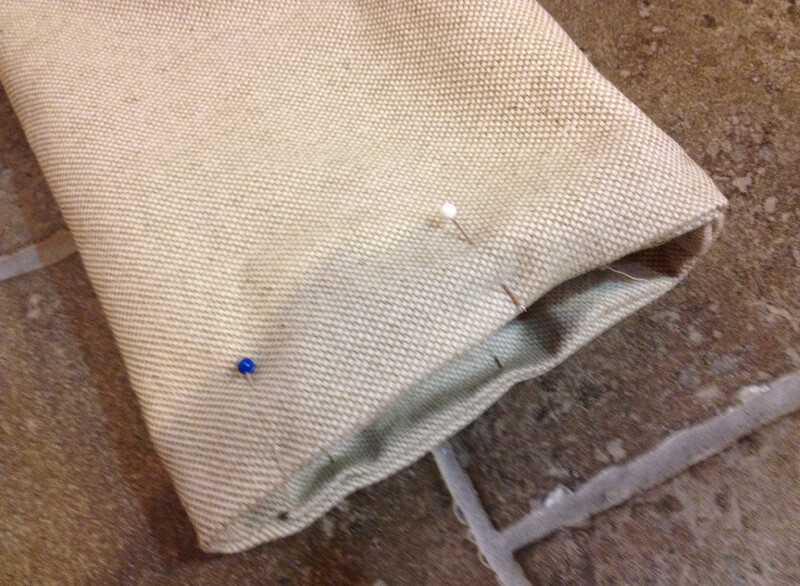
Step 6: Put one bag inside the other – with wrong sides together. Top stitch the top closed – tucking in the raw edges.
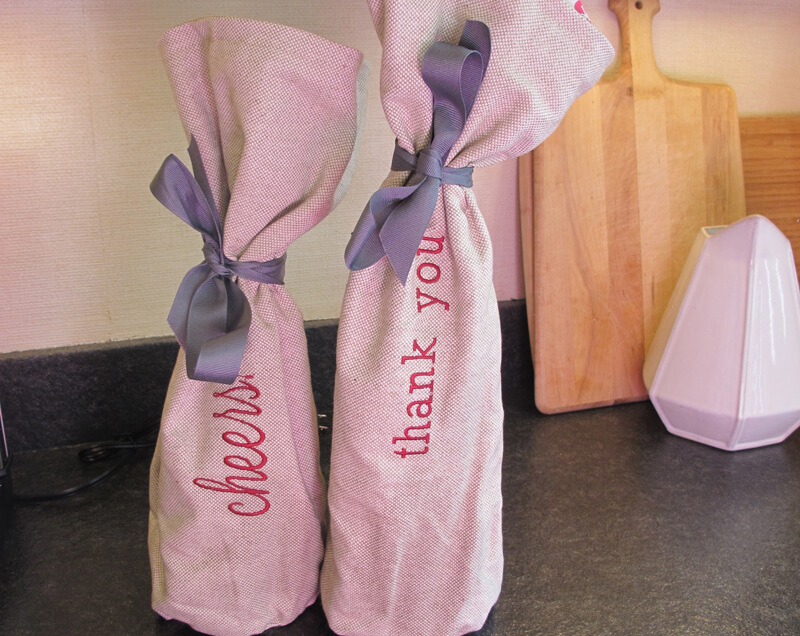
Step 7: Tie a ribbon around the bottle. And, you are done.
Other wine bag patterns to sew
If you are not crazy about my design, there are a number of other websites that provide free wine bag patterns. Here are some interesting ones that I have found.
- An adorable version with a drawstring.
- This one looks a lot like mine – but from another point of view.
- And one with a handle.
The no-sew option
Let’s say you don’t have the time or interest in sewing your own custom wine bag. Then, consider ordering some and just adding some embroidery. Target has some pretty swanky ones with handles and even a bit of insulation.
These colorful neoprene wine totes are ADORABLE. If you can manage to stitch out a monogram on one of these, you now have the perfect gift.
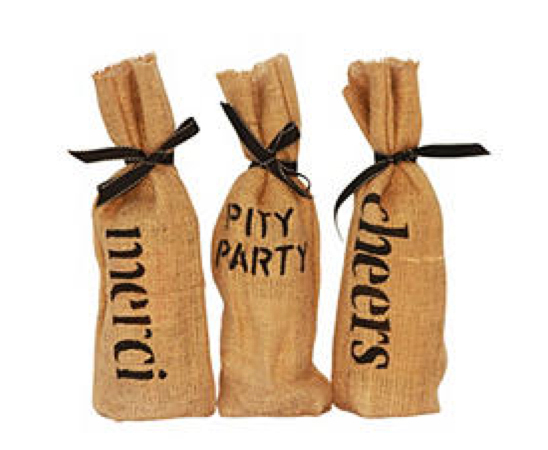
Or you can buy these burlap versions in bulk. They’re so cheap that if you screw one up, you are not out much!
Is it cocktail hour yet?
I don’t know about you, but all this talking about wine has given me a hankering for a drink. It’s 5 o’ clock somewhere, right?
Happy stitching!
xo
Julie







These are great ideas! Sew a what Embroidery Designs has a great FB page that is fun, innovative and down right creative!