Disclosure: Some of the links on this site are affiliate links. This means that if you click on them and make a purchase, I may earn a small commission at no extra cost to you. Please know that I only recommend products and services I trust and use myself.
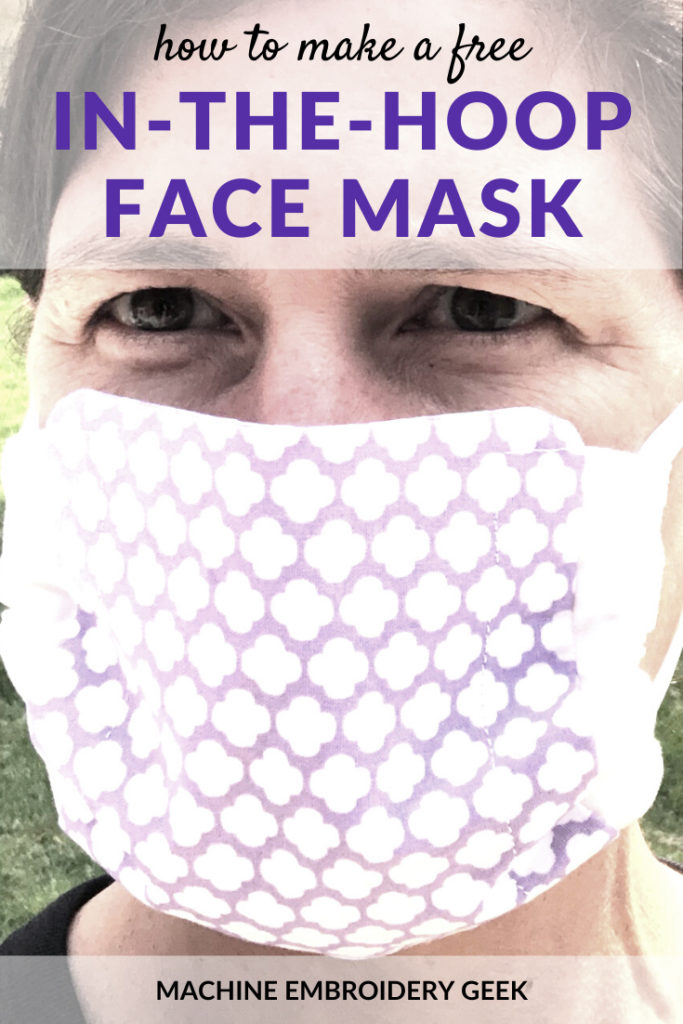
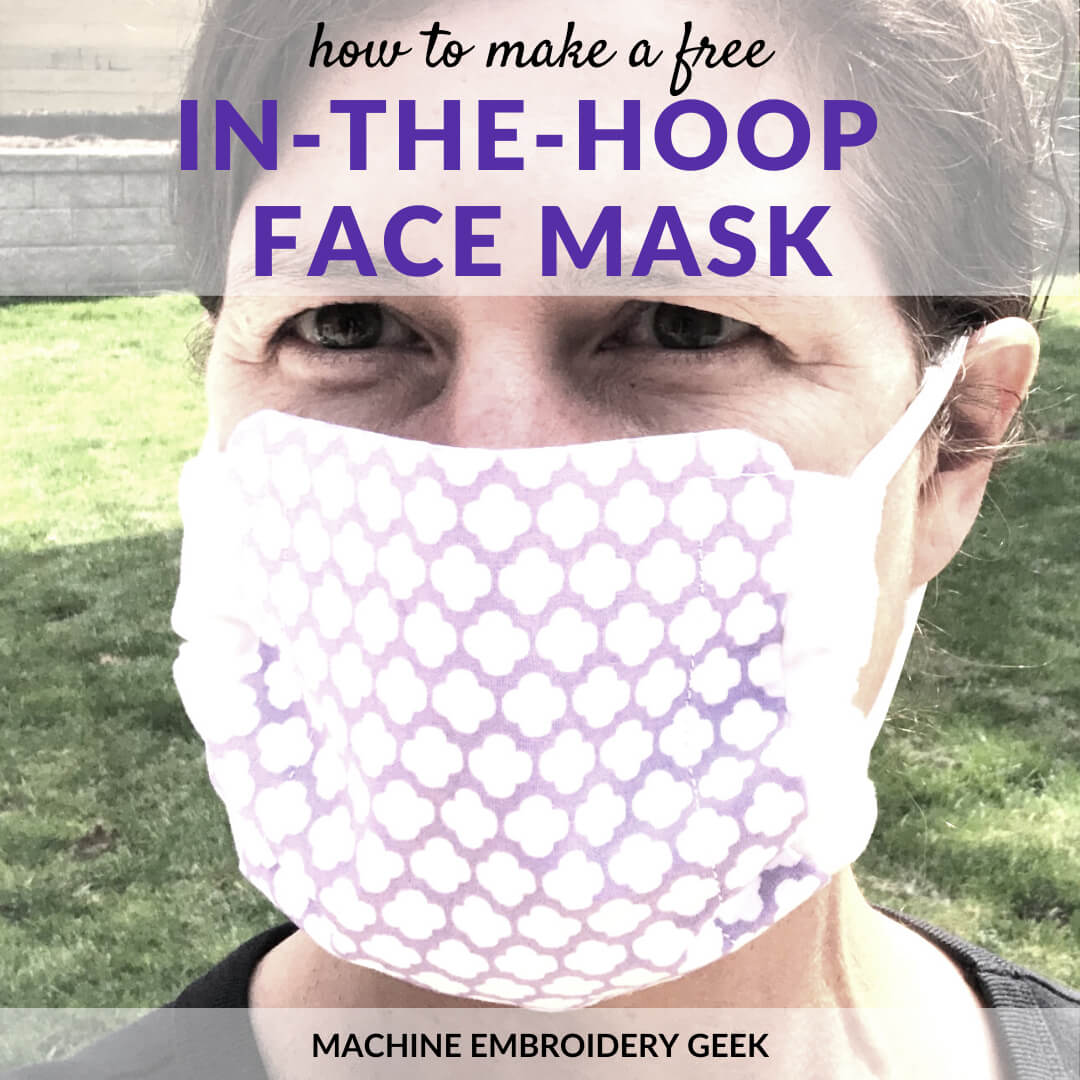
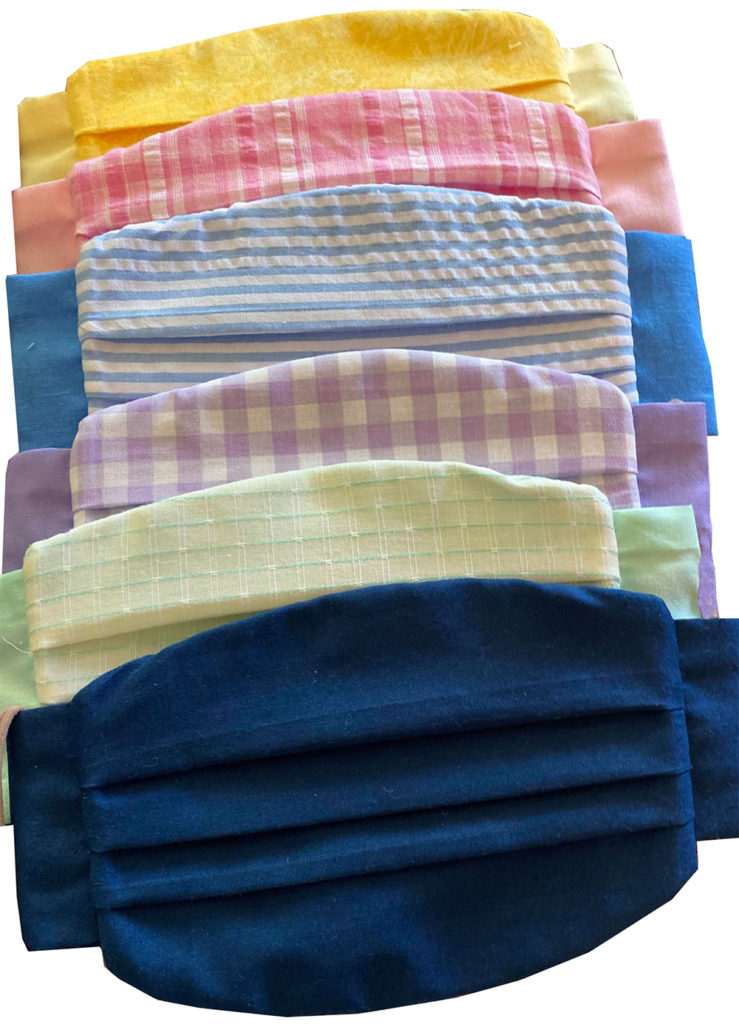
As I’m sure you are probably aware, this whole COVID-19 outbreak has set off a mask making frenzy. Sewing and embroidery enthusiasts have turned their studios into mask making factories, cranking out 100s of fabric masks to sell or donate. I actually made a couple of fabric masks myself, sewing them based on a pattern I found online. But, then I discovered an in-the-hoop face mask pattern, and quickly realized that this is a much faster way to make a mask if you own an embroidery machine.
I have to admit, making fabric masks didn’t appeal to me at first, despite the fact that Etsy is nudging me into it. A recent Etsy email reported that “face mask” was one of the site’s most highly searched terms. “Start making masks,” they said. But, I didn’t take the bait.
Where is the fabric?
First of all, I couldn’t find any decent fabric! And, elastic is sold out almost everywhere. (I did eventually get some from Amazon but it took a couple of weeks to arrive.) I also doubted that cloth masks would offer much protection from the COVID-19 virus.
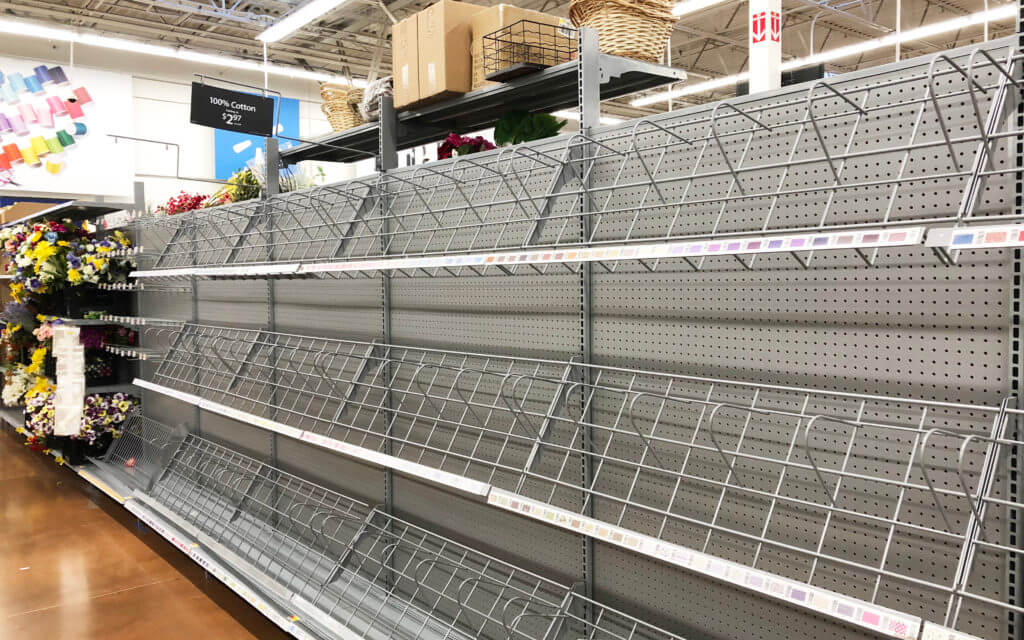
But then, the CDC recommended that everyone should wear face coverings while out in public to stop the spread of the disease. In fact, they even offer a tutorial on their website to show you how to make them.
Gulp. I guess I should make some masks. But, I’m definitely making then in the hoop on my embroidery machine. And, if the fabric to make the mask is already on my embroidery machine, I might as well add a monogram, right?
I think I discovered the perfect Mother’s Day gift to make on my embroidery machine for my mom and mother-in-law. If they have to wear masks, they might as well wear cute ones.
[do_widget id=custom_html-5]
Where to get an in-the-hoop face mask pattern?
Many of the companies that sell embroidery designs are now offering an in-the-hoop face mask pattern. Some even offer the in-the-hoop files for free! You will start to notice that the mask patterns come in a variety of styles, some which can even be made in a 4″ x 4″ embroidery hoop.
Here are some of the best.
Free in-the-hoop face mask designs
Pickle Pie Designs
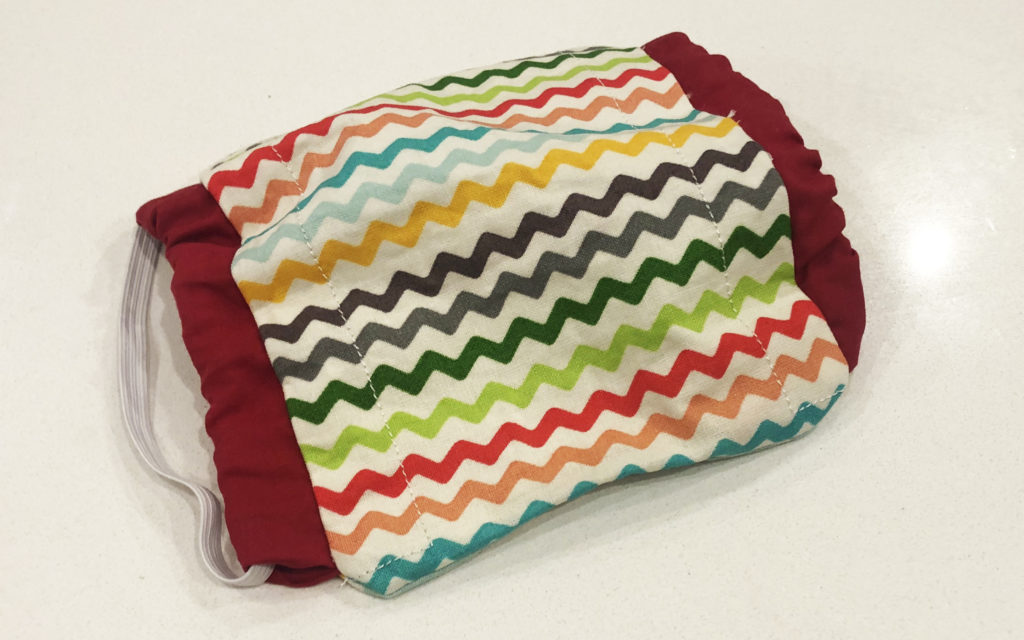
Pickle Pie Designs offers a free in-the-hoop face mask and is actually the in-the-hoop face mask pattern that I stitched out. It is available in two different sizes, the smaller of which will fit into a 5″ x 7″ hoop.
One of the nice aspects of this design is that you don’t have to pleat the fabric, yet there is plenty of volume built into the final design to allow it to fit over the nose and mouth. It also has a built in pocket to add an optional filter.
Below I will show you exactly how I put it together. But, before we get to that, a few other options.
Urban Threads
Urban Threads offers a free in-the-hoop face mask that is rectangular and pleated with a satin stitch finish around the edge. It’s very basic and looks like it will stitch out quickly. They offer two sizes – the smaller of which can be stitched out in a 5″ x 7″ embroidery hoop.
Tattered Stitches
Tattered stitches has a free in-the-hoop face mask pattern. It has pleats and finished around the outside edges with a satin stitch, and it secures onto the face with ribbon ties. You must also have at least a 5″ x 7″ embroidery hoop to be able to stitch it out.
Sweet n Sassy
Sweet n Sassy offers another great option for a free in-the-hoop face mask pattern. This one can even be stitched out in a 4″ x 4″ hoop, and it also has a pocket for a filter.
1 String to Rule them All
This in-the-hoop face mask offered for free by 1 String to Rule them All has no pleats and is petite enough to work on small kid faces. It also calls for elastic loops instead of ties.
Appliqué Alley
It doesn’t get much simpler than this design. The free in-the-hoop face mask from Appliqué Alley is a straight-forward piece of fabric with satin stitching around the outside. I can’t imagine a faster way to make a mask.
[do_widget id=custom_html-5]
Other good in-the-hoop face mask designs
Free is good, right? And while I was quite satisfied with the free in-the-hoop mask design from Pickle Pie designs, these in-the-hoop mask patterns are getting such high marks from my embroidery friends that I have to mention them.
Creative Appliques
The in-the-hoop face mask from Creative Appliques is a fan favorite. And, at a sliding scale price it’s hard to complain about the cost. Plus, it can be stitched out in a 4″ x 4″ hoop, has pleats and has a pocket for a filter.
My buddy, Joann loves this particular pattern. Here’s what she says about it.
She puts this pleat guide in with the pattern, and she has a YouTube video with step by step instructions which gives you fabric measurements. It is a seven minute stitch out for single and thirteen minute stitch out for two. It is very nice mask with no open seams. It has the pouch for a filter and the place to put something to fit to your nose. I have been told by customers it does not fog your glasses and it seems to fit securely on the sides of the face.
DoDare2BDifferent
The in-the-hoop mask from DoDare2BDifferent gets accolades in my Facebook groups, and the price is super reasonable. It also comes in a variety of sizes and fits a 5×7 hoop, filter pocket and nose piece.
Zippydesignz
I think that this review says it best about the in-the-hoop face mask from Zippy Designsz.
I tried several, free and paid for. This is my favorite. Wonderful directions, patterns for the pieces, and a you tube on making a pleat board. 5×7 fits great. Filter pocket and wire for the nose is enclosed in the mask. 5 minute stitch!
How to make an in-the-hoop face mask (using the pattern from Pickle Pie Designs)
I personally have not tried out every in-the-hoop face mask pattern available. But, I decided to stitch out the free in-the-hoop mask pattern offered by Pickle Pie Designs because it was FREE and it looked halfway decent and it was recommended by my friends at Sew for Less. And, I’m happy to report that it turned out quite well.
Supplies you need to make an in-the-hoop face mask
How I did it
I started by downloading the files and the instructions. The Pickle Pie file set comes with two different sized in-the-hoop patterns. I chose the smaller of the two to see if it would actually work at that size. After quickly reading through the instructions, it wasn’t immediately clear to me how it would work. So, I stitched out a test mask prior to making the official ones for my moms.
The mask stitched together just fine, however I noticed a couple of confusing aspects to the instructions.
- The pattern instructs you to cut out a piece of fabric for the casing which is 8″ x 6″. Then you cut fold over the top and the bottom 1/2″ each for the hem which makes the piece 7″ x 6″. The instructions then tell you to cut it in half to get two pieces that are 7″ x 3″. The problem is that the casing pieces can not be any larger than 6″ x 3″. So, I needed to trim the casing pieces a bit on the top and bottom.
- The illustrations in the PDF instructions are not to scale, so it was difficult to tell which way to orient the fabric. The fabric is clearly longer than it is wide. But, because the drawings were not made to scale, it was unclear how to place the fabric and the casing pieces initially.
How I stitched it out
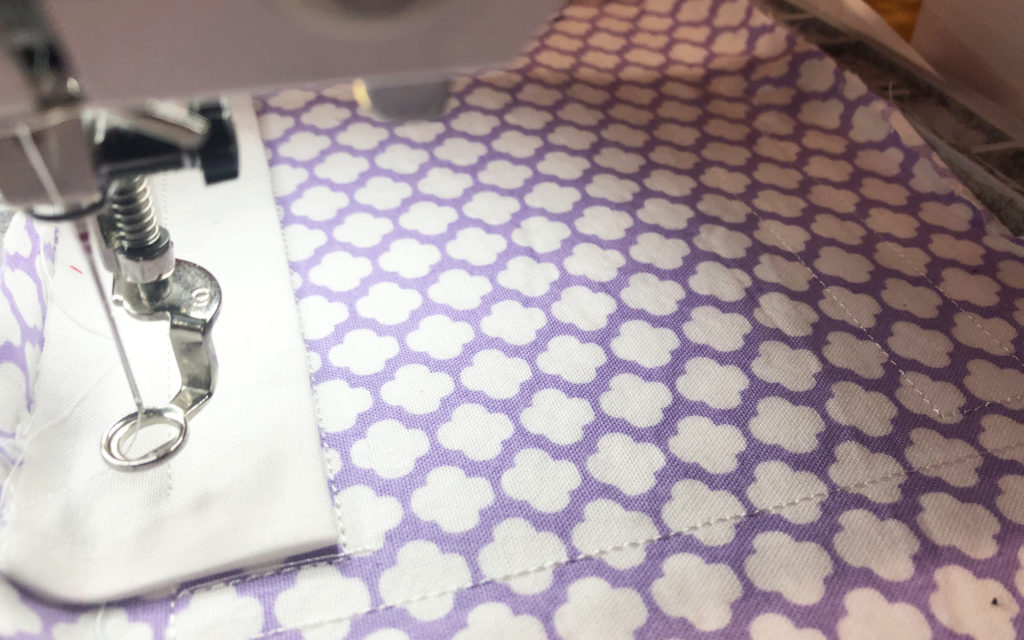
First, I cut the fabric according to the instructions.
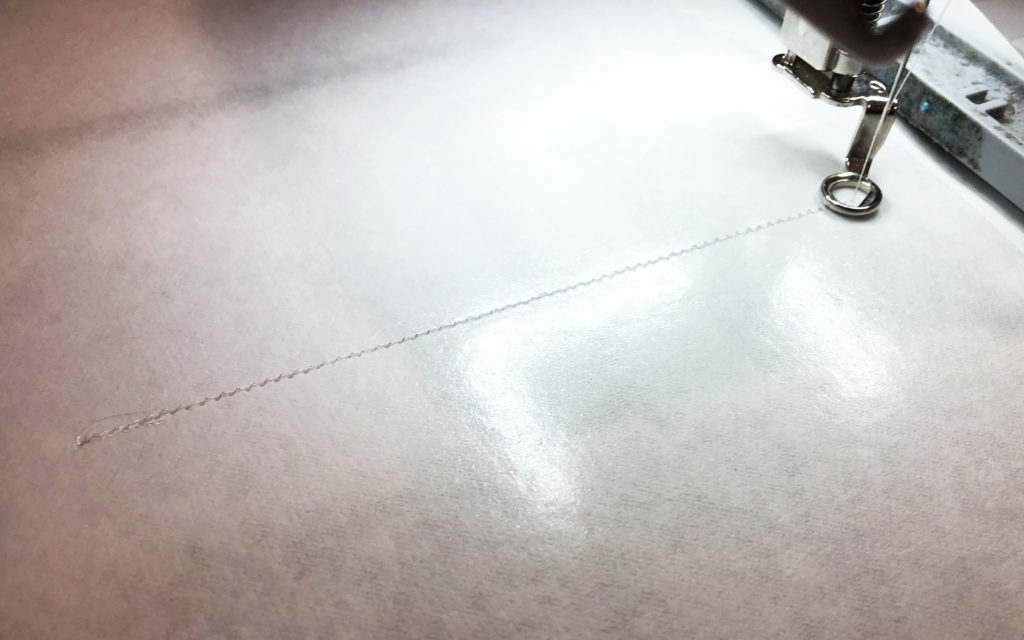
Next, I hooped a piece of adhesive-backed stabilizer, scored around the outside edge (next to the embroidery hoop border) and peeled back the paper to expose the sticky surface.
Then I started the first round of stitching which created a placement line for the mask fabric.
Next, I folded the mask fabric in half and stuck it to the stabilizer so that the fold aligned with the stitch line. After I had it lined up, I opened up the fabric and smoothed it out onto the sticky-back stabilizer.
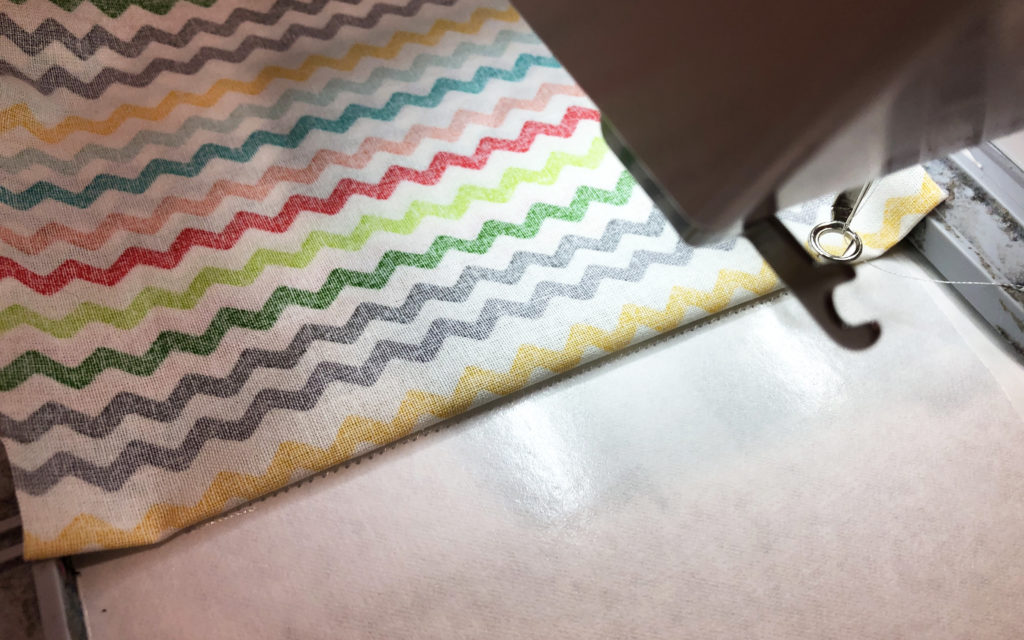
The next round of stitching secured the fabric to the stabilizer and stitched out lines for where the casing fabric should be placed. At this point, I exited the design and stitched out my monogram.
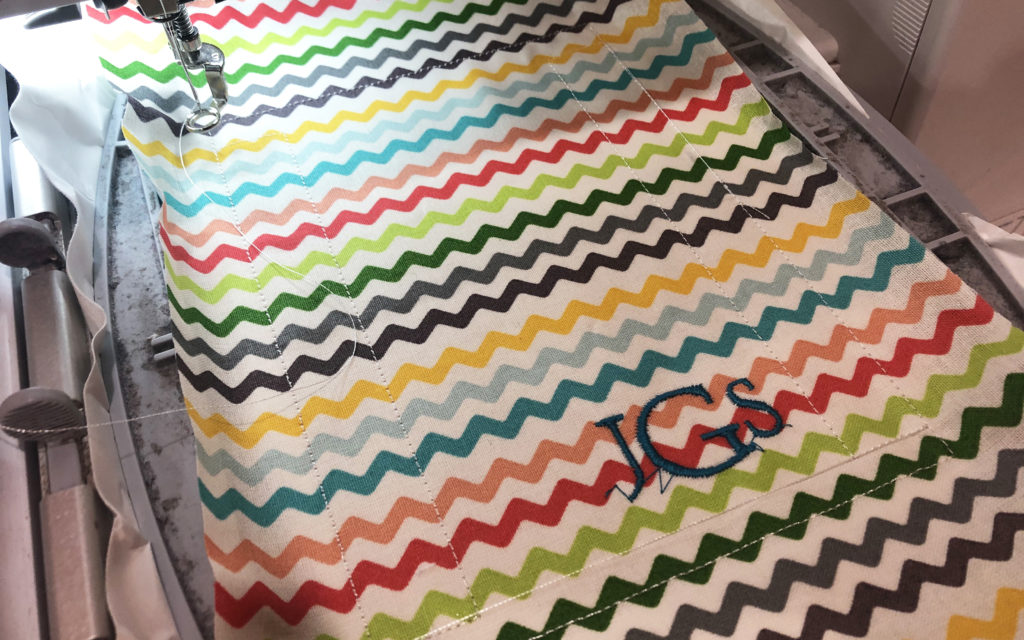
Then I went back to where I left off and completed stitching out the design. The next step was securing the casing pieces to the mask on both sides.
After I secured the casing pieces, I folded the top and bottom of the mask back on itself and the last bit of stitching secured it all together.
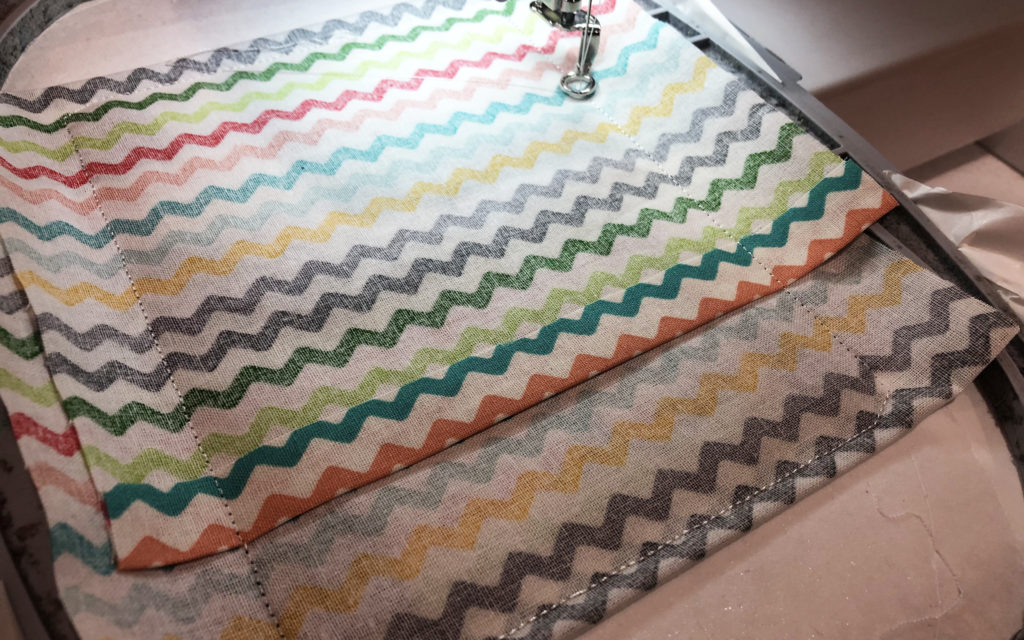
At this point, I removed the mask from the hoop, turned it right side out and pressed it.

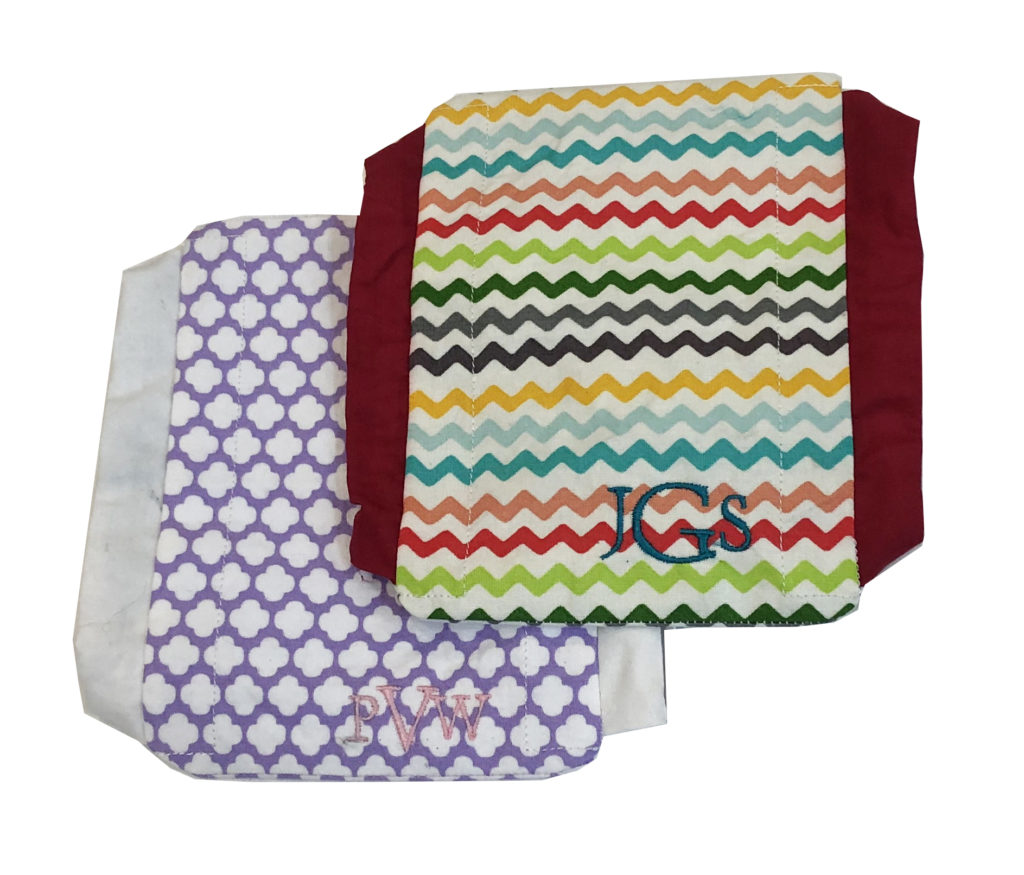
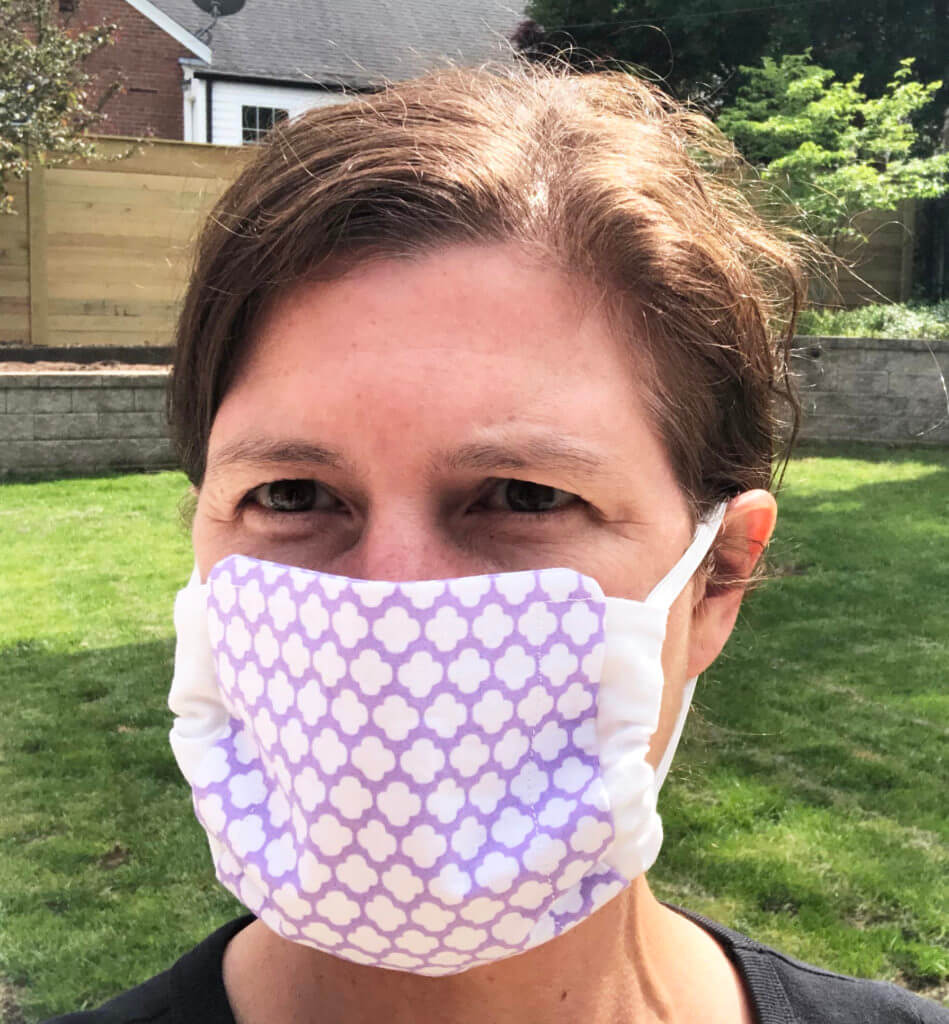
I then fed 1/4″ elastic through the casing and used safety pins to hold the ends of elastic together. Because I was sending the masks to my mom and mother-in-law, I wanted them to be able to adjust the elastic, tie the elastic in a knot and hide the knot inside of the casing.
So, how did it turn out?
I’m pretty pleased with how the masks turned out, albeit I do find it a bit odd that THIS is my mother’s day gift. But, oh well, it is what it is. I think that they will certainly use it.
So… have you tried any of these in-the-hoop face mask patterns? I would love to hear what you think! Please comment below.
xo
Julie
[do_widget id=custom_html-10]
[do_widget id=custom_html-9]
Want to remember this? Save “How to make an ITH face mask” on your favorite Pinterest board
Want to remember this? Save “How to make a free in-the-hoop face mask” on your favorite Pinterest board.
Want to remember this? Save “How to make an in-the-hoop face mask” on your favorite Pinterest Board