Make a koozie in the hoop on an embroidery machine
This site contains affiliate links to products. We may receive a commission for purchases made through these links.
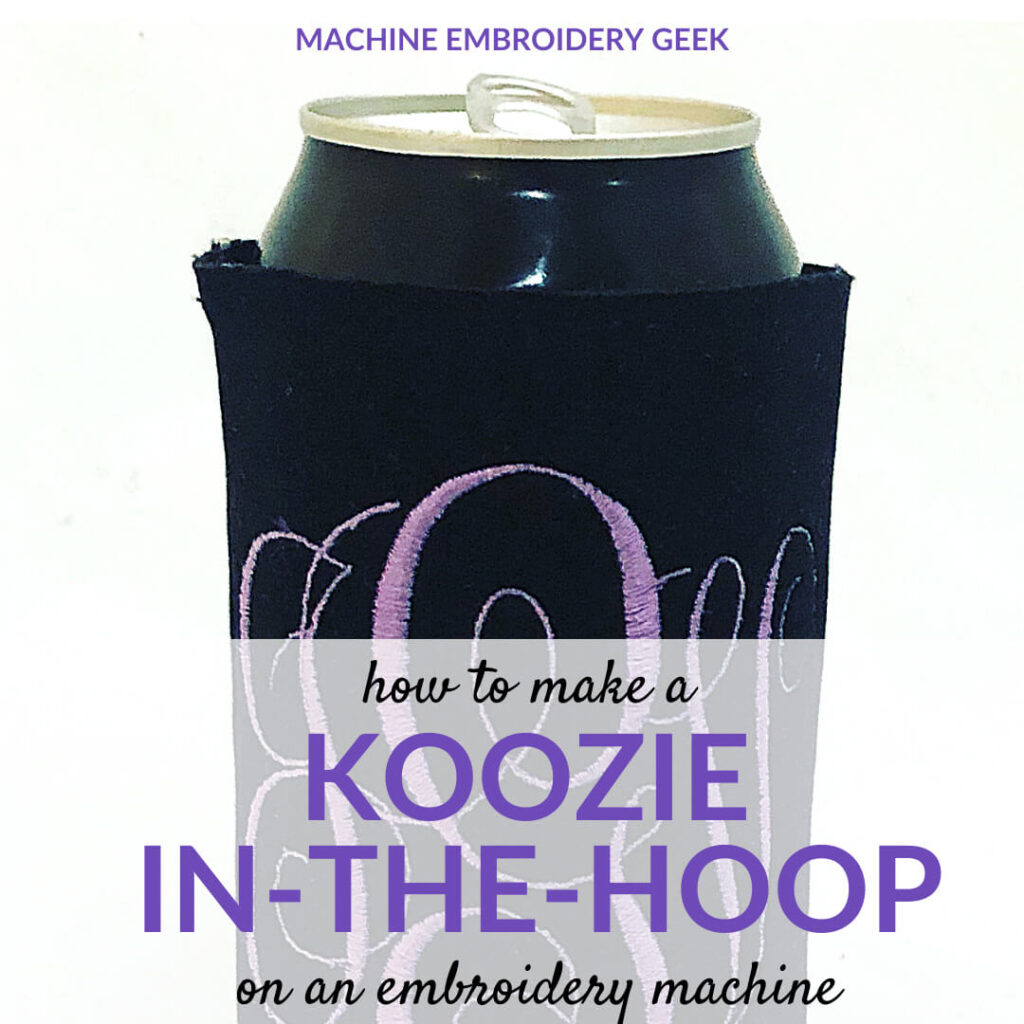
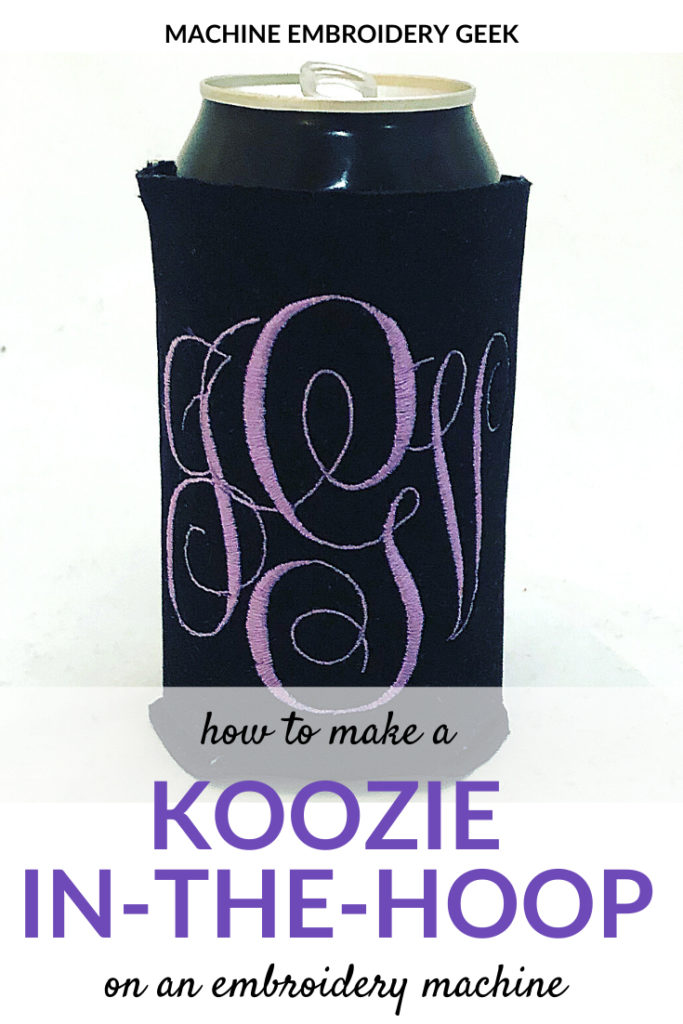
It’s summertime and you know what that means? Cold beverages. And the best way to keep a beverage cold is with a can koozie. Did you know that you can actually make a can koozie in the hoop on your embroidery machine? Yep. There are a few different ways to go about it, but it’s one of the easiest projects you can execute on your embroidery machine.
Do can koozies really work?
Yes! I’ve actually tested this. Back in the day I did a little science experiment to prove the effectiveness of a can koozie. (Seriously – it’s too long of a story to get into regarding why I did this. Just trust me, I did.) I checked the temperature in to different canned drinks after 20 minutes of sitting at room temperature. One drink was in a without a koozie and one in a koozie. The one with the koozie stayed significantly cooler than the non-koozied drinks.
I don’t know the actual numbers or percentage of degrees of temperature difference there were, just the big takeaway: koozies make a big difference in maintaining the cool temperature of your drink. It works just like the insulation in your house.
Can you make a can koozie entirely in the hoop?
Yes! The question is – which in-the-hoop design should you choose? There are many different in-the-hoop can koozie designs available. Some of them are suited for a beer bottle or can, while others are intended for a coffee cup.
In all of the following examples, the koozie is made entirely in the hoop. Therefore, the material you choose should have insulating properties. The quality of your koozie will correlate with your fabric choice. Some of these patterns actually suggest integrating a batting within the koozie.
Here are some of my favorite in-the-hoop koozie designs.
Simple koozie can insulator by EJ Embroidery Designs
One of the simplest, most straight-forward bottle and can koozie is the in-the-hoop pattern from EJ Embroidery Designs. It s easy to add a design or a monogram to these koozies as you can stitch it out prior to stitching the koozie together.
While this ITH pattern is pretty perfect, the only downside is that you will need a 8″ x 12″ embroidery hoop to be able to stitch it out.
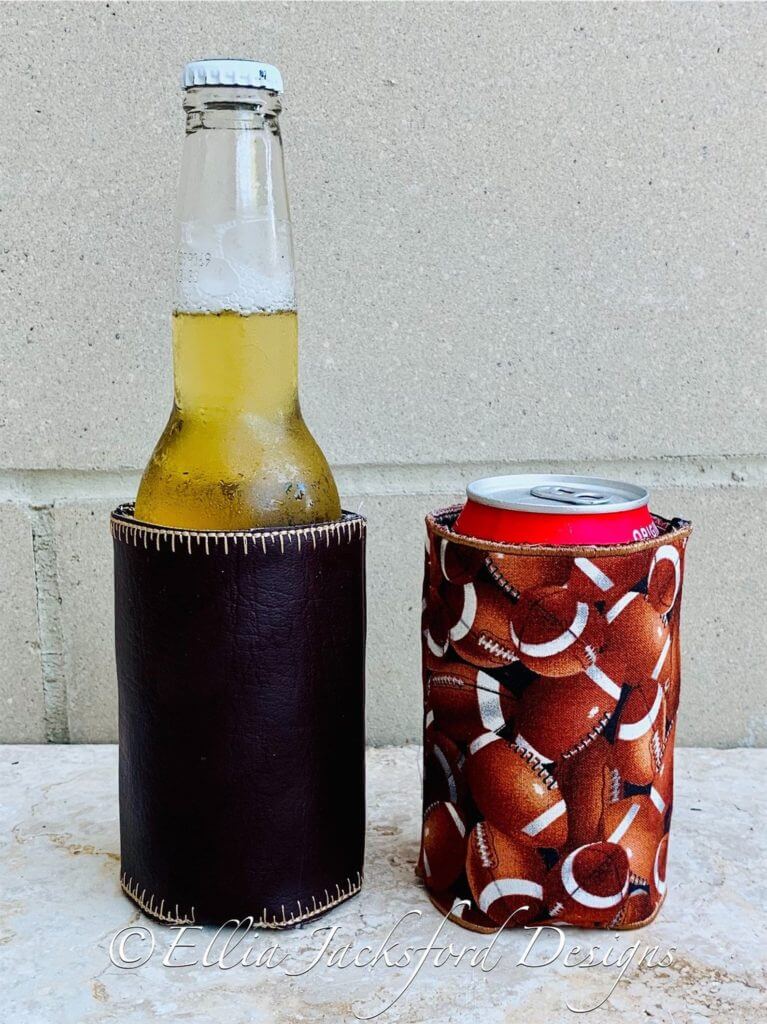
A personalized can and bottle koozie
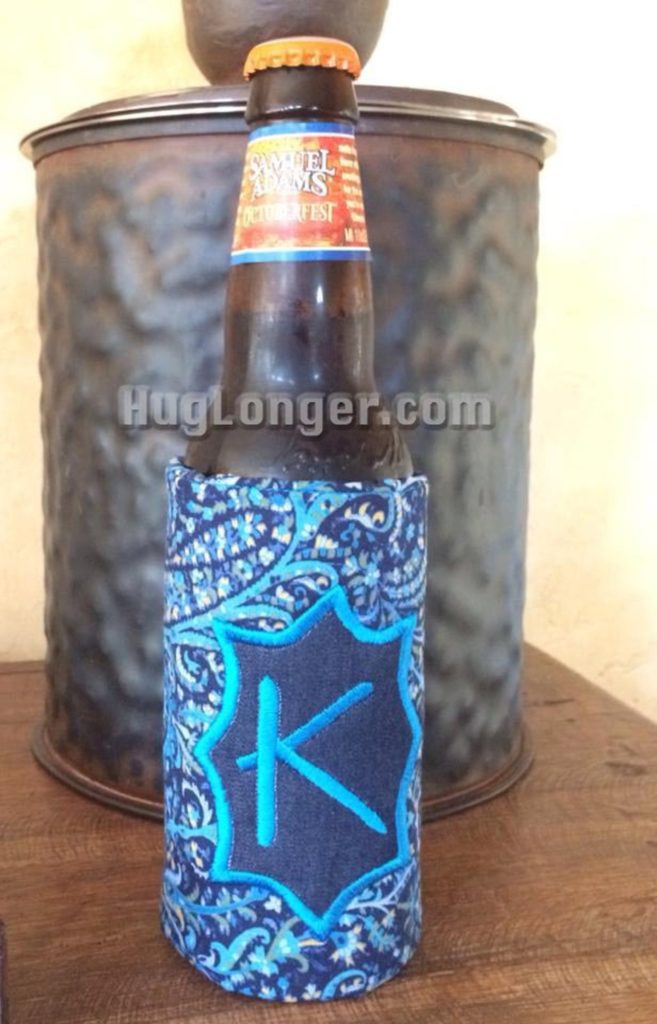
If you are looking to add a bit of personalization with your bottle or can koozie, check out this ITH koozie pattern by Hug Longer. The casual letter style suits the laid back vibe of a koozie. Keep in mind, although you don’t need quite as large of a hoop as the previous design, you will not be able to make this koozie if you only have a 5″x 7″ of a 4″ x 4″ embroidery hoop. The minimum size (for the can version) is 6″x10″.
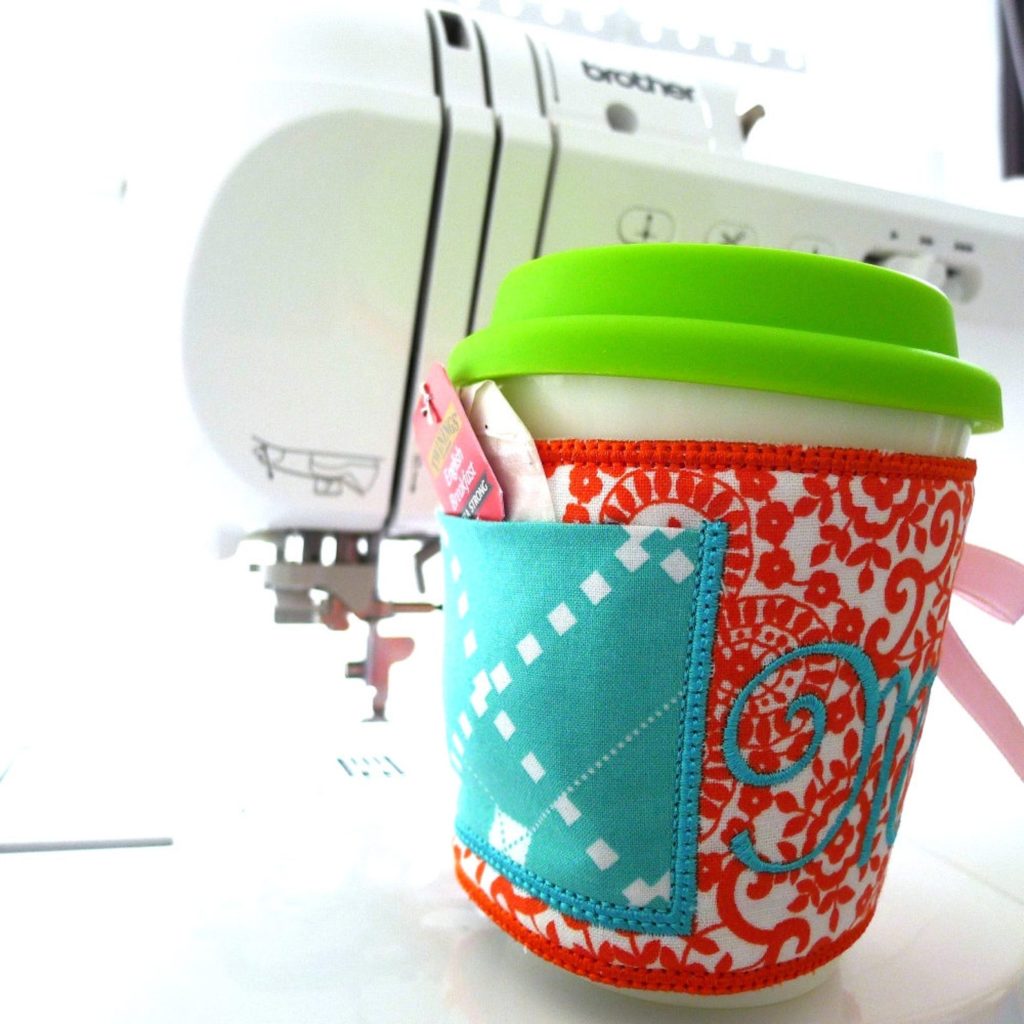
Koozie with a pocket by Big Dreams Embroidery
A koozie doesn’t just have to be for your beer, it’s great for coffee and tea lovers as well. And these koozies tend to be a bit smaller which will allow you to stitch them out in a smaller embroidery hoop.
I really like this specific in-the-hoop koozie pattern from Big Dreams Embroidery because of the pocket. Tuck your spare tea bag on the side and you are set for the day. For those of you with smaller embroidery hoops, this particular design can be stitched out on a 5″ x 7″ hoop.
Elegant Monogrammed Koozie by Abigail Michelle
Here’s another sweet coffee koozie by Abigail Michelle all set up with a single initial monogram. It makes a great little personalized gift with a gerously sized coffee cup and some fresh joe.
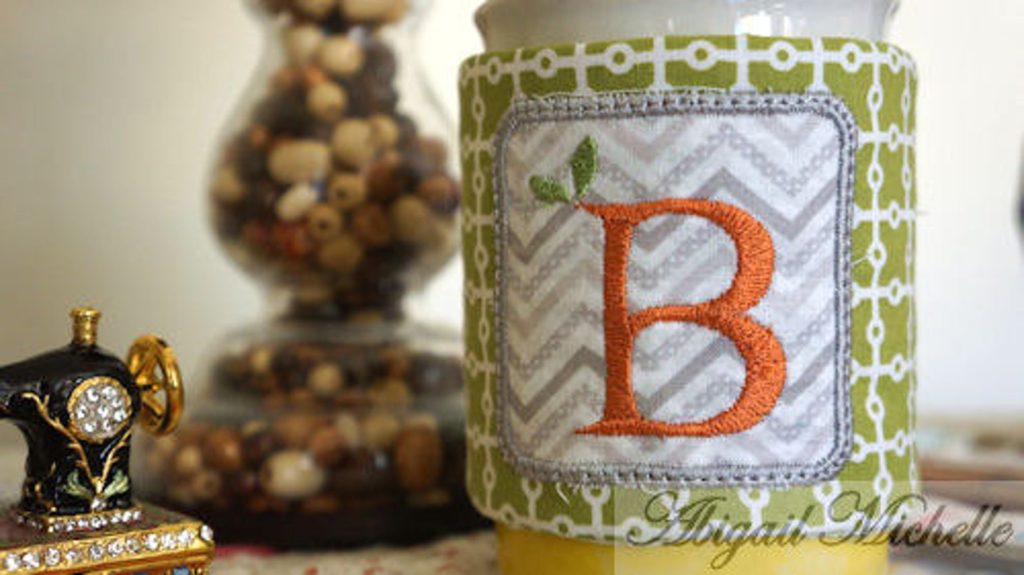
Can you embroider on an existing can koozie?
It would almost be impossible to stitch on a can koozie if it were stitched together. Fortunately, you can buy can koozies unstitched (and even bottle koozies unsewn). This means that you can stitch your design on the koozie, then remove it from the embroidery hoop and stitch up the two sides.
You can actually stitch out the designs and then stitch the can koozie together all on your embroidery machine. Here’s how to to it.
Supplies Needed to Embroider on a Can Koozie
Steps for embroidering on a can koozie
Hoop a piece of adhesive-backed stabilizer. Score the edges to create a small tear in the top layer and peel back the paper to expose the sticky surface. Put the embroidery hoop on your embroidery machine.
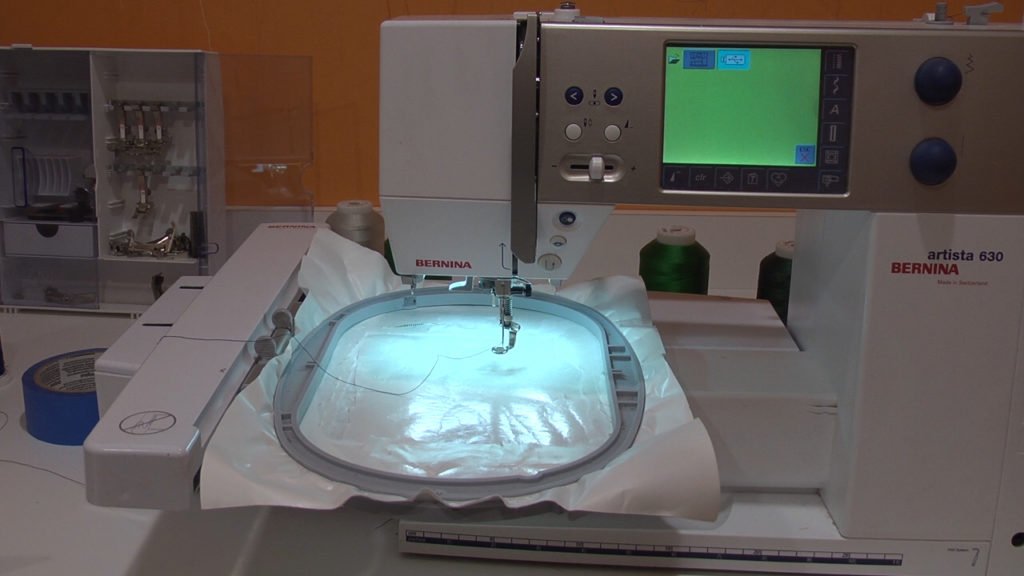
Start the first round of stitching. These are the placement lines for the koozie.
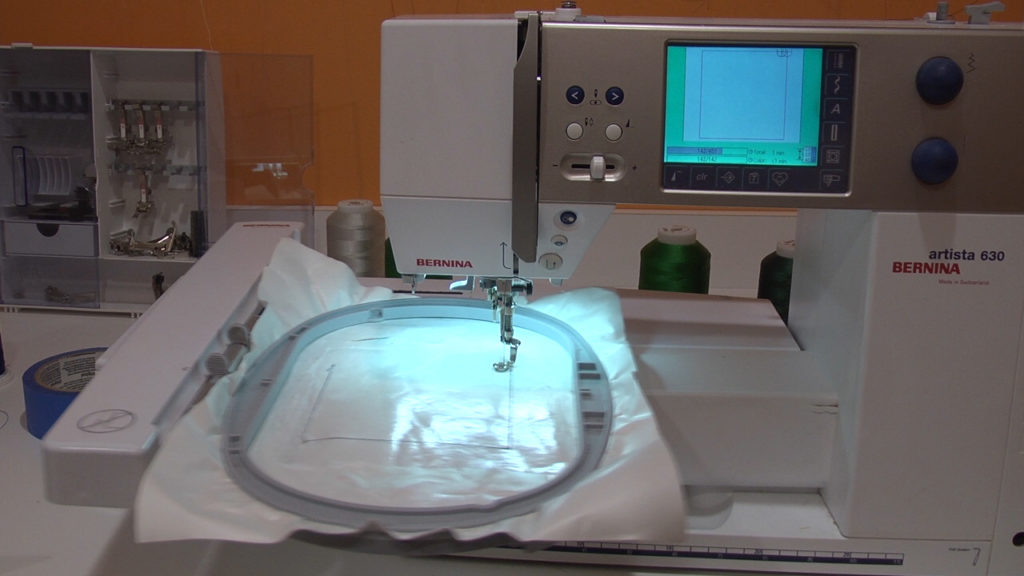
Now, stick your unsewn koozie on the placement lines you just stitched.
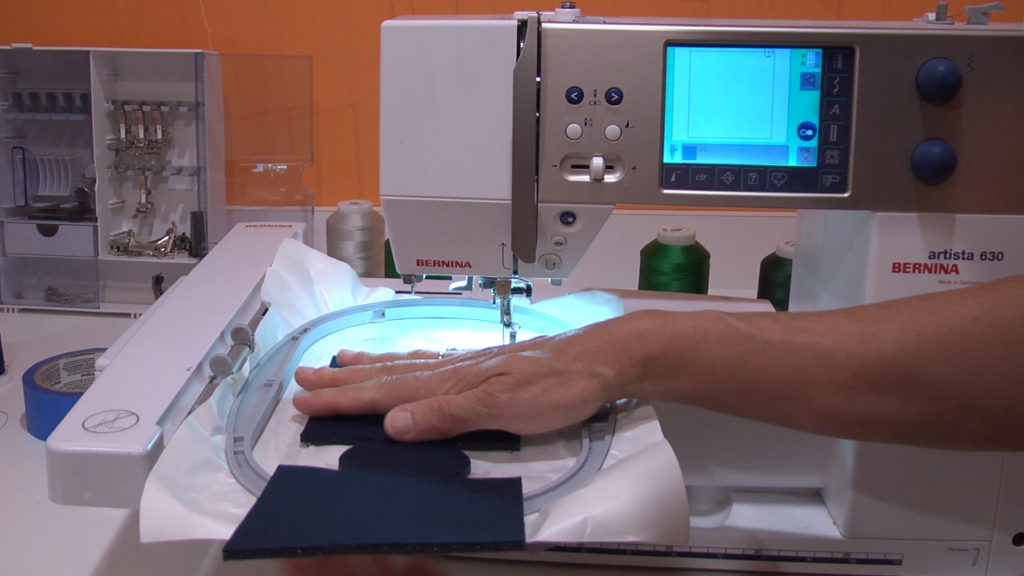
Place a layer of water soluble topper over the unsewn koozie.
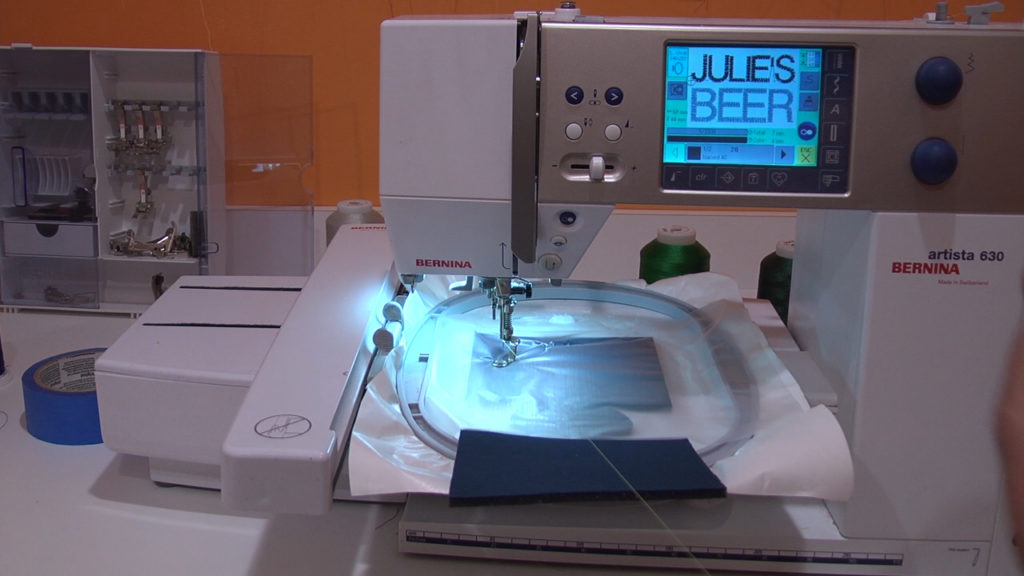
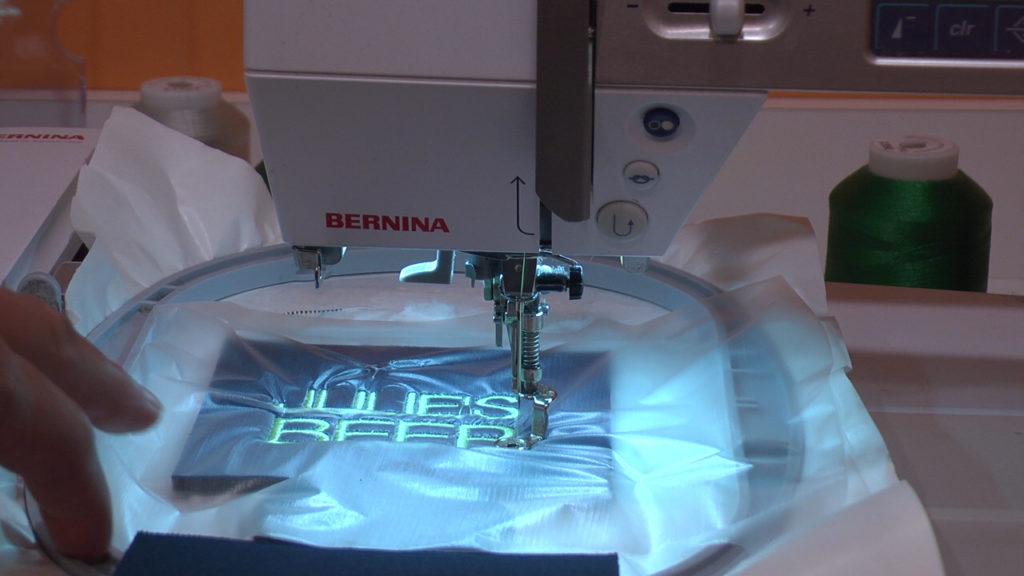
Stitch out the design you would like to appear on the koozie.
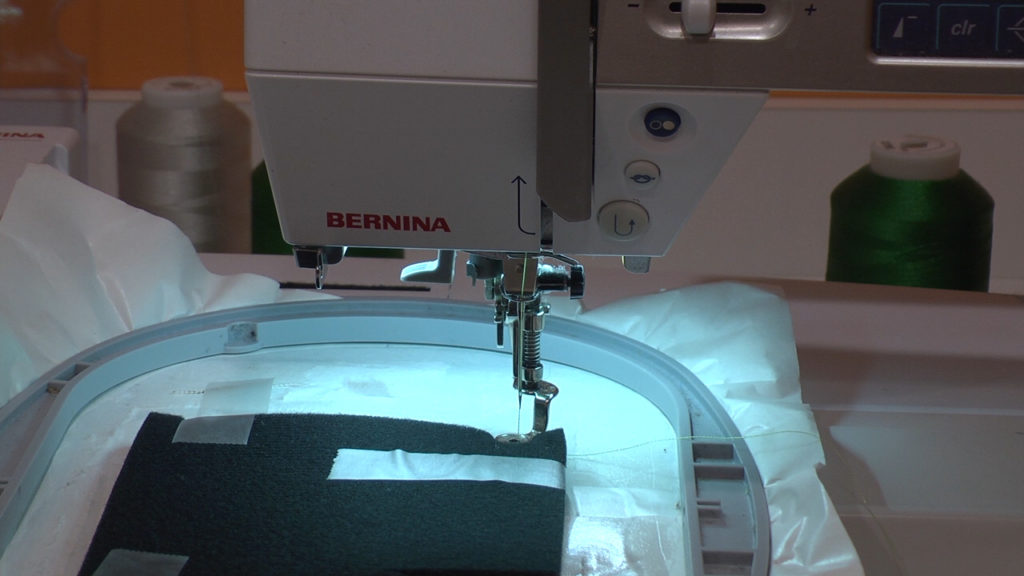
Now, fold the bottom half of the koozie on top of the top half. Tape in place. Note: I would suggest using a lot more tape than what is pictured here. The machine will have a bit of a struggle getting up over both layers of the koozie. But once you get it to start stitching – you should be good. Just stitch this slowly.
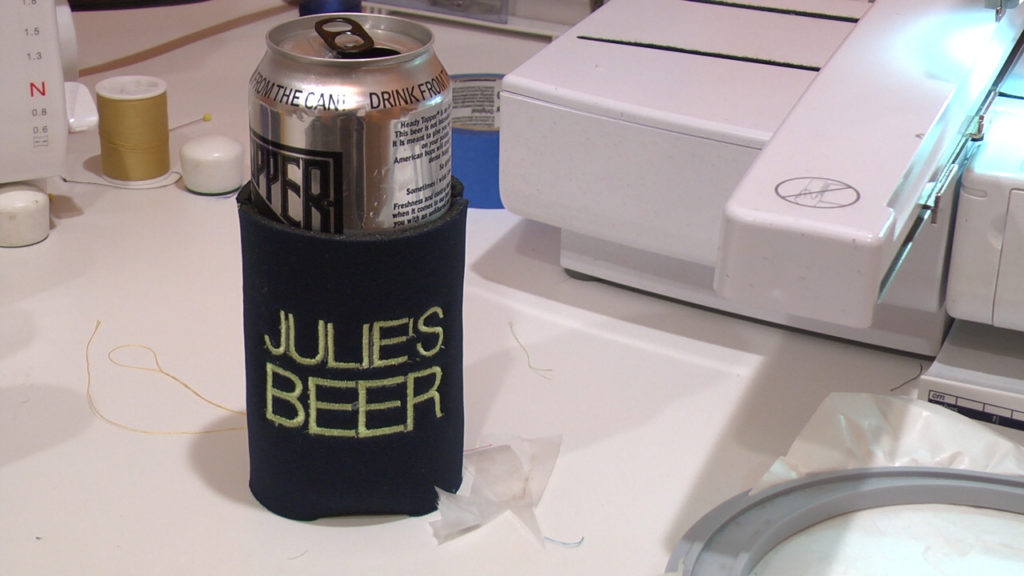
Remove the koozie from the hoop, trim your strings, turn right side out and you are done!
Still not sure how to make a can koozie in your embroidery hoop? Check out my video where you can see exactly how I do it.
Want to remember this? Save “How to Make a Koozie In-the-hoop on Your Embroidery Machine” on your favorite Pinterest board.






but where do we get the program in order to place it in the hoop?
Do you mean the file that stitches the sides closed? That’s in the resource library. You just subscribe to the blog for access.
I can’t seem to find how to stitch the sides 😕
That’s built into the file.