By Julie on February 7th, 2023 This site contains affiliate links to products. We may receive a commission for purchases made through these links.
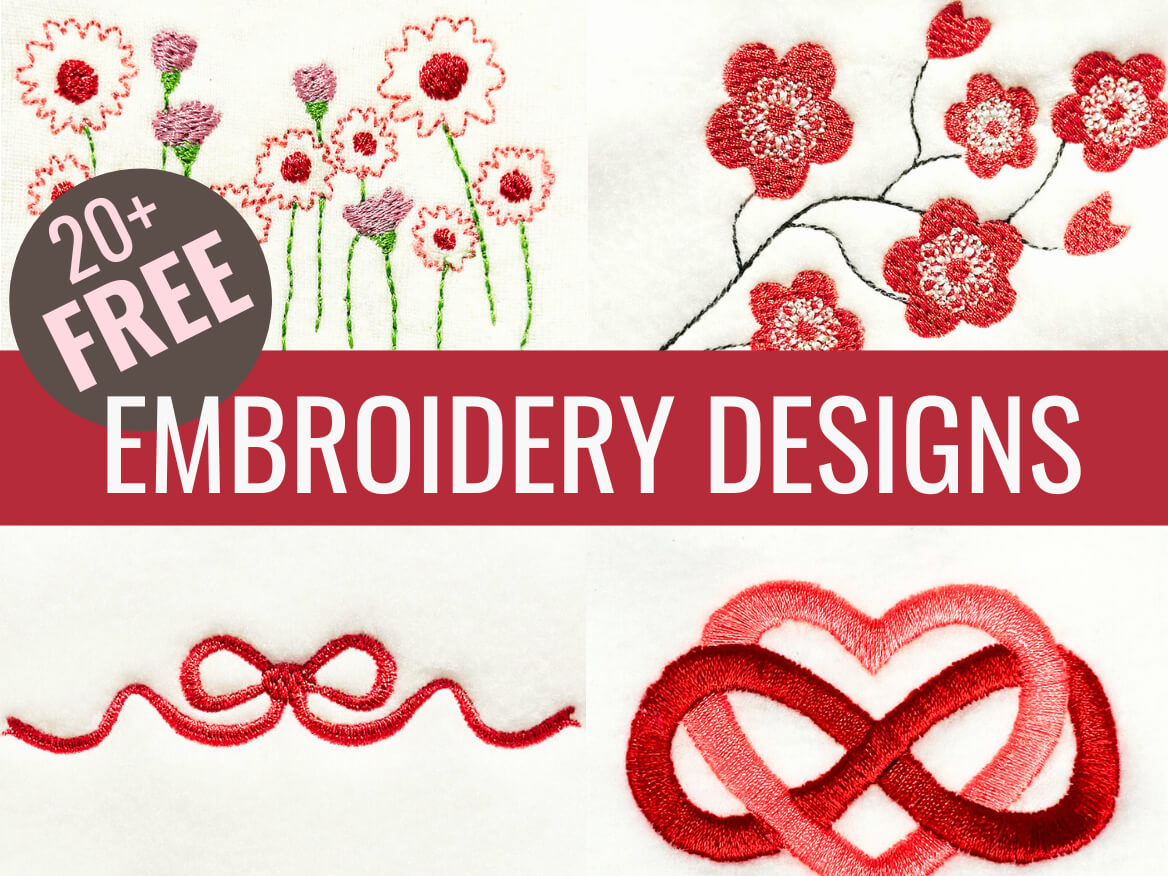
Looking for FREE embroidery designs and PDF patterns?
Subscribe to the Machine Embroidery Geek newsletter
For tips, how-tos, loads of inspiration and access to the resource library full of free machine embroidery designs and PDF patterns.
Thank you!
You have successfully joined our subscriber list.
Are you looking for a way to take your embroidery machine skills up a notch? Want to tackle bigger and bolder projects, but don’t know where to start? It’s time to think big and do a machine embroidery multi-hoop project!
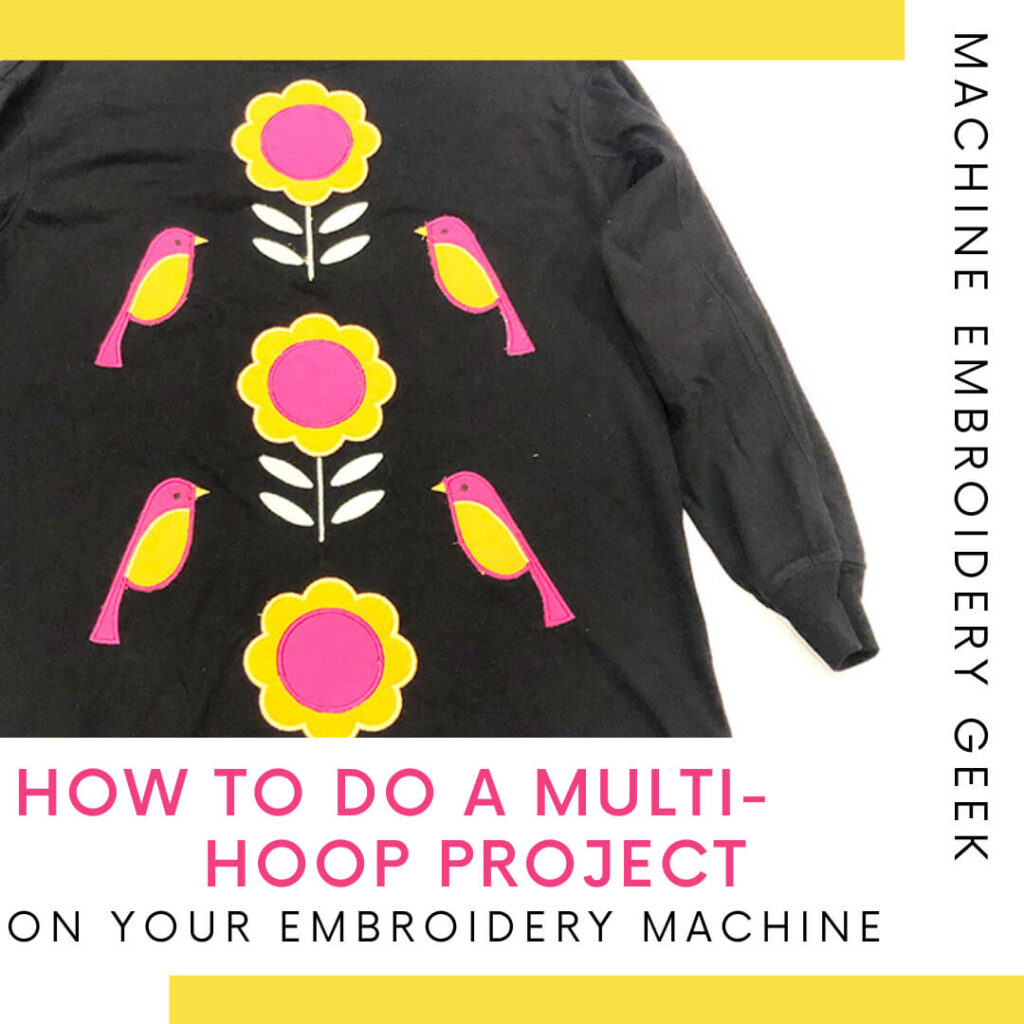
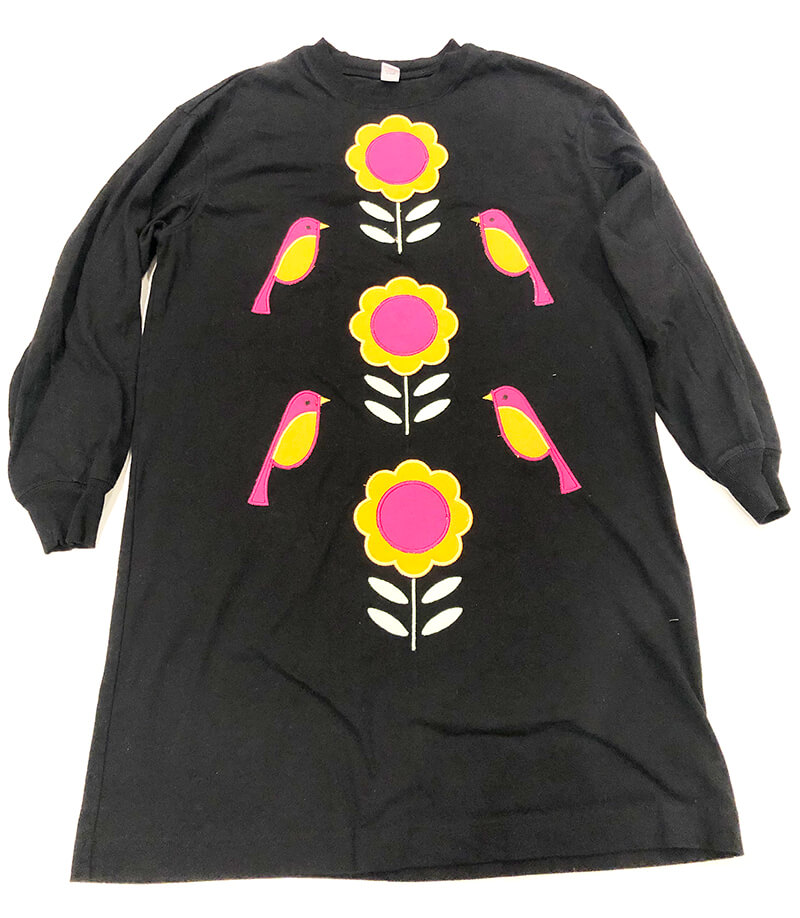
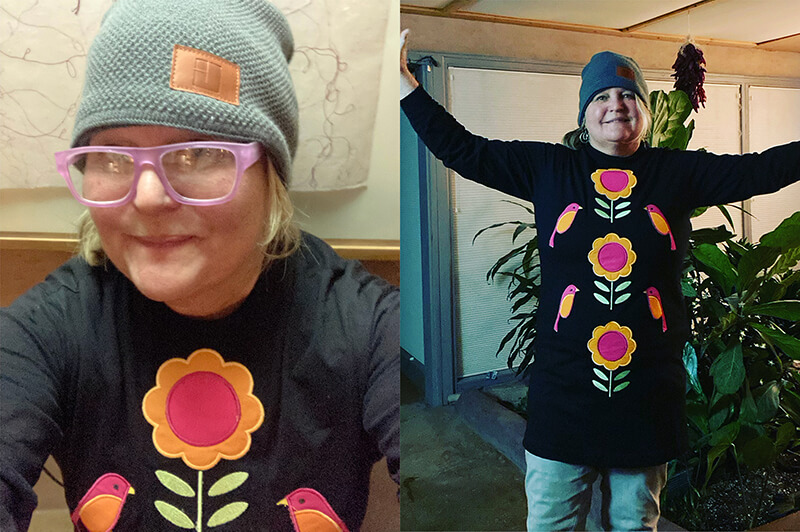
I recently took on one of my biggest multi-hoop projects to date – a retro t-shirt dress featuring mod birds and flower appliqués that I gave to my best friend, Alix for Christmas. (She’s a Machine Embroidery Geek mega fan and will wear just about anything I make her. She’s also the Machine Embroidery Geek top commenter on Facebook – by a landslide!)
Anyway – while I have to admit I was a bit nervous taking on such a project, I’m thrilled with how it turned out. And of course, so is Alix who has already gotten a lot of mileage out of this cute little frock.
Multi-hooping is the process of embroidering on a piece of fabric, clothing or accessory multiple times to create an overall, larger design. Oftentimes embroiderers stitch out instances of their design in close proximity so that the pattern looks seamless!
When you choose to embroider a design in multiple hooping sessions, you have the power to create bigger embroidery projects with a larger impact.
Choosing the right embroidery designs for a multi-hooping project
Choosing embroidery designs for a multi-hooping project is an important decision when taking on a multi-hoop project. Think about it. If you pick a high stitch count design to embroider again and again on your project, it could take a REALLY long time to complete. Think simple!
If you are using a single-needle embroidery machine for your multi-hoop project, you should also consider the number of thread colors included in the design. Once again, if you are stitching a design that has multiple color changes again and again – it’s going to get tedious – really quickly!
Also – consider working with a variety of related designs in your multi-hoop project. It might be a little boring to have the same design repeated again and again all over your garment. If you can find a few designs that work together, your end result will probably be more interesting.
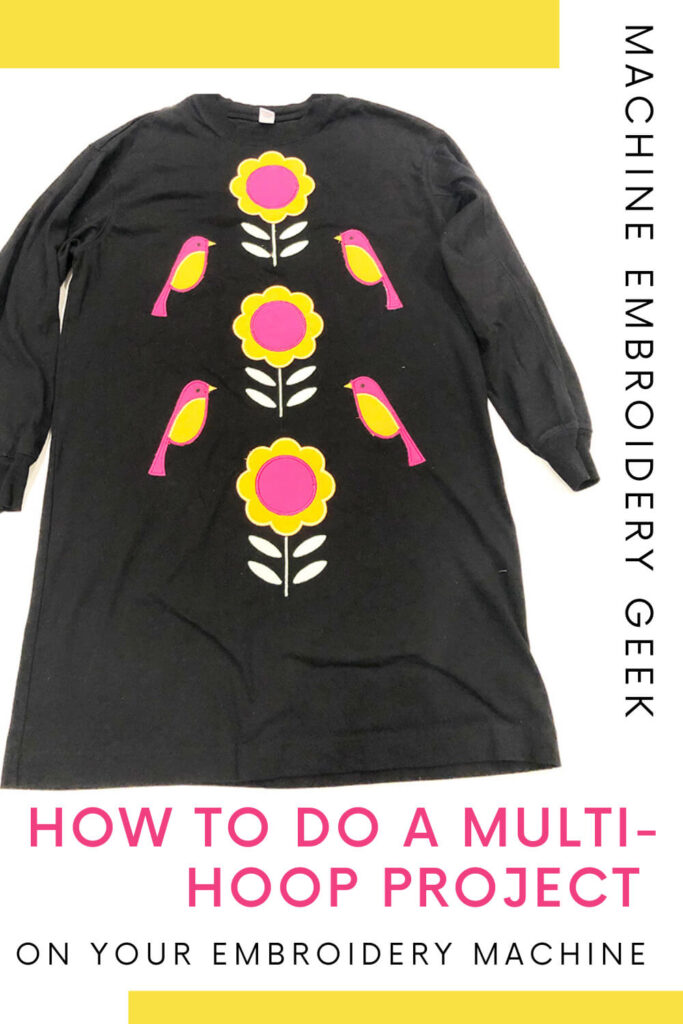
For my project, I incorporated two different appliqué designs: a Scandinavian style bird and flower appliqué. However, I flipped the bird throughout the design so that I had two birds facing the flower down the front of the dress. I think that the unity of mod style of the bird and the flower made the overall design feel cohesive. And the placement of the birds facing each other created a clear focal point for the garment.
Planning your multi-hoop project
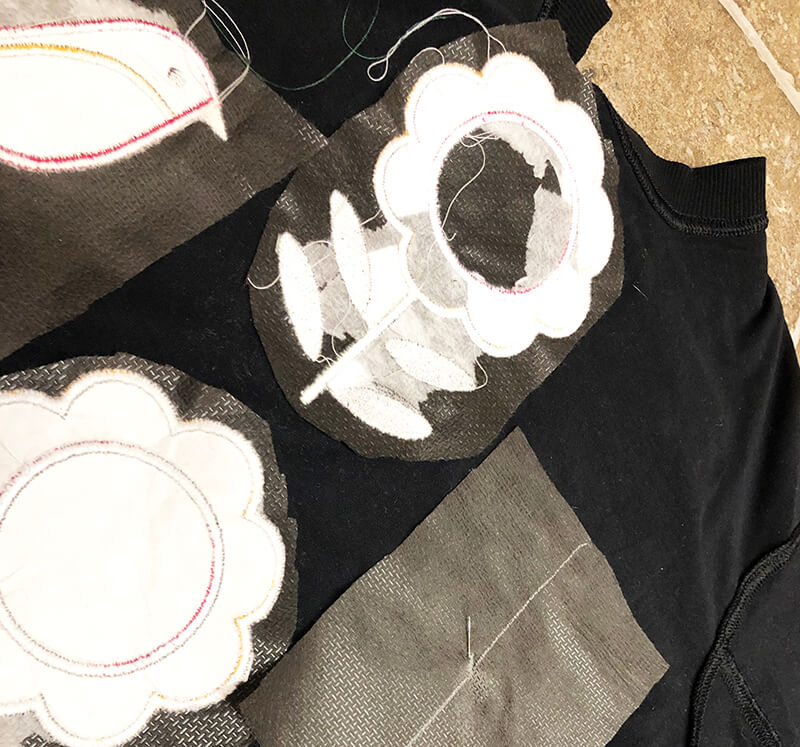
Test stitch your designs
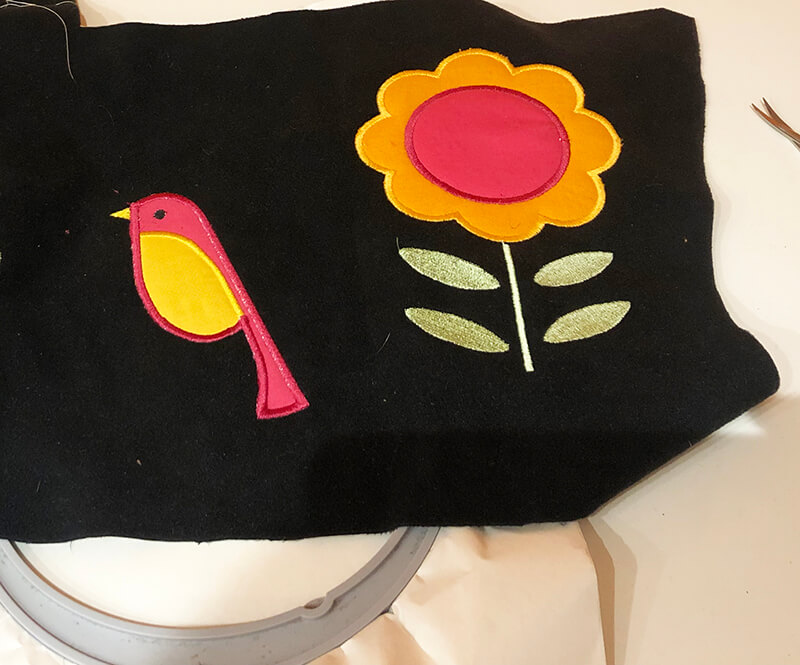
Before you commit to stitching out multiple instance of an embroidery design, it’s a good idea to test stitch your design(s). I stitched out my designs at the actual size I used in my finished project which proved to be quite helpful for visualizing the final piece. I simply placed the test stitches in different spots on the dress to get a sense of what it would look like.
These were my test stitches. I liked the appliqué fabric so much in the test stitches that used it in my final project.
Reduce thread colors (if possible)
When you are ready to start your multi-hooping project, it’s important to plan ahead. After you pick out the embroidery designs you want to use, then consider all of the different thread you will need. If it’s possible to reduce the number of thread color changes in your design – by all means – do it.
If you own a multi-needle embroidery machine, you are in luck especially if your machine will accomodate all of the colors of the design. You will have no thread changing which will make this project go MUCH faster.
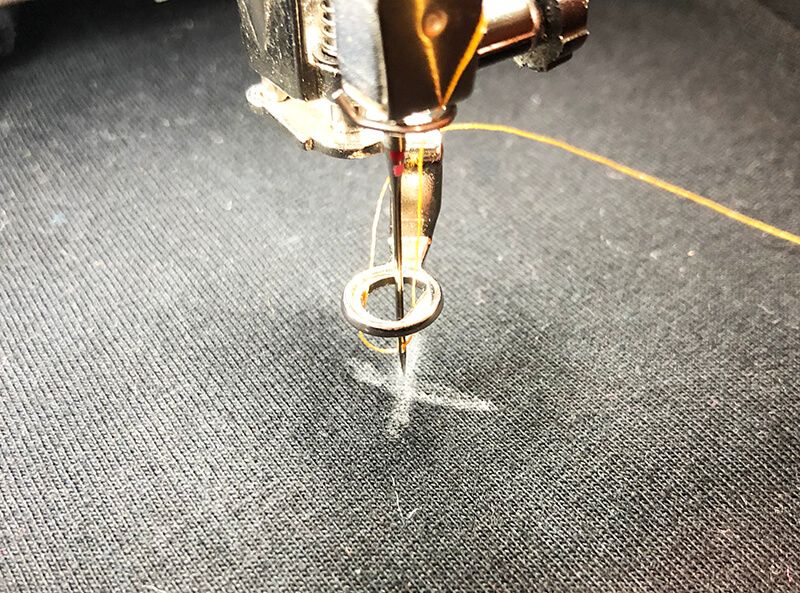
Stabilize properly
Next – think about stabilizing. In my case, since I was embroidering on a t-shirt material, I knew I would need some type of permanent stabilization. Fusible poly mesh is my go-to when embroidering on this type of fabric. I simply fuse a patch of fusible poly mesh on the back side of my fabric (where the design will go) and then float the fabric/fusible poly mesh combo onto a piece of sticky back tear away stabilizer.
Make sure you have enough appliqué fabric
If (like in my case) your multi-hoop project incorporates appliqué – make sure you have enough appliqué fabric on hand before you get started! Once I decided on the colors of my appliqué I made sure I had enough fabric on hand to cover all of the instances of the design. (I used 100% quilting cotton fabric for my appliqué). The last thing you want is to get started with an appliqué design you plan on repeating and then run out of appliqué fabric. It would be a royal pain to try to match the existing fabric you have already started to use.
Pre wash garment and appliqué fabric
In addition – if you are incorporating appliqué into your multi-hoop project – be sure to pre-wash your garment as well as your appliqué fabric. You do not want either fabric shrinking after you have done the appliqué. Trust me on this one – not pre-washing your appliqué fabric is one of the worst rookie mistakes.
Placing your design on your garment or fabric
The best way to get a sense for your your designs will look like on your fabric or garment is to print out the design and tape or pin them in place. Most embroidery software (even some of the free ones) will allow you to print out a design to scale exactly for this purpose.
Once you pin your print outs in place, you can mark the center point of the design on your garment so you have a reference point for where you will stitch out the design.
After I floated my dress on the stabilizer, I nudged my design around (on the machine) so that the center of the design aligned with the spot I marked on the dress.
If you would like a bit more assurance that you will stitch the design in the correct location, you can print your design on DIME’s Peel and stick target paper. You simply print the design on the paper and then stick it on the garment. Keep the sticky paper on the garment to help you position the location of the stitch out.
The folding method is my go to when it comes to positioning an embroidery design on a project.
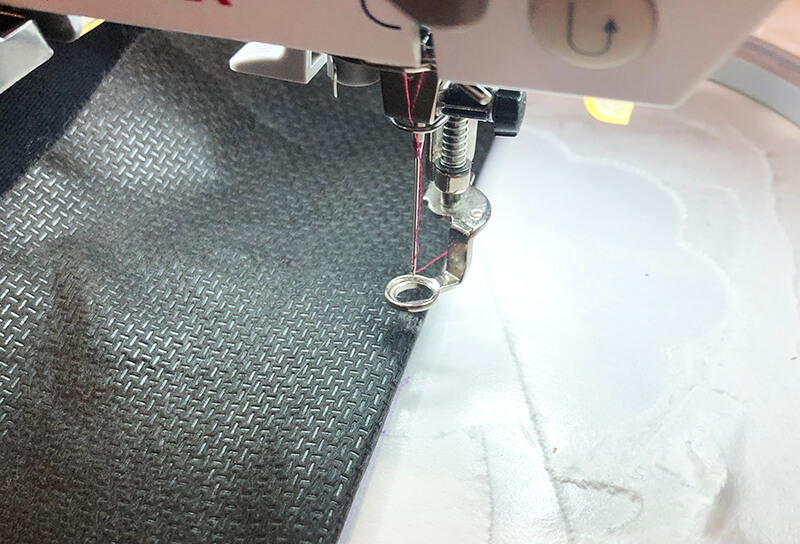
Stitching out your multi-hoop project
As you proceed with stitching out your designs, the stakes get higher and higher. After you have invested so much time hooping each instance of your designs, you certainly don’t want to screw anything up. So, take your time, double check your positioning and make sure all of yoru excess fabric is out of the way before you start embroidering.
It’s also a good idea to trim away excess strings from each stitch out. You don’t need these strings getting caught on any part of your embroidery machine and messing up your stitch out.
Finishing up your multi-hoop project
The finished look of a multi-hooped embroidered project can be amazing. If you are limited to a very small embroidery hoop, it can be liberating to be able to create such a large scale project.
When you finish embroidering all the different instances of your design, clean up the appearance of your embroidery by trimming all the jump strings. On the back side of your project, trim any permanent stabilizer about 1/4″ from the edge of the designs.
Cleaning up the back side of a multi-hoop machine embroidery project
Keep in mind that the back of the embroidery might be a skin irritant, so consider fusing some Cloud Cover over the back of the design to soften any scratchiness from the back of the design.
Sit back, relax and admire!
Now that you have completed your embroidery, stand back and admire all of your hard work – it will be worth it! Enjoy wearing or displaying the amazing embroidered piece that you made with your embroidery machine.
Completed multi-hoop machine embroidery project
Someone loves her new dress!
Frequently asked questions about multi-hoop embroidery projects
What embroidery design formats can I use for a multi hoop embroidery project?
Any embroidery file format will work. The file type must just be compatible with your embroidery machine.
Is it necessary to pre-wash the fabric before embroidering?
Yes, it is always a good idea to pre-wash any fabric before embroidering to minimize any possible shrinking.
What type of stabilizer should I use for a multi hoop embroidery project?
A: It depends. If it’s a garment, you should probably use some type of permanent stabilization. But if it’s a non-wearable on a very sturdy fabric – usually tear away will suffice.
How can I keep my embroidery straight?
After you mark the center location of each instance of your design, draw a horizontal and vertical line through that center point with a disappearing ink fabric pen. Once you float the project on the hoop – make sure that these lines align with the edges of the hoop. This will ensure that your embroidery is straight.
What embroidery machine do I need for a multi hoop embroidery project?
The embroidery machine you own! You can do this technique on any embroidery machine. But a multi-needle embroidery machine will make the project go a lot faster.
What type of design should I use for a multi hoop embroidery project?
You can really choose any type of design. Your imagination is the only limit. Just rembmer that if you are planning multiple hoopings, a very dense design with a lot of color changes will take a really long time to stitch out multiple times.
Ready to try your first multi-hoop project?
A multi-hooped embroidery project is a great way to create something that looks amazing and stands out from the ordinary embroidery. Take your time, plan out your embroidery carefully and you will be rewarded with an embroidered masterpiece! Good luck!
Happy embroidering! 🙂
Want to remember this? Save “How to do a machine embroidery multi-hoop project” on your favorite Pinterest board
1 thought on “How to do a machine embroidery multi-hoop project”
Eileen Rutherford
Thanks, I have a plain table runner that is just waiting for me to add embroidery to it. You are giving me the push I need to attempt my first multi hoop project.
“I recently took one of Julie Griffey’s, The Machine Embroidery Geek, machine embroidery classes. Instructions were clear with good examples of the step-by-step progress to complete the project. The tips she provided kept me from making some frustrating errors. I enjoyed the class and came away with an awesome and fun handmade craft.”


 fabric")


Thanks, I have a plain table runner that is just waiting for me to add embroidery to it. You are giving me the push I need to attempt my first multi hoop project.