Disclosure: Some of the links on this site are affiliate links. This means that if you click on them and make a purchase, I may earn a small commission at no extra cost to you. Please know that I only recommend products and services I trust and use myself.
It happens to the best of us. Despite taking preventative measures to try to avoid messing up, we are human and we make mistakes sometimes on our machine embroidery projects. And it can be SO FRUSTRATING. When this happens to me, my inclination is to simply throw the item away. But, after a few years of listening to the pros, I’ve learned a few ways to creatively fix embroidery mistakes.
In fact, one woman in an embroidery group I belong to, boldly declared “any mistake can be fixed.” Wow. I don’t know about that. But there are some pretty creative solutions to repair a screw up.
Ways to fix embroidery mistakes
Back up your machine
Before you take your garment off the hoop, ask yourself if you can fix your mistake by going backwards. If I end up with some ugly looking stitching due to thread getting caught, I stop the machine, clean up the mess, rethread and restitch. You can’t even tell where your machine messed up.
If my stitching is unsatisfactory, I will sometimes stitch out my design again. I’ve done this when I’ve made dumb thread color choices where it didn’t stand out enough. I simply restitched the design in a better color and it hides my original stitching.
If I make the mistake of not using a topper and the fabric fibers are showing through the stitches, I will simply restitch it over the first round of stitching. Stitching over your previous stitching is the best case scenario mistake. It can be a bit trickier to fix your embroidery mistakes after you have removed the item from the embroidery hoop.
Rip out your stitches
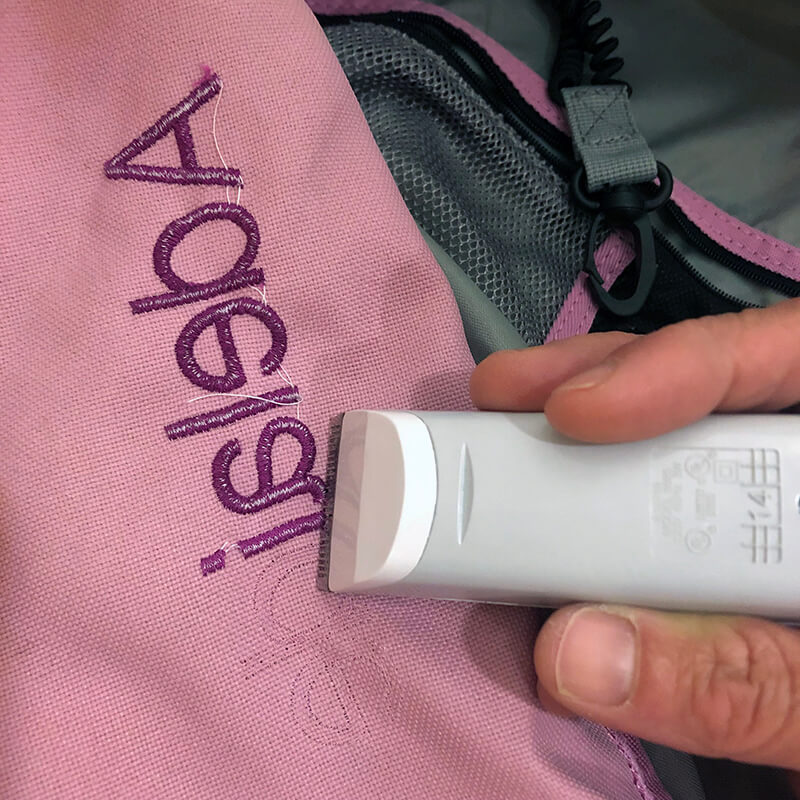
Ripping out your stitches is usually my first go to action for fixing my embroidery mistakes. There are some great tools out there to help you remove your stitches if and when you mess up. I personally love Peggy’s stitch eraser, but there are some other effective tools and methods for removing stitches. Also, removing stitches can be tedious and time consuming, so before you go down that path, you should assess whether removing the stitches is worth your time.
Also, removing stitches doesn’t always yield great results. For example, on very thin, delicate material, you can end up destroying the fabric when you remove the stitches. I’ve learned this lesson the hard way.
A few years back I stitched out the address of my parents new Florida house on some very lightweight (fun and colorful)Turkish towels. I bought them in a rainbow of colors and stitched out address in different coordinating thread colors. Unfortunately, something went wrong while stitching one of the towels and the stitching looked terrible. And when I tried to remove it i started ripping holes in the towel. Because it was Christmas time and I just wanted to get the project done, I conceded and ordered a replacement on Amazon.
Other materials also do not do well when having embroidery stitching removed. For example, stitching on vinyl and leather leaves permanent holes, so removing the stitching is not a great way to fix your mistake. Fortunately there are alternatives.
Cover the embroidery mistake with a patch

Creating a patch from an appliqué pattern and fusing it on top of a mistake is a great way to hide some unsightly stitching. But, this too is only suitable for certain situations. A patch can be a bit stiff, so it wouldn’t look right on thiner fabrics. Also if the mistake that needs to be covered is quite large, you would be hard pressed to find a patch big enough to cover it.
I recently noticed a clever use of a patch to cover a mistake. My son is on the swim team and in the winter he and his fellow swimmers wear swim parkas. A lot of the swimmers have their name embroidered on the parka. I noticed one of his buddies had her name stitched on a patch that was adhered to the parka over the left breast. This made me speculate that the parka was a hand-me-down and the patch was covering the previous owner’s name. Smart.
Not sure how to make a patch on your embroidery machine? Check out my tutorial.
[do_widget id=custom_html-5]
Cut out the mistake with reverse appliqué
Confused? Reverse appliqué is simply cutting away of the top fabric to reveal the appliqué fabric underneath. Because you are removing the primary garment fabric, it’s a great way to literally cut out a mistake and make it look intentional. Want to learn more about reverse appliqué? Check out my previous post.
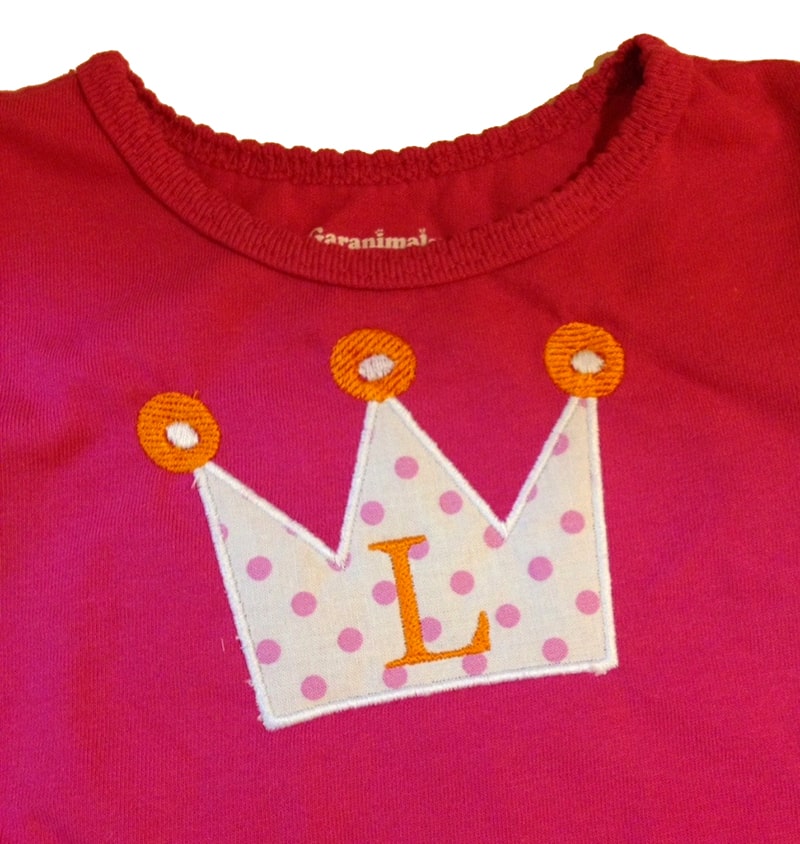
If you make a mistake on a t-shirt or dress for a little girl, adding a bit of bling is a good way to cover it up. Consider adding a few rhinestones, buttons or a bow to hide the problem area. What little girl doesn’t like a little extra frill in her apparel?
Note: If you do add a bow to an appliqué or embroidery project consider making it removable. You can stitch down a little ribbon loop and make the bow detachable using an alligator clip.
Paint over the mistake with a permanent marker
Perhaps after you finished the project, you noticed a spot on the appliqué fabric or the garment itself. You may be able to hide the spot by coloring over it with a permanent marker. I’m not talking about a large area here, just a tiny spot may be able to be touched up. Full disclaimer here: I have not tried this technique, but others have given me this tip.
Add a few stitches by hand
For some reason I’ve had a few stitches come out after I’ve removed the item I’m embroidering from the hoop. And, in order to fix the problem, I really need to fill it in with a few stitches. Well, the likelihood that I can get that item back on the hoop and add the stitches in the right place is slim to none. So… I thread up a regular needle with the embroidery thread I used and fill in a few stitches by hand.
Make a new piece for the garment and redo the embroidery
if you get “lucky” and make a mistake on a removable piece of the garment, you can consider remaking that piece. For example, if the monogram is located on a dress collar, you could take it off and replace it with a new collar. To me this seems like a lot of work, but if the garment is very valuable monetarily or sentimentally, it might be the way to go.
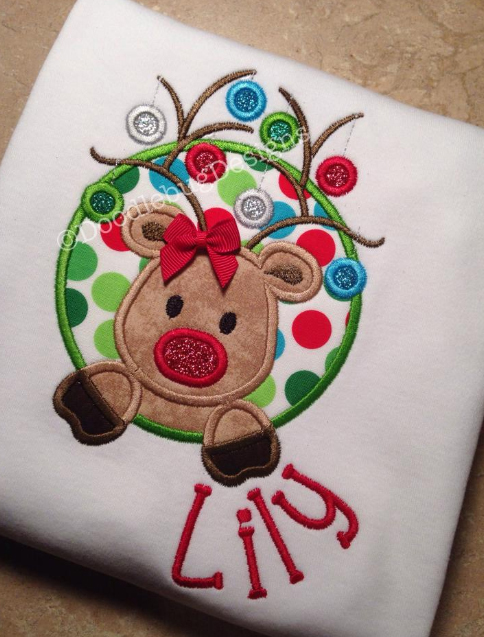
Add a name or another detail to balance out the design
If you notice that the placement of your design is slightly off center, you can achieve balance by adding a name or a detail to the garment to make it feel less so. I’ve seen birthday t-shirts with a design that was off center. Adding a name on one side helped fill in the empty area and made the placement look intentional.
Monogram mistake group
Did you stitch out the wrong monogram on a garment but don’t want to see the item go to waste? Check out the monogram mistake groups on Facebook, and you may find someone who wants to buy it! And, while you are there, you may get lucky and find something with your monogram on it that someone is dying to give away.
Use the garment for small projects or appliqué pieces.
Sometimes my embroidery mistakes are not worth fixing. And when this is the case, sometimes the remaining fabric can be useful. Solid colored t-shirts can become great appliqués like in this fun lizard sweatshirt, or this funky fishbone appliqué.
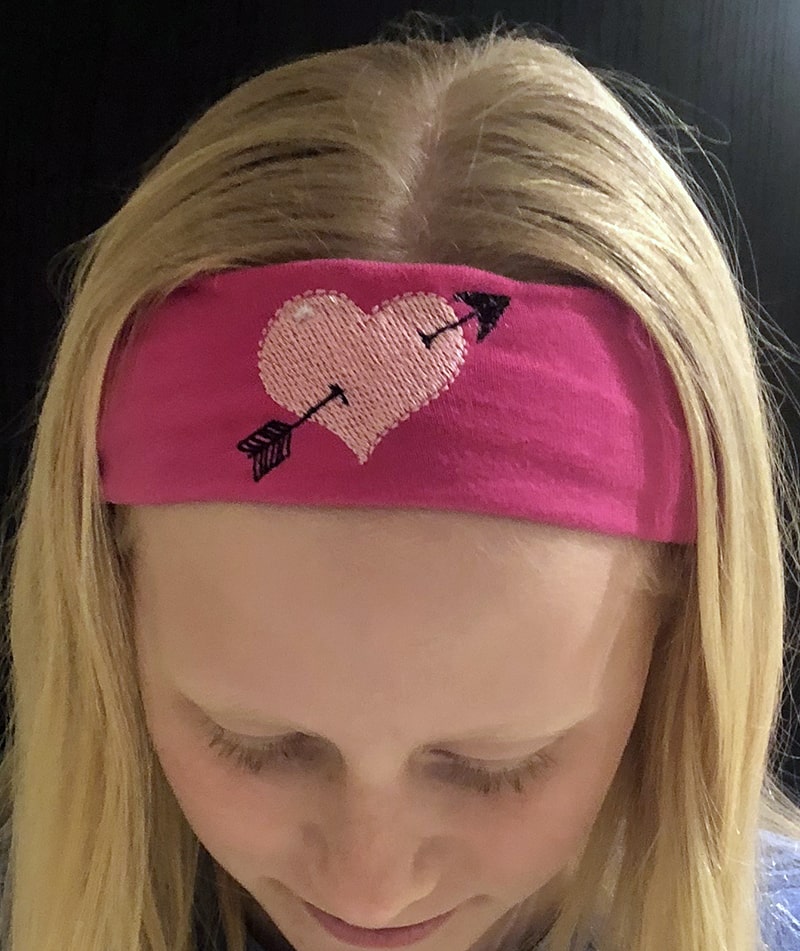
Or, the pieces can be repurposed into smaller projects like the Valentines headband I made from this princess crown t-shirt fail.
So, you see, sometimes you shouldn’t bother trying to fix embroidery mistakes. Embrace the fail and turn it into a win with some creative repurposing!
Happy stitching, everyone!
Julie
Helpful Shopping Links
Want to remember this? Post “How to Fix Embroidery Mistakes” on your favorite Pinterest board!


How can missed stitches on FSL be corrected before removing the stabilizer. I stitched out the design and noticed, after removing from frame, the the left vertical edge side of the design did not meet up with the horizontal rows. Can I do a satin stitch over the entire area? It was a 3 hour stitch process and I hate to think I must do it over. Thank you.
I would just stitch over what you have already stitched. What do you have to lose?
I had to cut the fabric because a piece got caught on the other side so now I have two holes! I can fix one with an appliqué but the one on the front of the shirt is awful!