
Disclosure: Some of the links on this site are affiliate links. This means that if you click on them and make a purchase, I may earn a small commission at no extra cost to you. Please know that I only recommend products and services I trust and use myself.
If you do A LOT of appliqué, there comes a time when you just want to mix it up and do something a little different. Are you with me? Then, it’s time to give reverse appliqué a try. Not sure what I’m talking about? Reverse appliqué is like regular appliqué except the appliqué fabric goes UNDERNEATH the main fabric instead of on top. Then, you cut away the top fabric to reveal the appliqué fabric underneath. Sound complicated? It’s actually not. Keep reading to learn how to do reverse appliqué.
When to do reverse appliqué?
I’ve seen reverse appliqué on everything from formal dresses to t-shirts. I actually made a dress for Creative Machine Embroidery magazine a few years ago, where I used a reverse appliqué technique in a flower appliqué design on a plain black dress. The appliqué fabric was a shiny silver. It turned out great, totally elevating my boring Old Navy clearance rack find.
Want to copy this project? The flower design is available here and you can easily find basic black t-shirt and tank dresses on Amazon. You can also buy some shiny silver fabric there as well.

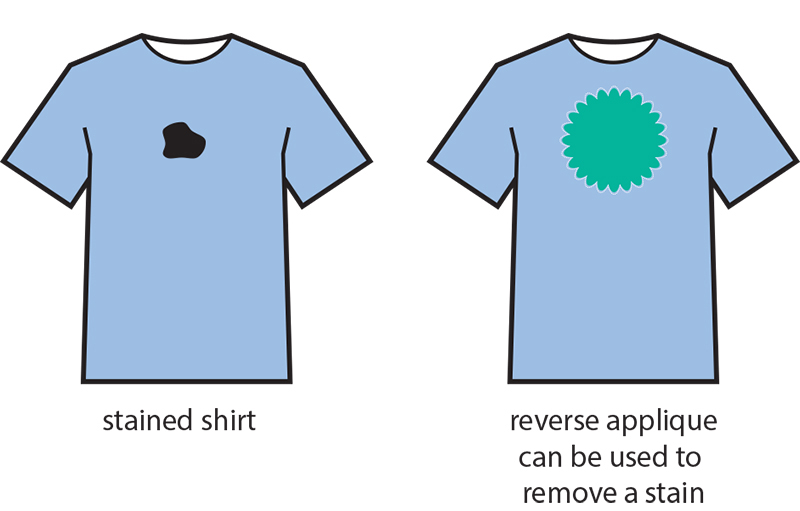
You can also use reverse appliqué for a much more practical purpose: as a means to fix a mistake. First, you must strategically place the cut outs of your design over the stain or mistake. Then you simply cut away the top, flawed fabric to reveal the fabric underneath. Mistake is gone!
[do_widget id=custom_html-5]
What type of stitching is used for reverse appliqué?
You can do reverse appliqué with either a finished satin stitch or a triple stitch. Because a triple stitch finish will leave the raw edge of the fabric exposed, it works best with a knit garment. (The appliqué fabric can be woven though). Knit fabrics don’t ravel, therefore an exposed raw edge wont fray. Therefore, if you want to use reverse triple stitch appliqué as a decorative flair to a garment, a stretchy knit dress (like my aforementioned Old Navy frock) makes a good candidate.
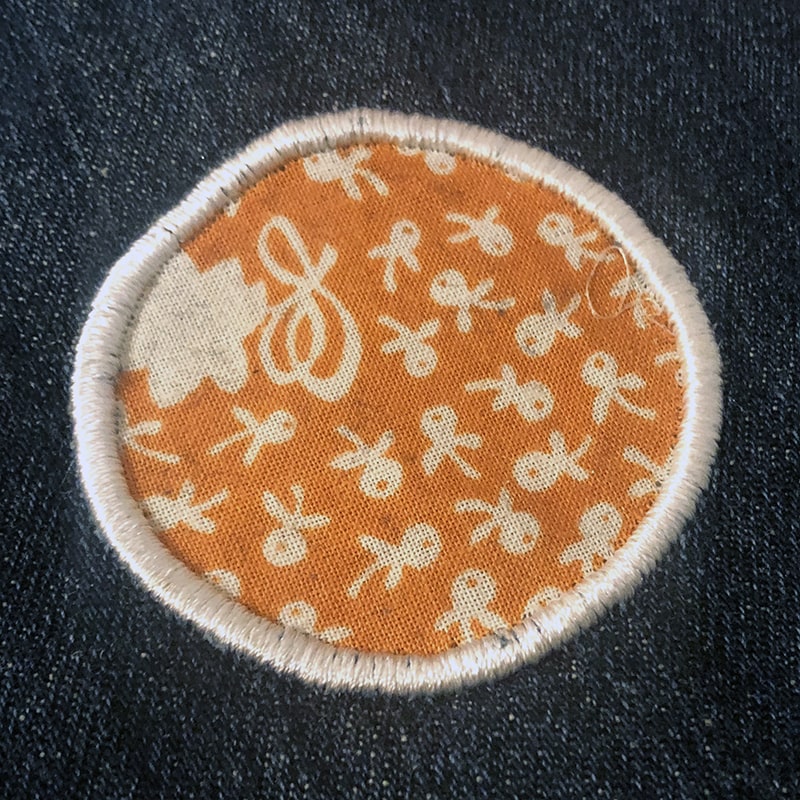
You can also do reverse appliqué with a satin stitch finish. You will just need to cut away the top fabric before doing the final round of satin stitching so that you have a clean, finished edge.
Here’s the deal though, it will look just like regular appliqué, there will just be one layer of fabric (the appliqué fabric) in the appliqué area instead of two. So, I would really only do this if I needed to remove part of the base fabric for some reason. For example, maybe a shirt is so badly stained that the stain would show through the appliqué. Then you would want to do reverse appliqué to get rid of the stained fabric.
Can any type of appliqué design be used to make a reverse appliqué?
Yes – pretty much. There is no reason why you can’t use a typical appliqué design to make a reverse appliqué. It may require a bit of thinking though. During the parts of the stitch out where you would be cutting away the appliqué fabric, instead, you will cut away the top fabric. Just put the appliqué fabric behind the garment you will cut away.
What type of fabric should I use for reverse appliqué?
When you are doing regular appliqué, the appliqué fabric should not be too thick for a few reasons. One – thick fabric is difficult to cut away. Secondly, the raw edge of the thick fabric will be difficult to cover with a satin stitch (if you are using a satin stitch finish). And, finally, thick fabric will just make the appliqué area too heavy and stiff.
With reverse appliqué, however, it is the top fabric (or the garment fabric) that you don’t want to be too thick because it is the fabric that will be cut away. Also, with reverse appliqué, you don’t want the appliqué fabric to be too light and flimsy because it will be the only fabric left in that space.
How do I do reverse applique?
Before you get started, first find a suitable appliqué design. I would make sure that the embroidery design is simple and doesn’t have a lot of shapes within shapes.
Secondly, make sure that the appliqué area is large enough. It’s tricky to maneuver your appliqué scissors within a design to cut away the fabric if the design is small and/or has a lot of tight corners.
Before starting this project, you should wash and dry both the appliqué fabric and the garment of fabric on which you are planning to appliqué. These disparate materials could shrink at different rates, so you want to make sure that all the fabric shrinking is done before you start working with it.
Reverse Applique Method 1
- Hoop a piece of water soluble stabilizer.
- Float your main fabric (dress in my case) on the water soluble stabilizer, centering the location of the appliqué on the dress fabric on the center of the hooped stabilizer.
- Stitch out the first round of stitching. This is the placement stitching for the appliqué design. This shows you where the appliqué fabric should be placed.
- Remove the hoop from the machine and tape the appliqué fabric onto the BACK of the hoop with the right side of the appliqué fabric facing the back of the stabilizer.
- Stitch out the next round of stitching.
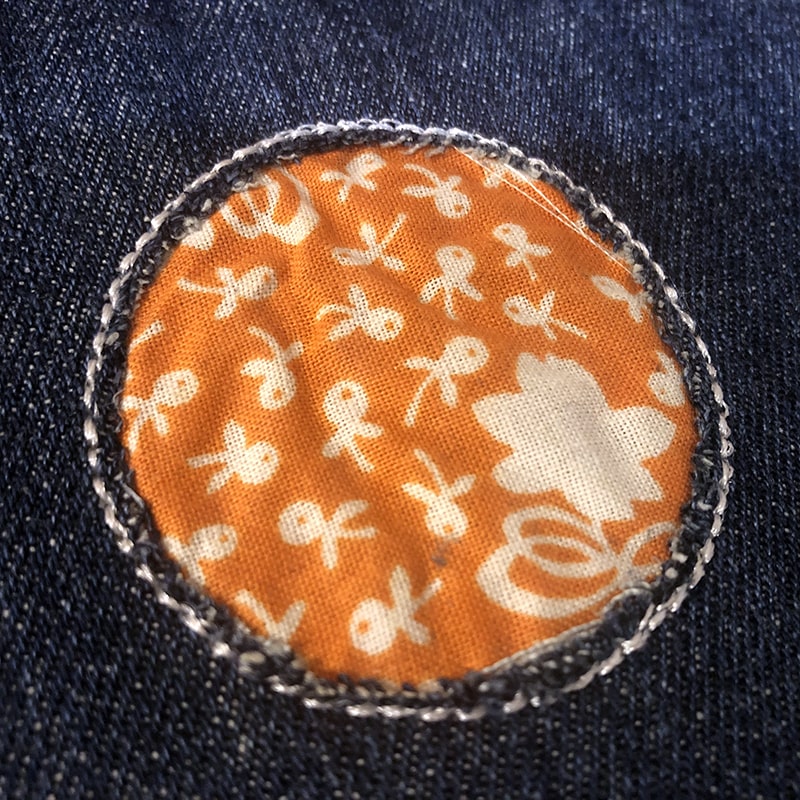
- Remove the hoop from the machine and cut away the top layer of fabric to reveal the appliqué fabric underneath. Here’s how I remove appliqué fabric in an enclosed shape.
- If you are doing a raw edge finish – you are done. But, if you are doing a satin stitch finish, you need to return the hoop to the machine and do your final round of satin stitching to cover the raw edges.
Reverse Applique Method 2
I tried another method for doing reverse appliqué because I didn’t have any water soluble stabilizer and it worked pretty well. This is a more advanced method because you do not get the opportunity to check the placement of your appliqué fabric. Here’s how to do it.
- Tape your appliqué fabric piece to the inside of your garment with the right side of the appliqué facing the wrong side of the garment.
- Hoop a piece of adhesive backed stabilizer.
- Float the garment on the stabilizer, centering the intended location of the appliqué on the dress with the center of the hooped stabilizer. The layers should be: garment on top, appliqué fabric underneath and adhesive backed stabilizer at the bottom.
- Stitch out the first round of stitching. Since the appliqué fabric is already in place, this is stitching serves no purpose.
- Stitch out the next round of stitching.
- Remove the hoop from the machine and cut away the top layer of fabric to reveal the appliqué fabric underneath. Here’s how I remove appliqué fabric in an enclosed shape.
- If you are doing a raw edge finish – you are done. But, if you are doing a satin stitch finish, you need to return the hoop to the machine and do your final round of satin stitching to cover the raw edges.
Still not sure how to do reverse appliqué?
Check out my video tutorial where I demonstrate reverse appliqué method #2.
Happy stitching,
Julie
Helpful shopping links
Want to remember this? Post “How to do Reverse Appliqué” on your favorite Pinterest board!