Disclosure: Some of the links on this site are affiliate links. This means that if you click on them and make a purchase, I may earn a small commission at no extra cost to you. Please know that I only recommend products and services I trust and use myself.
I am a BIG FAN of appliqué. In fact, I like machine appliqué so much that (nerd alert) I belong to several Facebook groups dedicated to the topic. Maybe it’s because I’m impatient? A big piece of fabric appliquéd on another can make a dramatic visual impact without me having to wait a long time for my machine to stitch it out. Or maybe I love appliqué because it gives new life to the fabric remnants flooding my sewing room.
But for as much as I love appliqué, I can see how it can be a bit intimidating, especially for newbies to embroidery machines. If you’ve never done it before – you may not know where to begin. Check out my post on how to do machine appliqué. Appliqué can also be tricky when removing appliqué fabric in an enclosed shape.
Why appliqué can be tricky
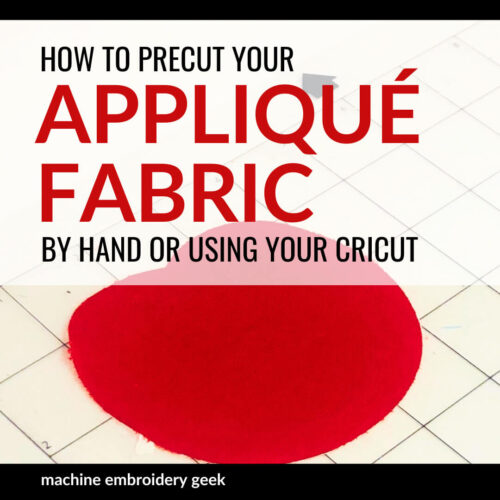
Appliqué can be particularly confusing for newbies because different people have different techniques when doing machine appliqué. For example, to avoid having to trim the appliqué fabric after stitching it down, some people actually pre-cut their appliqué fabric using a Cricut or Silhouette machine, then set it in place (on the garment) and do the final satin stitching. Frankly, that method terrifies me, because I think it would be challenging to align the appliqué fabric properly. I also think it adds another time and complexity to the project.
Appliqué requires a few extra steps where the hoop needs to be removed from the machine and portions of the fabric must be removed. This can be especially challenging when intricate and enclosed parts of the appliqué fabric must be trimmed away.
When you must remove appliqué fabric in an enclosed shape
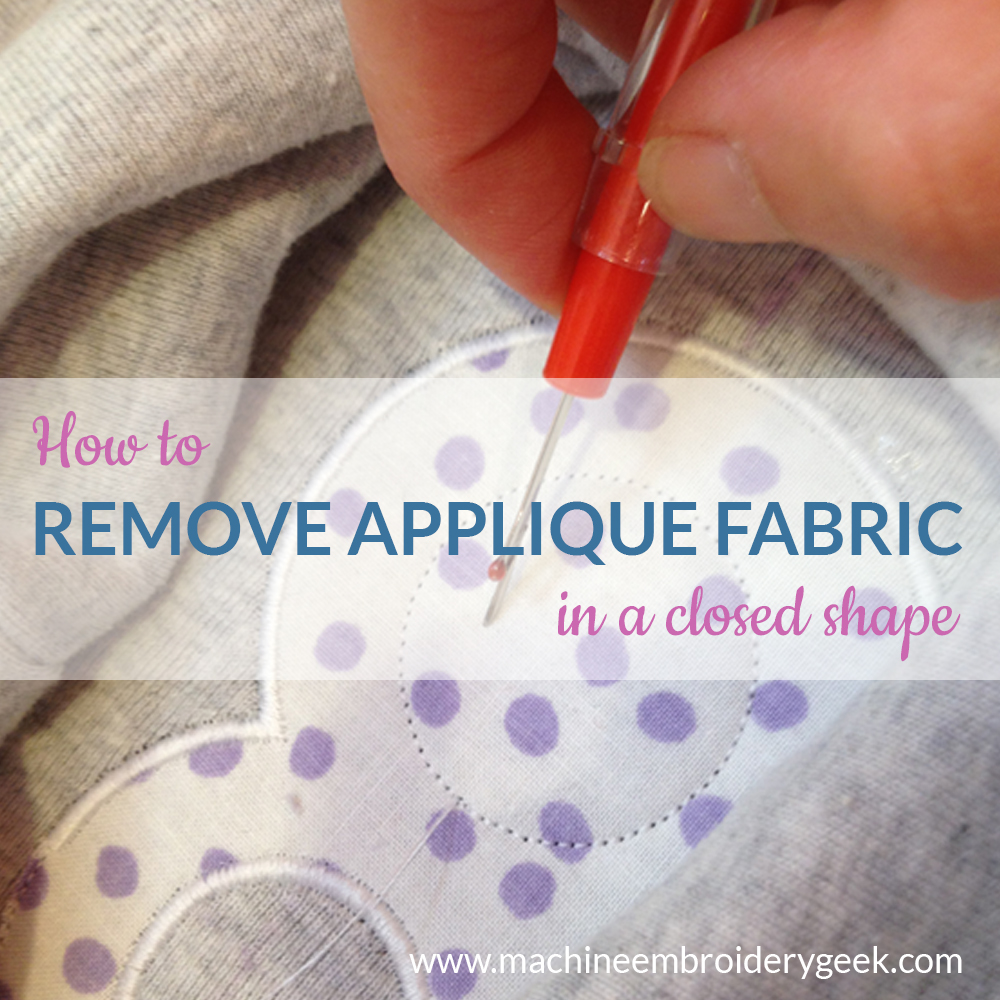
Removing the appliqué fabric in an enclosed shape is a situation I encounter frequently because I often appliqué letters and numbers onto t-shirts and sweatshirts, such as when I made the number eight with crown birthday shirt the other day. With this project, I had to remove the fabric inside the circles of the eight. But you can see here, my method worked just fine and I didn’t precut any fabric before getting started.
Removing appliqué fabric in an enclosed shape
- Iron on some Heat N Bond Lite onto the back of a pre-shrunk piece of appliqué fabric that is large enough to cover the entire appliqué shape. (YES – you should wash and dry your appliqué fabric first!)
- Most appliqué designs start stitching out a placement line. Go ahead and stitch out the placement line before getting the appliqué fabric involved.
- Now lay the prepared appliqué fabric over the placement line of stitching.
- Next, stitch out the tack-down stitching which secures your appliqué fabric in place.
- Now you are ready to remove the fabric around the outside of your design as well as inside of the enclosed shape. Trimming the outside of the shape is fairly easy with appliqué scissors. Just remove the hoop from the machine and begin trimming around the tack down stitching line of the outside of the shape.
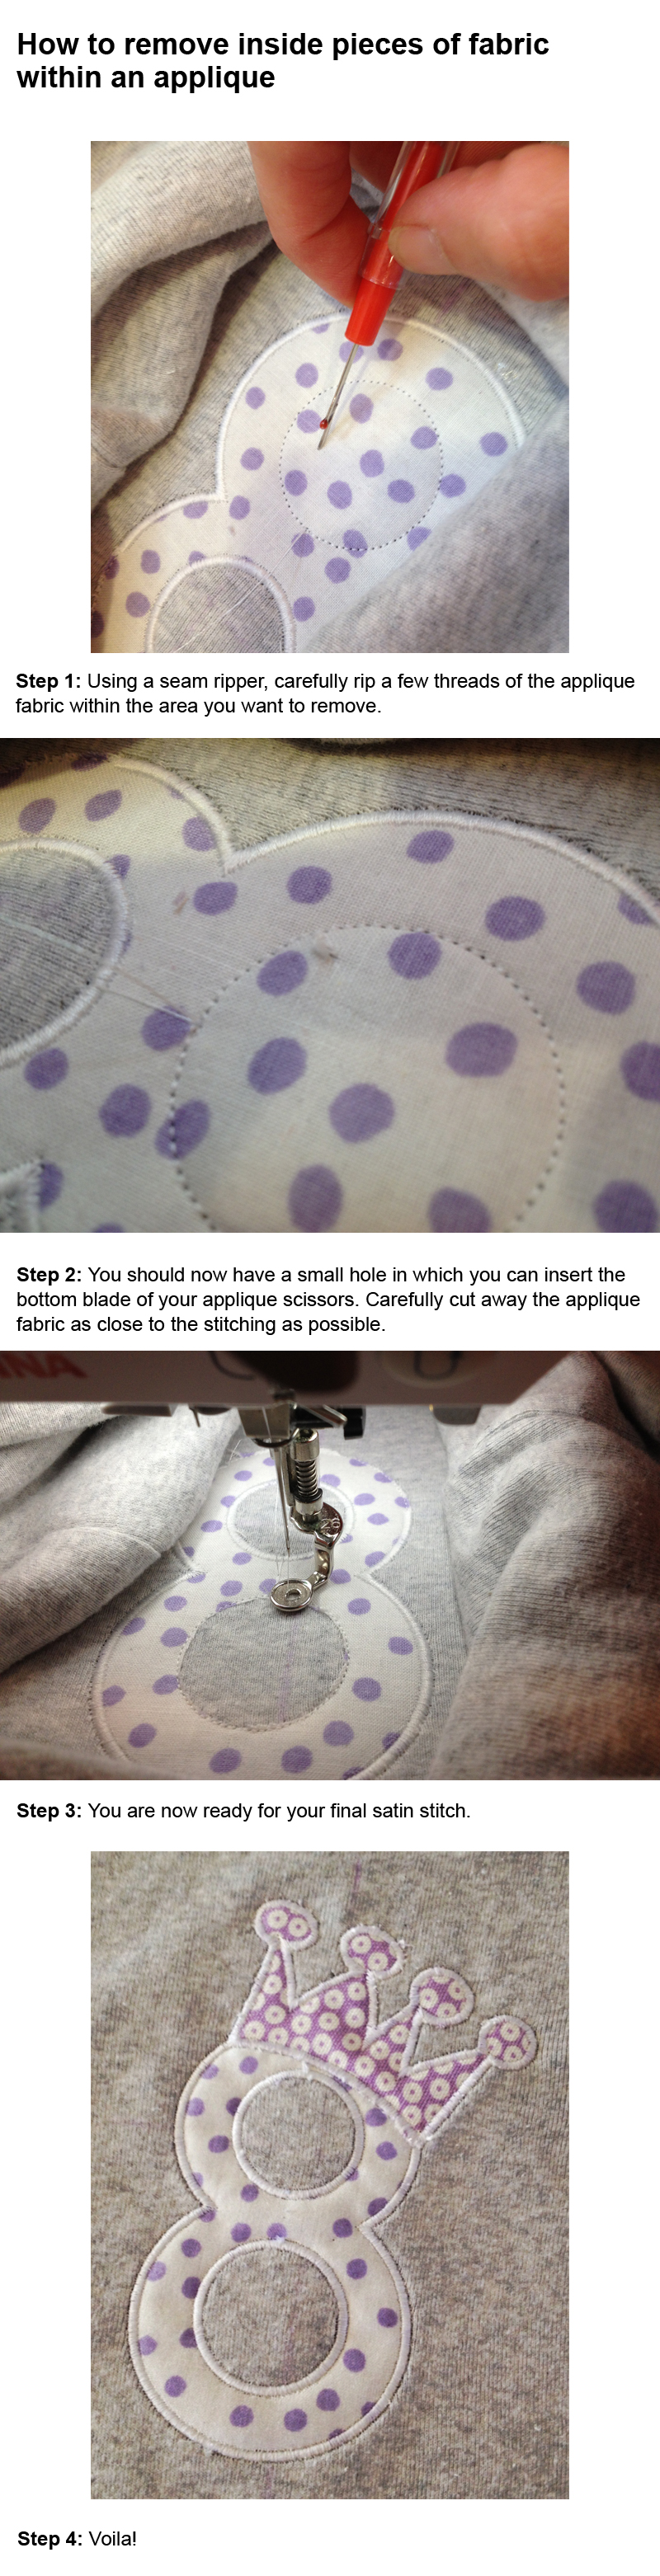
- To remove the appliqué fabric in the enclosed shape, start by making a small hole in the appliqué fabric using a seam ripper. If this step makes you nervous, you can print out the design, lay it on top of your appliqué fabric and make a small slit in the appliqué fabric in a spot where the enclosed shape will be. In order to do this – you must be careful with the placement of the hole so that you make it in the right spot.
- Carefully slide your appliqué scissors underneath the hole you just made, being careful to lift up the appliqué fabric from the garment with your scissors and not make a hole in the t-shirt.
- Once you make a small incision with your appliqué scissors, it’s smooth sailing from there. Cut the appliqué fabric up to the tack down stitch line and trim away the enclosed shape.
- Return the hoop to the embroidery machine and complete the final satin stitching.
Tips for removing appliqué fabric in an enclosed shape
Keep in mind that in order to do any type of appliqué, you MUST have a pair of appliqué scissors. Honestly, you really don’t need anything fancy. I actually have 2 pairs: a nice pair of Gingher appliqué scissors and another cheap pair from Walmart. I actually prefer to use the cheaper pair when removing appliqué fabric from an enclosed shape. Since they are not as sharp, they are less likely to cut my garment.
I was actually quite nervous about removing fabric from an enclosed shape when this situation came up initially. But if you’re careful – it’s actually no big deal. So far – using this method – I haven’t cut any holes in any shirts. (Knock on wood.)
See? You got this. You’re ready for some appliqué projects.
Happy Stitching!!!
Julie
Want to remember this? Post “Removing appliqué fabric using appliqué scissors in an enclosed shape” on your favorite Pinterest board!