Disclosure: Some of the links on this site are affiliate links. This means that if you click on them and make a purchase, I may earn a small commission at no extra cost to you. Please know that I only recommend products and services I trust and use myself.
I never anticipated that after I started making appliqué designs, people start asking me how to use them. It all seems so simple to me now. But, I do remember when getting started that I, too, was perplexed about how to appliqué on an embroidery machine.
But, before we get TOOOOO deep here – let’s start with the basics.
Products mentioned in this post
What is appliqué?
Appliqué is the process of simply stitching down one piece of fabric on top of another one. It can be done by hand, on a regular sewing machine, or with an embroidery machine.
Typically the top appliqué fabric is secured to the bottom fabric using a satin stitch. This is simply a zig zag stitch with a very short stitch length so each zigzag sits right up against the previous one. The result is that there is no visible space between the stitches; it appears continuous. This is typically called a “satin stitch” finish and is the most common type of stitching done around the outside edge of the appliqué fabric. The benefit of a satin stitch finish is that it helps to keep the appliqué fabric from unraveling.
Confused about these terms? Check out my blog post about machine embroidery terms you should know.
[do_widget id=custom_html-5]
Free motion appliqué on a regular sewing machine
My first major appliqué project was a black duvet cover donned with colorful bold animals that I made for my college dorm room bed. (I know sounds a bit juvenile for college. I’m not sure what I was thinking.)
The technique I used to make this project was free-motion appliqué which means that the operator of the sewing machine must steer around all the outside edges of the appliqué fabric pieces. However, prior to stitching, the appliqué pieces must be pre-cut in the desired shape and fused onto the base fabric.
Fortunately, for this project, my friend, who has a signature illustration style, drew the animals on tracing paper. I then used these as a pattern to cut out all the animals. But, before I cut out the animals, I ironed on some HeatNBond Lite on the back of the appliqué fabric, so that once I cut them out, I could fuse them in place on the top piece of the duvet.
Some of the animals had appliqué details on top of them so I had to first appliqué onto my appliqué animals. Ugh! So much work.
Once I had all the animals cut out, with details appliquéd onto them, I fused them onto the duvet top and started satin stitching around all the outsides of all the pieces. I did this on a regular sewing machine with the feed dogs down using the widest zig zag stitch and a very short stitch length.
That crazy duvet took FOREVER to make but certainly made a statement in my college dorm rooms.
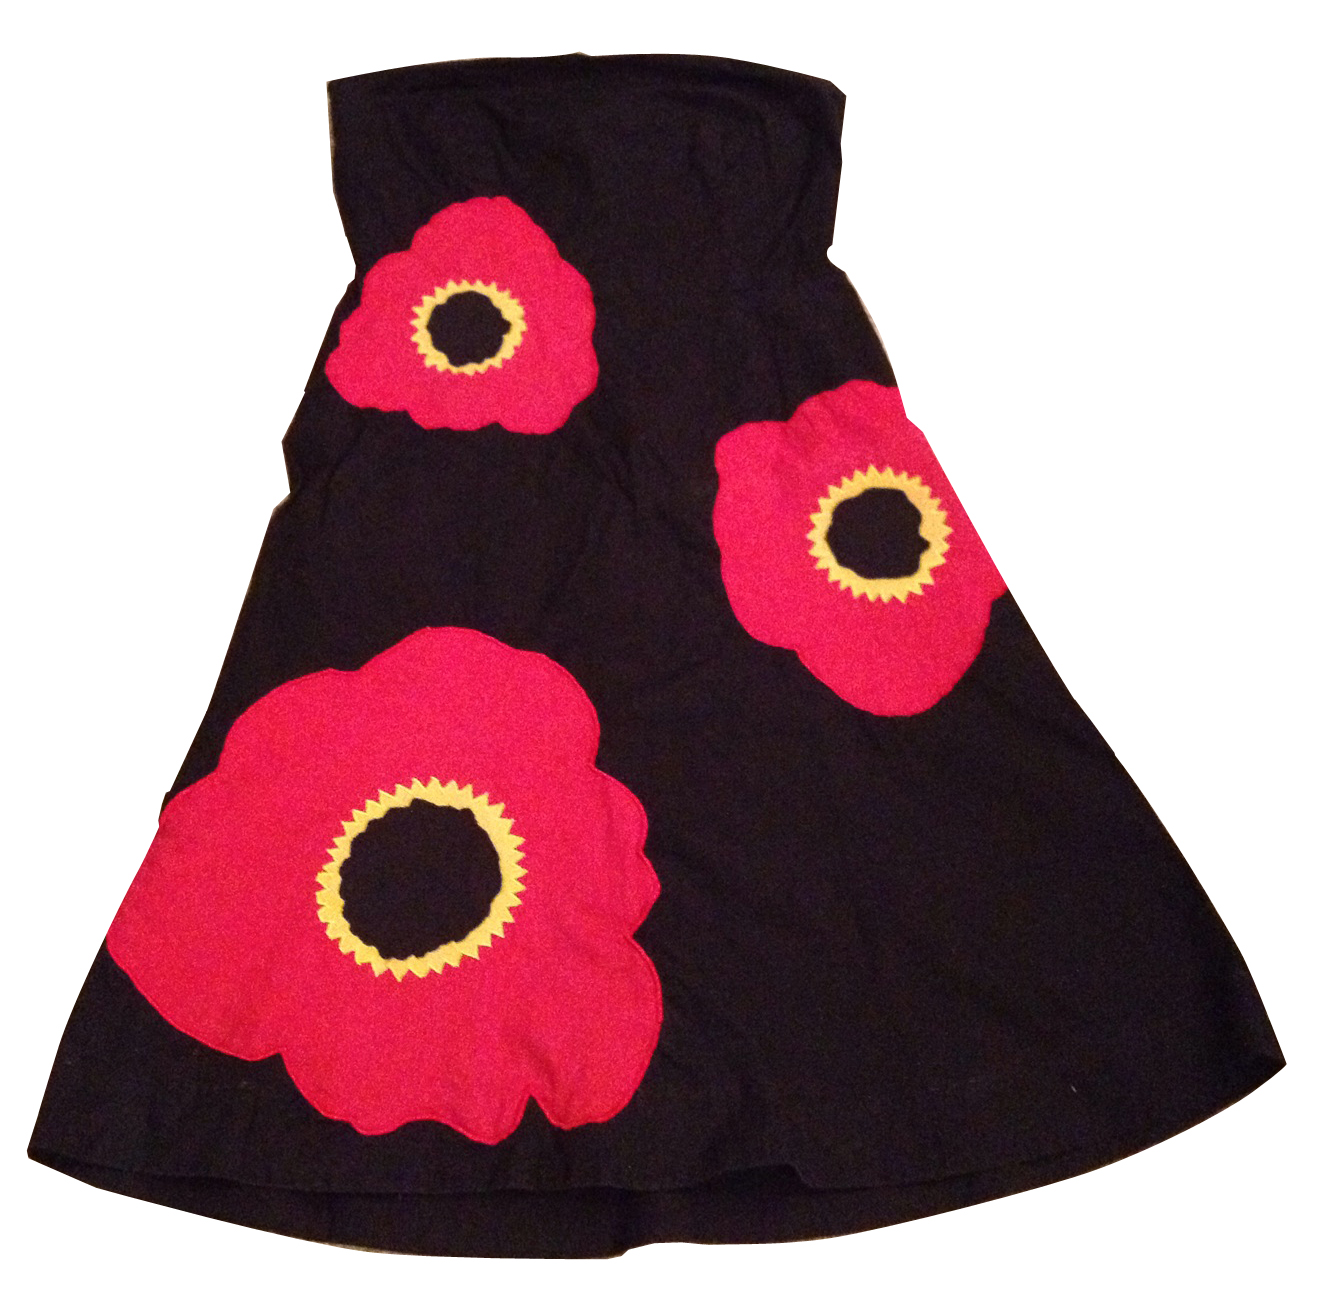
One of my other favor free-motion appliqué project was my poppy dress, where I converted a boring, black strapless dress into a pretty crazy fashion statement. Once again, I used a free-motion appliqué technique to attach the poppies to the dress.
Appliqué on an embroidery machine
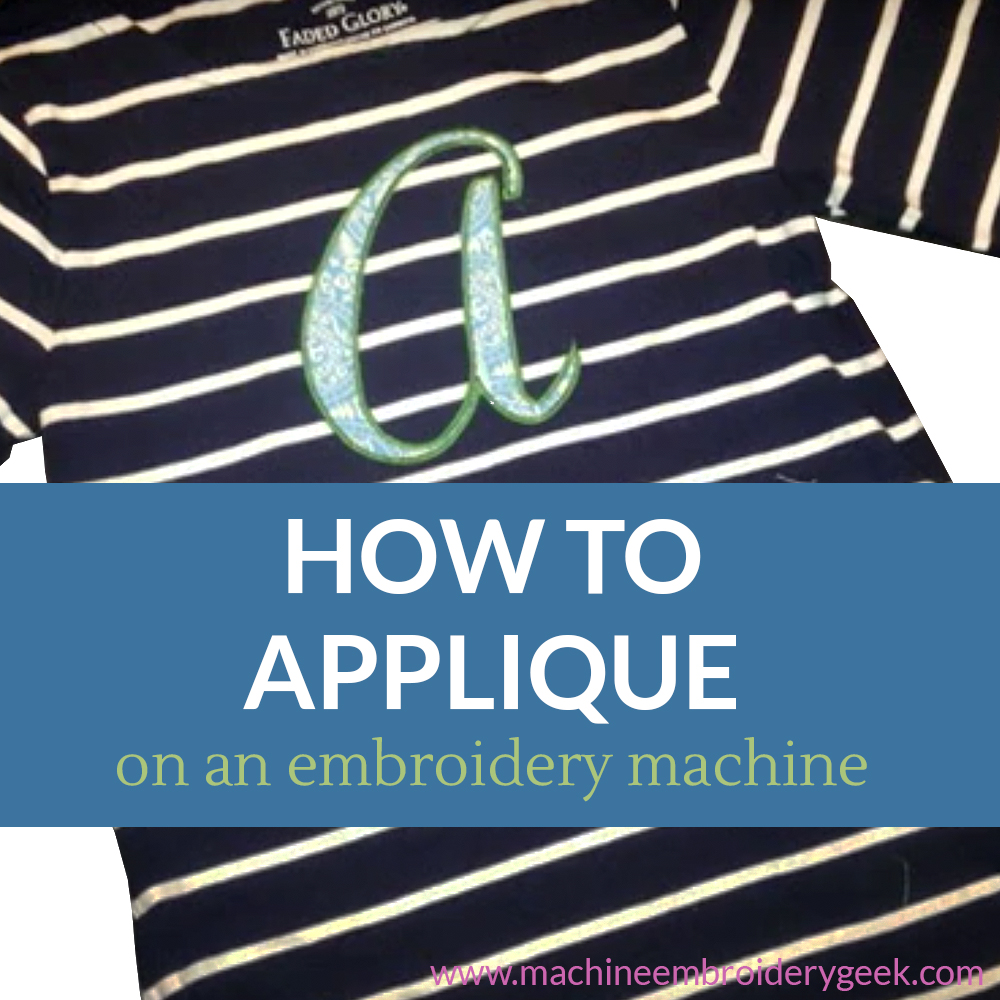
Now I do tons of appliqué on an embroidery machine. The only downside to appliqué on an embroidery machine is that you are limited to an appliqué the size of your embroidery hoop. But, it’s a heck-of-a-lot faster and more precise than free-motion appliqué. Here’s how to do it.
Materials needed to appliqué on an embroidery machine
- Small piece of (PRE-WASHED) fabric for appliqué piece. Your appliqué fabric should be not too thin, and not be a fabric prone to unraveling. Most of the time I use quilting cotton broadcloth for appliqué pieces. But, since it’s cotton, it shrinks. So always pre-wash the appliqué fabric.
- Piece of HeatNBond Lite the same size of the appliqué fabric piece.
- Pre-washed garment or fabric on which you are attaching the appliqué.
Different types of appliqué files
There are primarily two different types of appliqué files, ones with a satin stitch finished edge and ones designed to have a raw edge.
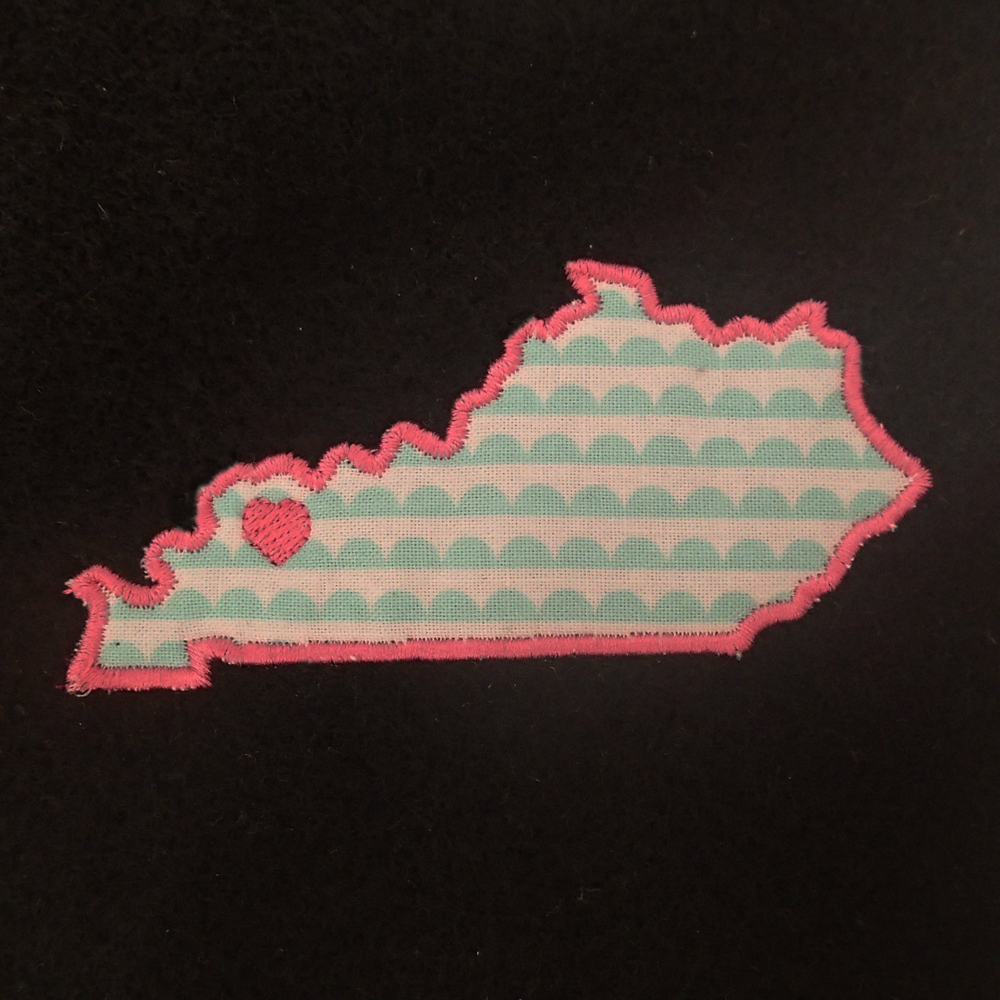
Appliqué designs with a satin stitch finished edge are the most common type of appliqué design. A satin stitch finish completely covers the raw edge of the appliqué fabric. Some companies make appliqué designs with more of a beaded edge. It is still a finished edge of a satin stitch – but is a bit more decorative than a standard satin stitch appliqué. I’m either case, the file is set up to stitch out in three different thread colors (placement stitching, tack down stitching and final satin stitching), which gives you the opportunity to take important steps between each round of stitching. I’ll explain more about how this works in a bit.
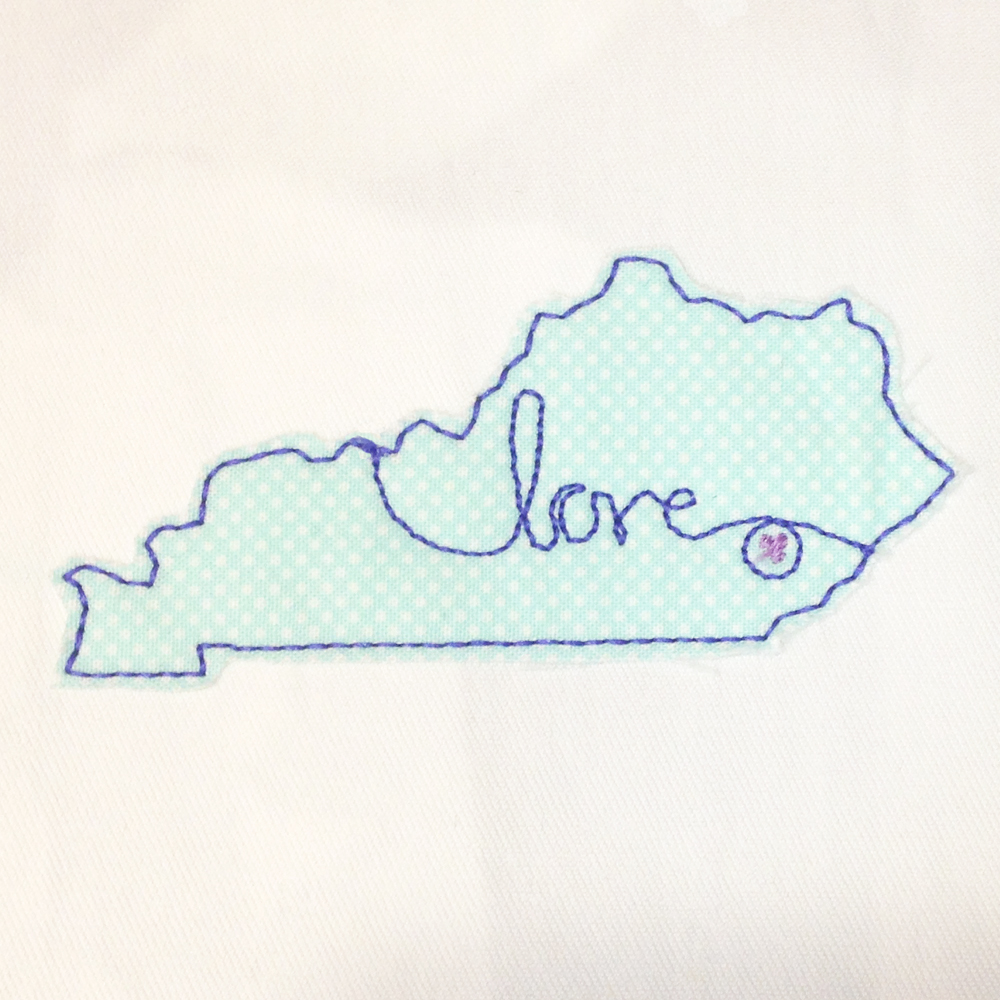
A raw edge applique file is just that – one that is designed to have the raw edge of the appliqué fabric exposed. For these types of designs – you only have two rounds of stitching. The first round is placement stitching and the second is a running stitch. You trim the fabric close to the running stitch and leave the edges raw.
How to appliqué on an embroidery machine – step by step instructions
Step 1: obtain an appliqué design
Any company that sells embroidery designs will also likely offer appliqué designs. If you want to create an appliqué, you must get an appliqué design – not a filled embroidery design.
Don’t want to spend any money on an appliqué design? Look around – you will likely be able to find some free appliqué designs available for download.
Step 2: prepare your appliqué fabric
ALWAYS – wash and dry your applique fabric and your base fabric before you start this process. If you fail to wash and dry these items prior to attaching them together – you can get disastrous results after you wash and dry the finished products. The appliqué fabric and the base fabric can shrink at different rates and you are left with a bumpy mess.
Next – cut out your appliqué fabric pieces. Some designs have more than one appliqué area – so you will need to cut out fabric for each one. You should open your appliqué design in software like SewWhat-Pro or Embrilliance Essentials to see how large each piece needs to be. Even free embroidery software can be helpful in showing you how big each piece needs to be, so if you don’t have any embroidery software, it might be worth getting some – just for this purpose.
Before getting started, fuse the HeatNBond Lite onto the appliqué fabric, and peel away the backing. Using ample steam helps fuse the HeatNBond Lite onto the appliqué fabric.
Step 3: prepare your embroidery hoop
In order to appliqué on an embroidery machine, you must first secure your base fabric in an embroidery hoop. You can either hoop the item or float the item. Either way – the base fabric must be secured on or in the hoop.
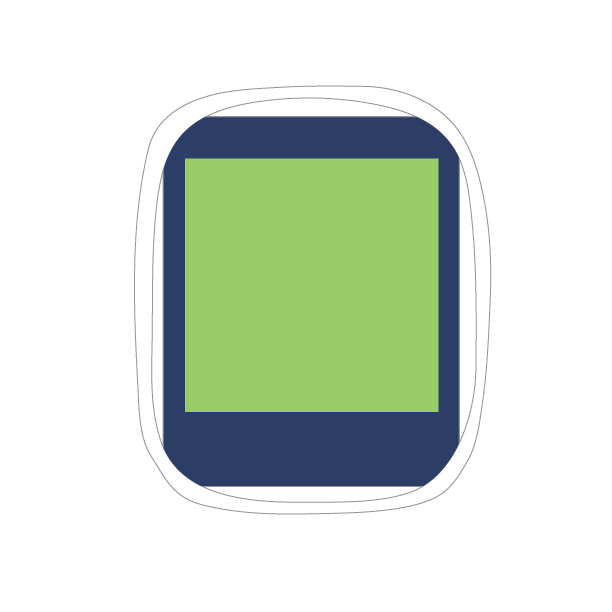
Step 4: start stitching out the placement stitch line on the base fabric
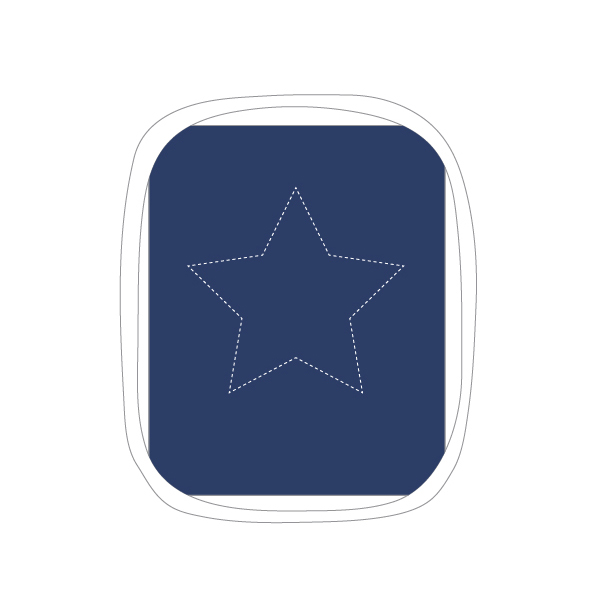
The first thread color in an appliqué design is always the placement stitching line. It is intended to show you where to lay down you appliqué fabric. It doesn’t matter what color you use to stitch the placement stitching because it will be covered by the appliqué.
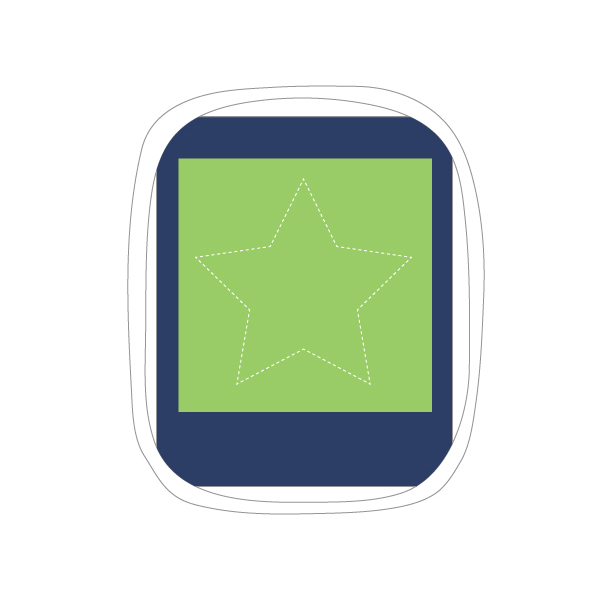
Step 5: stitch your tack down stitching
At this point, you should place down your appliqué fabric fused to HeatnBond Lite over the placement stitching and start the next round of stitching.
The tack down stitching secures your appliqué fabric to your base fabric.
Step 6: trim your appliqué fabric
After this round of stitching is done, you need to remove the hoop from the machine and trim the appliqué fabric around the tack down stitching line. It’s essential that you use appliqué scissors for trimming to get as close to the stitching as possible without cutting a hole in your fabric.

Some appliqué enthusiasts like to pre-cut the appliqué fabric before tacking it down. You can either do this by hand or use a Cricut machine to cut it out. (Personally this seems like extra work and requires too much precision, so I do not take his step. )
Step 7: final satin stitching.
Return the hoop to the machine and begin stitching. The final stitching will take the longest as the machine is creating a satin stitch all the way around the outside of the appliqué piece.

How to appliqué raw edge designs
As I mentioned earlier, some appliqué designs are intended to have a raw, unfinished edge. I personally like this look on casual kid clothes. For these types of appliqué designs, a knit (like t-shirt weight) material works well as the appliqué fabric. In fact, I’ve used my husbands old t-shirts and ones I’ve picked up at Goodwill for some of my favorite appliqué projects.
Raw edge appliqué projects are even easier than their satin stitch appliqué counterparts, as there are just 2 rounds of stitching: the placement stitching and a dense running stitch. I refer to this as a triple stitch because the machine stitches each stitch three times for a bolder, more defined line.
Appliqué project ideas
Over the years I have made tons of appliqué projects on my embroidery machine. In fact, a personalized, appliqué t-shirt or sweatshirt is usually my go-to gift for kid birthday gifts. (And either they all are lying to me but the kids LOVE them). Here are a few of my favorites to provide you with a bit of inspiration.
- Personalized little girl tunics
- Birthday crown t-shirt
- Gecko Hoodie
- Patches
- Fishbone t-shirt (a fun triple stitch applique)
- Love shirt
Frequently asked questions about appliqué on an embroidery machine
Can you appliqué on a Brother embroidery machine?
Yes – any embroidery machine has appliqué capabilities. You just need to get an appliqué design in the appropriate format for the machine.
Is embroidery the same as appliqué?
Nope. While both techniques can be done on an embroidery machine, embroidery does not incorporate fabric into the finished design.
What is reverse appliqué
Reverse appliqué is a technique where you secure the appliqué fabric underneath the base fabric. Then you cut the base fabric away to see the appliqué fabric underneath. Check out this post where I demonstrate reverse appliqué.
How do I keep my appliqué from fraying?
I believe that fusing the HeatNBond Lite to the back of the appliqué fabric helps to prevent fraying. However, you can also “paint” the edges of your appliqué fabric with Fray Check to keep it from fraying as well. Generally, a satin stitch appliqué does not fray since the raw edges are completely encased in stitches.
How to applique on an embroidery machine video
I have created a video to help you better understand my process of how to appliqué on an embroidery machine. In the following video you will see how I personalized a similar tunic. It’s cheap (purchased at Walmart), it’s easy to do and kids will love it. I hope this helps you on your appliqué journey. Let me know how it goes!
Quick Shopping Links
Want to remember this? Post “How to appliqué on an embroidery machine” on your favorite Pinterest board!