Disclosure: Some of the links on this site are affiliate links. This means that if you click on them and make a purchase, I may earn a small commission at no extra cost to you. Please know that I only recommend products and services I trust and use myself.
One of the most common requests I get from my readers and through my Etsy store is if I can stitch out one of my designs as an embroidery patch. And, I’ve actually made a patch for a customer from one of my designs. But, I’ll admit, initially I was a bit confused about how to make a patch on an embroidery machine.
Products mentioned in this post
What are embroidery iron on patches?
An embroidered iron on patch is a piece of fabric embroidered with a design and with a finished satin stitch edge with a fusible backing. They are typically fairly stiff and durable so that they hold up on outerwear and even soft luggage.
Because iron on patches they have a fusible backing, they can be ironed on to another piece of fabric wear or even outerwear or outdoor gear.
What to do with iron on patches
Machine embroidered patches are awesome. You can iron them on anywhere, which can be a lot easier than finagling a backpack or a hat onto a hoop on an embroidery machine.
Patches are also user-friendly. Anyone with an iron can apply a patch.
Many people collect patches for assorted reasons. One of my prized possessions as a kid was a fishing hat bedazzled with patches from all the trails we hiked in Colorado. While all the patches featured different graphics, they were all uniform in shape which made the collection feel cohesive. (See – I cared about design even back then!)
Different types of organizations use patches to signify memberships or accomplishments, such as the Girl Scouts, Boy Scouts, motorcycle clubs, etc. While some organizations have fairly standard patches, others need custom ones designed, digitized and made from time to time.
One of my Facebook friends who runs an embroidery business makes a lot of patches for companies and organizations like electrical, fencing, and alarm companies that need to cover up business logos when one company has merged into another. Fusing a patch over the previous embroidery can be a lot less expensive and end up looking better than removing the embroidery.
How to set up an embroidery file to make a patch
Customers often want a specific sign or symbol or graphic turned into a patch. If this is the case, you will first need to get the art digitized into a format suitable for your embroidery machine. (Check out my list of embroidery digitizing service providers.) You will want to tell your digitizer that you will be stitching this out as a patch, and what shape and size you want the final patch to be. This is because the digitizer will need to digitize the graphic as well as add extra rounds of stitching to finish the outside edge of the patch.
If you need to make a patch from an existing embroidery design, you will need to combine the embroidery design with an appliqué design of a simple shape that encompasses the embroidery design. A simple circle or square with rounded corners can work as the overall shape of your patch. You will just need to stitch out the shape appliqué first, then stitch the embroidery design on top. Check out how I created a patch embroidery file from an embroidery design.
If you get a patch request based on a preexisting appliqué design, you don’t need to take any extra steps in setting up the file. If you follow my instructions (below), you can simply stitch out the appliqué design as a patch.
[do_widget id=custom_html-5]
Supplies needed to make a patch with your embroidery machine
- Appliqué design file (or combined file as described above)
- Background fabric of patch (as large as the patch). Typically a thicker twill or a denim works well for a patch. You can use thinner material but you will likely want to fuse on a couple of layers of interfacing to give it more body.
- Water soluble stabilizer (WSS) – enough to fit in hoop that will contain patch
- A small (as large as the patch) piece of HeatnBond Lite
Alternatively, you can get a patch making kit which has all the supplies you need PLUS a bunch of fun patch designs!
How to make a patch with an appliqué design using your embroidery machine.
- Hoop a piece of water soluble stabilizer (WSS).
- Stitch out the first round of stitching of your appliqué design. This serves as a placement line to show you where to lay down your appliqué fabric.
- Lay down your appliqué fabric over the placement stitching.
- Stitch out your next round of stitching. This is your tack down stitching that secures your appliqué fabric to the WSS.
- Remove your hoop from the embroidery machine. Using appliqué scissors, trim your appliqué fabric close to the tack down stitching.
- Start your next round of stitching which is the satin stitching for the outside edge of your patch.
- Stitch out the next round or rounds of stitching which are the final details of your patch.
- Remove the patch from the hoop and trim off the WSS. Wet the patch to remove any remaining WSS. If you are worried about the edges fraying, apply a bit of Fray Check to the outside edge.
- Trace your patch onto the HeatnBond Lite and cut it out.
- Fuse the HeatnBond Lite onto the back of the patch.
- Peel away the packing on the HeatnBond Lite. The patch is now ready to be fused onto anything!
Frequently asked questions about making patches on an embroidery machine
Do you need a special patch making machine to make patches?
Nope. Just a regular old embroidery machine will work. And since patches tend to be quite small, even a machine with a smaller hoop size (like the Brother PE535 or the SE600) will work for making embroidered patches.
What material should you use for embroidered patches?
I like to use a twill, vinyl or denim for my patches. But if you plan on making a lot in a range of colors, check out the poly patch twill kit from DIME. You get a range of colored twill perfect for making patches.
Can I use a patch to cover embroidery that will be too hard to remove?
Absolutely! That’s one of the reasons why patches are so great.
How do I avoid fuzzy edges around the patch when I’m done making the patch on my embroidery machine?
Use water soluble stabilizer. This is the key. If you use anything else for stabilization – you will see the stabilizer on the finished edge.
Where to use patches?
Since patches can be a bit stiff, they are best applied on more durable garments. For example, embroidered patches are a great alternative to embroidering directly onto a baseball cap. I would not suggest ironing a patch onto a delicate material. If you do need to patch a more delicate garment, like a monogrammed baby outfit where you want to cover the former monogram with a new monogram – I would recommend making a softer, more flexible patch with lighter materials.
Free patch machine embroidery design
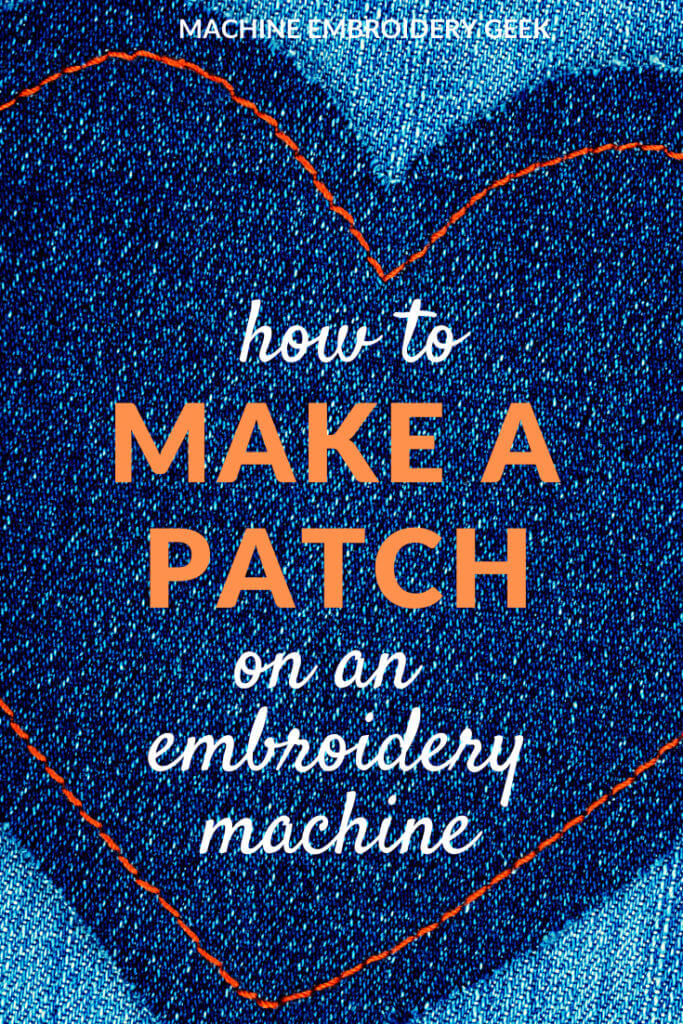
If you have never made a patch before and would like to do a practice run, download my free heart appliqué design. It’s quick and easy to make and adds a cute detail to a pair of jeans.
Ok – I’d like to see you make a patch on your embroidery machine.
No problem! I actually made a short video to demonstrate how to make a patch on an embroidery machine.
Good luck, everyone and happy stitching!
Julie
[do_widget id=custom_html-10]
[do_widget id=custom_html-9]
Quick Shopping Links – Supplies You Will Need to Make a Patch on Your Embroidery Machine
Want to remember this? Post “How to Make a Patch on Your Embroidery Machine on your favorite Pinterest Board”
Want to remember this? Post “How to Make a Patch on Your Embroidery Machine” on your favorite Pinterest board!