Disclosure: Some of the links on this site are affiliate links. This means that if you click on them and make a purchase, I may earn a small commission at no extra cost to you. Please know that I only recommend products and services I trust and use myself.
Perhaps you have hear the terms: satin stitch and fill stitch, but do you know exactly what they mean? Clearly they are two different types of embroidery stitches. When digitizers create a design they must designate lines and shapes to be either one. But, why does this matter to you as the embroiderer? Understanding the difference between satin vs fill stitch will allow you to make more informed decisions when purchasing a design. So, let’s start by looking at how these two stitch types are different.
[do_widget id=custom_html-5]
Fill stitch
Fill stitch is type of embroidery stitch that is intended to cover an entire area. The goal of a fill stitch is usually to fill an area with stitches so that the fabric can not be seen through the embroidered area.
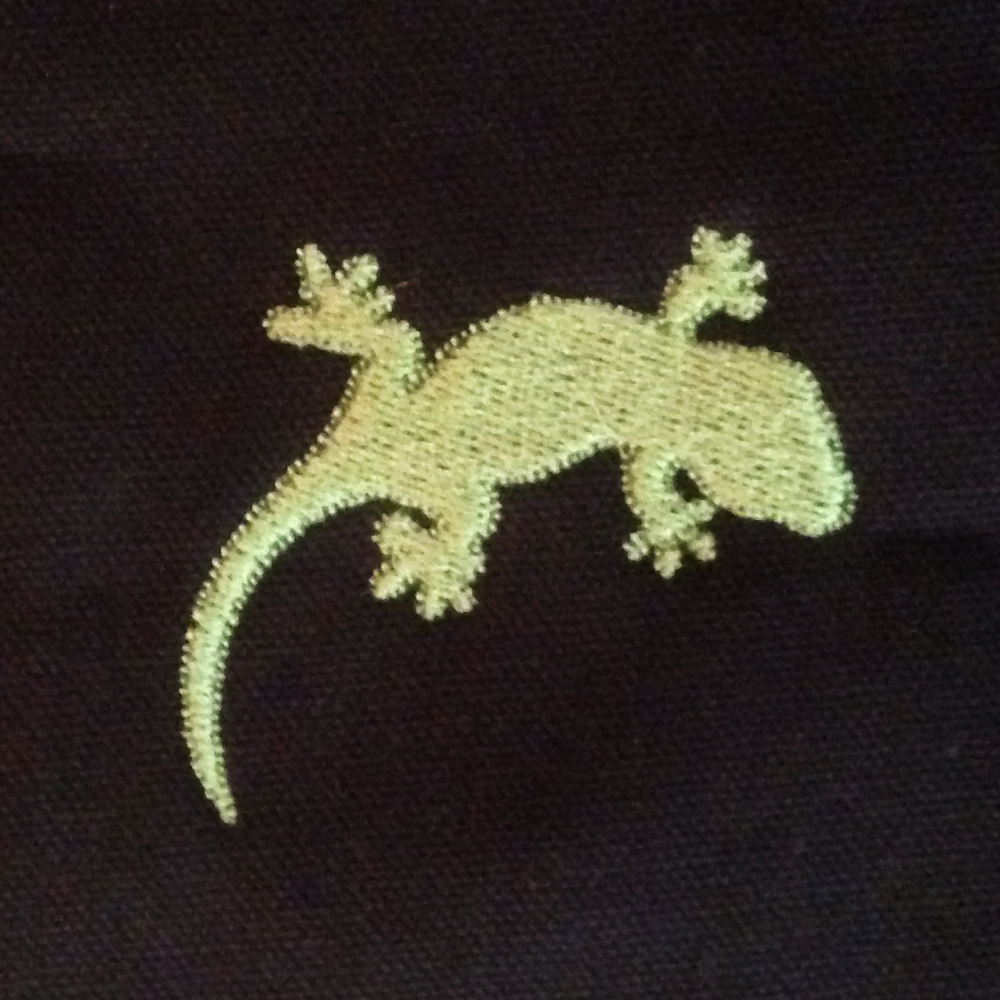
Some embroidery designs are comprised entirely of fill stitches. However, they are typically a combination of fill stitches and some type of edge defining stitch like in the example below. The gecko is made of a fill stitch but has a running stitch border.
One very useful type of fill stitch is an underlay. Underlay stitching is a preliminary fill stitch intended to tack down all the fabric in the design area prior to stitching out the final fill stitch. It helps to prevent puckering and improves coverage in the embroidered area. Most digitizers will integrate underlays within their embroidery designs, especially under large areas of fill.
Different fill stitch types
There are many different fill types you can choose within any digitizing program. In my first digitizing program, Bernina Artist, I noticed that the fill patterns were only described by number. I would create an object, then had the option to pick a fill stitch between 1 and 20. But, I wondered, how would the look of fill #1 differ from fill #16? With no preview in the software, I had to take matters in my own hands.
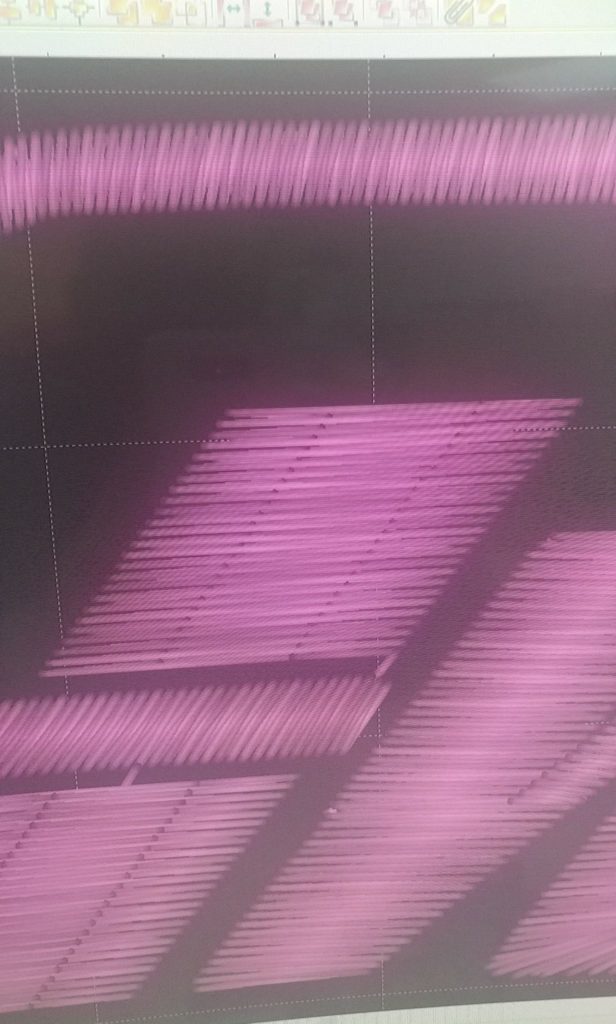
So I created twenty squares and selected different stitch fills for each and here’s what I came up with. To be honest, I still can’t see tons of difference between stitch fill’s 1 and 2. However, I can see a noticeable difference in fill number 4 compared to the ones around it.
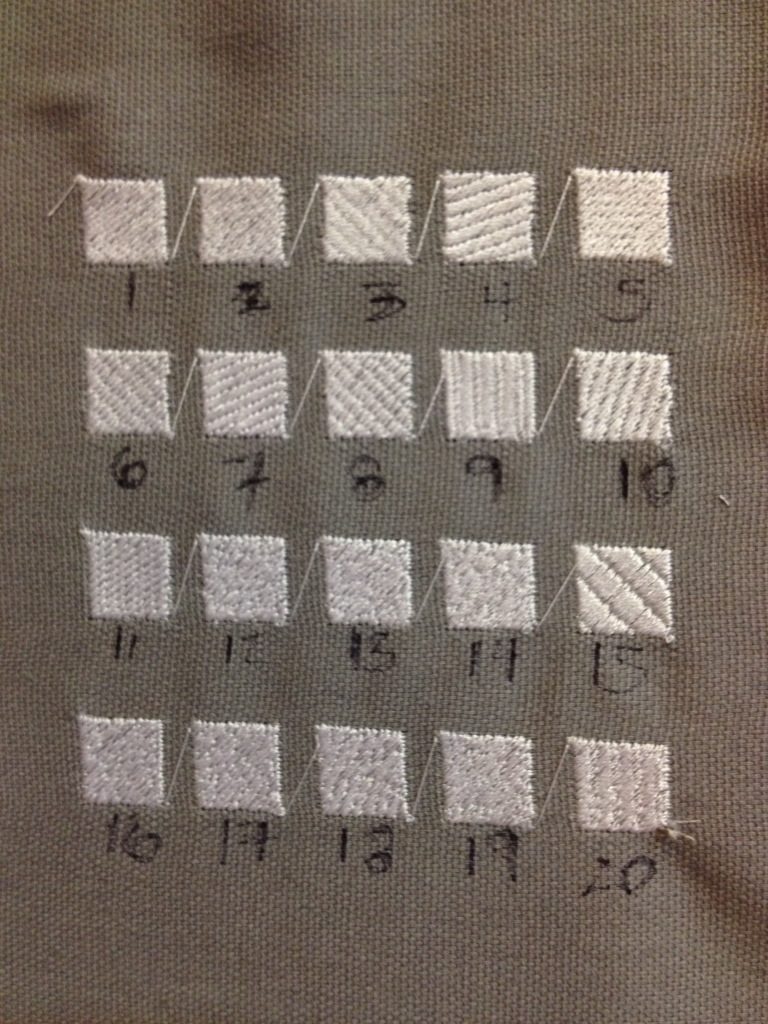
So, why do you need so many different fill types? Well, digitizers are visual communicators in a way. When they want to show that two elements are very different from each other, they choose different types of fill stitches. In addition, fill stitches are also always stitched at a specific angle. My digitizing program defaults to 45 degrees. If I want to create contrast between two fill stitch shapes, then I would assign different stitch angles.
Satin stitch
A satin stitch is usually a type of stitch that goes around the border of a design. A satin stitch is like a zig zag stitch with a very small stitch length so that it looks like a continuous line.
The most common type of applique is one with a satin stitch finish. In applique, a satin stitch serves the purpose of covering the raw edge of the applique fabric.
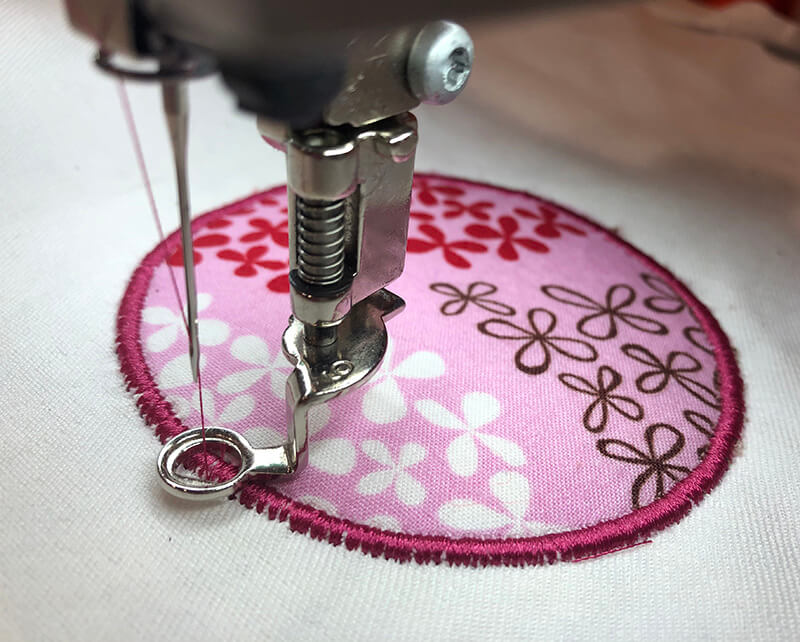
Satin stitches are not confined to the realm of applique. Embroidery typefaces are often comprised of satin stitches. A satin stitch can also be used as an outline to better define a fill stitch shape.
Satin vs fill stitch
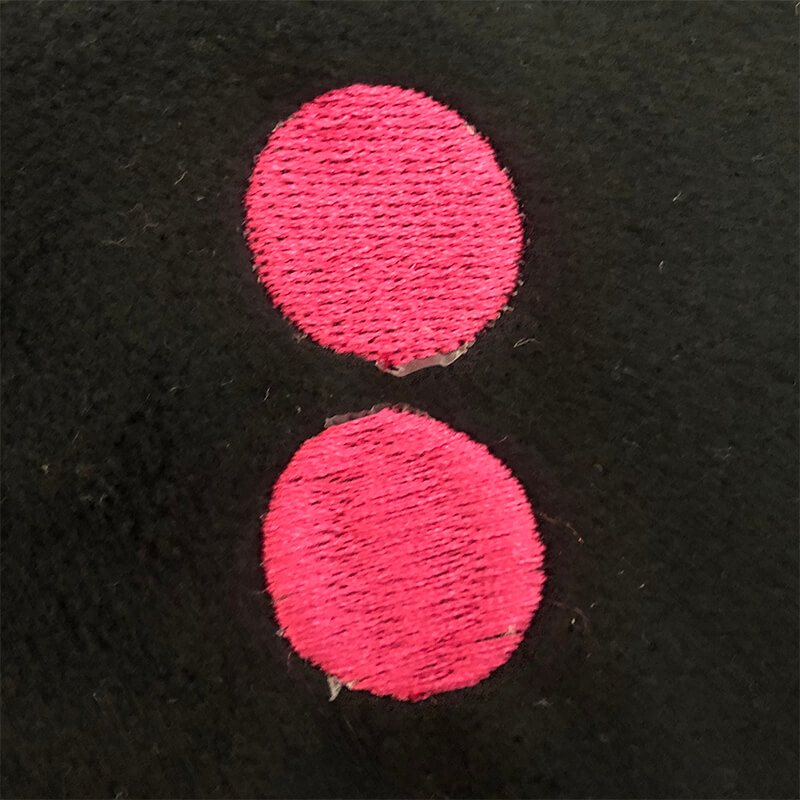
In my embroidery software, I can actually assign a satin stitch or a fill stitch to any object I create. However, you can get very bad results if you make an inappropriate choice. A satin stitch has a clean elegant look since all the stitches span the entire width of the object. However, you need to consider the width of the object. Wide object will require very long stitch lengths. And long stitches are prone to getting snagged. In addition, long stitches can look a little loose and droopy.
Satin stitches, split satin stitches and fill stitches made to look like a satin stitch.
Most embroidery typefaces are comprised of satin stitches that vary in width based on the shape of the letter form. However, sometimes the letterform is either too wide or too narrow for the satin stitch to be effective. When the letterform is too wide for a satin stitch, they will either choose a fill stitch or a split satin stitch. When it’s too narrow, they might digitize that part with a running stitch.
Split satin stitch
Professional digitizer, Matt Denison, explains why he likes a split satin stitch on areas of letters that get too wide for a simple satin stitch.
If a satin [stitch] is desired – even when the column is wide – you could use a “split satin” and activate it at any width you prefer. For instance this letter “I” is a half inch wide satin so i set a “split” on any stitch wider than 10mm. I also have it set to split at a distance of 8mm between stitches that way its not a visible consistent split line right down the satin. This way it staggers every other stitch and the end result still looks more like a solid satin.
Fill stitch that looks like a satin stitch
Another digitizing trick that Matt uses to create the look of a satin stitch without having the stitches get too wide is to use a fill pattern in the column with a very wide stitch length. This technique can keep the column of stitches sitting higher, more like a satin does. In the example, below, the purple horns are set at a stitch length of 5.2mm.
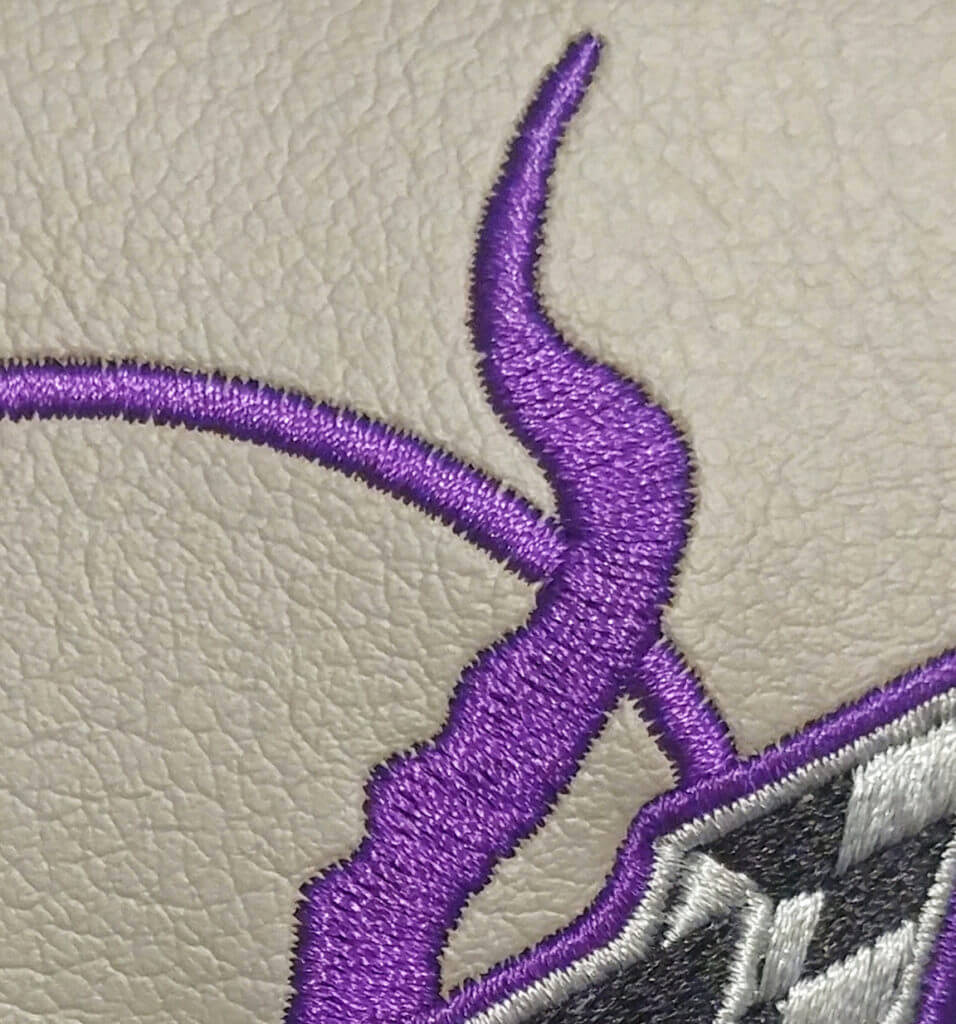
The horns pictured above are automotive interior panels. Matt didn’t want to use a wide satin stitch that could risk snagging and pulling out over time from wear and tear. He used a fill pattern but with a wide stitch length to help give the “lift” and pop that a satin would, while keeping it more stable for the long run.
Another example of a fill stitch that looks like a satin is the forget-me-nots designs from Meringue Designs. This is one of my favorite embroidery designs that I have used again and again, especially on pillows. Had she digitized the flowers as purely satin fills, they would easily get snagged.
While I can’t say for sure how she digitized this design, I would speculate that each of the flowers are a fill stitch with a longer stitch length as described by Matt. You can also see that the orientation of each of the fills is slightly different. As a result, each of the flowers reflects light slightly differently and the color seems to vary among the flower even though I stitched the entire design with the same thread color. The effect is quite lovely.

So there you have it, my friends: satin vs fill stitch in machine embroidery. I hope this have given you some new insight when purchasing, stitching and digitizing embroidery designs.
Happy stitching!
xo
Julie
[do_widget id=custom_html-10]
[do_widget id=custom_html-9]
Want to remember this? Save “Satin vs fill stitch in machine embroidery” on your favorite Pinterest board.