How to Embroider on Tulle
This site contains affiliate links to products. We may receive a commission for purchases made through these links.
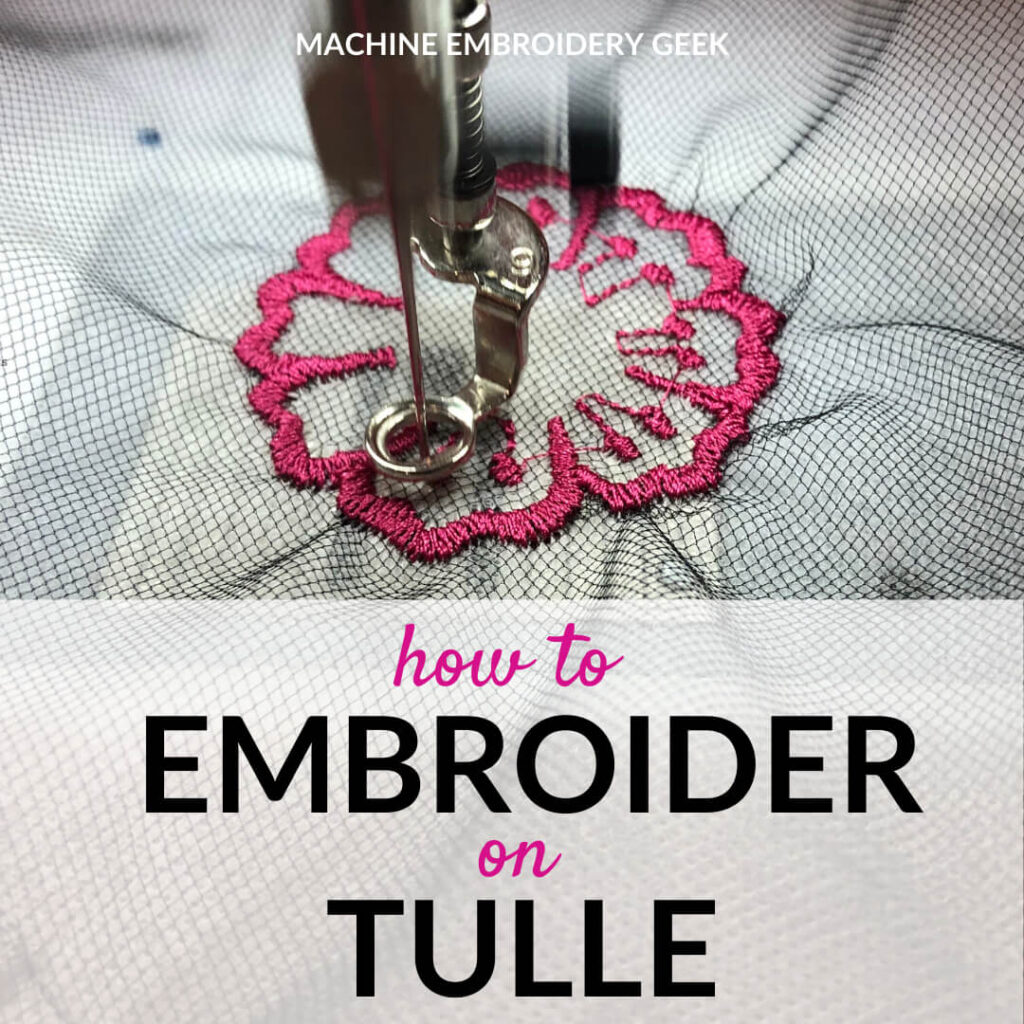
Tulle is the type of material I don’t tend to use often. My girls are past the age of tutus and princesses so I really don’t give it a thought. But tulle is actually a versatile material for machine embroidery. It can work as a stabilizer as well as an enhancement to an embroidered or appliquéd item. Or you can actually embroider on the tulle itself. So, here’s how to embroider on tulle and some examples of how you can use tulle within your machine embroidery projects.
What is tulle?
Never heard of tulle? It’s the material used to make ballet tutus. It’s actually a sort of netting although tulle has larger holes than netting. You can buy tulle by the yard or on spools 6″ wide at any fabric store or online.
Why would you want to embroider on tulle?
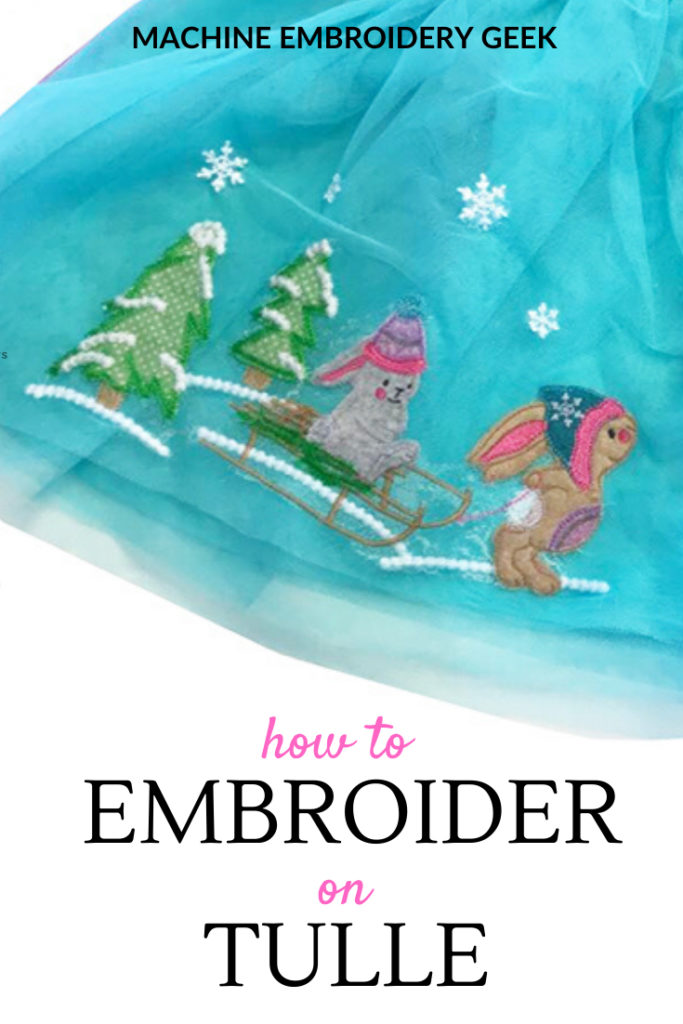
Tulle has an ethereal quality which makes it a popular choice for everything from princess dresses to bridal and prom dresses. Adding embroider to the tulle looks luxe which is why you typically see it on formal wear and couture garments.
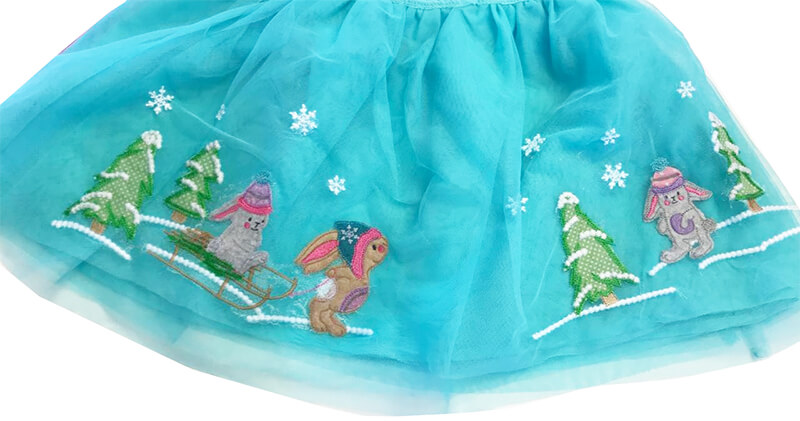
Tulle is also a bit stiff, so you can create volume by bunching it together. This is why tutus are so poofy. Oftentimes dresses are made with tulle as an under layer to give them a bit more oomph.
Tulle is also semi transparent, so it is often layered with other materials. When you lay it on top of another fabric, you can see that fabric underneath. Of, if you want to make something really racy, you can strategically appliqué or embroider over areas of the tulle to cover patches of skin, then let the skin show through the tulle.
Why is it difficult to embroider on tulle?
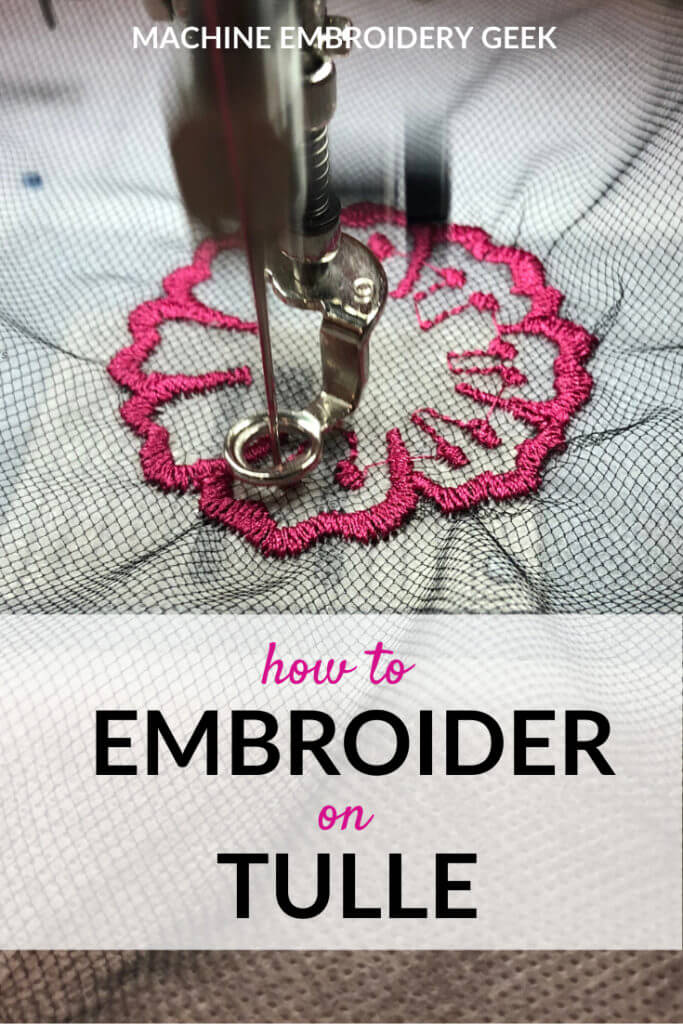
Tulle presents a challenge for machine embroidery because the material is so light and can so easily be torn. It also so porous so it doesn’t give the embroidery much to “bite” into. Therefore, in order to get the stitches to stay, you need to stabilize the tulle with a material that can offer the stability while you are stitching, then disappear after you are done.
Tulle also likes to bunch up so you need to get it to stay put while you are embroidering. Pinning it in place is not an option because the material is too porous to hold pins. Plus, pins might cause it to tear.
Supplies needed to embroider on tulle
You need a few specific supplies for successful embroidery on tulle.
- Tulle – either by the yard or in 6″ wide spools, depending on how you are using it.
- Medium weight water soluble stabilizer
- Temporary spray adhesive
- Machine embroidery thread
- Machine embroidery needles – 75/11
- Rubbing alcohol
How to embroider on tulle using an embroidery machine
STEP 1: Hoop a piece of medium weight water soluble stabilizer. Make sure that the hooping is quite taut so that you could bounce a coin off of it.
STEP 2: Spray the hooped stabilizer with temporary adhesive, masking your hoop to avoid getting it covered with spray.
STEP 3: Press the tulle onto the hooped, sticky stabilizer, positioning the tulle in the appropriate location to start stitching out the design.
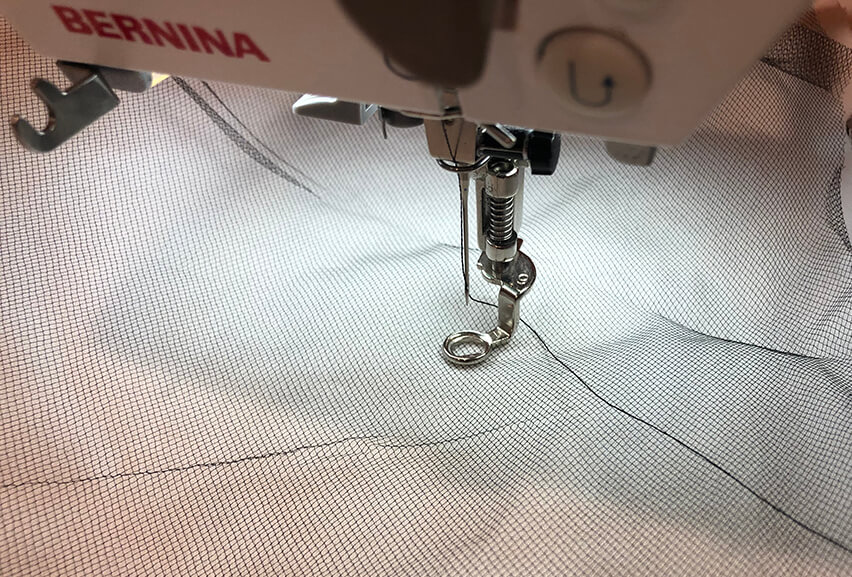
STEP 4: Set up your embroidery machine with standard machine embroidery thread and 75/11 machine embroidery needles.
STEP 5: Start stitching SLOWLY and watch it. If the tulle begins to bunch up you can stop the machine and smooth out the tulle.
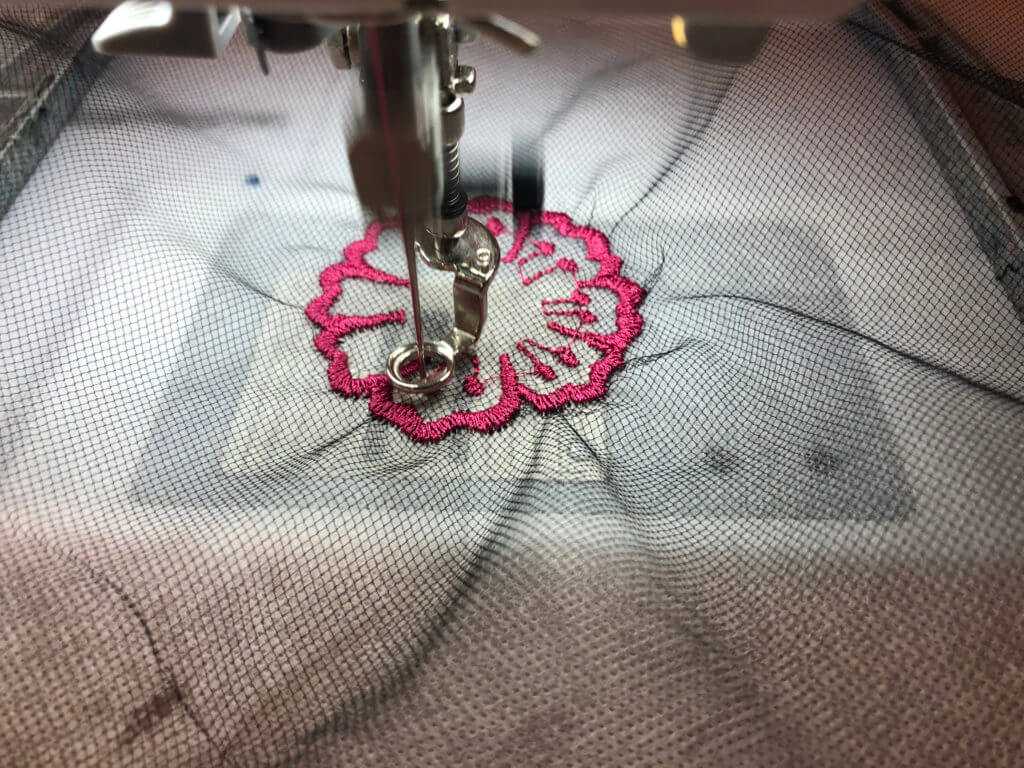
STEP 6: Once stitching is complete, CAREFULLY remove the tulle from the hoop. The tulle is just about as delicate as the water soluble stabilizer. I recommend un-hooping the water soluble stabilizer, then trim it away from the embroidered area.
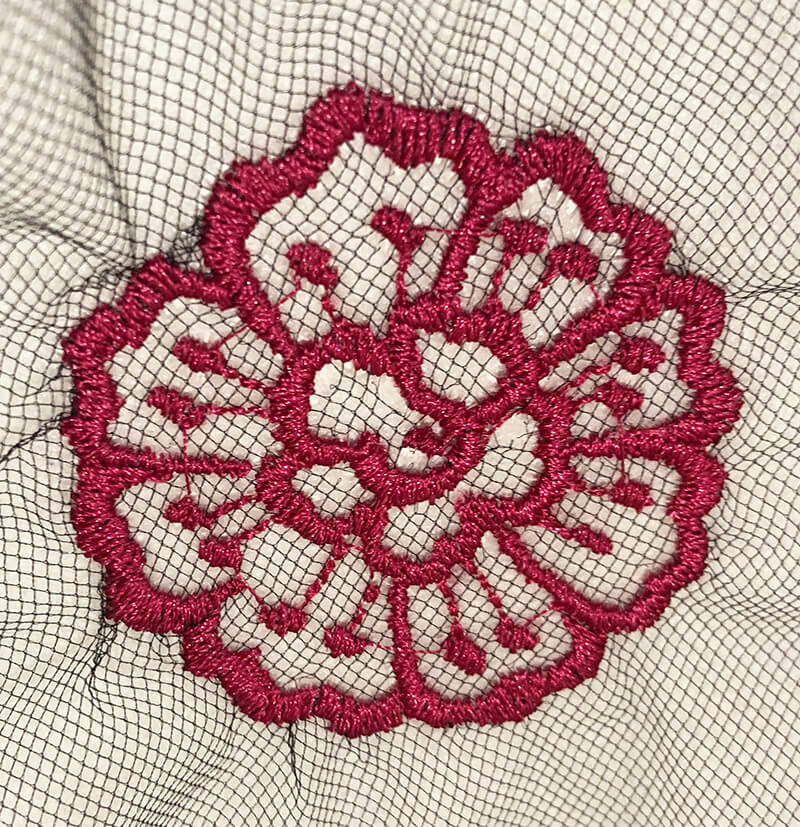
STEP 7: Dissolve the water soluble stabilizer with some water. If you can not remove it entirely, use a bit of rubbing alcohol to help dissolve it.
Other uses for tulle
Because of it’s unique properties, tulle can take on different roles within machine embroidery. Tulle has a grid like structure, almost like chicken wire so it can hold things together. For really nappy towels, tulle can be a topper to keep the fibers from popping through. First, buy tulle that matches the color of the towels or the color of the thread. Then, once the stitching is done, you can gently tear away the tulle. You can also use the tulle in combination with a water soluble topper to really hold up the design more.
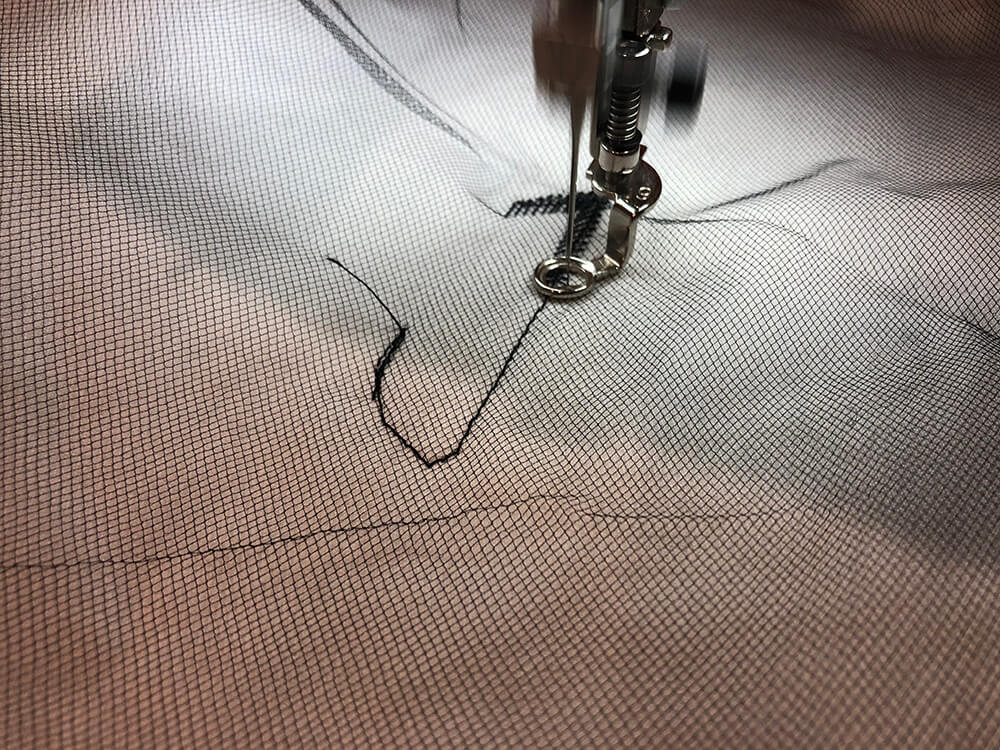
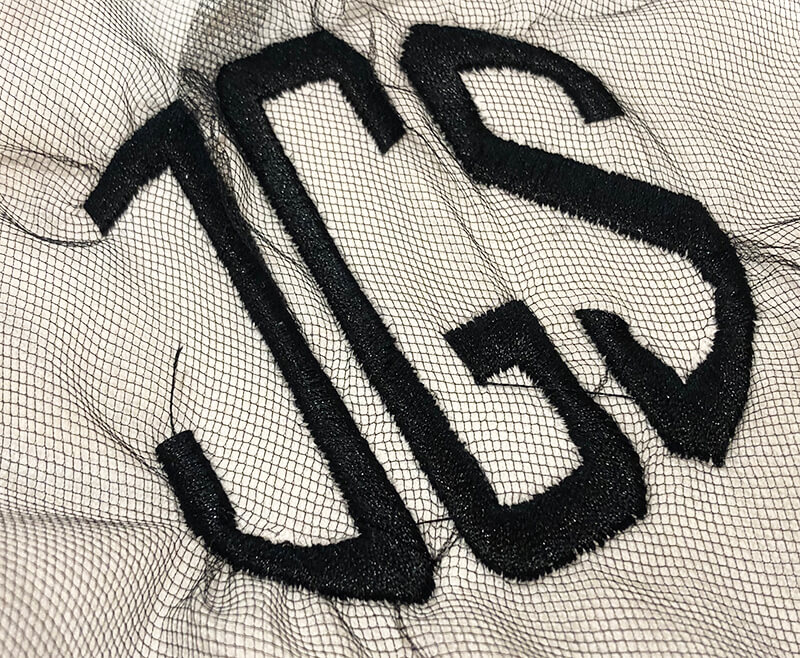
Tulle can also serve as the base piece for freestanding lace designs. The tulle provides extra body and durability plus a unique texture throughout the finished piece. You can even create a version of a freestanding lace design by stitching the design out on tulle and then dissolving the stabilizer. Essentially you can make any embroidery design like free standing lace if you stitch it out on tulle.
This technique can also be used to make a patch of sorts which is helpful if you want to attach a design to a hard to access spot. You simply stitch out a monogram or an emblem on some tulle and then glue it onto your finished item. For example, rigid trucker baseball caps are challenging to get on an embroidery hoop. One alternative is to hoop tulle that is the same color as the hat then stitch the monogram on it. Remove the tulle from the borders of the design and then glue it to the hat. No hooping your hat and you can get it the design very close to the brim.
Tulle for decorative effects
Tulle is often added to an embroidered item for decorative effect. Almost any little girl would love a princess t-shirt with a real princess skirt. Attaching a tulle skirt to the princess appliqué gives it a fun three-dimensional effect. A design like this makes a plain t-shirt looks incredibly custom and high-end.
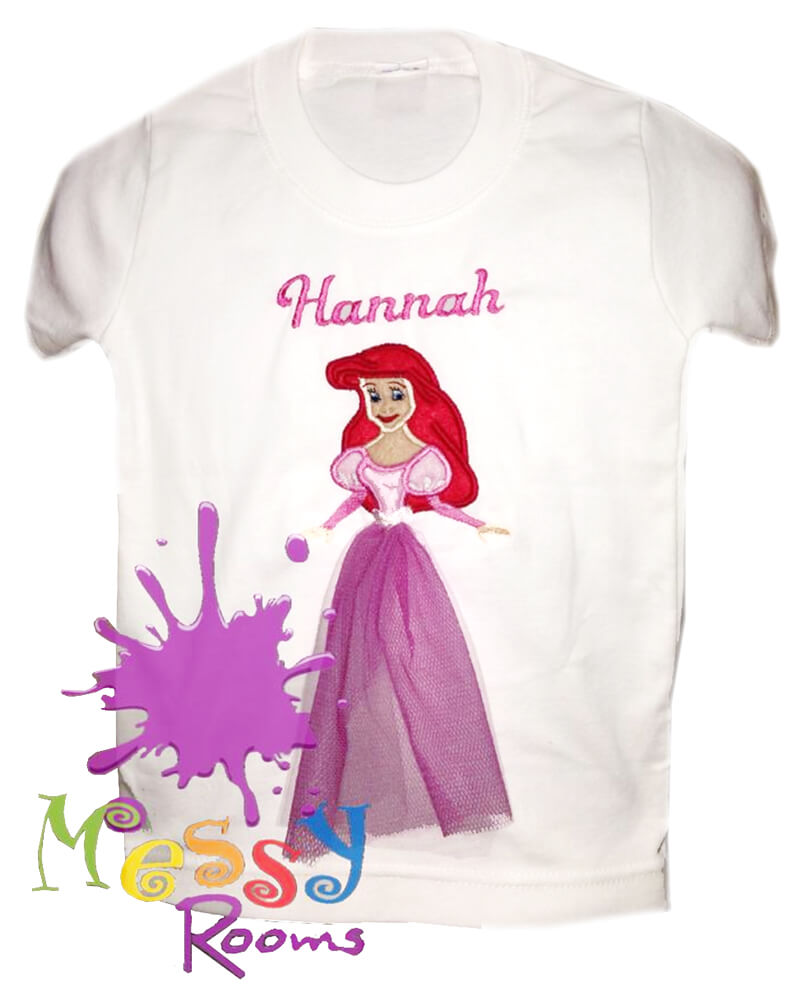
There are actually in-the-hoop embroidery designs that are intended for bunched up tulle. The tulle is part of the applique, creating a three-dimensional effect which can be used to create flowers or ice cream cones or any other roundish object.
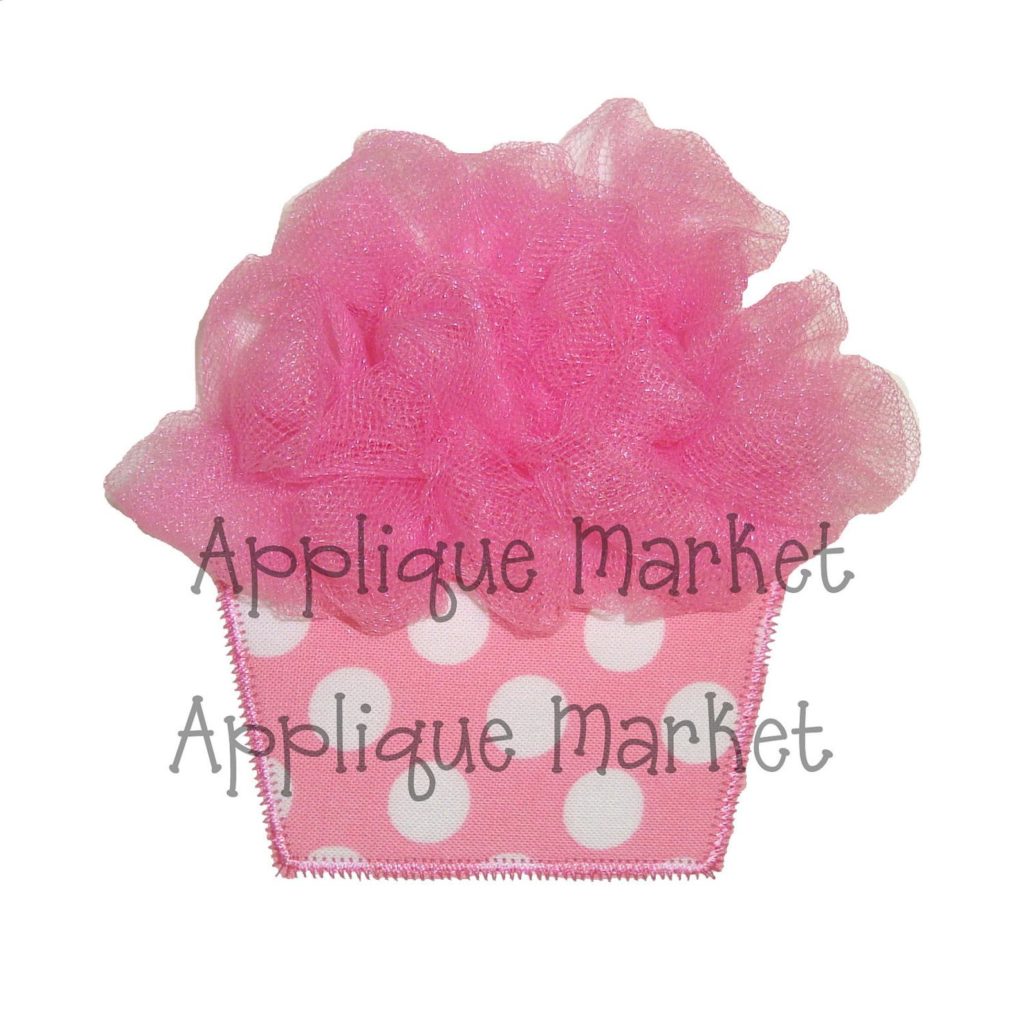
While they might look complicated to stitch out, they are actually pretty easy. You just use a lot of masking tape to keep the tulle out of the way or a bit of Glad Press and Seal.
Ready to try it?
I hope you can now see that tulle is not a difficult material to work with, but instead a versatile fabric that to embroider on or to help your embroidery.
Happy Stitching!
xo
Julie






Thank you for this informative post. I have embroidered for years and never tried this. I can’t wait to use this technique.
Good tutorial! I must make one comment though: tulle is softer and has smaller holes than net. Net is used as a stiffener or for volume. You are correct to advise the use of tulle for this kind of project.