Disclosure: Some of the links on this site are affiliate links. This means that if you click on them and make a purchase, I may earn a small commission at no extra cost to you. Please know that I only recommend products and services I trust and use myself.
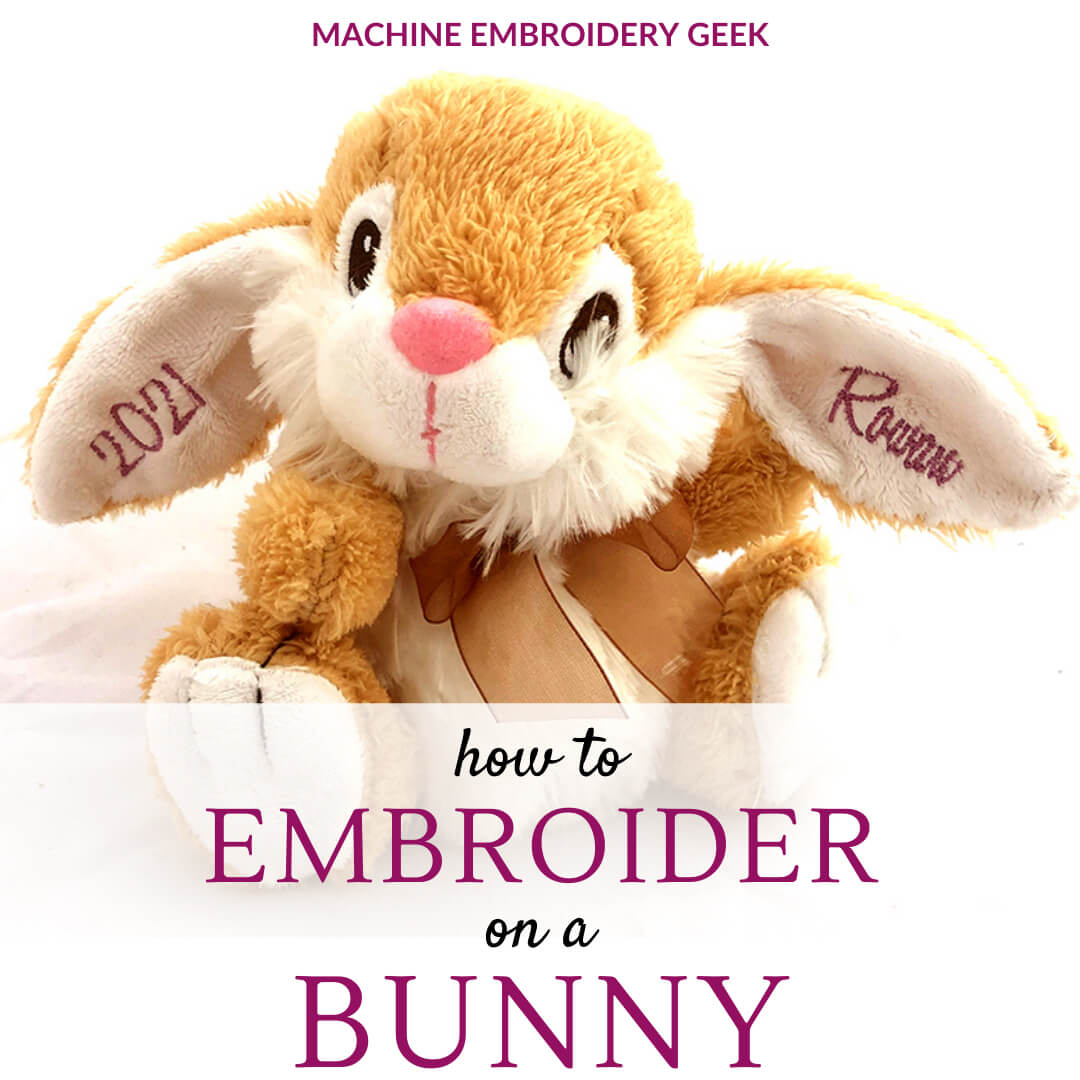
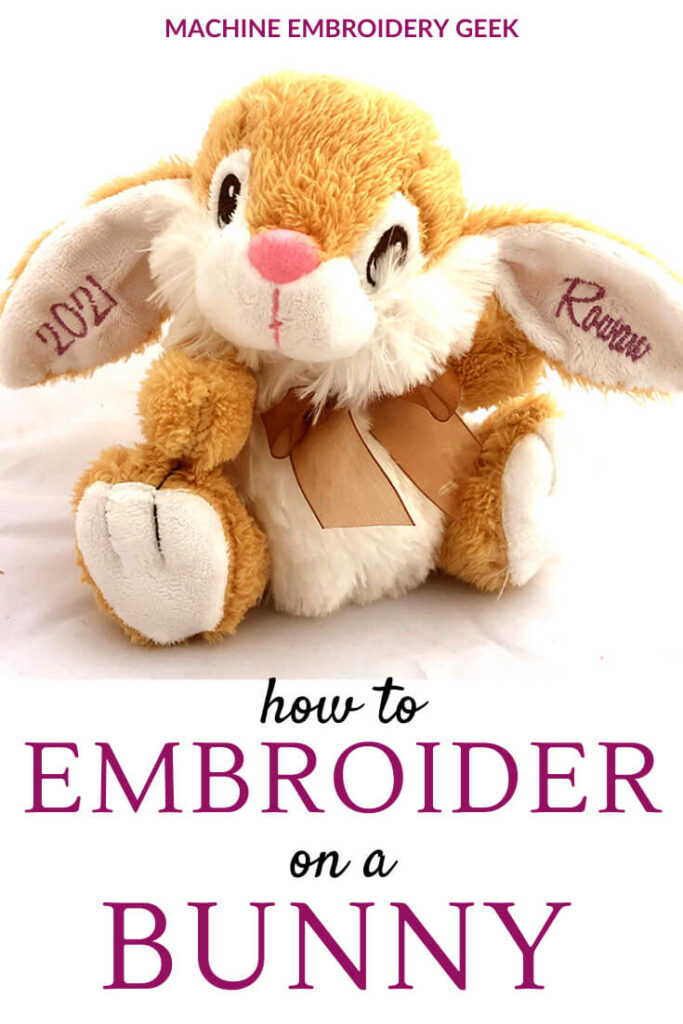
It’s hard to believe that Easter is just around the corner. Easter is a great opportunity to make some fun projects on you embroidery machine. And, one of the most popular Easter related projects that I’ve seen on many of the embroidery related Facebook groups is our personalized bunnies. Typically people embroider a name and a date on the bunny’s ears or on the foot. Personalized bunnies make the perfect Easter basket topper for a young kid. But, does this embroidery project sound too complicated? It’s actually not bad. Here’s how to embroider on a bunny.
Products mentioned in this post
Where to buy a bunny to embroider
Before you can embroider on a stuffed bunny, you first need to purchase the bunny. However, if you live in an area where this is a very popular craft, you may be in for a bit of a challenge. I’ve heard of ladies going into Walmart and buying every stuffed bunny in stock off the shelf! So, don’t wait until the last minute to start this project. Or maybe consider shopping at a Walmart in a different part of town.
Conversely, if you are interested in selling these embroidered bunnies, consider scooping up any remaining ones after the Easter holiday to use the following year. They never seem to go out of style, so I doubt you will lose your money on these things.
Currently, you can buy stuffed bunnies at Walmart for about $6. But, you can also Amazon Prime a pretty cute version for about $8. Another option is Hobby Lobby, where they also carry some stuffed bunnies suitable for embroidery for about $6.
Preparing to embroider on a bunny
Where to embroider on the bunny
Before you can start stitching on the bunny, you need to make a couple of decisions. First of all, where will you embroider on the bunny? It is most common to embroider on the bunny’s ears. But, that’s not the only option. I’ve also seen bunnies with names and dates embroidered on the feet. There really are no rules here. You could actually even take the bunny apart and embroider on the tummy.
Sizing the text
Once you decide where you will embroider on the bunny, then you need to think about how large you want the text to be. Measure the area you have allotted for the embroider and set up your file accordingly. If, for example, you want to embroider a name on the bunny’s ears, then measure the ears to determine how big the text can be. 5″ ears will accommodate a name that is about 4″ or so.
Setting up your file
Next, set up your file. While you can certainly set up the name or date using the fonts installed on your embroidery machine, if your machine doesn’t have the perfect typeface for this type of project, you may want to set up the name in your embroidery software and then transfer it from your computer to your embroidery machine using a flash drive. Never set up a name or a date as an embroidery file? Check out my recent post on BX fonts and / or consider using SewWrite to help you set up your text-based embroidery file.
Incorporating a knockdown stitch
Depending on where you embroider on your bunny, you may want to incorporate a knockdown stitch into your embroidery design. If you decide to stitch out a name or a date on the furriest part of your bunny, you will likely need to use a knockdown stitch to allow your type to be seen. Fortunately, the way most of these bunnies are made, the material on the front side of the bunny’s ear is NOT super furry. For this reason, the front of the bunny’s ear makes an ideal spot for embroidery.
Taking apart the ear
Another reason why people typically add embroidery to the bunny’s ear is because you can get an ear to lie flat. However, if you choose to embroider on the bunny’s ear, you need to consider whether you want to embroider through the entire ear. If you do embroidery through both layers of the ear, you will see the wrong side of the name on the back of the ear. Personally, I think this looks pretty sloppy which is why I would recommend taking apart the ear prior to embroidering on the front side.
How to embroider on a bunny’s ear
In order to demonstrate how to embroider on a bunny’s ear, I purchased a stuffed bunny at my local CVS. Yep. CVS. (Look around – you may be surprised to find stuffed bunnies at many other stores than the ones I specifically recommended.)
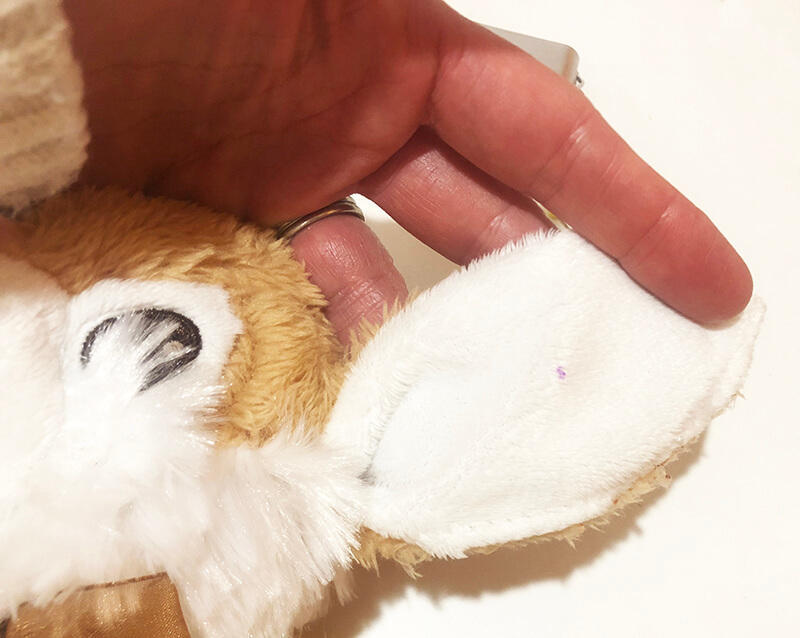
Marking the position of the name
Before you start stitching, you should determine the center of the name on the ear. Mark this spot with a disappearing ink pen.
Taking apart the bunny ears
Many people who personalize bunny ears simply stitch through the entire ear. But, if you don’t want the wrong side of the embroidery showing up on the back of the bunny’s ear, you should use a seam ripper to take the bunny’s ear apart. Open up at least one side so that you can lay the front and back of the ear flat.
Hooping the stabilizer and exposing the sticky surface
Bunny ears are the perfect item to float on sticky back stabilizer. But first you need to prepare the stabilizer. Hoop the sticky back stabilizer with the shiny side up, then score the stabilizer with a pin around the inside of the hoop. The pin will create a tear in the paper allowing you to peel back the paper and expose the sticky surface. Finally, mark the center of the hoop using a disappearing ink pen on the stabilizer extending the lines the to the inside edge of the hoop.

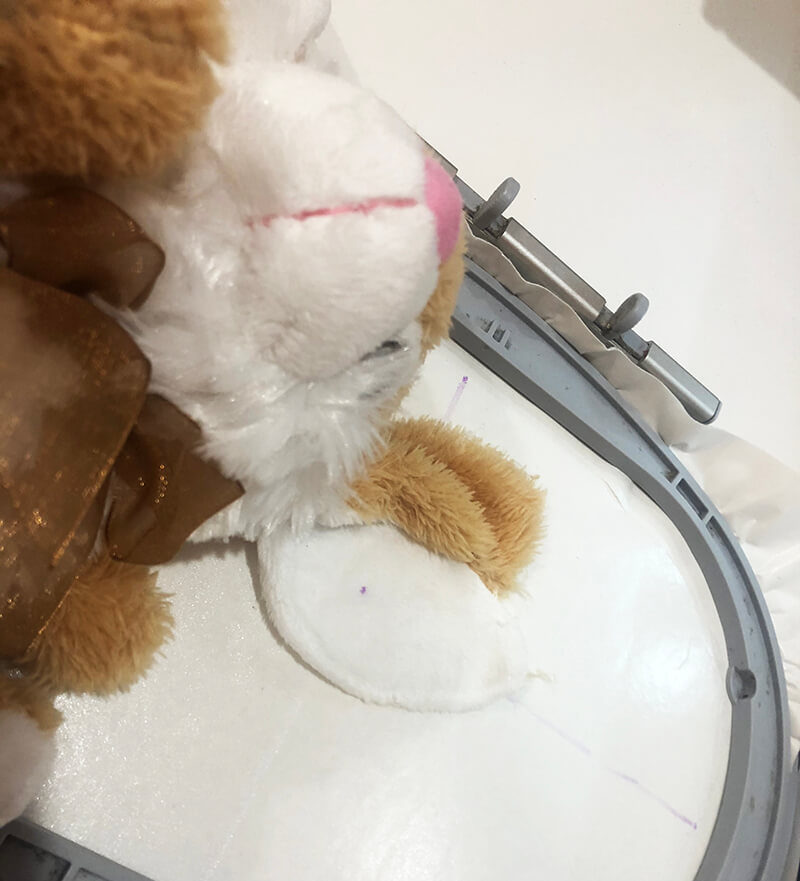
Float the bunny ear on the stabilizer
Open up the bunny’s ear and stick the ear on the hooped stabilizer, aligning the mark you drew on the ear with the center point of the hoop.
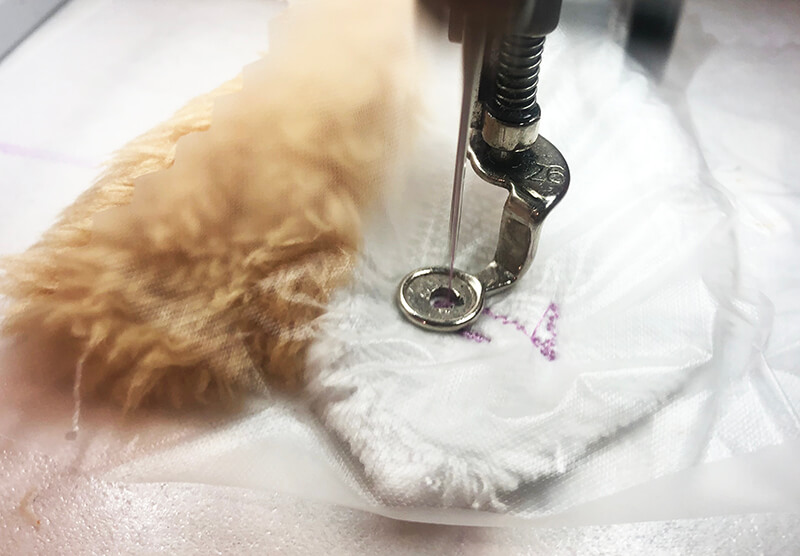
Cover the ear with water soluble stabilizer
Since the ear of the bunny is fuzzy, you will want to cover the ear with water soluble stabilizer. It will prevent the stitching from getting lost in the nap of the fabric.
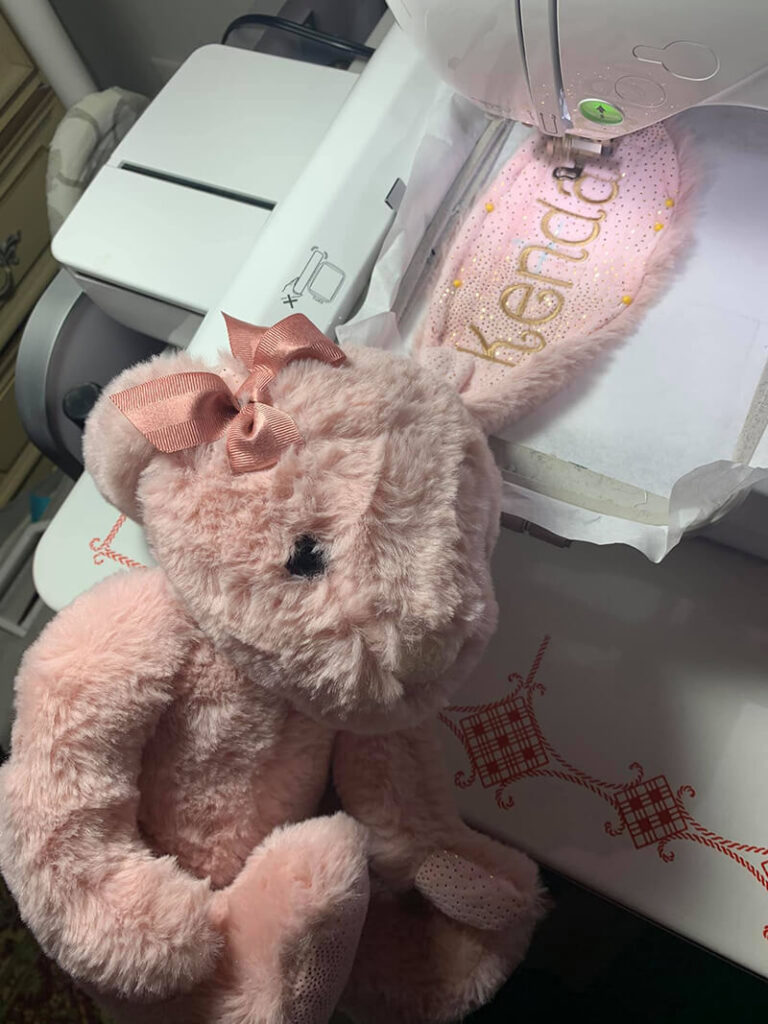
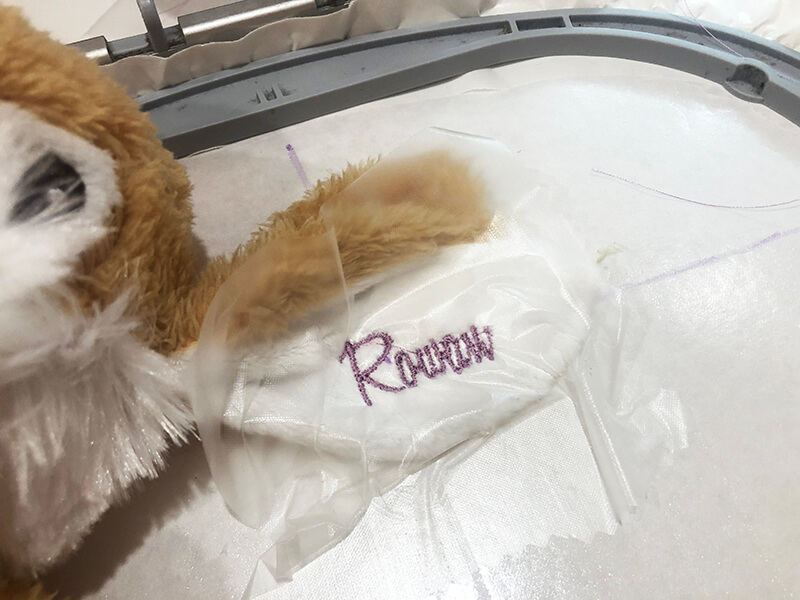
Start stitching
Now you are ready to start stitching.
Once the stitching is done, you can tear the ear away from the stabilizer, patch your stabilizer and repeat the process on the other ear.
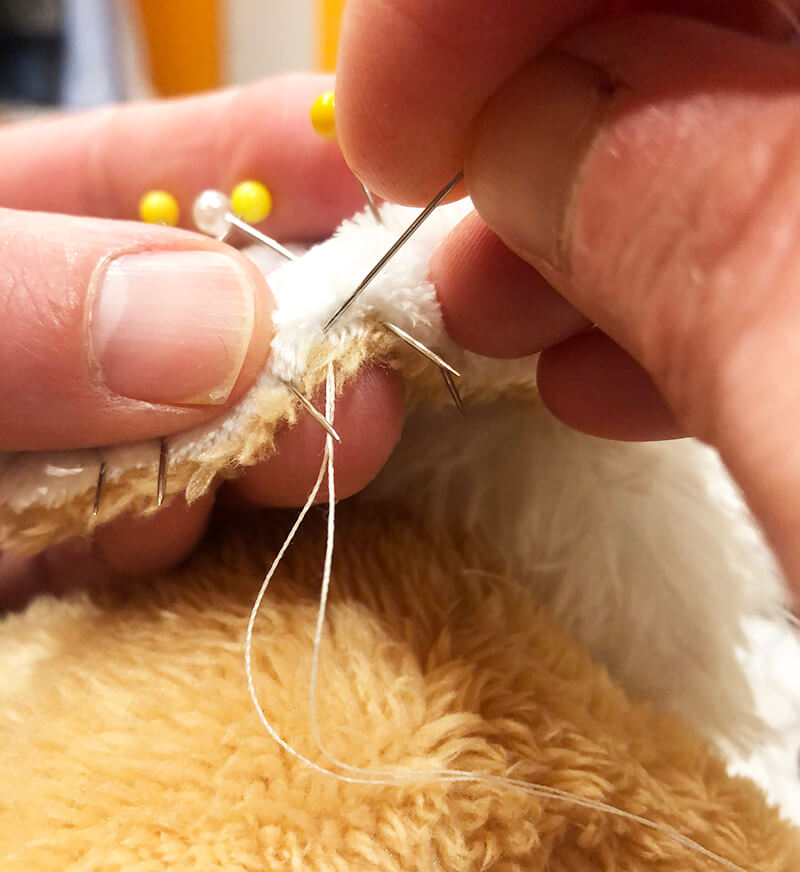
Start stitching
After you have trimmed your jump stitches and wash away the water soluble stabilizer, you can stitch the ear back together. Use an ample amount of pins to hold the ear together while you hand stitch it back together.
All done!
Now your bunny is ready to go in an Easter basket.
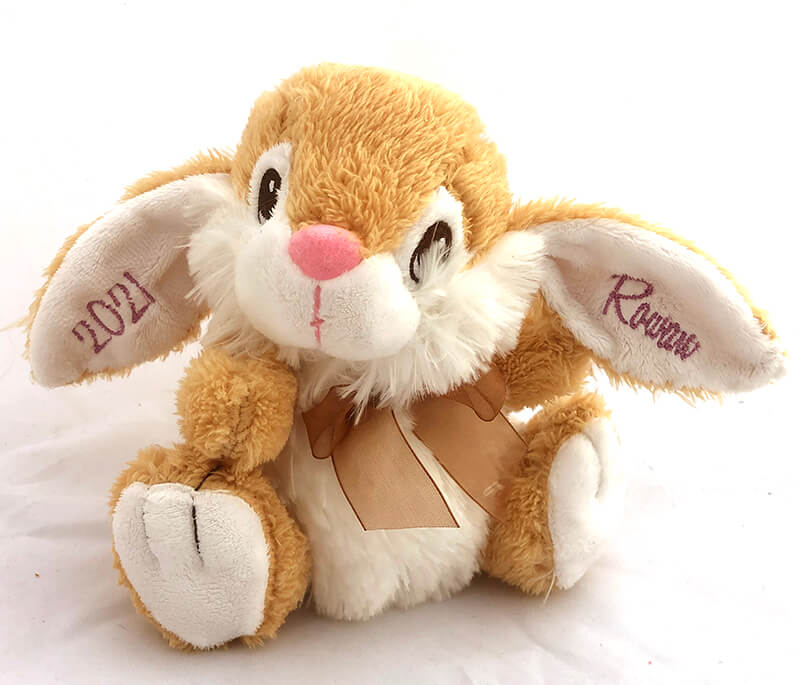
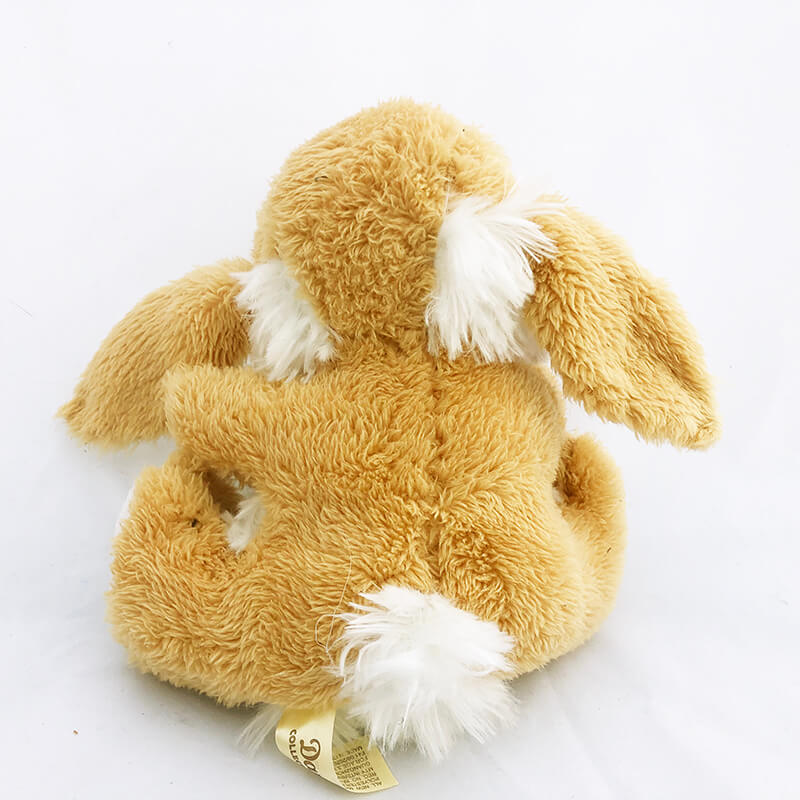
And notice how nice the back of the ears look! Taking the ears apart ensures a nice, clean back view. Totally worth it.
And there you have it, my friends! Everything you need to know about how to embroider on a bunny.
Happy Easter!
Want to remember this? Save “How to embroider on a bunny” on your favorite Pinterest board
Good morning. If you take the bunny ears apart and embroider how much would you charge? Thank you
Two ears? At least $40.