Disclosure: Some of the links on this site are affiliate links. This means that if you click on them and make a purchase, I may earn a small commission at no extra cost to you. Please know that I only recommend products and services I trust and use myself.
Easter is on the horizon, and for the machine embroidery enthusiasts out there, it’s not just a season to dye eggs; it’s a time to craft some adorable gifts and home decor. One fun and productive way to use your embroidery machine this Easter season is to whip up some in-the-hoop Easter eggs! They are a great alternative to those cheapo plastic eggs that you fill with candy. Or, you can stuff them with fiber fill and use them in a home decor project.
In this article, I will walk you through the steps to create an adorable in-the-hoop Easter egg. Not only is this a project that will fill your Easter basket with lovely homemade goodness, it’s also a great way to hone your in-the-hoop skills. So, whether you’re a seasoned machine embroidery pro or just starting out, I’ve got you covered with a design that’s simple to stitch out and incredibly functional.
Products mentioned in this post
- Easter cotton fabrics
- tear-away stabilizer
- embroidery thread
- bobbin thread
- sharp, precise scissors
- Iron:
- fiberfill or candy depending on how you use them
What is an In-the-Hoop Easter Egg?
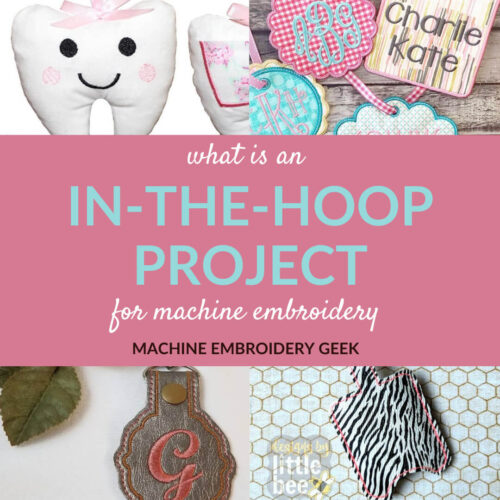
In-the-hoop (ITH) embroidery projects are all about creating a finished product within a single hooping. The methodical approach of in-the-hoop projects ensures a structured, clean result every time.
In-the-hoop projects have skyrocketed in popularity thanks to their ease of execution and professional-looking outcomes. Plus digitizers are producing some REALLY cool in-the-hoop designs. From toys to bibs to small purses, it seems like you can make almost anything in-the-hoop.
An in-the-hoop Easter egg project is no different. It allows you to create a fabric egg that’s perfect for Easter festivities – from table centerpieces to gifts for little ones or to stuff with candy for an egg hunt.
Why make an in-the-hoop Easter egg?
Of course, making a simple little stuffable egg does not need to be done in-the-hoop on your embroidery machine. You could easily just sew one as long as you can sew in a controlled enough manner to stitch along the outline of an egg shape.
But this particular Easter egg project is perfect for a number of reasons:
- Efficiency: With only one hooping, you’re able to create the entire egg in one go, saving time and streamlining your crafting process.
- Environmentally friendly: Instead of buying plastic eggs that will end up in landfills, you can create reusable fabric eggs that are both practical and sustainable. What a great use for tiny fabric scraps!
- Customization: By choosing your own fabric, thread colors and stitching designs, you can create an Easter egg that is unique to your taste.
- Skill-building: In-the-hoop projects are a great way to sharpen your embroidery skills. This project in particular will help you practice using appliqué techniques and working with different types of stabilizers.
- Personalization: You can even add personalization like names or monograms.
- Professional Finish: Upon completion, the in-the-hoop egg will look as though it’s straight from a boutique, complete with smooth stitching and attention to detail.
How to make an in-the-hoop easter egg
Before you start stitching, it’s important to gather all the necessary supplies. Then, I’ll guide you through each step of creating your in-the-hoop Easter egg.
Supplies Needed
For this project, your embroidery machine will be your best friend. Don’t worry if all you own is an embroidery machine with a small hoop. You can make this project in a 4″ x 4″ embroidery hoop or larger.
In addition to your machine, ensure you have:
- The Design File: Head over to my resource library, to get the free design. If you don’t know the password, subscribe to the newsletter, confirm your subscription and the password will be sent your way. Oh – and once you get into the resource library – be sure to check out the loads of other free designs.
- Fabric: Select suitable fabric for your egg. I think that quilting cotton in an Eastery pattern and color works well for this project. You will need three pieces of fabric: 2 pieces 4″ wide x 6″ tall and one piece 4″ x 4″.
- Stabilizer: Use a tear-away stabilizer for the best results.
- Thread: Unlike some in-the-hoop project where you must match your top thread to your bottom thread – for this project you can use whatever colored embroidery thread and bobbin thread is in your embroidery machine.
- Scissors: Sharp, precise scissors for trimming fabric and stabilizer as you go along.
- Iron: Because every sewing and embroidery project looks better when pressed.
- Stuffing: This could be candy (like for an egg hund), or it could be fiberfill, wool, or even dried lavender for a lovely scented egg.
Steps
Now that you have your supplies, it’s time to start stitching.
Step 1: Setting Up
Start by loading in the design on your embroidery machine. You can use whatever thread is already in your machine.
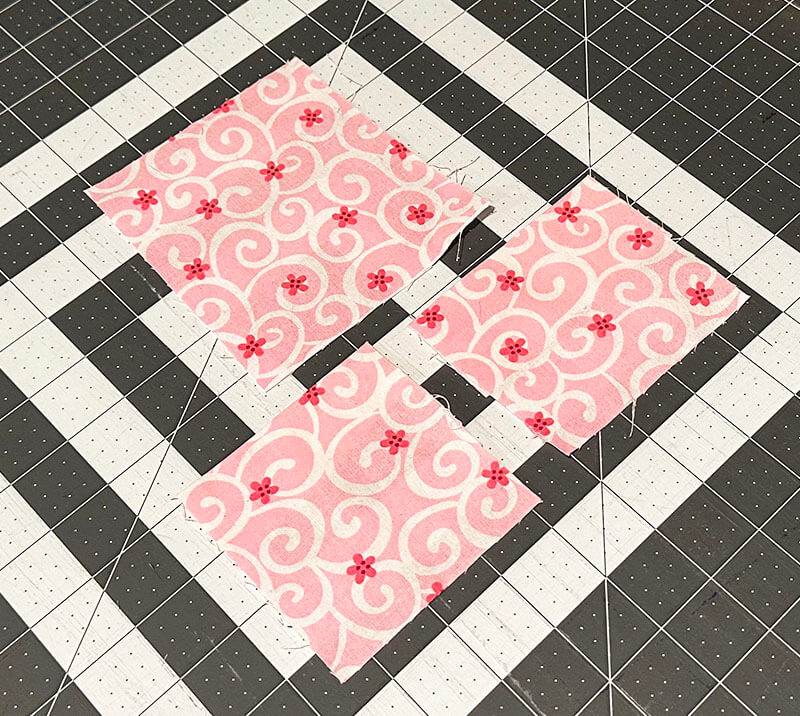
Then, you’ll need to cut three pieces of the chosen fabric to size. One for the front of the egg: 4″ x 4″ and two for the back: 4″ wide x 6″ tall. Press the back piece in half to make them 4″ wide along the fold and 3″ tall.
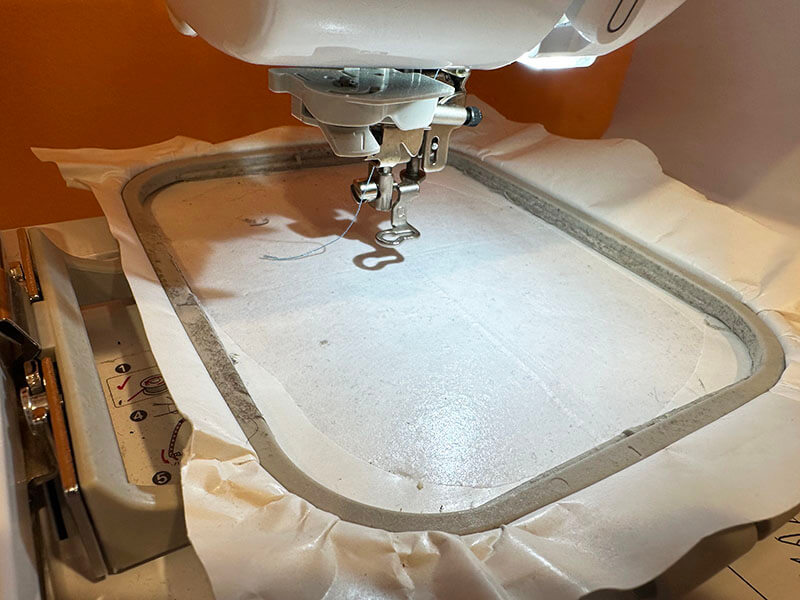
Next prepare your embroidery hoop. Hoop a piece of tearaway stabilizer in your embroidery hoop. If you are using the sticky back variety, score around the inside edge of the hoop to create a small tear in the top paper layer and peel away that paper.
I used sticky back tearaway for this project but non-sticky is probably easier to work with as you will need to peel it off your fabric when you are done to turn the egg right side out.
Step 2: Placement stitching
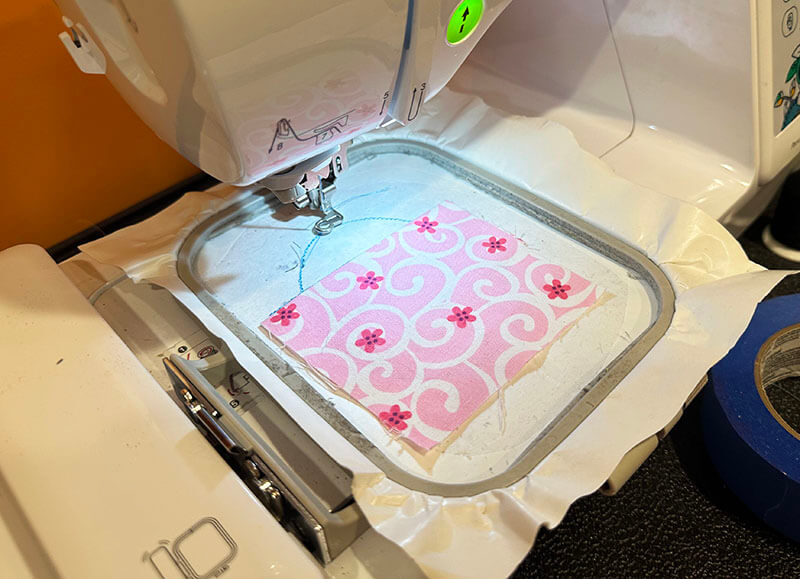
- Lay down the cut front piece of fabric within the inlay stitch line.
- Lay down the back cut piece of fabric within the inlay stitch line as well, ensuring it aligns with the front piece on the other side.
- Carefully pin or clamp the fabric in place, making sure it’s taut but not stretched.
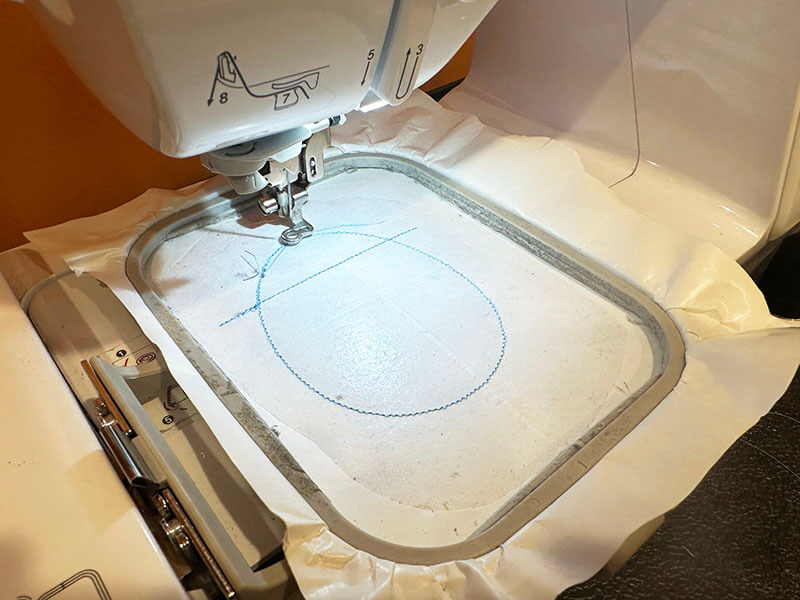
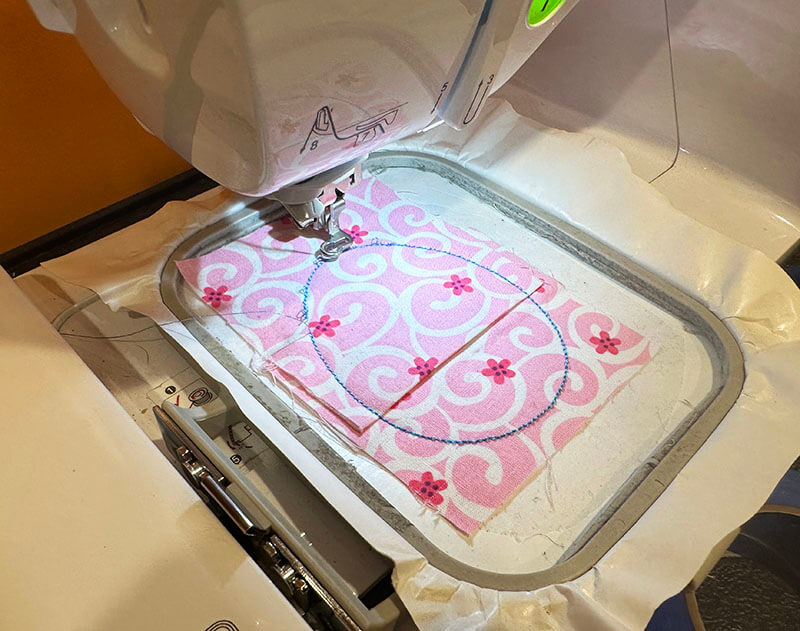
The first step of the in-the-hoop egg is a placement stitch. Stitch this out on the hooped stabilizer.
Step 3: Tack down stitching
Once this is done stitching, lay down one of your folded pieces so that it almost covers the egg. The fold line should line up with the horizontal line across the egg as pictured below.
Now lay down the other folded piece of fabric so that it over laps the first by about 1-1/2″
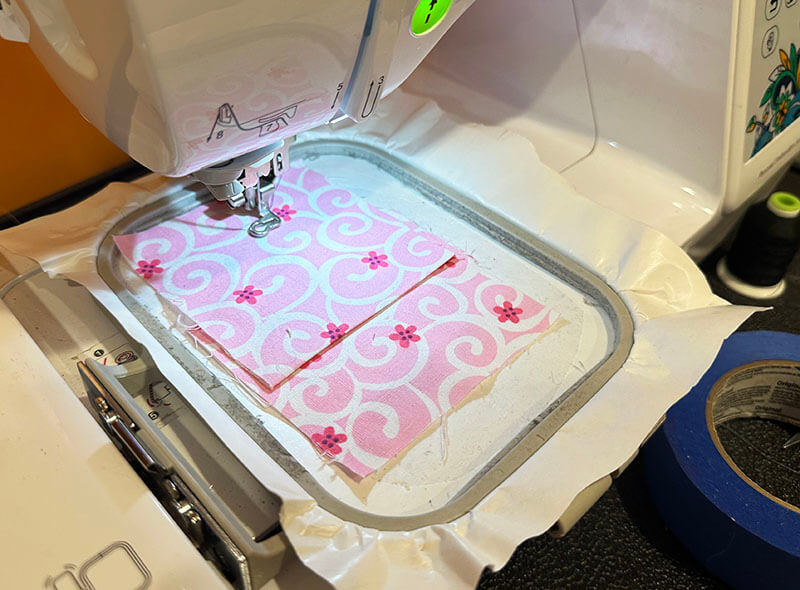
Now, start stitching your next thread color. This will server to hold al of the fabric in placed.
Step 4: Final stitching
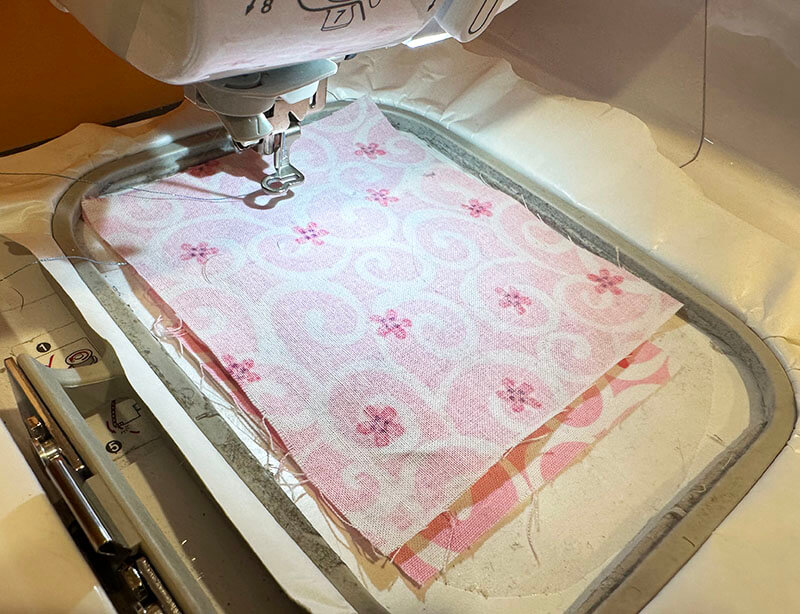
Now, lay down the back piece of the egg with right sides of the fabric facing each other. And start the final round of stitching.

Step 4: Trim and turn
Your in-the-hoop egg is now done! You just need to tear away the egg from the stabilizer. Trim the excess fabric and stabilizer away from the stitch line, being carful not cut the actual stitch. Then peel away the tearaway stabilizer from the back of the egg.
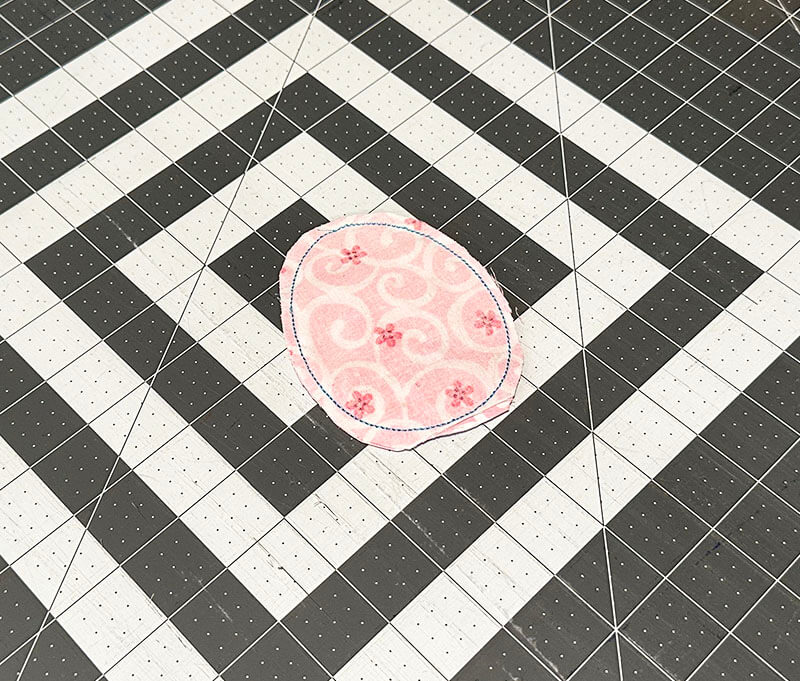
Once the back of the egg is exposed – you can turn it right side out. Press it for a more polished look. You are ready to stitch out your next one!
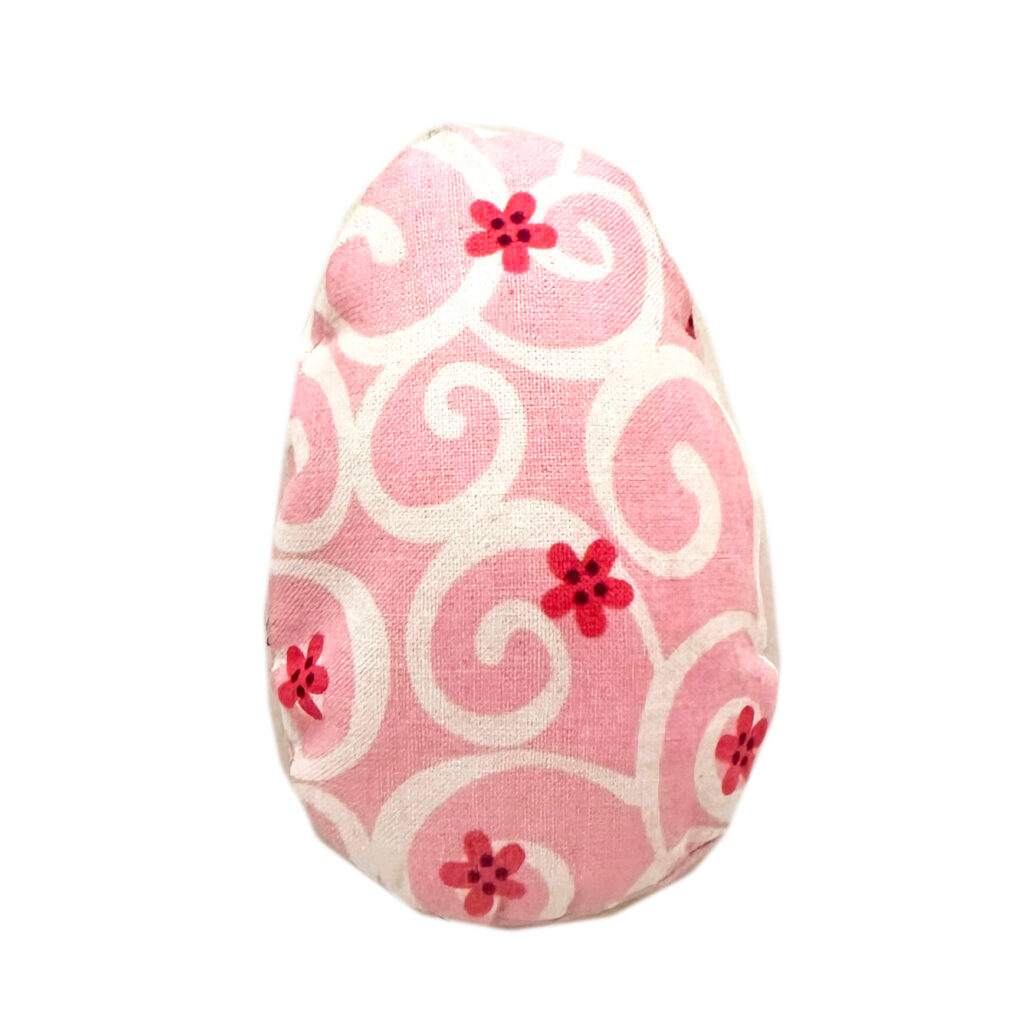
Step 5: Stuffing the Egg
Here comes the fun part. Stuff your egg with filling or candy but be mindful not to overstuff. The egg should be plump but still soft to the touch. If you are stuffing it with candy – you may want to include some artificial grass to give the egg a more rounded feel.
So, are you ready to make some in-the-hoop Easter eggs?
Creating an in-the-hoop Easter egg is a satisfying project for any machine embroidery enthusiast. It’s a seamless blend of creativity and precision that results in a delightful finished product. If you’re new to in-the-hoop designs, this is a perfect project to start with – straightforward yet gratifying. For those more experienced, it offers a canvas to demonstrate your skills and add personal flourishes. Whether you’re adorning a seasonal wreath, creating a one-of-a-kind gift, or simply treating yourself to some festive décor, these eggs are sure to be a hit. This Easter, stitch your way to seasonal joy with in-the-hoop eggs. It’s a craft that’s bound to crack smiles.
Want to remember this? Save how to make an in-the-hoop Easter egg on your favorite Pinterest board?