Disclosure: Some of the links on this site are affiliate links. This means that if you click on them and make a purchase, I may earn a small commission at no extra cost to you. Please know that I only recommend products and services I trust and use myself.
Do you love machine embroidery but don’t necessarily love the embroidery designs that are commercially available? If you want to create your own embroidery designs, you will need to learn how to digitize. You will also need digitizing software. One of the most popular programs used for embroidery digitizing (and my personal favorite) is Embrilliance StitchArtist. In this blog post, I’ll show you some of the basics of how to digitize with Embrilliance StitchArtist and explain why I’ve become such a fan.
What is embroidery digitizing?
If you’re not sure what I mean by “digitizing embroidery designs” – allow me to explain. Digitizing is the process of creating an embroidery design that will result in a file format that an embroidery machine can stitch out.
Many people assume that creating an embroidery design is simply a conversion of a graphic into an embroidery file format. But for a number of reasons, creating an embroidery design is not quite that simple. You need to have appropriate software in order to generate a file that embroidery machine will understand.
What software do I need for embroidery digitizing?
There are a number of different programs you can use for embroidery digitizing. They range in price from a few hundred dollars to over a thousand dollars. Check out this previous post where I explain some of the most popular digitizing programs with their pros, cons and costs.
If you are wondering what the best digitizing software is, my go-to answer is that the best software for you is the one that fits your budget and meets your embroidery digitizing needs.
Ask 20 different digitizers what software they use for embroidery digitizing, and you will get ten or more different answers.
My personal favorite is Embrilliance StitchArtist, and that’s what I will be demonstrating in this blog post. I recommend it because it’s a fairly priced program with a wide range of features. And – it’s tiered, so it’s perfect for both beginner and experienced digitizers.
Are there free embroidery digitizing programs?
While there are many free embroidery-related programs, none of the free programs are full-featured embroidery digitizing applications.
What is Embrilliance?
Embrilliance is a company that makes several different programs for machine embroidery. However, the StitchArtist programs are the ones you need for embroidery digitizing, so that’s the one I’ll be discussing here. Learn the differences between all the Embrilliance programs.
Why I recommend Embrilliance StitchArtist
Embrilliance programs run natively on a MAC
One HUGE reason why I recommend Embrilliance StitchArtist is the fact that it runs natively on a MAC (as well as on a PC). You may be surprised to learn that most of the other embroidery digitizing programs only run natively on a PC.
If you want to run these PC-only programs on a MAC – you will need emulation software (like Parallels). An emulation program makes your MAC act like a PC so you can run PC programs on the MAC once you start up the emulation program.
Obviously, if you are a PC user, this may not matter to you – but for MAC users – this is a big deal.
Embrilliance StitchArtist can be purchased in modules
A final reason why I recommend StitchArtist for embroidery digitizing is because you can purchase it in increments. Embrilliance StitchArtist comes in three different levels, each with increasing digitizing capabilities. This is great because it allows you to start with a lower-priced program and upgrade as your needs change (and as your budget allows).
For example, if you want to import vector shapes as the basis for your embroidery design, you will need StitchArtist Level 3 capabilities. But, if you are new to digitizing, you will find plenty of features to get you started in StitchArtist Level 1.
How do I digitize with Embrilliance StitchArtist?
Now that you know a little more about embroidery digitizing and some of the software available – let’s talk about how to digitize with Embrilliance StitchArtist.
Creating a new document
The first thing you need to do is open the program and create a new project. Project files in Embrilliance StitchArtist are saved in .BE format. BE files are not a file format that an embroidery machine can read and stitch out. It’s your “working” file format that you use to generate stitch files.
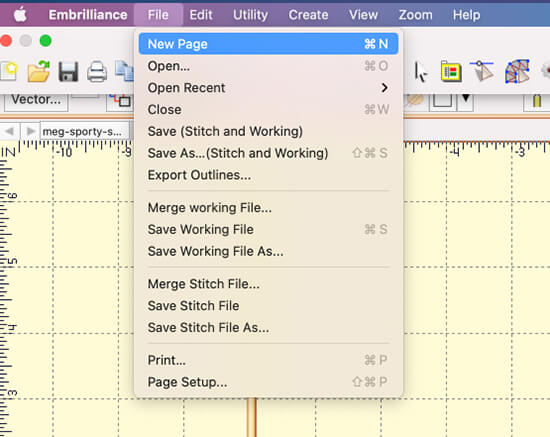
Saving your work
When you save your work – you are saving the BE file format. However you can also opt to save out a stitch file (the file your embroidery machine will read) at the same time. Just choose “Save Stitch and Working File.”
Creating objects
Once you’ve created a new document, you can start creating objects. Objects are the shapes that will form your design. A few examples of objects include: lines, circles, rectangles, ellipses and curves (also known as Bézier curves).
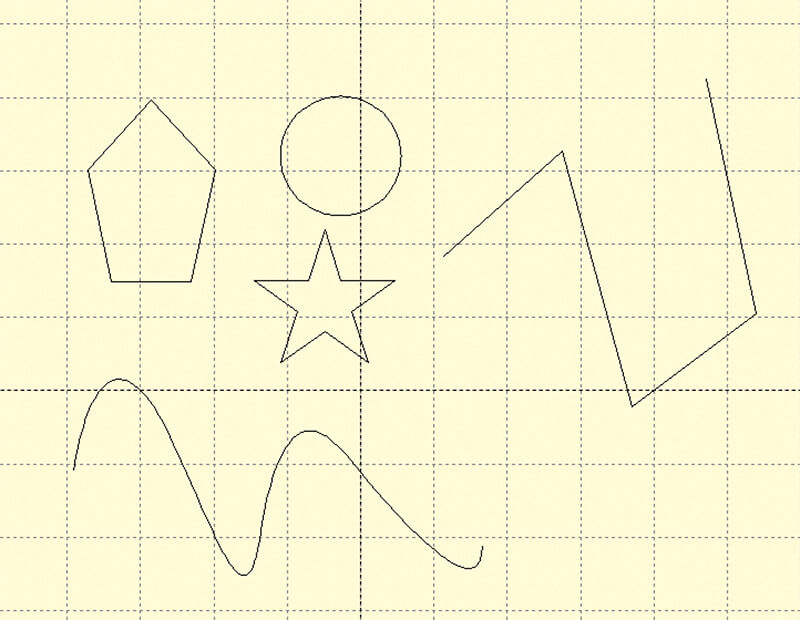
Drawing Tools
The easiest way to create an object is to use the drawing tools – such as the line tool or circle tool. Working with the Bézier drawing tools take a little more practice, but once you master it – it will likely be the drawing tool you use most.
Importing Bitmaps
All levels of StitchArtist allow a digitizer to import a bitmap image (JPG, PNG, etc…) to use as a reference. It’s a lot easier to trace a photo or other image when you have it in the program.
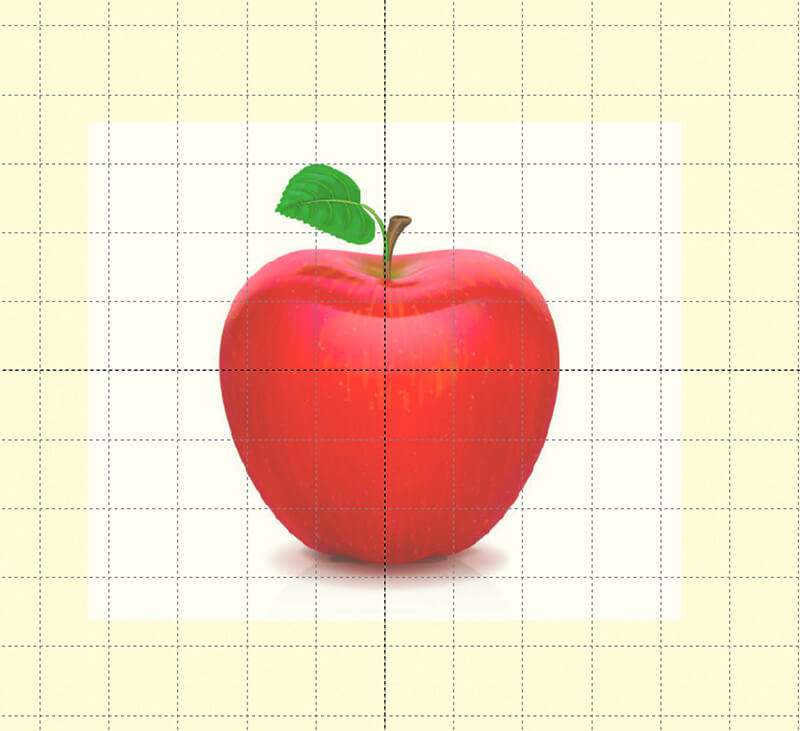
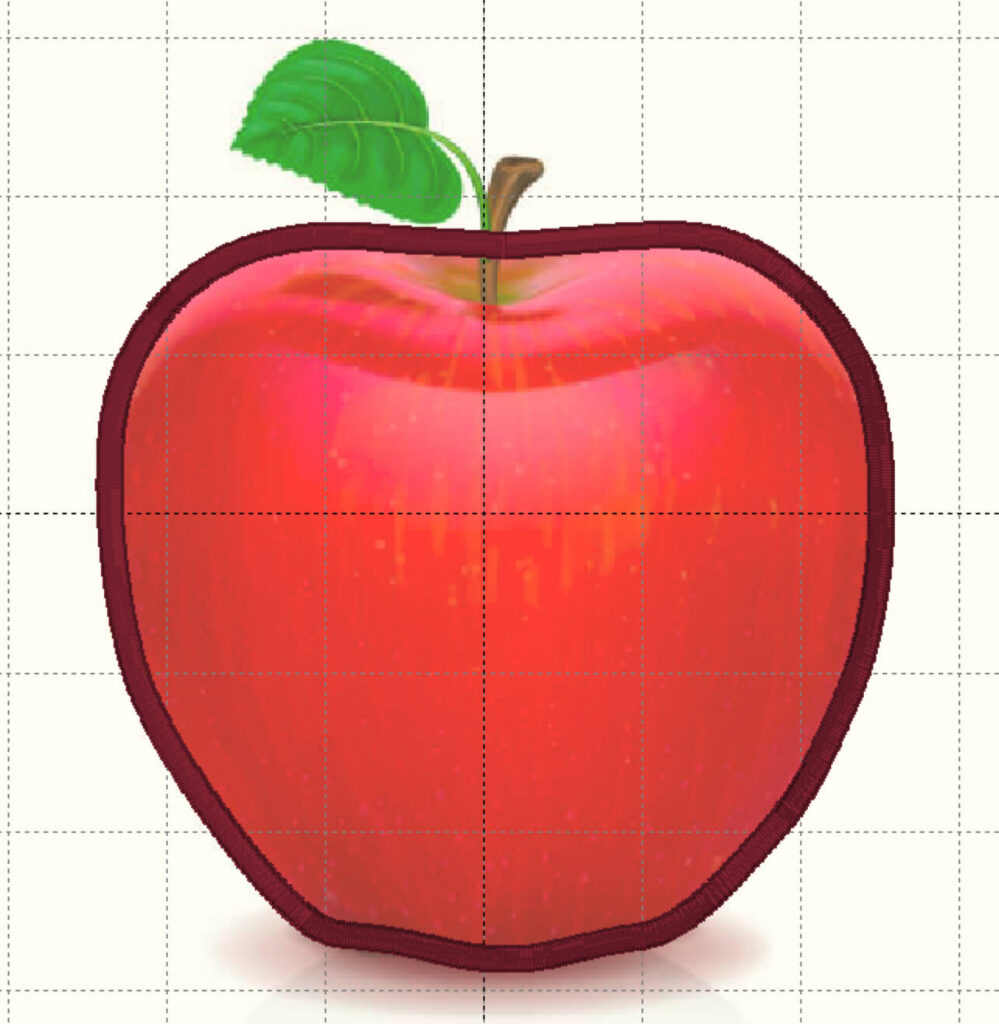
For example let’s say I wanted to digitize this apple based on the bitmap image I found of the apple. I could create a path around the Apple using the Bezier path tool in StitchArtist and manipulate my anchor points and handles to reflect the Apple shape.
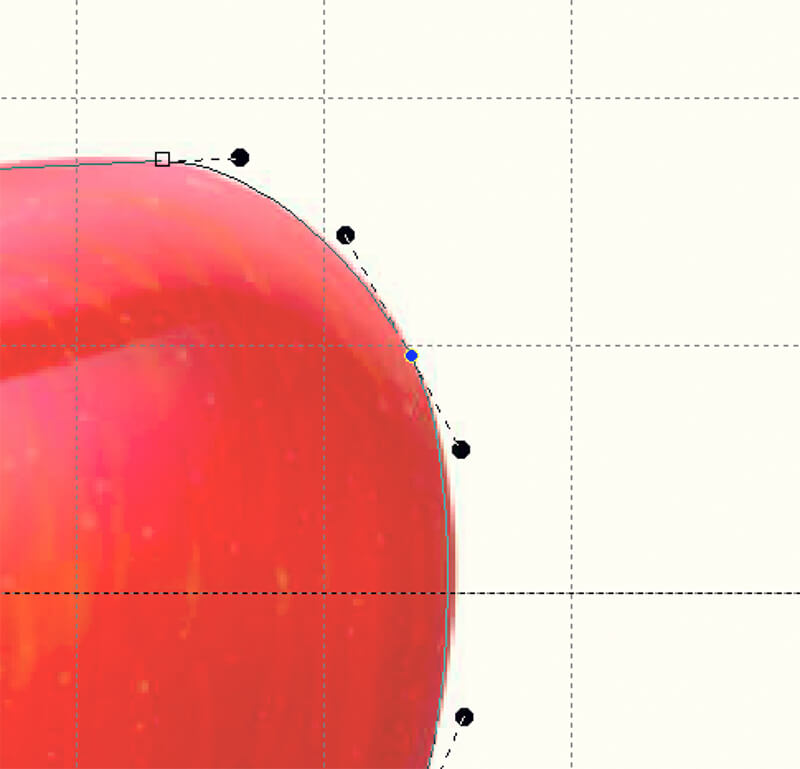
Once I have the shape defined then I can apply stitches to that shape. I may just want to create a outline of the Apple or I might want an entirely filled shape or perhaps I want to create an apple appliqué. You can do all of these things simply by selecting different buttons however you must have the shape to find before you can apply any stitch type to it.
Once you have a bitmap imported, you can also use the Magic Wand tool to create an object from areas that are similar in color. This is obviously a huge time saver, but sometimes the results can be sub-optimal. The software tends to add more control points than necessary which does not yield the smoothest border.
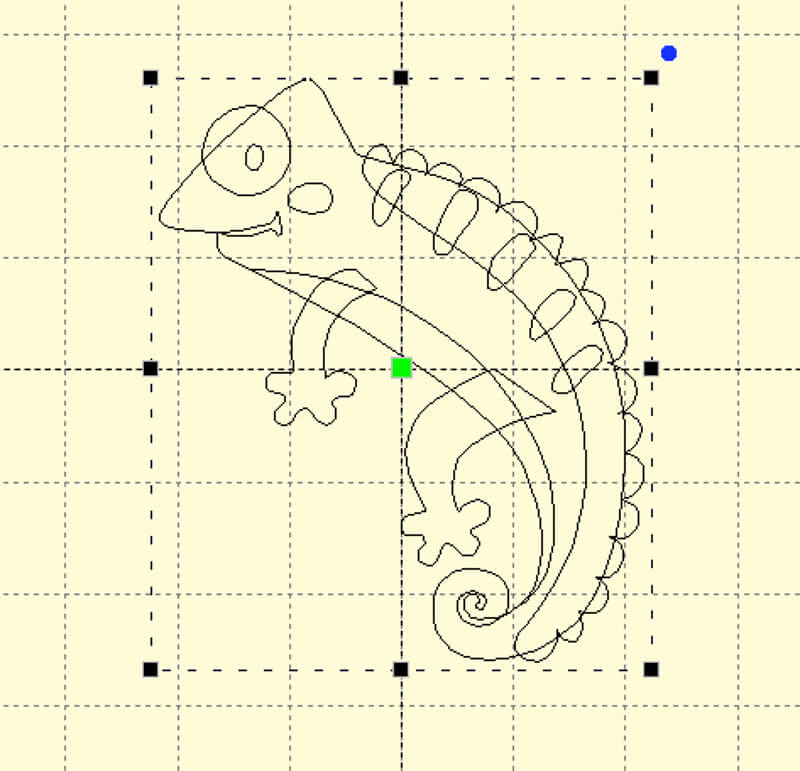
Importing vector-based graphics
One of the biggest benefits of StitchArtist Level 3 is the ability to import vector-based images (SVGs). Vector-based images differ from pixel-based images because they are made up of objects and paths. This means that you can import a vector image and the program will automatically create an object for every path in the SVG file.
Adding stitches to your design
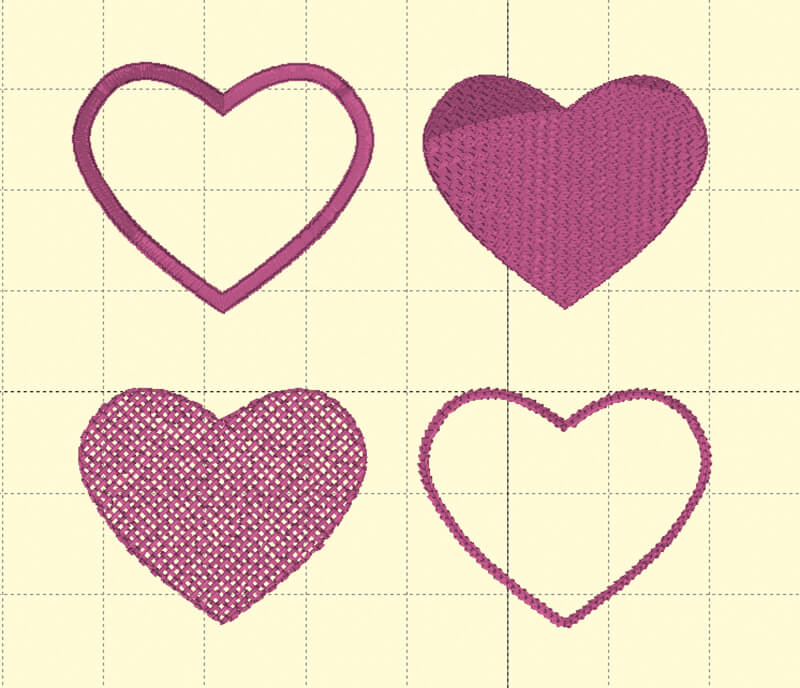
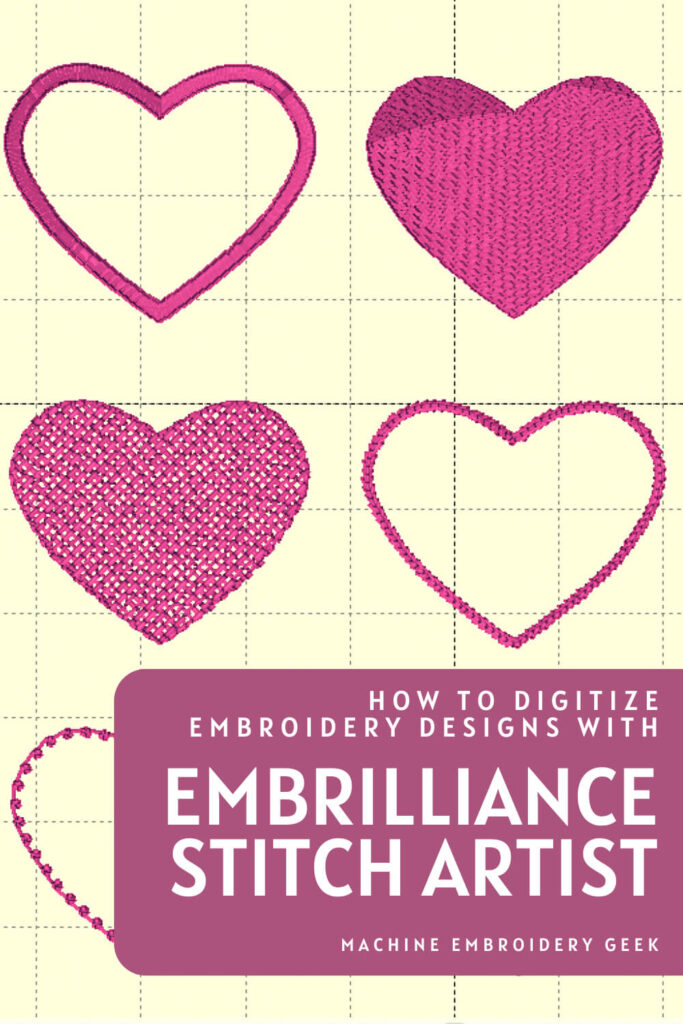
Once your objects are created, you can start adding stitches to them. Embrilliance StitchArtist offers several different types of stitches such as a variety of running stitches, a satin stitch and different fill stitches. The type of stitches will depend on the effect you are looking for.
Digitizing embroidery designs that stitch out well
You can apply stitches to all your objects but your final design may not stitch out well unless you take a few additional measures.
Consider stitch order
You should always consider stitch order. Objects that are on top in your object list will be stitched out first (and be in the background). And objects that are lower in the list will be stitched out later and be more in the foreground. This will ensure that the design looks as intended once it is finished stitching out.
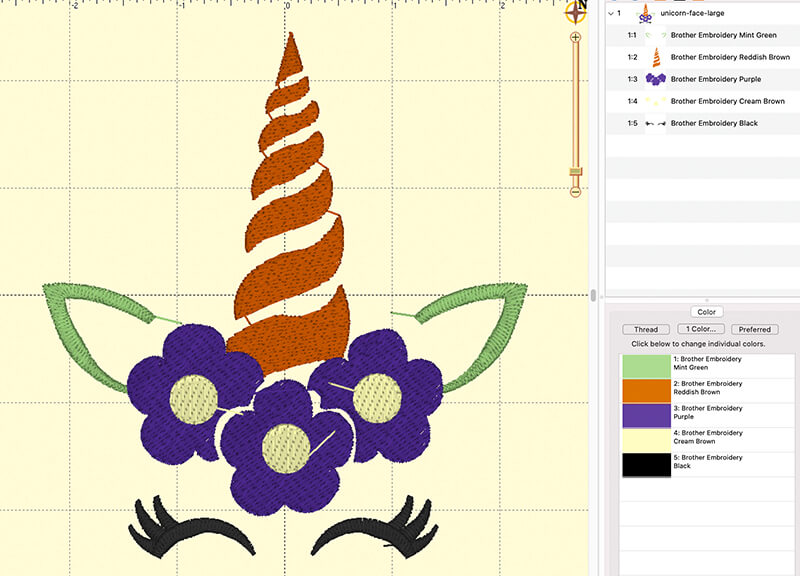
When ordering your objects, it’s a good idea to try to consolidate objects that will be the same color. The embroidery machine will stitch subsequent items that are the same color at the same time.
Of course, this is not always possible because sometimes you need a different colored object between the objects that are the same color. However, consolidating objects that are the same color minimizes the number of thread color changes which can be quite time consuming to stitch out if you are using a single needle embroidery machine.
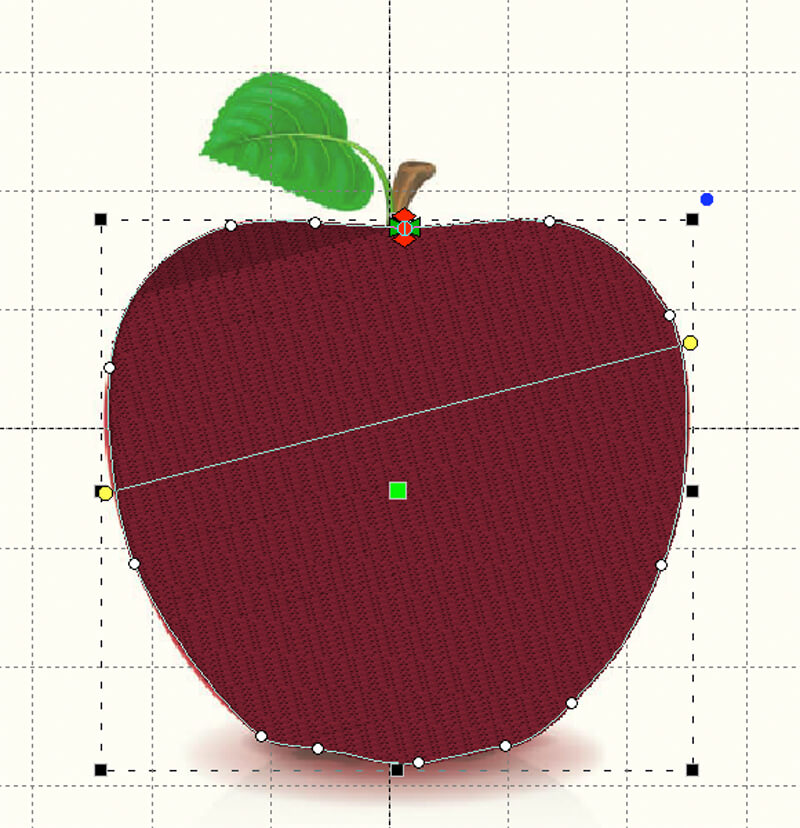
Consider stitch angle
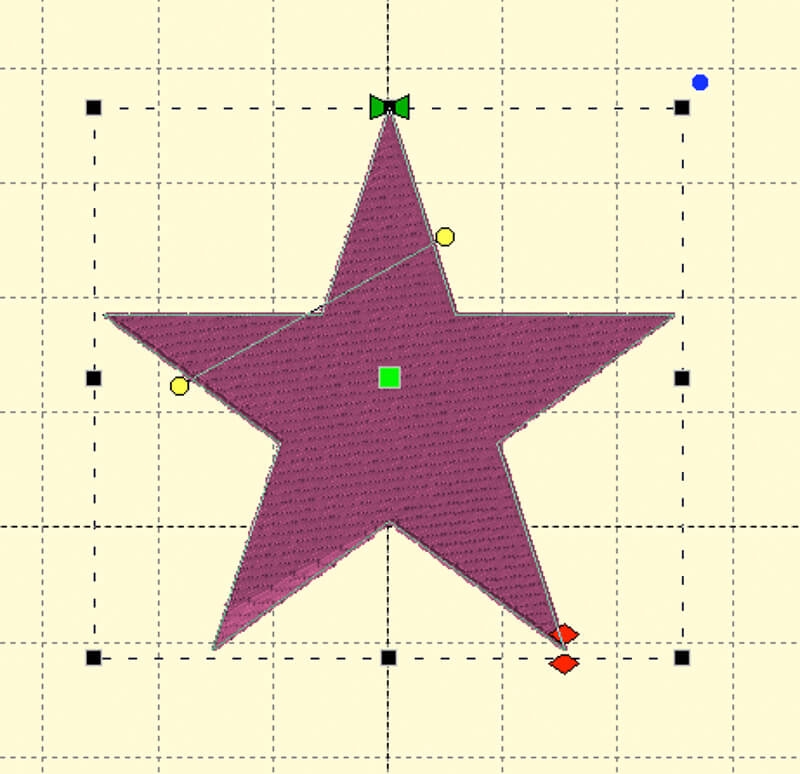
For each object, you should also consider stitch angle. By default, the software will assign a default and consistent stitch angle to each object. The result is that your design looks pretty flat and uninteresting. Fortunately, it’s easy to vary the stitch angle of each object simply by dragging on the yellow bars in the object and twisting them to the stitch angle your desire.
Consider start and end point
Another important factor is start and end point of each object. You don’t want the embroidery machine to have to jump all over the place while stitching out the design. You also want to try to avoid jump stitches as much as possible.
Ideally, the machine should start stitching each object at a location close to where it ended the previous one. This is not always possible, but always a factor I consider when creating a design.
Minimize jump stitches
Sometimes, I will even integrate a running stitch that the machine will stitch out while traveling from one object to the next. This running stitch gets covered by other objects so when the design is done you won’t even see it. But, the benefit is that I’ve eliminated pesky jump stitches so less work for the embroider when she is done stitching out the design.
Exporting embroidery designs into different formats
If your goal is to sell your designs online you will want to offer it many different embroidery file formats so that anyone with an embroidery machine.
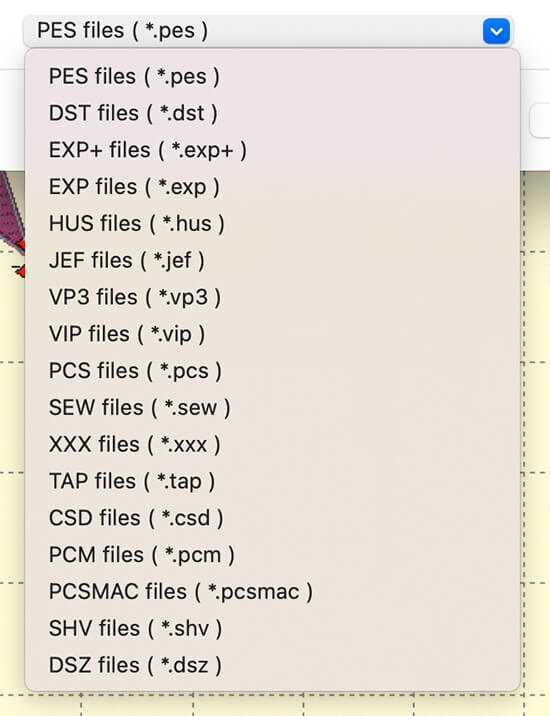
Fortunately, StitchArtist has a feature that allows you to batch export your design into multiple file formats such as PES, EXP, HUS and JEF (and more) so that you can use the same design on several different machines. And it will generate all these files at once.
Learning to Digitize with StitchArtist
If you are just starting to learn how to digitize embroidery designs, StitchArtist is a great choice. It’s affordable and the learning curve isn’t too steep. You can always start with Level 1, learn the features and upgrade to the next level when you are ready.
Embrilliance has a great library of YouTube tutorials, that help explain how the software works. They also provide a comprehensive manual when you purchase the program.
I’ve been quite impressed with the level of support they provide as well. When I come across stumbling blocks, I simply send them a message, and they usually respond within a few hours.
Like learning any new skill, it will take practice, as well as some trial and error. But, if you stick with it, you’ll be creating amazing custom embroidery designs in no time!
Want to remember this post? Save “How to Digitize with StitchArtist” on your favorite Pinterest board


Thank you for this overview of Stitch Artist. Can you import photos into SA to digitize into an embroidery file? Thanks!
Yes – there are some “auto digitizing” techniques you can use – like the magic wand – but it tends to add a lot of control points so I think it’s best to manually trace your bitmaps. You can have the bitmap in the background and create outlines on top. You can even lower the transparency of the bitmap to make it easier to see what you are doing.