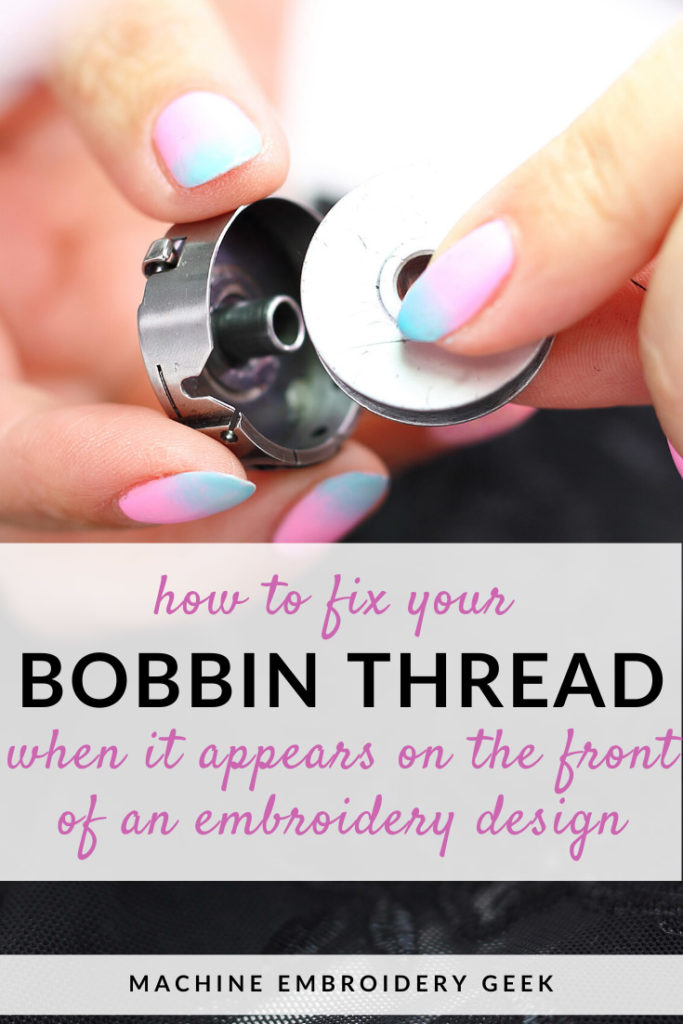
Why is my bobbin thread showing on top?
This site contains affiliate links to products. We may receive a commission for purchases made through these links.
It’s Saturday morning at 11:37 and you decide to monogram a gift for a party that starts in 23 minutes. You got this, right? Hoop and score the stabilizer, thread the machine, center the shirt on the stabilizer and get ready to go… But then, your embroidery machine starts stitching like absolute CRAP, and why is the bobbin thread showing on top? What’s a girl to do?
Products mentioned in this post
Your embroidery machine is making ugly stitching
When it’s comes to machine embroidery, it can be incredibly frustrating when your machine starts making ugly stitching. Ugly stitching can come in a variety of forms but one of the most common is when the bobbin thread starts appearing in the top stitching.
You should never see the bobbin thread in the finished embroidery design. In fact, you even want to see some of the top thread on the back of the project.
The bobbin thread showing up on top is actually a pretty common problem. Fortunately, you may be fix it fairly easily.
My sister had this problem a while back. But, instead of addressing the issue, she just changed her bobbin thread to match the top for everything she embroidered. This struck me as a terrible solution.
How should embroidery bobbin thread work?
if you are new to machine embroidery, and are having this problem right out of the gate, you may wonder how embroidery bobbin thread should work.
The tension between the top and bottom thread should be set so that, some of your top thread is getting pulled through onto the back side of your stitching. Your tension on your embroidery machine should be set this way when you first get your embroidery machine out of the box.
What should the back of your embroidery look like?
Imagine you are stitching the letter I in a satin stitch. The perfect balance of thread on the back side would be about 1/3 top thread, 1/3 bobbin thread in the middle of the I and 1/3 top thread. Believe it or not, very little bobbin thread should even be seen on the back of your embroidery!
But what do you do when this is not the case? Especially when you only have 19 MORE MINUTES TO FINISH THIS PROJECT!??
Why is my embroidery bobbin thread showing on top?
Let’s start with the obvious solutions.
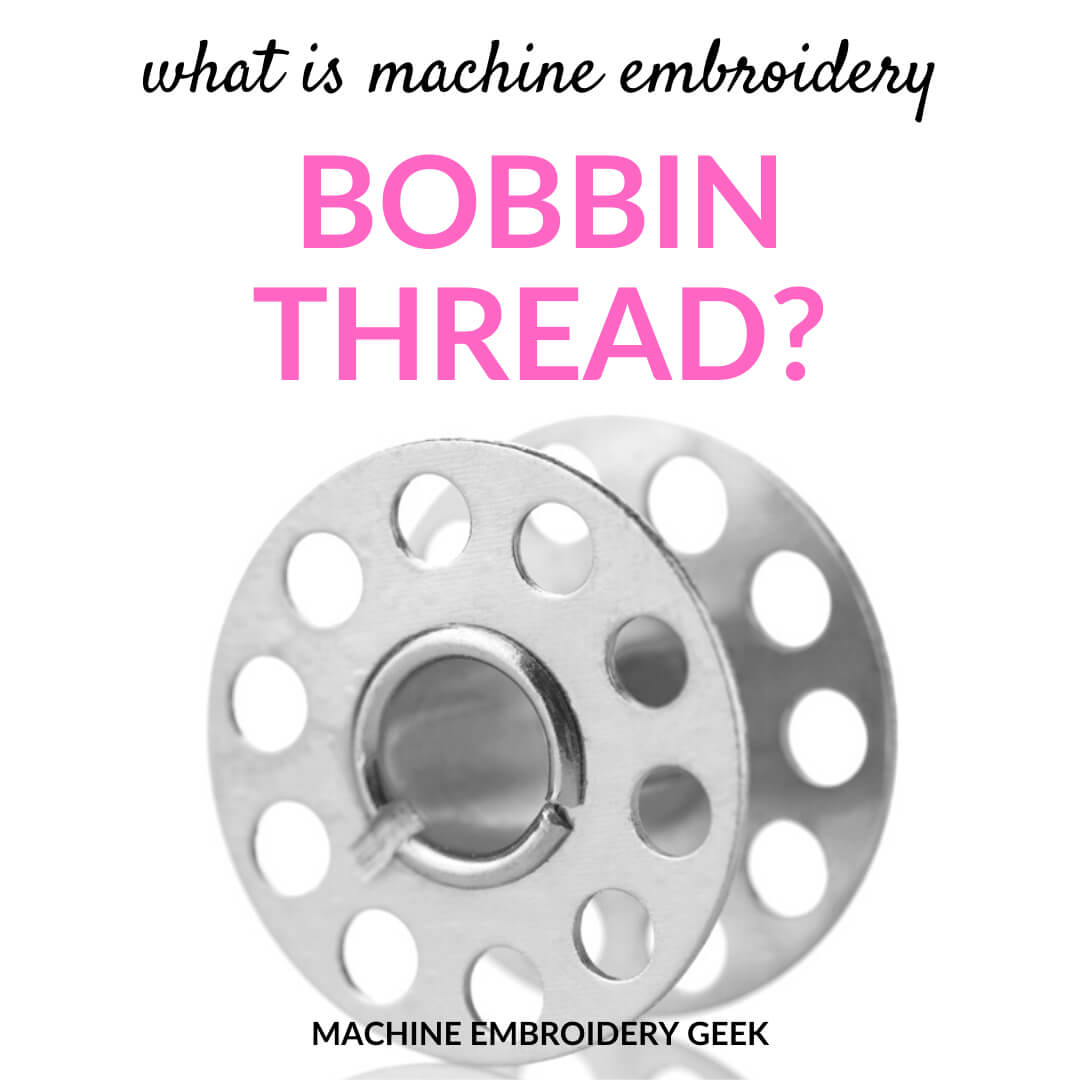
Are you using embroidery bobbin thread?
Embroidery bobbin thread is much thinner than regular embroidery thread. It is this imbalance of weight that helps pull the top thread onto the back of the design preventing the bobbin thread from showing through.
Whenever I embroider, I use the same white embroidery bobbin thread (unless I’m making a free standing lace or in-the-hoop project). Being able to use the same type of bobbin thread makes your life easier because, you never have to change your bobbin.
You may consider using prewound bobbins. Prewound bobbins tend to be wound more precisely than when we wind our own bobbins. You may achieve more consistent tension using prewounds.
Are you using the weight of bobbin thread?
Machine embroidery bobbin thread comes in 60wt and 90wt varieties, and different machines require different weights. Check with your manual to learn which weight you should be using.
Are you using a bobbin that fits into your bobbin case?
Some bobbins look similar to others which may cause you to think that an ill-fitting bobbin will work in your embroidery machine. Unfortunately, this is not always the case and can cause you problems with your tension.
If you are unsure of what type of bobbin your machine requires, check your manual.
Do you have the bobbin oriented correctly in the bobbin case?
On my PE535, there is a diagram on the machine that shows you exactly how to insert the bobbin into the housing. Follow their suggestions for best results.
If your machine doesn’t provide such a user-friendly guide – check your manual.
Is your thread stuck?
Sometimes the embroidery thread will get hung up either on itself. Since I’ve started putting my thread on a thread stand and placed it a bit away from my machine, it happens less often.
Placing your thread a bit of a distance from. your embroidery machine helps the thread to “relax” a bit before it reaches your machine. I know, I know. This sounds crazy, but I’ve found this to be quite helpful, especially when working with metallic embroidery threads.
Is your machine threaded properly?
At this point, I can thread my machine in my sleep, but sometimes I fail to notice when I don’t have the thread fully in the tension assembly, and this can majorly screw things up.
Are you using a huge spool of thread on your machine?
Huge spools of embroidery thread are awesome and will last for a really long time. The problem is that if you try to use them on the thread holder on the machine, you will likely mess up your tension.
The reason why big spools of embroidery thread shouldn’t be used on your thread holder on your machine is because it takes quite a bit of force to pull the thread off the spool and get it to unwind.
If you want to use large spools of embroidery thread on your single needle home embroidery machine, simply put them on a thread stand near your machine.
More reasons why your bobbin thread may be showing up on top
Assuming all of the obvious problems are not the issue, it’s time to look at some other issues.
Is your bobbin area full of fuzz and strings?
Remove the bobbin and use a makeup brush to sweep out the bobbin area.
I am often tempted to blow in my bobbin area in an attempt to blow it clean, but this is NOT a good idea because your breath introduces moisture into your bobbin area which can make it rust.
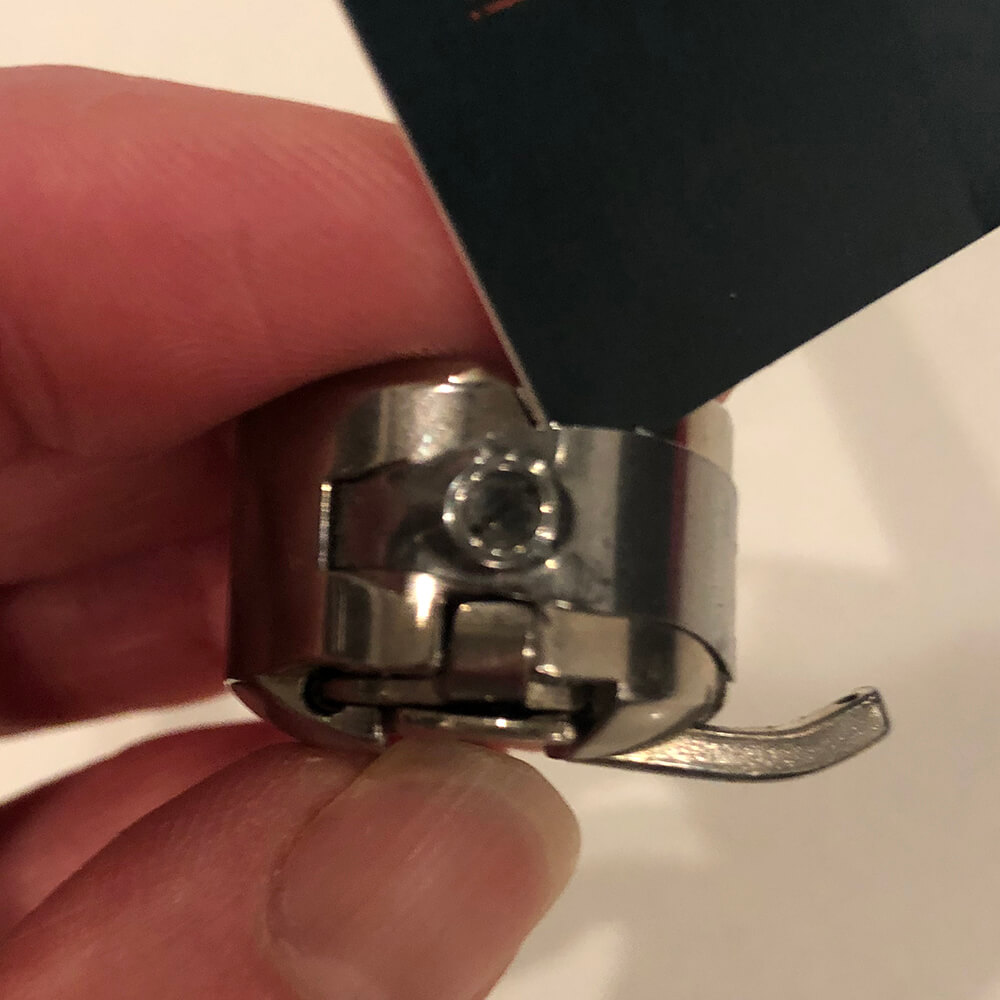
Is there debris stuck in the nooks and crannies of your bobbin housing?
Try cleaning it out by slipping a business card between the layers of metal. It’s easy for a little string to get stuck in there and wreck havoc on your stitching.
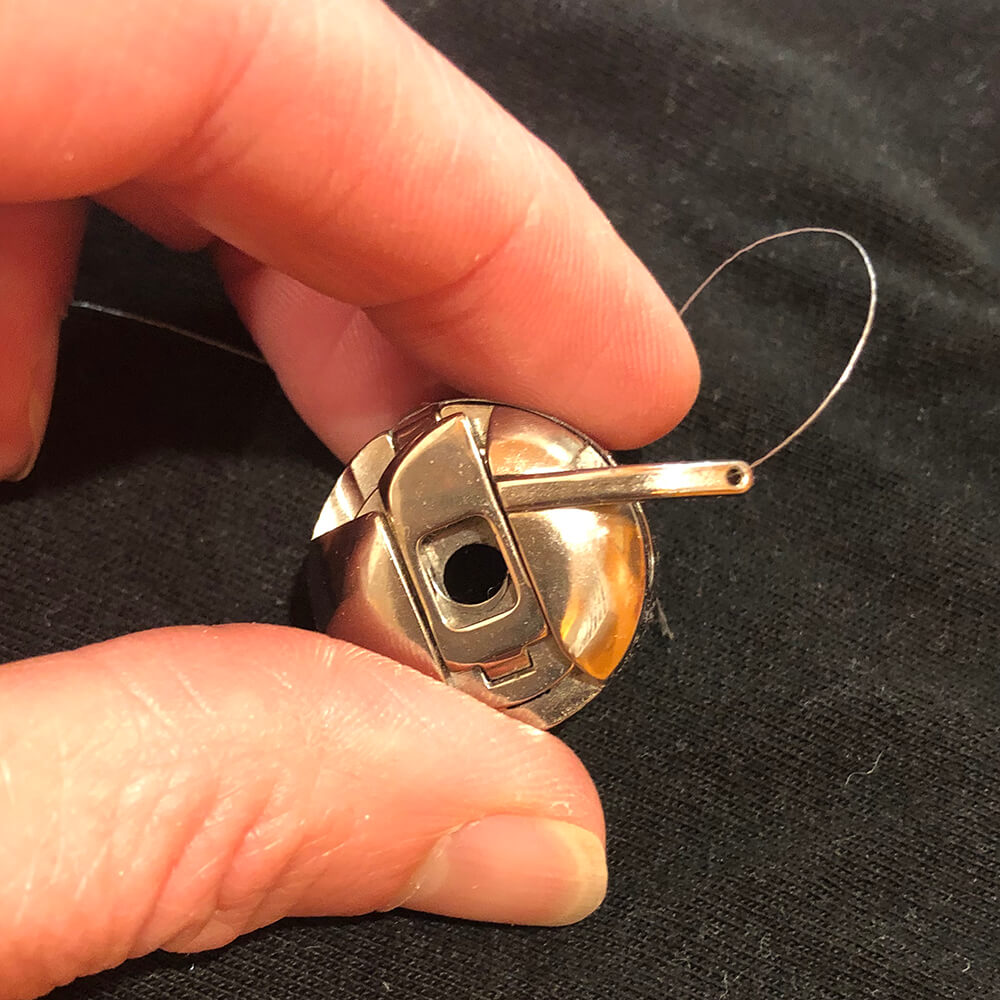
Have you threaded the eye of the bobbin housing?
Taking this extra step when you are embroidering will increase the bobbin tension and help pull the embroidery thread to the back of the design.
Don’t panic – some bobbin housings do not have an eye like this.
Is your bobbin tension too loose?
You can adjust the tension of your bobbin by loosening or tightening the little screw on the top of the bobbin case. Make very small adjustments with a tiny screwdriver and test it out after every one. 1/8 of a rotation of this little screw can make a big difference.
In general, if you are seeing bobbin thread in your top stitching, the bobbin tension is too loose.
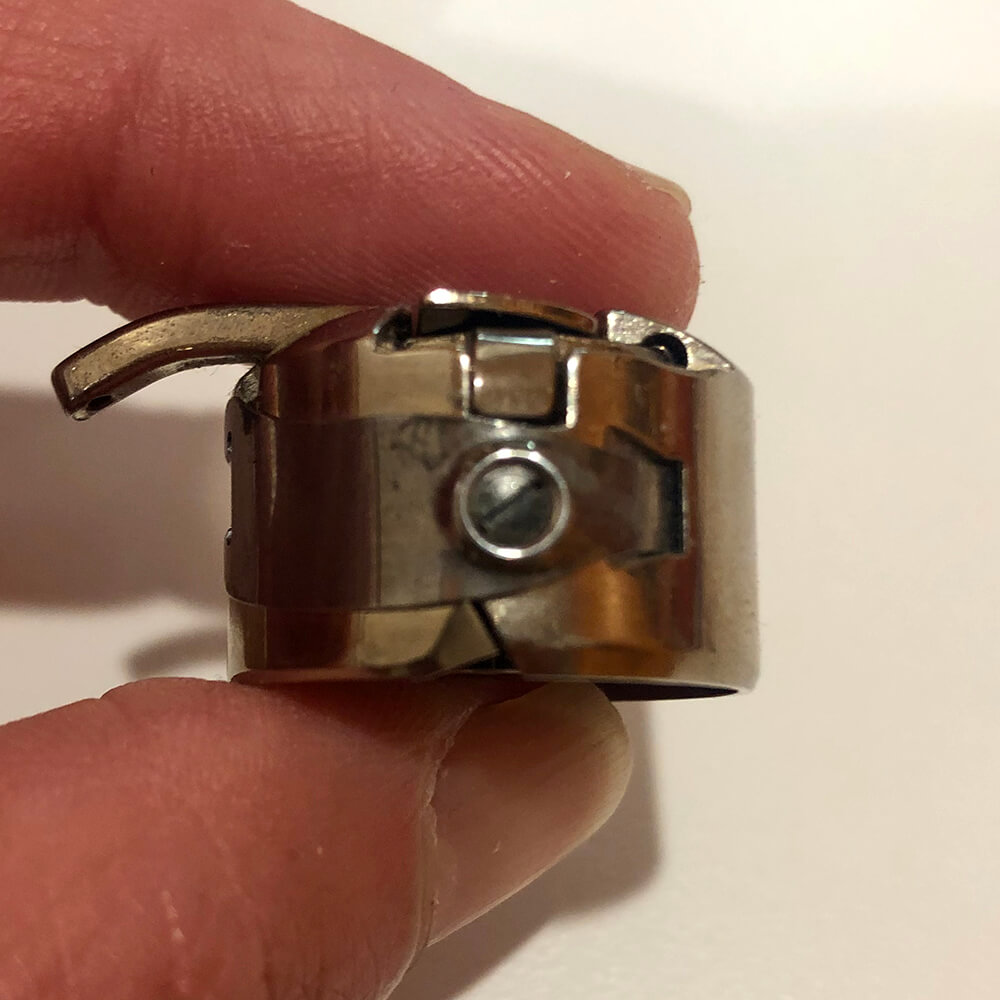
This little screw on your bobbin housing allows you to adjust your bobbin tension. Don’t overdo it though!
Are you using an old, worn out or damaged needle?
I find that a bent or damaged needle is sometimes hard to spot. But changing a needle out can make a huge difference. Besides, new needles are cheap. It’s worth a try.
Frequently asked questions regarding bobbin thread in machine embroidery
How do I adjust my bobbin tension on my embroidery machine?
Place the bobbin in the bobbin case and tighten the screw on top of the case until it is snug. Then, holding the end of the thread, pull up on the bobbin case until there is a small amount of tension on the thread.
The tension should be tight enough that you can feel some resistance when you try to pull on the thread, but not so tight that the thread feels like it might break.
How often should I change my needle when I am machine embroidering?
It is generally recommended that you change your needle after every 8 hours of stitching time or after every 5,000 stitches, whichever comes first.
What causes loops on top of the machine embroidery?
Loops are often caused by the tension being too loose or the embroidery machine not being threaded properly. Rethreading the machine and adjusting the tension may solve the problem. If not, consult your embroidery machine manual or take it to a qualified technician.
Why am I getting bird nests underneath my embroidery?
There are a number of issues that can lead to bird nesting in machine embroidery. Read my previous post about bird nests in machine embroidery to learn more.
Ready to fix those ugly stitches?
It’s easy to get frustrated when your bobbin thread keeps getting stuck, but by following these simple tips you can likely troubleshoot this issue and get your embroidery machine to stitch beautifully.
Good luck and don’t fret.
But, next time leave yourself a little more time to finish the gift before the next party.
Happy stitching!
Julie
Want to remember this? Post “Why is my bobbin thread showing on top?” on your favorite Pinterest board!






You didn’t mention about which way you turn the bobbin
Yes – you are right! Have you inserted the bobbin the right way?
I fixed it once and it worked perfectly but then only the bobbing thread is showing on top, I’ve been fixing the tension and I dont know what to do. Can you help?
Did you try all the suggestions listed in the article? My sister had luck tightening the screw on her bobbin case. But I think a thread stand makes a huge difference.
1/8th turn fixed the problem for me. My problem arose on one head of my 6-head PR650. But your succint explanation of balancing the top and bottom tensions, has helped me understand how I will adjust my tensions in the future. I now know I should not just rely on using the tensioning weight to set the tension on the bobbin.
After battling this issue with a brand new machine my solution is – check your fabric. Stupid loose weave linen does NOT work for this.