Disclosure: Some of the links on this site are affiliate links. This means that if you click on them and make a purchase, I may earn a small commission at no extra cost to you. Please know that I only recommend products and services I trust and use myself.
You may have seen the embroidery machines in the fabric stores and thought to yourself, “wow, that looks really complicated.” Let me be the one to tell you that – actually, it’s not. With a little bit of practice, you can easily learn to use an embroidery machine.
In this blog post, we’ll cover the basic of how to use an embroidery machine and where you can turn to learn more. You’ll learn everything from how it works, essentials supplies you need, and even some great projects to start with. Interested? Read on!
But – before we go too deep, though, you should know that this article is focused on home embroidery machines – and not multi-needle embroidery machines which are a bit more complex and not usually how beginners dive into the craft of machine embroidery. So, let’s just focus on how you can learn to use your home embroidery machine.
Products mentioned in this post
Getting the right embroidery machine
Let’s face it. Some embroidery machines are easier to use that others. So if you want to your learning curve to be less steep, get one that has a reputation for being easy to learn. Here are some of the best single needle home embroidery machines for beginners.
[do_widget id=custom_html-33]
Setting up your embroidery machine
Sometimes just getting the embroidery machine out of the box is the biggest hurdle. Once you do, you are faced with several parts that may look unfamiliar to you which can be a bit overwhelming.
The embroidery machine
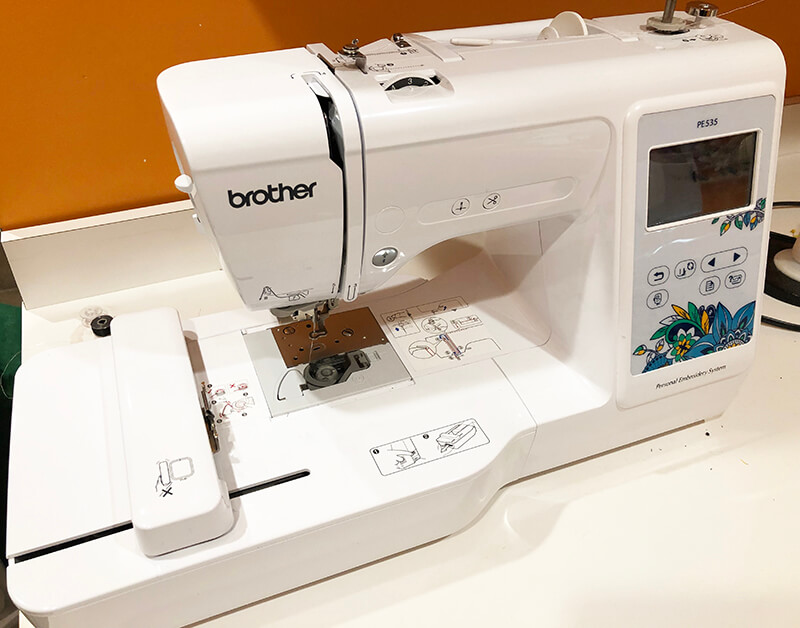
The largest piece of equipment you will find when you start unboxing is the main body of the embroidery machine. Set that up first. Before you can start using it, you will need to add some other components to the machine in order to make it work.
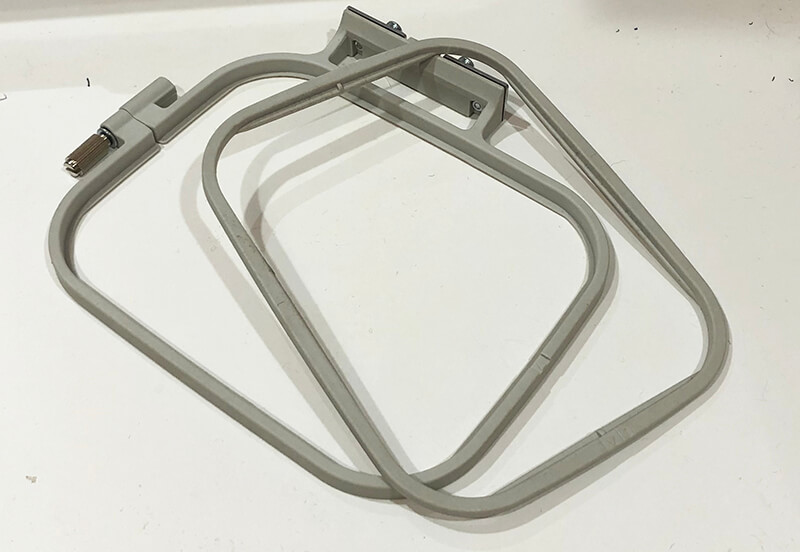
The embroidery hoop
The embroidery hoop is what holds your fabric in place while stitching. The hoop clips onto the machine. Every machine has a different style clip, but generally you can feel when the hoop is properly locked into place. When you are setting up your machine, it’s not necessary to clip the hoop onto the machine. You will want to hoop your fabric and stabilizer before you attach the hoop.
The thread holder
The thread holder is usually a small arm that swings out from the top of your machine on which you can place your embroidery thread. Once you place your embroidery thread on this peg, you can start threading the embroidery machine.
Instead of putting the thread on this peg on the machine, you could also use a thread stand. Since I buy very large spools of machine embroidery thread, I use a thread stand. They are too big and heavy and don’t unwind properly if I put them on the thread holder on my embroidery machine.

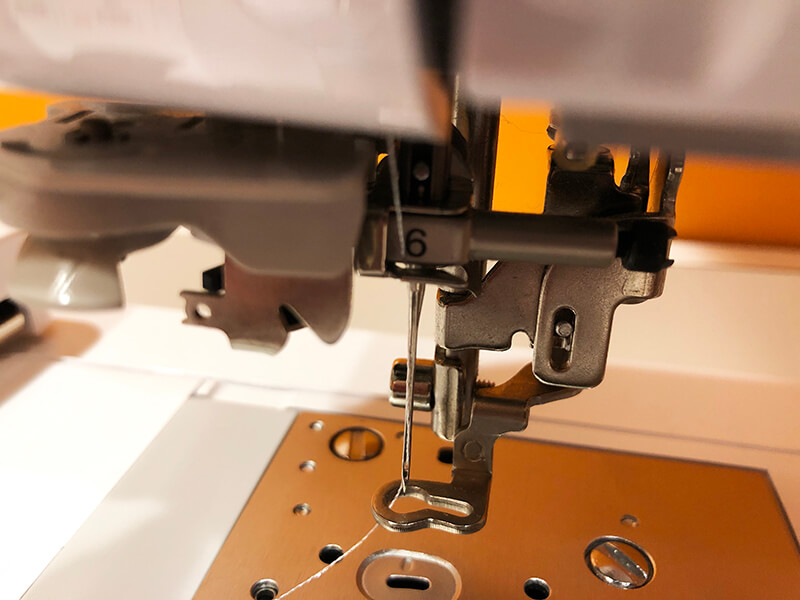
The Needle
When you unbox your machine and start setting it up, it’s highly unlikely that a needle will be installed. The location of the needle should be fairly self evident. Typically you need to unscrew a knob to insert a needle (flat side of the needle shank facing the back) and tighten it up to hold it in place.
It’s important that you use embroidery machine needles and not sewing needles in your embroidery machine. Embroidery needles have a larger eye which allows thread to travel through it more smoothly. Learn more about needles for embroidery machines.
When you thread your machine, the last spot your thread will go is through the eye of the needle (front to back) .
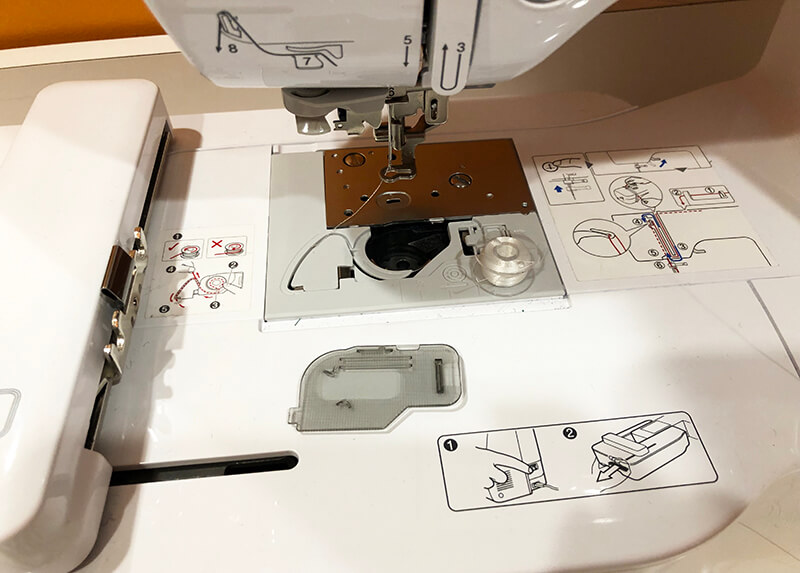
The bobbin and bobbin case
The bobbin is like a mini spool of thread. This second strand of thread goes through your fabric to make stitches. You would not be able to create stitches with your embroidery machine without a top thread and a bobbin thread.
The bobbin is held in place by a bobbing case which sits underneath your main needle housing. Some embroidery machines have a removable bobbin case and some don’t. Keep in mind that the orientation of the bobbin thread does matter. Check your manual to see the direction of how the bobbin should unwind (clockwise or counterclockwise) before inserting the bobbin into the bobbin case.
Typically new home embroidery machines come with a few wound bobbins for you to use. If not – you will need to wind the bobbin with embroidery bobbin thread. You can use your embroidery machine to wind the bobbin thread or a bobbin winder. if you wind the bobbins yourself, be sure to use embroidery bobbin thread which is thinner than regular embroidery thread. You can also purchase pre-wound bobbins that are designed to work with your embroidery machine.
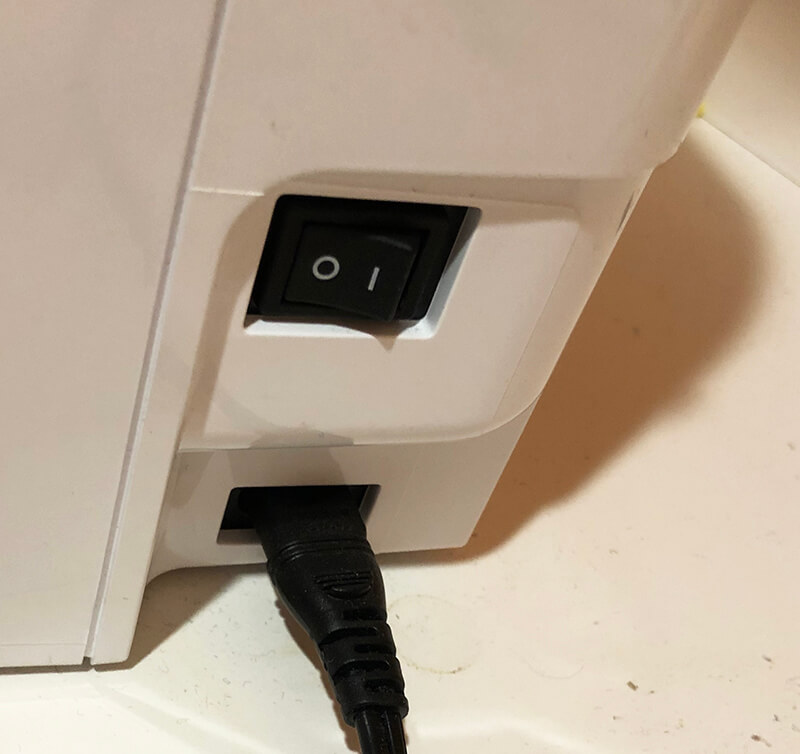
Power cord
You will need to plug in your embroidery machine to get it to run. (Sorry, didn’t mean to insult your intelligence there.) One end of your power cord will go into the side of the machine and the other into an outlet.
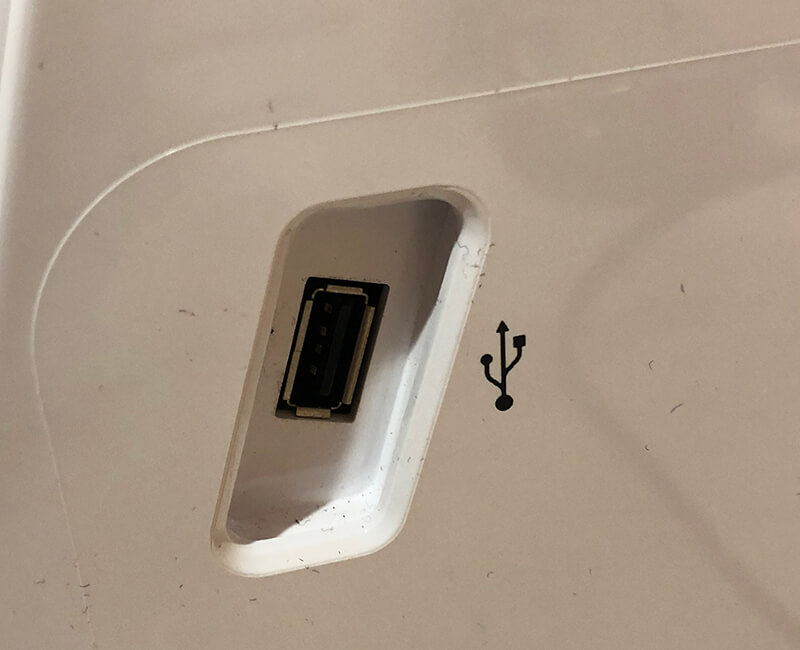
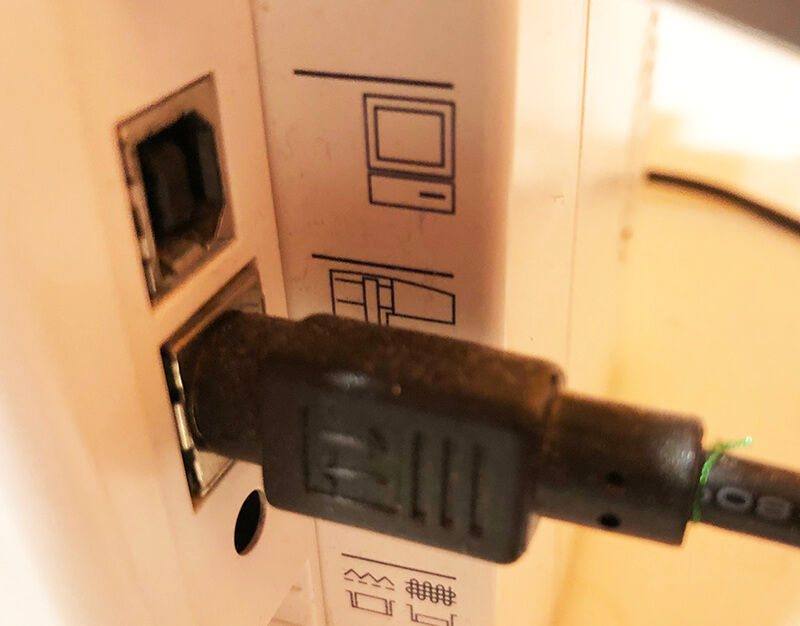
USB port
The USB port on your embroidery machine allows you to transfer designs from your computer straight onto the machine. If you are just beginning – don’t worry about that yet. You can practice stitching out designs that are built into your machine. Once you are ready to stitch out some 3rd party designs, you will transfer them from your computer onto your embroidery machine.
Setting up embroidery / sewing combination machines
If you have an embroidery / sewing combination machine, you will have a few additional parts and settings to deal with.
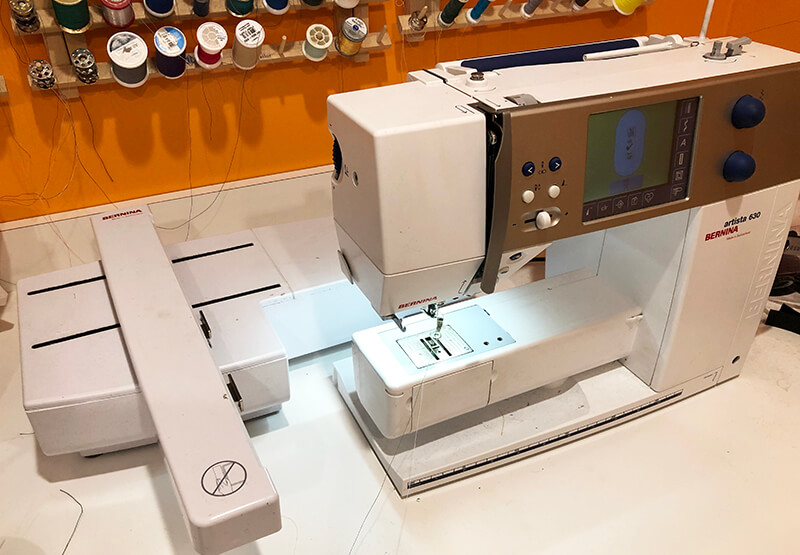
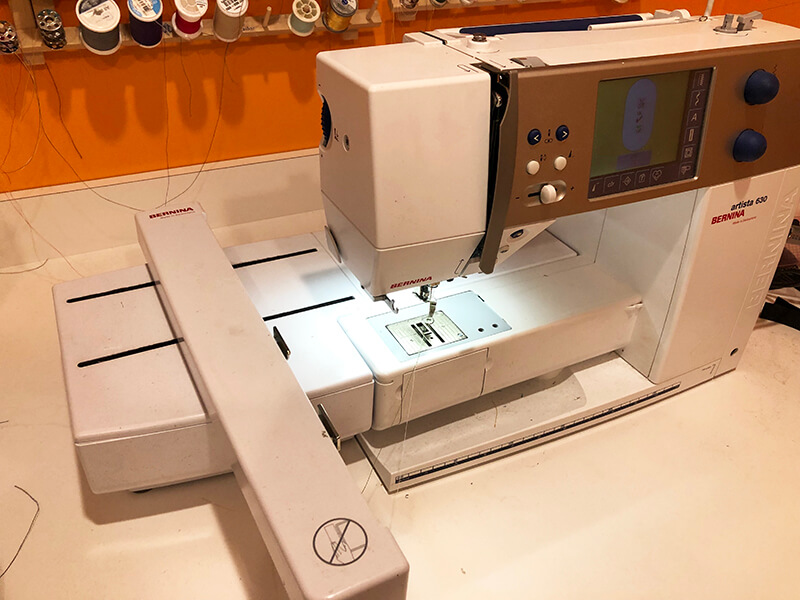
Embroidery module
Combination machines (like the Brother SE600) have embroidery modules that attach to the machine in order to use it as an embroidery machine. you would remove it for sewing. My combination machine has an embroidery module that clips into place. However, I also need to plug the cord from the module into the main body of the machine.
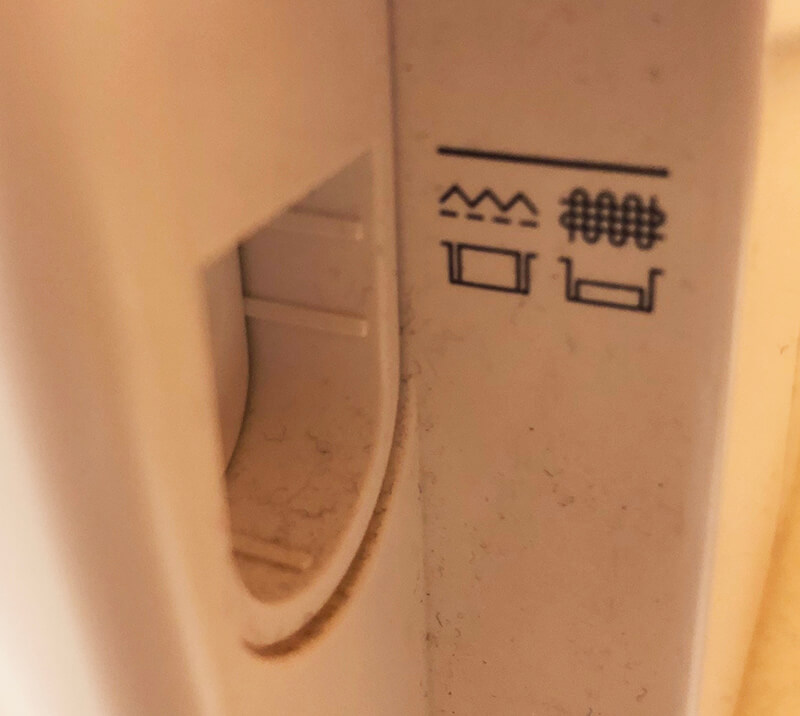
Feed dogs
If you are using your combination machine to embroider, you want to make sure that your feed dogs are down. The feed dogs are the little metal pieces that move your fabric forward through your machine. You don’t want them up because you don’t want the machine to push the fabric forward as it stitches.
My embroidery combination machine will not let me embroider with the feed dogs up, so it’s hard to forget to do this. A button on the side of my machine releases the feed dogs.
Presser foot
You do not use the presser foot when you are embroidering. You start and stop the embroidering by pressing a button on your machine or through the screen. So don’t even bother plugging it in.
Materials you need to start embroidering
Honestly, you don’t need much to start embroidering. Most of these embroidery supplies can be purchased on Amazon, but there are quite a few other machine embroidery suppliers.
Fabric
You will need some fabric, but it doesn’t have to be fancy. I started embroidering on cotton scraps. I would avoid experimenting on any material that is too light as it may pucker and cause frustration.
Stabilizer
If you are just starting out and you are embroidering on thin cotton, I would suggest using a medium weight cut away stabilizer. A stabilizer is a thin fabric that goes under your main piece of material to prevent puckering and give the stitches something to grip onto.
Embroidery thread
You will need embroidery thread in order to stitch out designs on your machine. If you want a variety of threads right off the bat, you can buy a set of thread which can be a great deal.
Some people are very particular about thread brand. But, if you are new to machine embroidery, I would suggest buying one of the preferred brands of embroidery thread, see if it works well with your machine. If you like it, stick with the brand. If not – try another.
And that is basically all you need to get started!
How to embroider on a home embroidery machine
Hoop your fabric and stabilizer
Sandwich your fabric and stabilizer (with the fabric on top) between the inner and outer hoop. It should be very taut. Don’t worry about getting the fabric and stabilizer in exactly the spot you want it. This is just for practice so just make sure the materials are hooped securely.

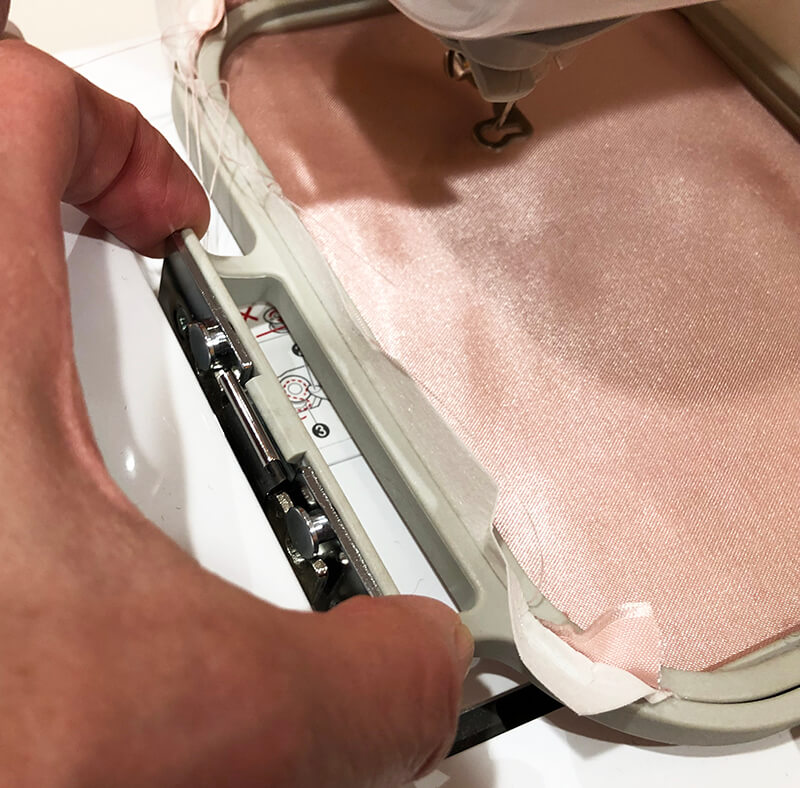
Snap your hoop onto your embroidery machine
Snap the hoop onto your machine. This is super simple on all of my machines, but other brands may require you to press a button or release some sort of latch. Fortunately, it’s easy to tell when the hoop is securely latched.
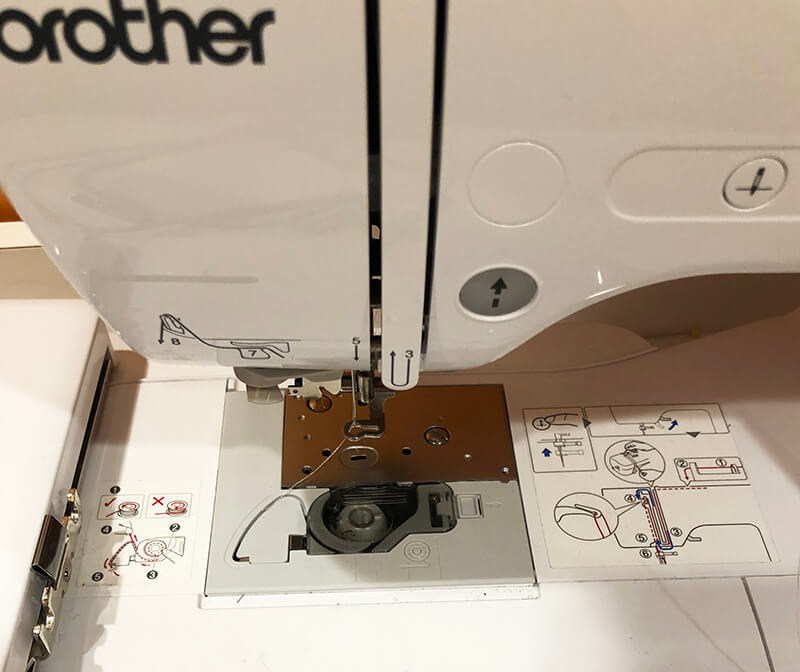
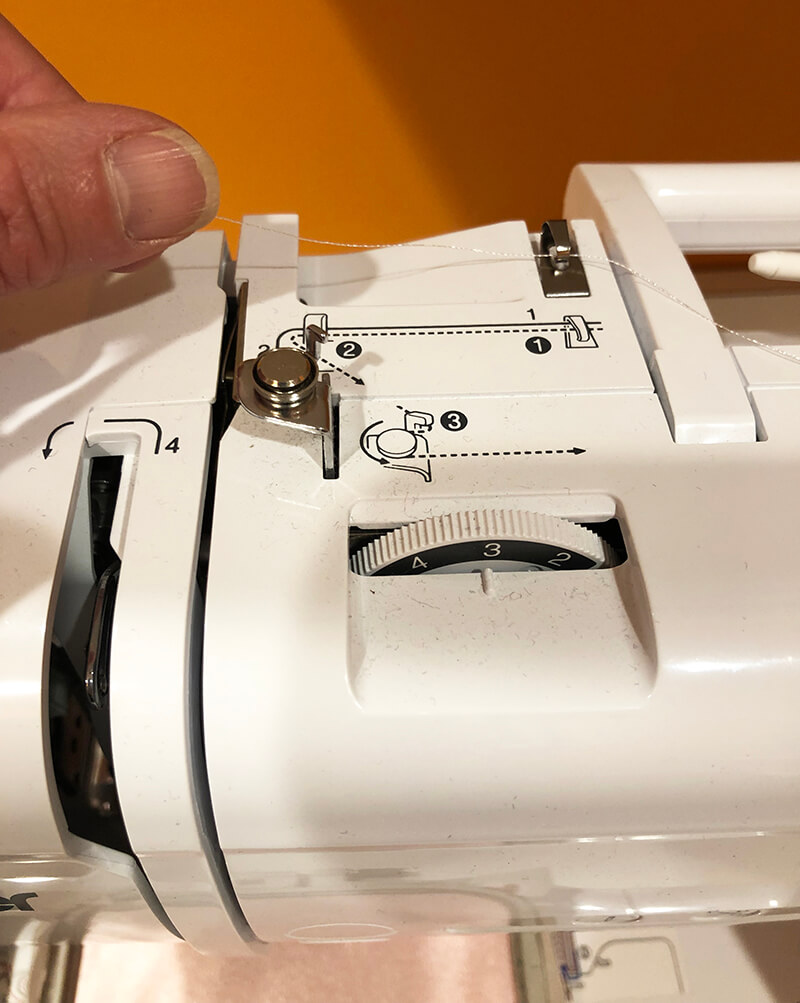
Thread your machine
The way in which you thread an embroidery machine varies from model to model. So, you will need to check your manual to learn how to do it. Some machines, however, like my little PE535 make it REALLY easy to thread as the thread path is drawn on the machine itself.
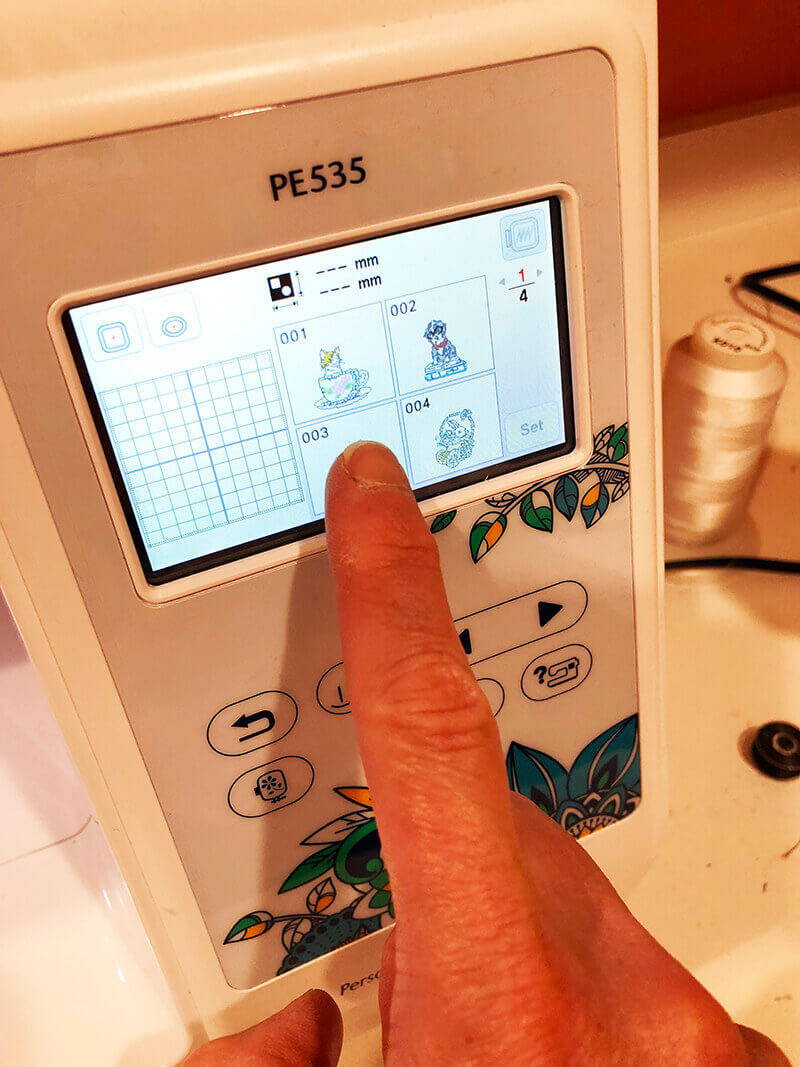
Load up the design or letters you want to embroider
The first thing you need to decide is what to embroider. You can either type out a word or name via the screen on your machine or select a pre-installed design. A word or a name is the easiest option since you would only need to use one thread color. Once you have the name typed out – you are ready to stitch it.
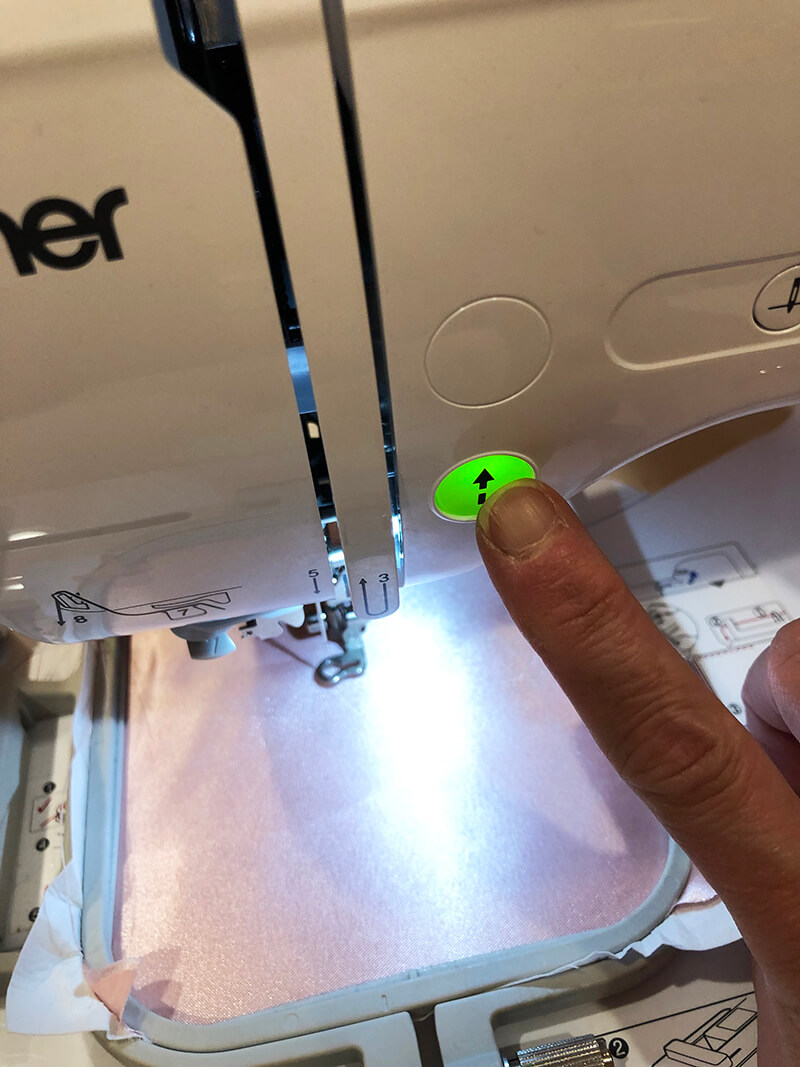
Embroider
Again, machines differ on how to do this. But, it’s time to hit the go button. My machine has a button that says “embroider” and when I press it, the needle goes down to hold onto the fabric and then it starts stitching.
Clean up
When your machine is done stitching, it will automatically stop and raise the needle. You can detach the hoop from the machine and release your fabric and stabilizer from the hoop.
Easy machine embroidery projects for beginners
So you got it now? I bet you are wondering what are some good projects that are suitable for beginners to make with an embroidery machine. Some easy projects include embroidering kitchen towels, tote bags, fleece blankets, some clothing (that doesn’t stretch a lot and has easy access). Check out my complete list of machine embroidery projects for beginners.
Resources to help you learn how to use your embroidery machine
There are a number of resources out there to help you learn how to use your embroidery machine. I asked some of the pros where they learned how to use their embroidery machines and they provided a lot of tips on how to get started.
- Start with the manual that came with your machine. In addition, many manufacturers are now putting videos on Youtube showing people how to do basic things like threading and winding bobbins. So visit their website to learn how to access these resources.
- Join machine embroidery related groups on Facebook where experienced machine embroidery enthusiasts offer tips and tricks that you can try out.
- If you are really hard pressed for time or just don’t have the patience – hire a machine embroidery tutor to teach you how to use your machine. While a couple of hours of a tutor’s time might be a little pricey, it will save you tons of grief in the long run!
- Join a local machine embroidery club. In my area, groups dedicated to machine embroidery meet at our local fabric shop.
- Visit www.emblibrary.com which has a great help section.
- Invest in some classes to get to know your machine .
- Go to stabilizer company websites such as Sulky, and check out their information.
- Learn the lingo. Check out my list of common machine embroidery terms you should know.
- Practice practice practice…Add embroidery and appliqué to junky old clothes or towels to build up your confidence.
- Most importantly – when you get frustrated – walk away! Take a day off and don’t touch your embroidery machine. Gather your thoughts and then you will get it, starting is very overwhelming!
Ready to learn to use your embroidery machine?
I hope this blog post helps with learning how to use your embroidery machine. Keep in mind that when you are learning to use your embroidery machine, not everything will be perfect on the first try. Learning to use your embroidery machine is about trial and error. Put the machine on a scrap piece of fabric and play around. You may break a few needles and create a few birds nests, but that’s okay! It will make you grow as an embroiderer.
xo
Julie
[do_widget id=custom_html-27]
[do_widget id=custom_html-10]
[do_widget id=custom_html-64]
Want to remember this? Save “How to learn to use an embroidery machine” on your favorite Pinterest board.