Disclosure: Some of the links on this site are affiliate links. This means that if you click on them and make a purchase, I may earn a small commission at no extra cost to you. Please know that I only recommend products and services I trust and use myself.
Is your embroidery machine still in it’s box? That’s a dang shame because you are missing out on tons of fun. But, believe it or now, you are not the only one. There are plenty of people who have purchased embroidery machines but still have them sitting in the box. The problem is – they have no idea how to set up an embroidery machine.
Embroidery machine, supplies and resources mentioned in this post
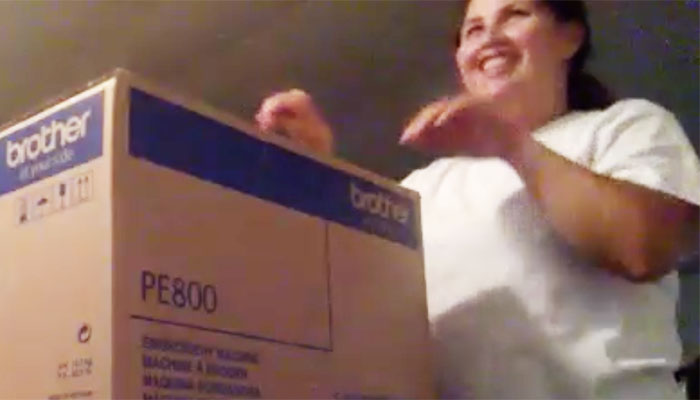
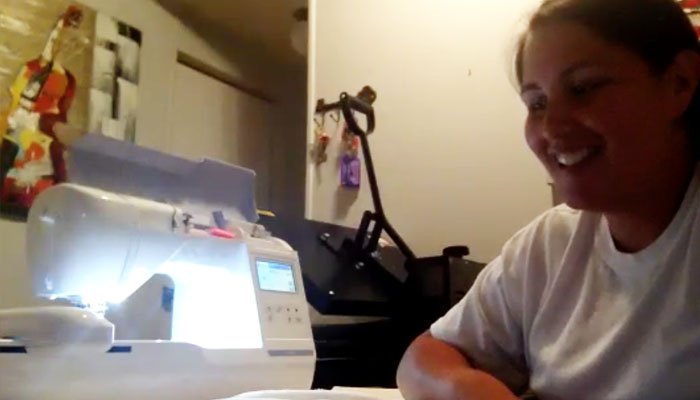
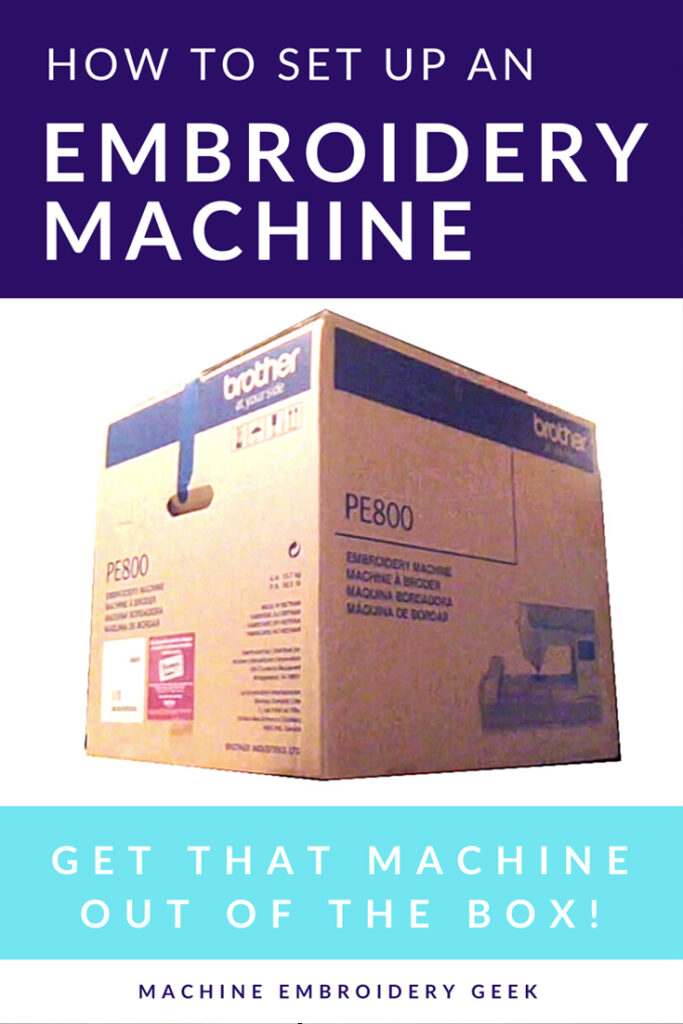
This was exactly the situation for my embroidery friend, Rosselyn. Her husband bought her a Brother PE800 last year. She had taken it out of the box once, but everything she embroidered turned out terrible. Either the bobbin thread showed up on the front, or she had tremendous amount of puckering. So, guess what she did? She put it back in the box.
I would be a hypocrite to shame Rosselyn for not learning how to use her embroidery machine right away. I had the same problem. My mom bought me my first embroidery machine as a Christmas gift and I never set it up. I left it in the box for a few years because I felt overwhelmed by it all.
But after spending an hour on a Zoom call with Rosselyn, we were able to set up her embroidery machine and stitch out some letters on a towel. And they stitched out beautifully! Then, a few hours later, I got a message from Rosselyn – very excitedly showing more successful stitch outs. She was on her way! Here’s how we did it.
Setting up the embroidery machine
Before you start unpacking the box, you should find a place to set up a machine. Of course if this is your first time using it, the location doesn’t have to be perfect. Any nice, sturdy table will work, but you will likely want to find a more suitable embroidery machine table to use going forward.
The PE800 is actually a pretty easy machine to set up. Perhaps this is one of the reasons why they are so popular. Since they are an embroidery only machine (and not a sewing / embroidery combo machine), they only operate in one mode – which makes it even simpler. You don’t have to worry about being in the right mode, which presser foot is on the machine, whether the feed dogs are lowered, etc…
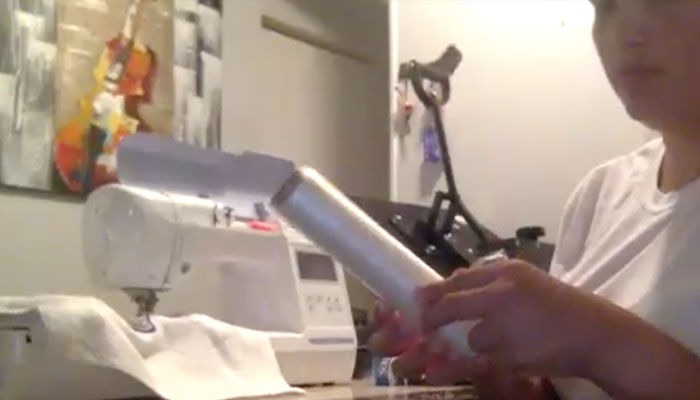
Putting the embroidery machine together
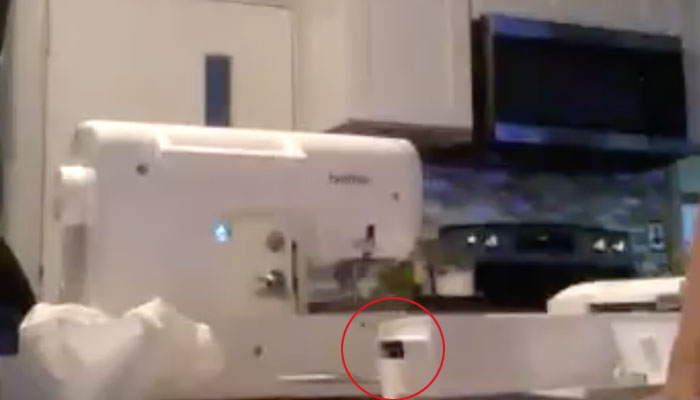
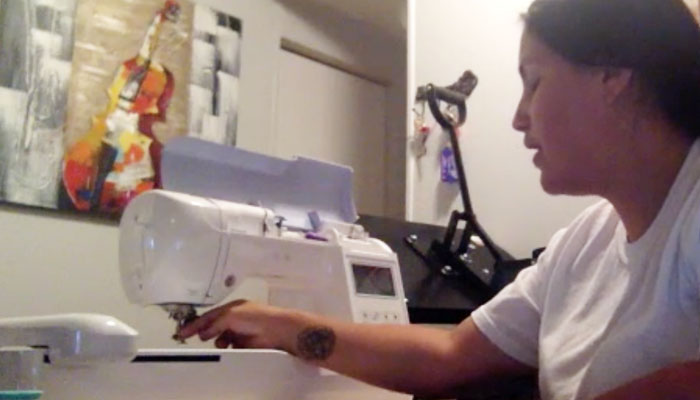
There are really just two parts of the machine that you need to put together: the body of the machine and the embroidery arm. The embroidery arm has a rectangular shaped latch on the side. This clips into the body machine. It’s pretty obvious. You can hear it click together successfully.
Insert the needle
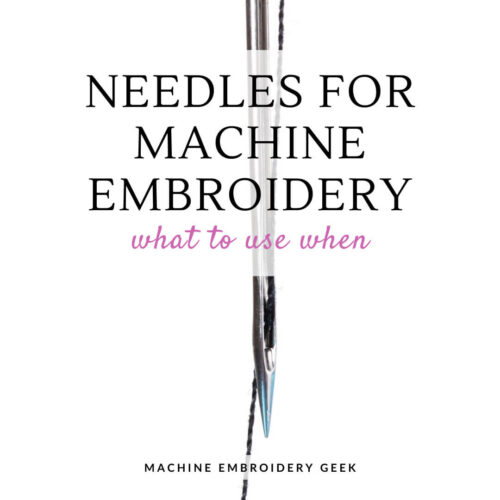
Next, you need to put a needle in the machine. The PE800 takes fairly standard 75/11 embroidery machine needles. They are flat on one side and curved on the other. Insert the needle into the machine with the flat side facing away from you. Learn more about needles for machine embroidery
Thread the machine
Pick out some machine embroidery thread and thread your machine. Use the manual to guide you with the treading.
Insert the bobbin
The PE800 comes with a few pre-wound bobbins. You can continue to buy 90wt pre-wound bobbins or you can buy embroidery machine bobbin thread and wind the bobbins yourself on the empty bobbins that come with the machine.
Plug it in!
Plug in the power cord in the port on the right hand side of the machine. Then plug the other end into an electrical outlet.
Preparing the embroidery hoop
Since Rosselyn had trouble with puckering the last time she tried to set up her embroidery machine, I decided to show her how to float her projects on the embroidery hoop instead of hooping them. I surmised that she might have had puckering problems due to improper hooping.
Hoop stabilizer
Rosselyn cut a piece of tearaway stabilizer slightly larger than her embroidery hoop. She placed it over the outside piece of her embroidery hoop and then pushed in the top piece to secure the stabilizer in the hoop. Even though it was pretty snug when she pushed the pieces together, she tightened the screw on the outside of the hoop to make it just a bit more secure.
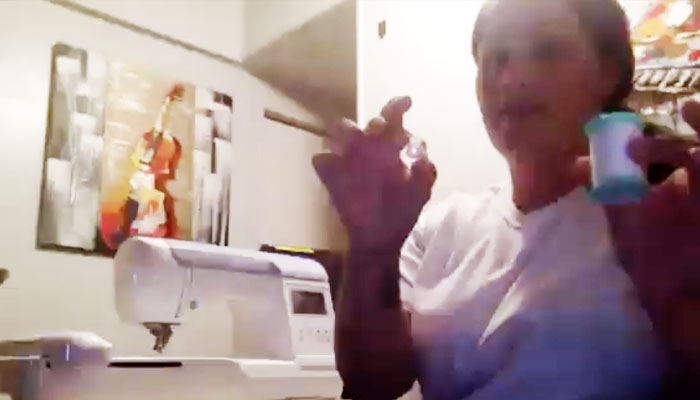
Spray temporary adhesive
Next, she sprayed a bit of temporary adhesive on the hooped stabilizer. I suggested that she spray away from the machine so that the machine didn’t get sticky. I also suggested that she “mask” the hoop so that the spray did not get on the plastic hoop. She decided to use blue painters tape since she didn’t have a makeshift cardboard mask prepared. If you get a lot of spray on your embroidery hoop it can get pretty gunky and require cleaning pretty quickly.
Stick the fabric to the hooped stabilizer
I thought it would be easier for Rosselyn to embroider on a fabric with a bit of weight. Very thin fabric is prone to pucker. So, she found a thin, microfiber towel to use for this first round of stitching. I showed her how to use the folding method to center the letters in the bottom middle of the towel.
Attach the hoop to the embroidery machine
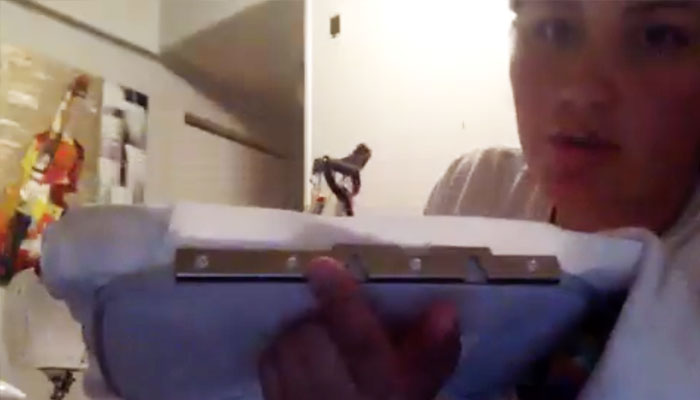
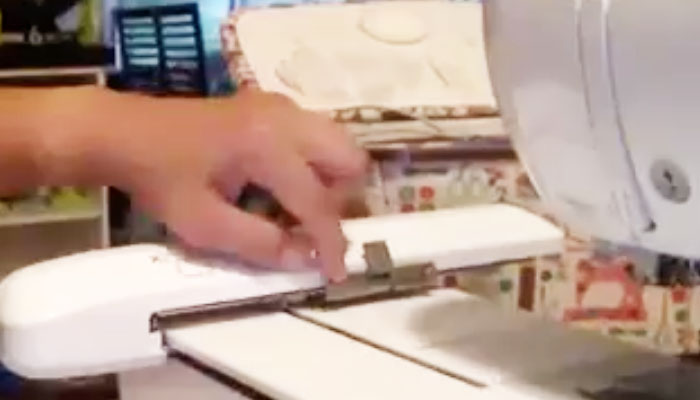
The hoop attaches to the embroidery arm via two clips. You can see there are two knobs on the embroidery arm which go into the two slots on the hoop.
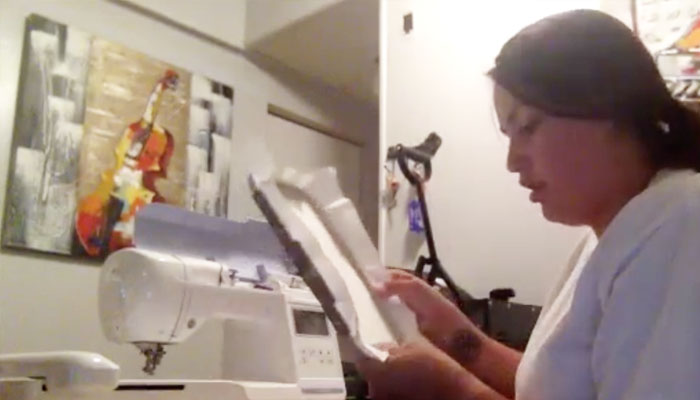
Add a water soluble topper
Since she was stitching on a towel, I suggested adding a layer of water soluble stabilizer on top of the towel so that the towel fibers would not pop through the stitching.
[do_widget id=custom_html-26]
Tell the embroidery machine what you want to stitch
Set up the embroidery file
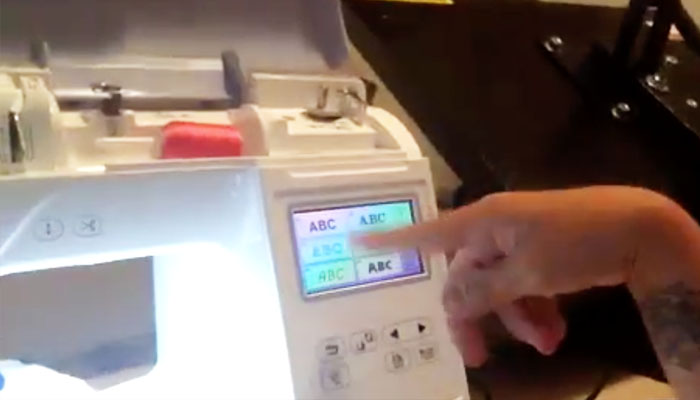
The PE800 comes with several different typefaces. To set up a name, you simply navigate to the typeface you want to use, type the letters you need and then confirm your size. The machine converts it to an embroidery file for you to start stitching right away.
Start stitching!
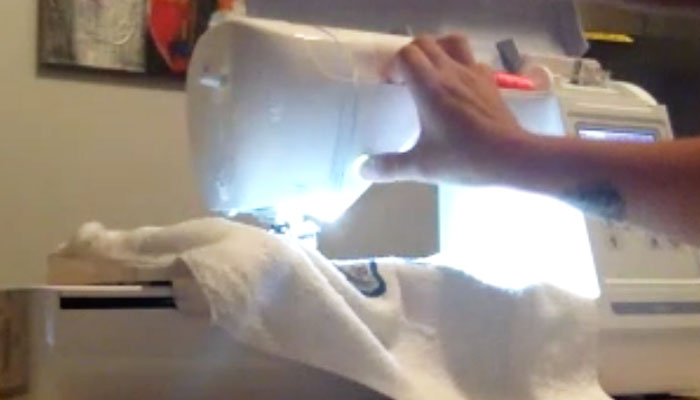
Now the machine is ready to start stitching. I tend to hold back the top thread to keep it out of the way while my machine is getting started. Then I pause the machine and trim it.
How it went
The stitching turned out perfectly and Rosselyn was very excited. In fact, after our call she went on to stitch out some of the built-in designs on her machine. She is now, actually using her embroidery machine – just because she took the time to learn how to set it up!
She now has a lot of other projects in mind that she wants to embroider on her PE800, so I suggested my Machine Embroidery Quick Launch e-book and set of 20 embroidery designs to answer some of her newbie questions and provide her with instruction on how to embroider other items.
If you can relate to Rosselyn, I hope that you, too take the time to set up your embroidery machine. It’s just one small hurdle between you and a lot of creative fun.
Happy stitching!
XO
Julie
[do_widget id=custom_html-27]
[do_widget id=custom_html-10]
Want to remember this? Save “How to set up an embroidery machine” on your favorite Pinterest board
I have Eversewn Sparrow X2. Do you have instruction about that machine? This is my first machine and know very little about machine embroidery.
Thanks
gunterlinda1950@gmail.com
Linda Gunter
No specific instructions pertaining to that machine. But my Quick Lauch book would help you get started. See: https://www.machineembroiderygeek.com/product/machine-embroidery-quick-launch-e-book-and-set-of-10-embroidery-designs/