Disclosure: Some of the links on this site are affiliate links. This means that if you click on them and make a purchase, I may earn a small commission at no extra cost to you. Please know that I only recommend products and services I trust and use myself.
Bird nests are cute, right? Well – not so much in the world of machine embroidery. A bird nest is a pain to clean up and can drive you insane if it keeps happening again and again. So what causes bird nesting underneath the embroidery? And what can you do to avoid it?
What is a bird’s nest?
A bird’s nest in machine embroidery is a clump of threads that typically occurs on the wrong side of your embroidery. The tangled mess of threads resembles a real bird’s nest which is how it gets it’s name.
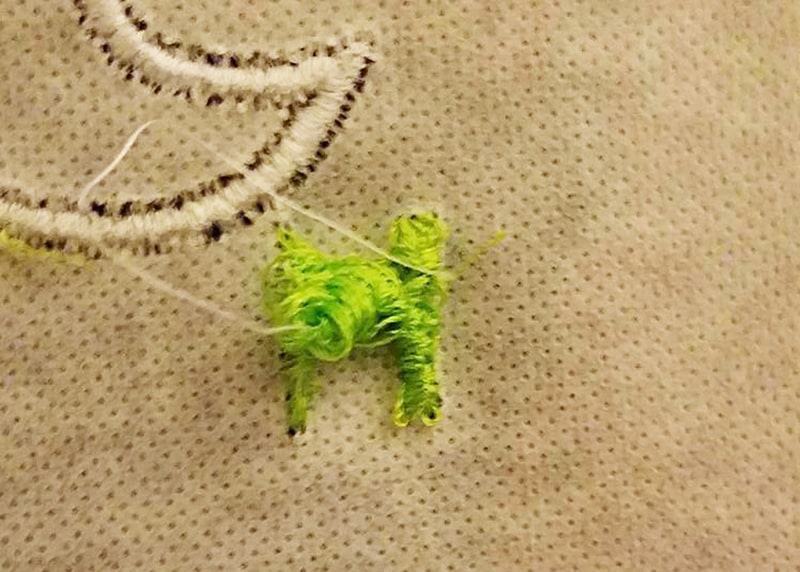
So why is a bird’s nest a problem if it’s on the wrong side of your project? Because these bird’s nests can be so large that you get a lump on the back of your project. In addition, when you get a bird’s nest on the back of your project, you stitching on the front tends to look pretty bad.
Products mentioned in this post
Why there is bird nesting underneath the embroidery
There are number of different possibilities as to why you are getting bird nesting underneath the embroidery. Here are some of the most common reasons.
Your machine is threaded incorrectly
A lot of times I can solve my bird nesting problems by completely rethreading my machine. For example, if the thread isn’t securely held between the tension discs, you will get unsatisfying results.
I know this may sound obvious, but take a look at your manual. How does the manufacturer describe the correct threading of your machine? You may gain some insight. Some assumptions you might have made about how to thread your machine may be wrong. Therefore, it’s a good idea to double check.
Thread the embroidery machine with the presser foot up
Now why in the heck would this matter? Well, when the presser foot is up, it opens up space between the tension discs to allow your thread to get between those plates. If the presser foot is down, the thread will not get in between the discs.
Incorrect orientation of your bobbin
Check to see if your bobbin upside down? One way to tell if your bobbin is oriented properly within the bobbin case is to examine the shape of the thread tail; that tail should look like a “p” and not a “q”.

Incorrect orientation of the needle
In my embroidery machine, the flat side of the needle must face the back of the machine. If you insert my needle improperly, it can lead to trouble like bird nesting.
Your threading passage is dirty.
Stray threads and dust bunnies trapped in the thread path on the top of the machine can cause the embroidery threads to get hung up and lead to bird nesting. You can sometimes remove these bits of strings and dust by “flossing” your embroidery machine with some unwaxed dental floss. Make sure to floss well within your tension discs.
Another option – take a look at your embroidery machine manual. It might provide instructions for cleaning your machine. You may also opt to take it in to your dealer for a professional cleaning.
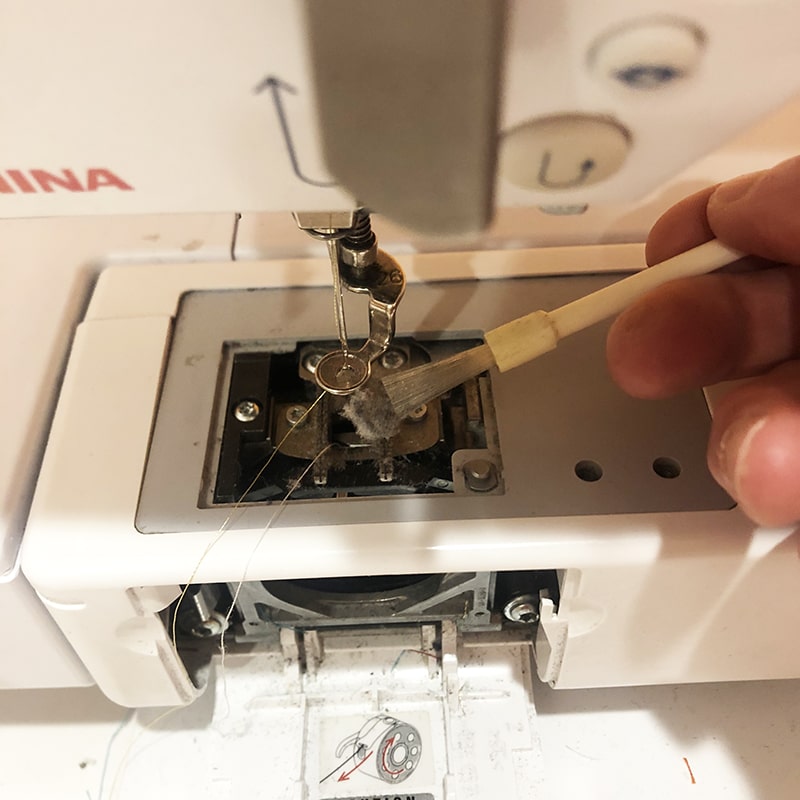
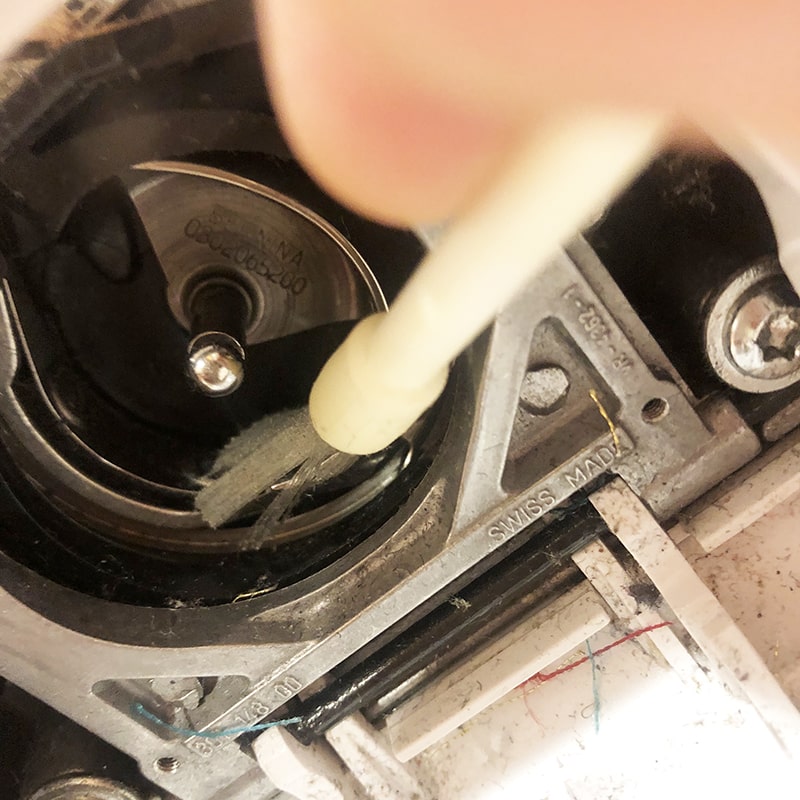
Dirty bobbin case
Take the face plate off the bobbin and dust it out with a makeup brush (or the brush that came with your machine). Then remove the bobbin cage completely and brush out that area as well.
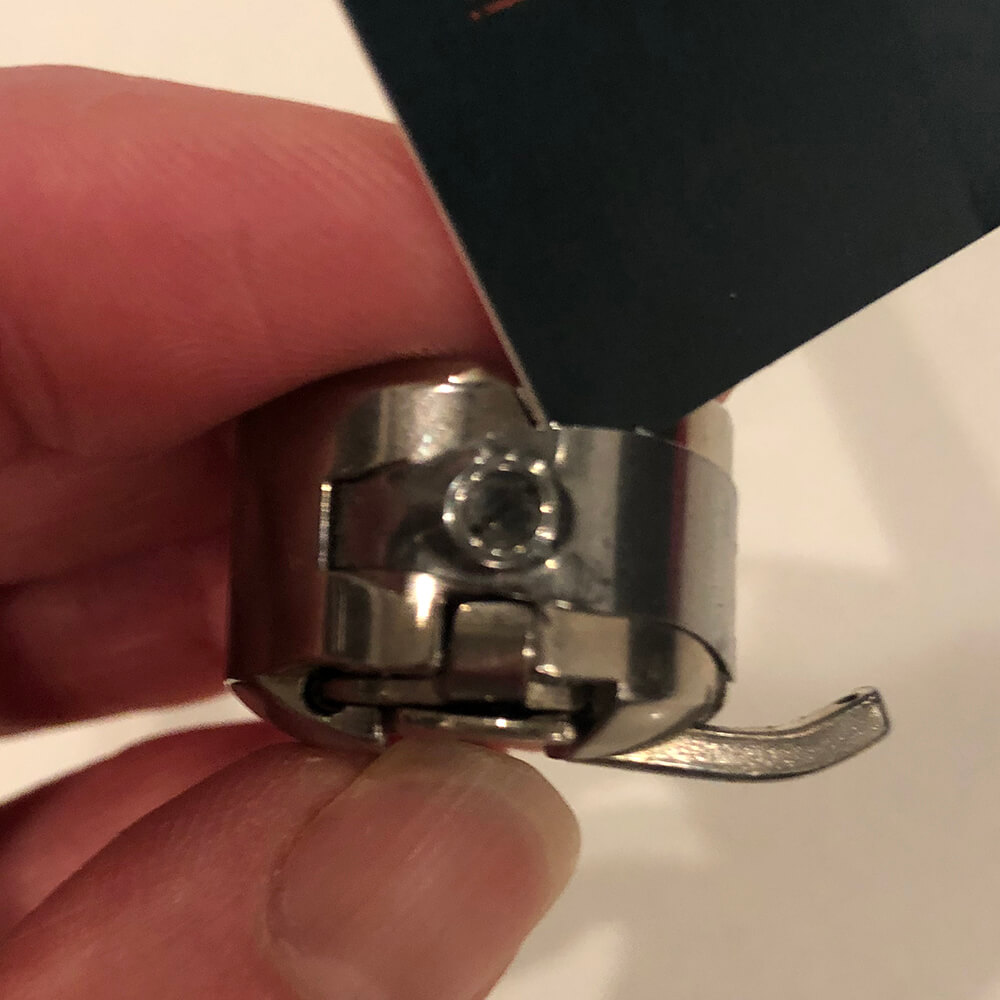
Thread stuck in bobbin case
Run a business card under the tension spring on your bobbin. Fuzz and strings can get caught in there which can cause bird nesting.
A burr or a nick on the bobbin case or plate.
Check the bobbin case and the plate for nicks or cracks. These little divots can wreck havoc on the quality of your embroidery. While they may be hard to see, you may be able to feel them. So, run your finger over the bobbin plate and take out the bobbin case an run your finger around the edge of that too. If there’s any bumps, gently file the edge back to smooth with a nail file. If you are unable to smooth out the defect, I would suggest ordering a replacement part for your machine.
Bent needle
If a needle runs into a hard surface, it can easily bend which then leads to problems in subsequent stitching, i.e. bird’s nest city! Embroidery machine needles are cheap. So, when in doubt – just replace your needle.
Old or crappy embroidery thread
Thread can make a have a major impact on the stitch quality of your embroidery. Old thread that has gotten dry and brittle, or spools that are covered in lint may tend to bird nest. Also, really cheap thread can be more prone to problems as well. Figure out what type of embroidery thread works well on your machine, then stick to that brand when buying thread in the future.
Thread stuck inside of the machine
Sometimes threads can get caught inside your machine which can lead to problems while you are embroidering. To find these sneaky buggers, you’ll have to take off the front and possibly the side cover.
Look to the right of the take up lever. There’s a moving joint where thread can get wrapped around. Then, clean that area with tweezers and a X-acto (or craft) knife. To the right of that joint is the tension disc. Remove any remnant threads in between the discs so that your embroidery thread will go into the tension area properly.
You have a tension problem
Messing with the tension should be a last ditch effort. I’ve had my single needle machine for 15+ years and do you know how many times I’ve adjusted the tension? Never. If all else fails, bring your machine in for service. They can adjust the tension and discover any issues you may have been causing those little birds to make nests underneath your embroidery.
[do_widget id=custom_html-27]
How to clean up a bird nesting underneath the embroidery?
It’s tempting to want to completely cut away a bird’s nest. But, the way you handle it should depend on the state of the project. If your plan is to tear out all of the stitching and begin again, then you need to carefully cut away all the threads, free your project from the embroidery machine and begin again. Small cuticle scissors and tweezers are your best tools to remove the bird’s nest without cutting a hole in your project.
Believe it or not, there is actually a bird’s nest removal tool kit that is specifically designed to help you remove bird’s nest. This little bird’s nest removal set comes with two instruments: a hook to pull the threads and a knife, a.k.a. the “stitch releaser” to cut the threads.
If you have finished stitching out the project, and the front looks fine but there is a bird’s nest in the back, it’s best to leave it alone. The reason is because cutting away the entire bird’s nest could cause the whole area of embroidery to fall out. But, if the bird’s nest is really huge and you need to cut the bulk of the thread away, be sure to use some fray check to make sure the stitching on the front side doesn’t come out.
If your goal is to hide the ugly nest, you can cover the back of the project with some Cloud Cover, and it will be barely noticeable.
Good luck and happy stitching!
xo
Julie
[do_widget id=custom_html-32]
[do_widget id=custom_html-10]
Want to remember this? Save “Why is my thread bird nesting underneath the embroidery?” on your favorite Pinterest board