Disclosure: Some of the links on this site are affiliate links. This means that if you click on them and make a purchase, I may earn a small commission at no extra cost to you. Please know that I only recommend products and services I trust and use myself.
Years ago, when our kids were little, my friend, Jeannette, who is also an embroidery geek and I hired a babysitter and spent an afternoon sewing together. It felt so decadent. At that time, she had much more experience with her embroidery machine and sewing for little girls. And that afternoon she taught me how to make one of my favorite projects: personalized ponytail holders to make on my embroidery machine.
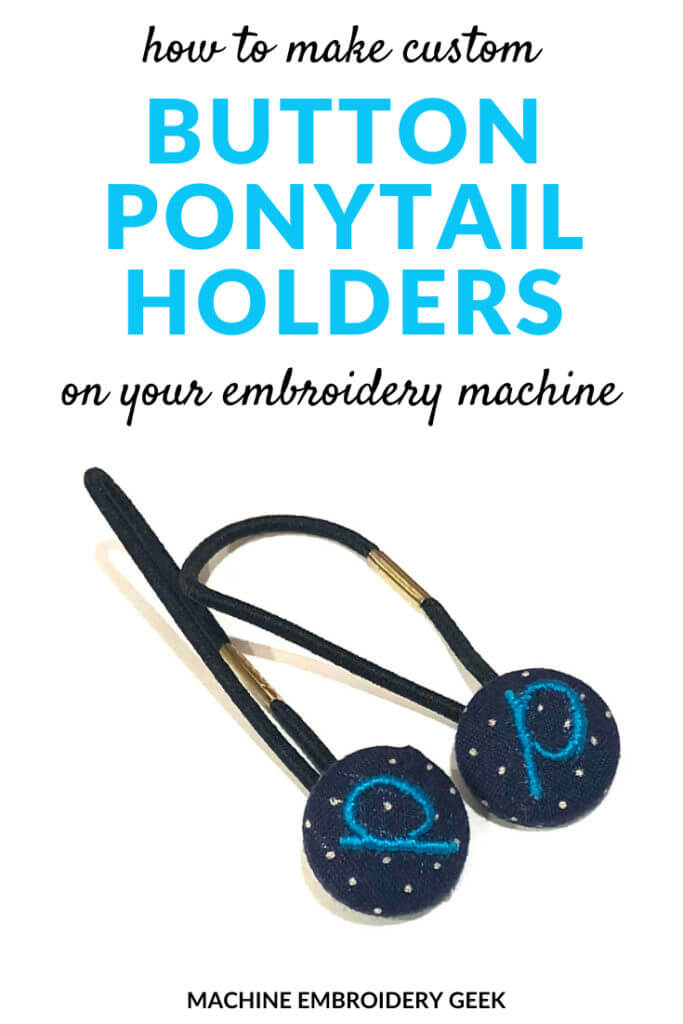
Personalized ponytail holders are a gift any little girl will love, and they are super quick and easy to make. You can whip them out in a range of colors to ensure coordination with every outfit for the special little girl in your life. Or, add them to a top of a birthday present, or give them out as party favors.
On the afternoon of our sewing date, my friend, Jeannette, was actually making some personalized ponytail holders in a fabric that she had just used to make her niece a dress. The ponytail holder project provided Jeannette with an opportunity to use up some scraps. But, she was also creating a darling accessory to go with the dress.
Why not add some personalized ponytail holders to the gift? The are really just that simple to make. And, yet, they look super high end and expensive.
Convinced? Let’s make some personalized ponytail holders!
Supplies needed to make personalized ponytail holders
- Scrap fabric. The actual size of fabric you need depends on the size of the button you are covering. For my example, I needed about a 3″ x 3″ scrap of fabric. Keep in mind that the fabric should be thin. Any thicker and the button will not hold together properly. Look for a cotton broadcloth or a seersucker.
- Tear away stabilizer. I prefer adhesive backed, but you could also use regular tear away with a temporary adhesive spray.
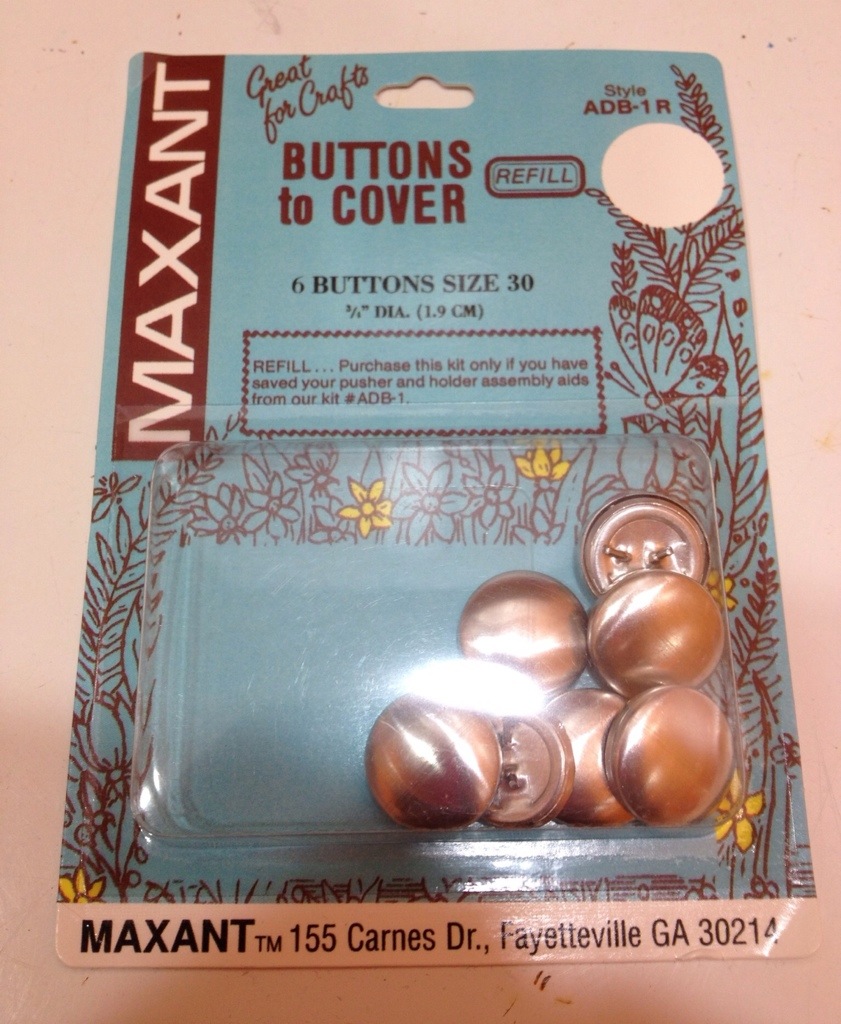
- Buttons intended to be covered with fabric. You can buy these buttons designed to be covered with fabric at most fabric stores or online. They come in a range of sizes. And, each package contains the tools and accessories needed to put the button together.
- Thin ponytail holders.
[do_widget id=custom_html-5]
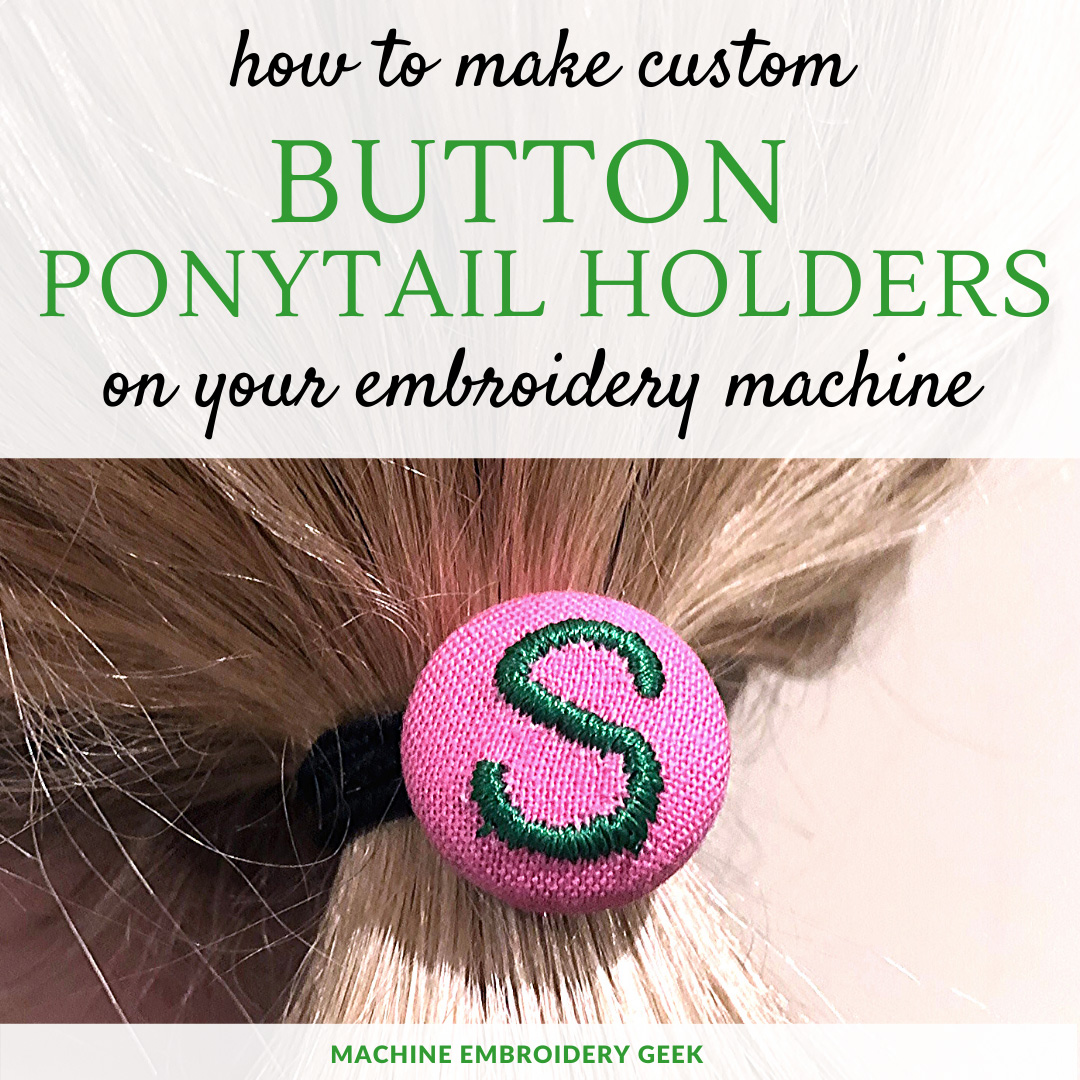
How to make personalized ponytail holders using your embroidery machine
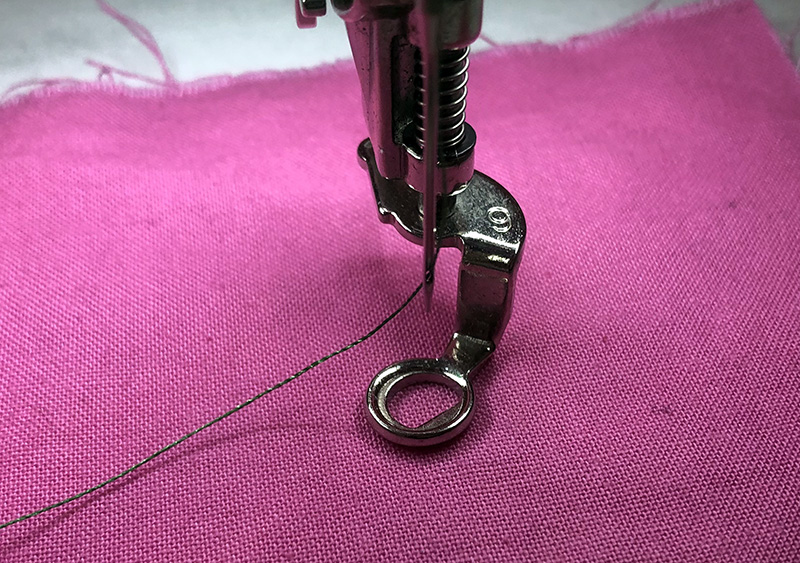
It makes sense to make a bunch of these at once since you can hoop one piece of fabric and embroider a number of initials at one time. So, go ahead and lay down whatever size piece of fabric you have onto your stabilizer.
1) Start by floating your fabric on the adhesive backed stabilizer and lay your fabric on top. Of course, you should make sure you have enough fabric to cover the button. You can determine this by looking at the guide provided on the button package.
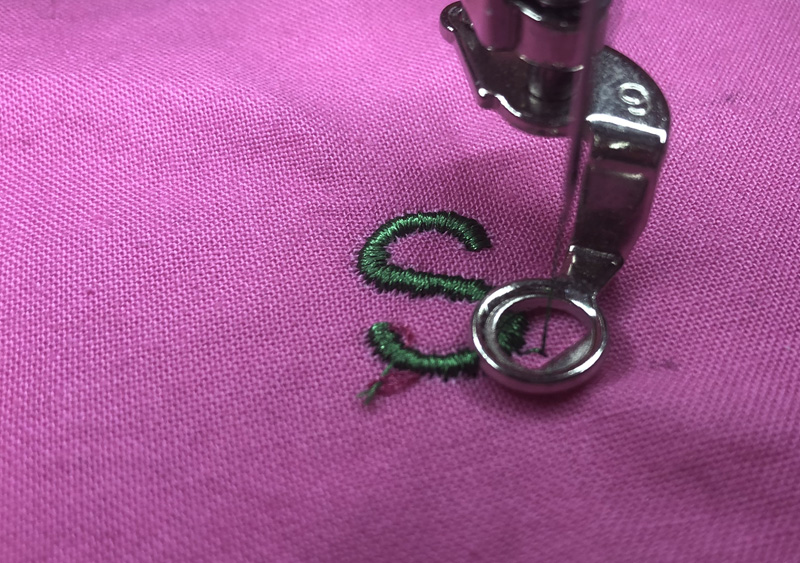
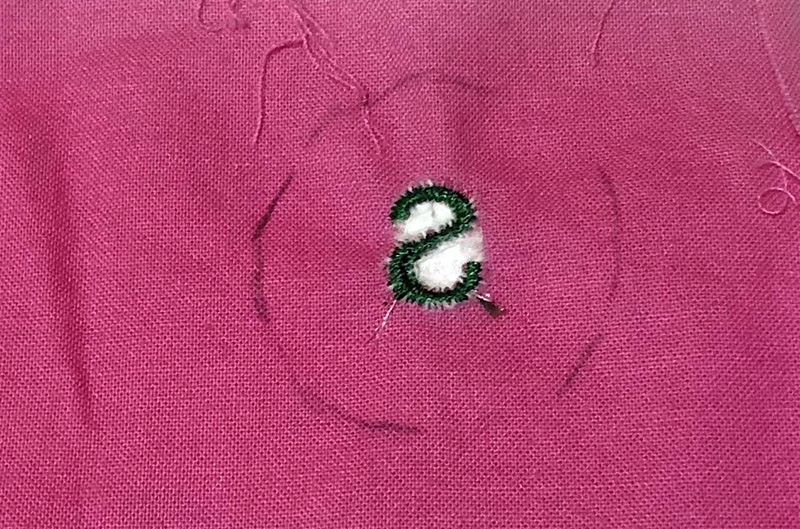
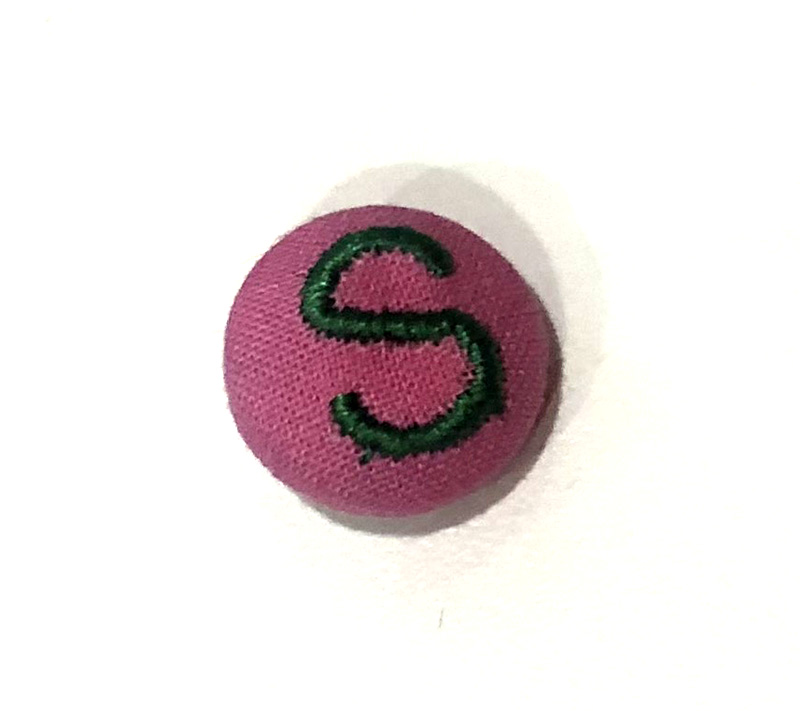
2) Stitch out a single initial or a monogram at a sized suitable for the buttons you are using. I just used the standard typeface that came with my embroidery machine to stitch out the single letter, “s”. And, I made the size of my letter about 80% of the diameter of the button.
3) Use the button template on the button package to create a circle pattern for the size of the button you are using. You will use your pattern piece to draw a circle around the letter you just stitched out.
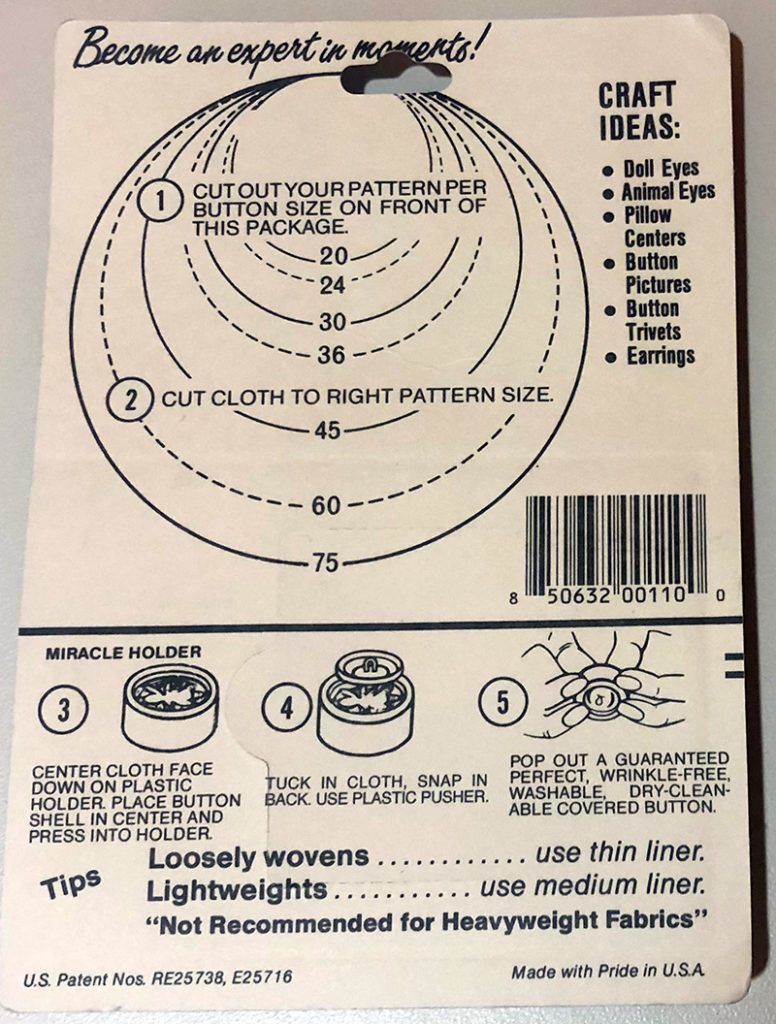
4) Now, place your circle pattern piece over your stitched out letter, centering the circle over the letter. Trace it using your pen of choice. It doesn’t matter if the marks remain on the fabric because they won’t be seen anyway.
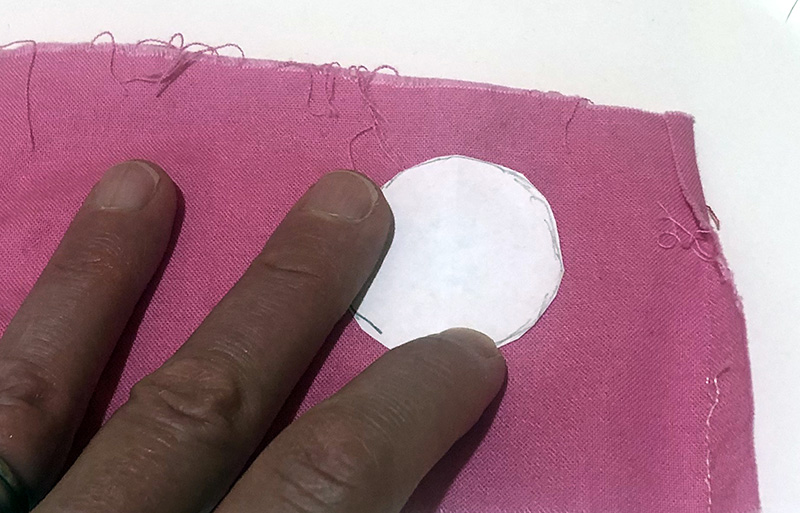
5) Cut out the circle you just traced onto the fabric.
6) Use the plastic holder provided in the button package to assemble your button. Push the fabric circle in first, centering the letter.
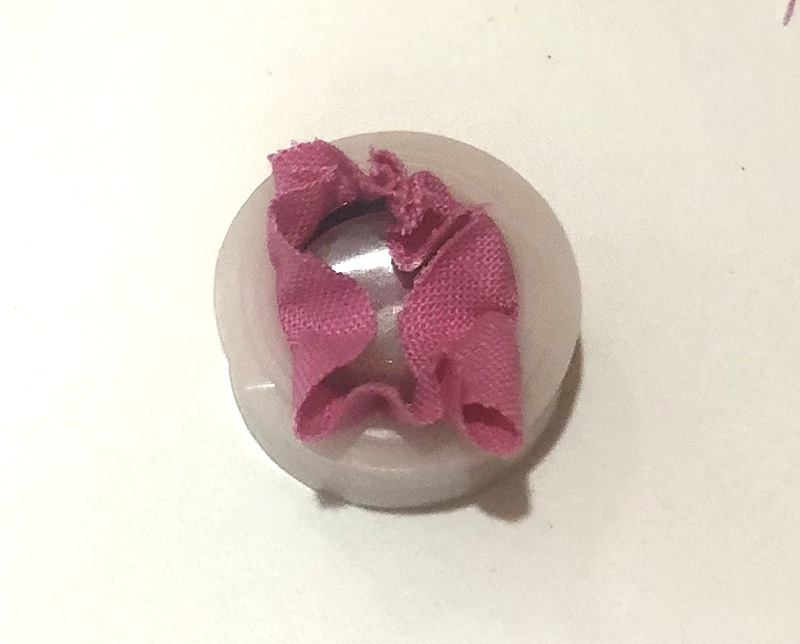
7) Tuck in the excess fabric and snap on the back piece. The button is done!
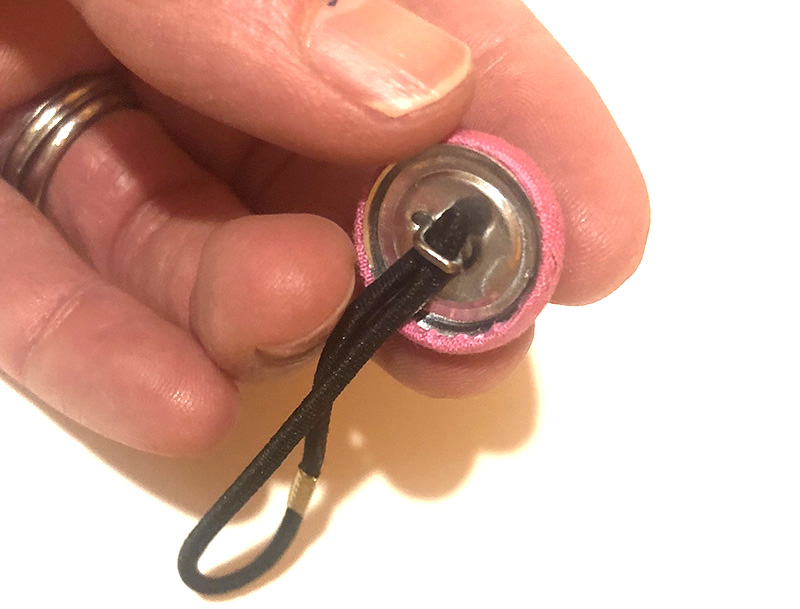
8) Pinch the ponytail holder and insert it into the button loop on the back of the button.
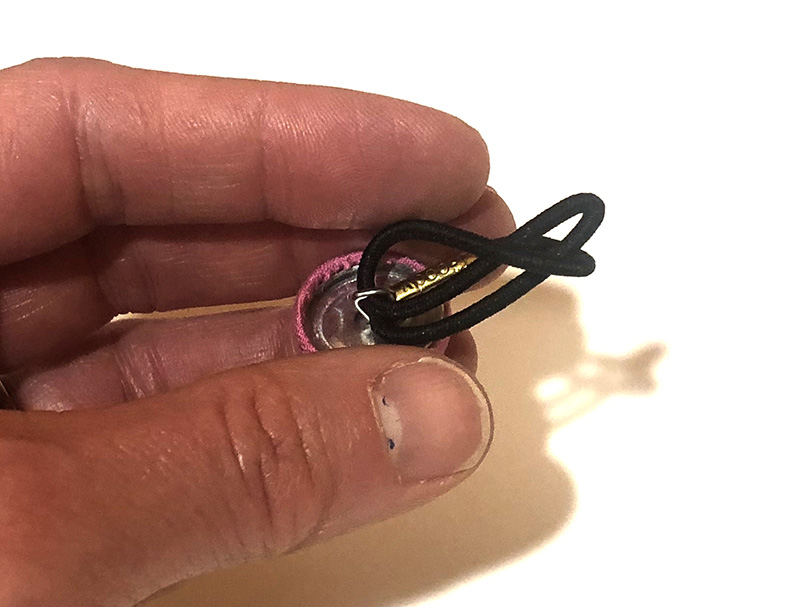
9) Loop the ponytail holder back through itself to secure the button onto the ponytail holder.
10) All done!
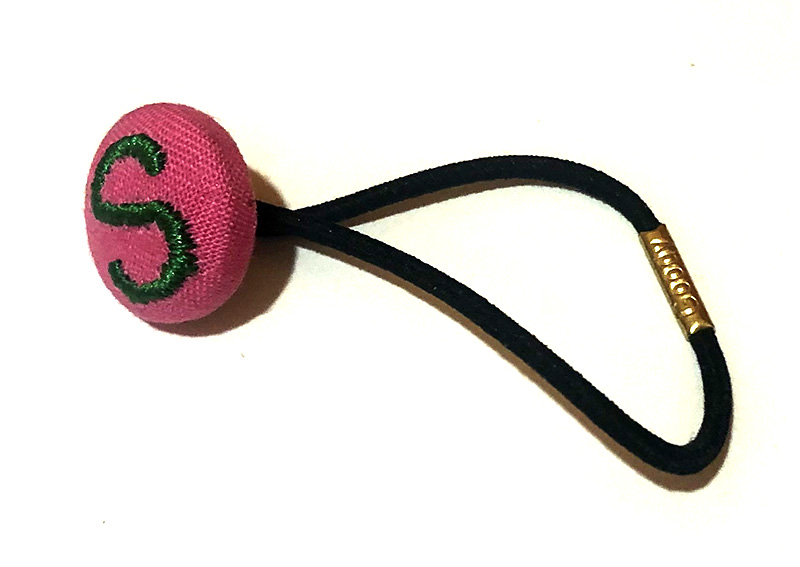
Ready to try it out? You’ll make some little girl very happy!
Happy stitching!
Julie
Helpful Shopping Links
Want to remember this? Post “How to make custom button ponytail holders on your embroidery machine” on your favorite Pinterest board!
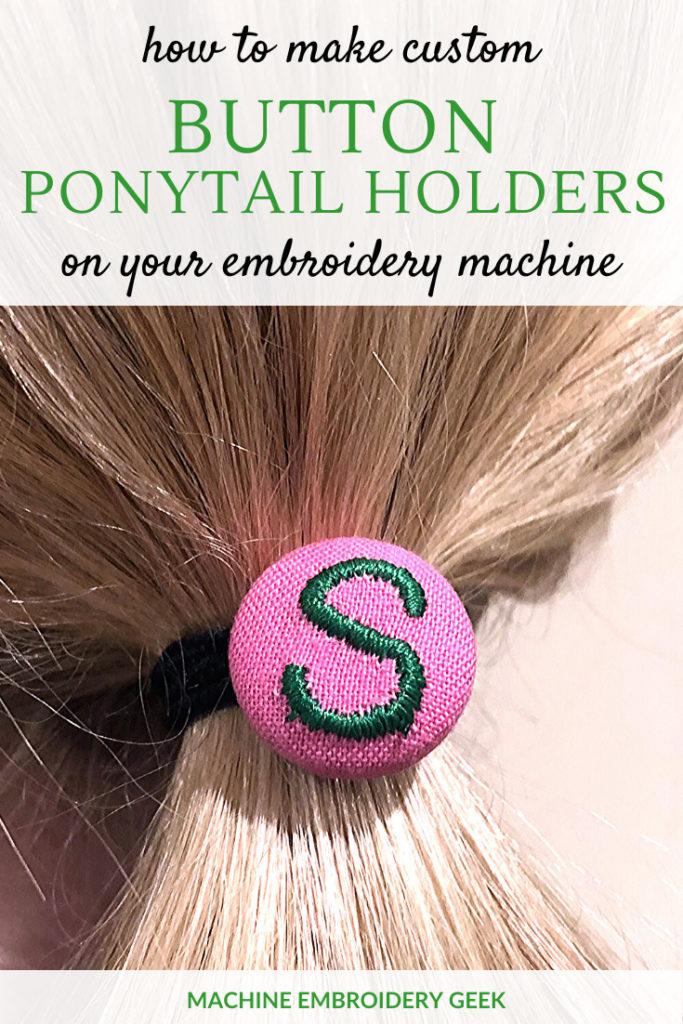
Want to remember this? Save “How to make custom button ponytail holders on your embroidery machine” on your favorite Pinterest board.