Disclosure: Some of the links on this site are affiliate links. This means that if you click on them and make a purchase, I may earn a small commission at no extra cost to you. Please know that I only recommend products and services I trust and use myself.
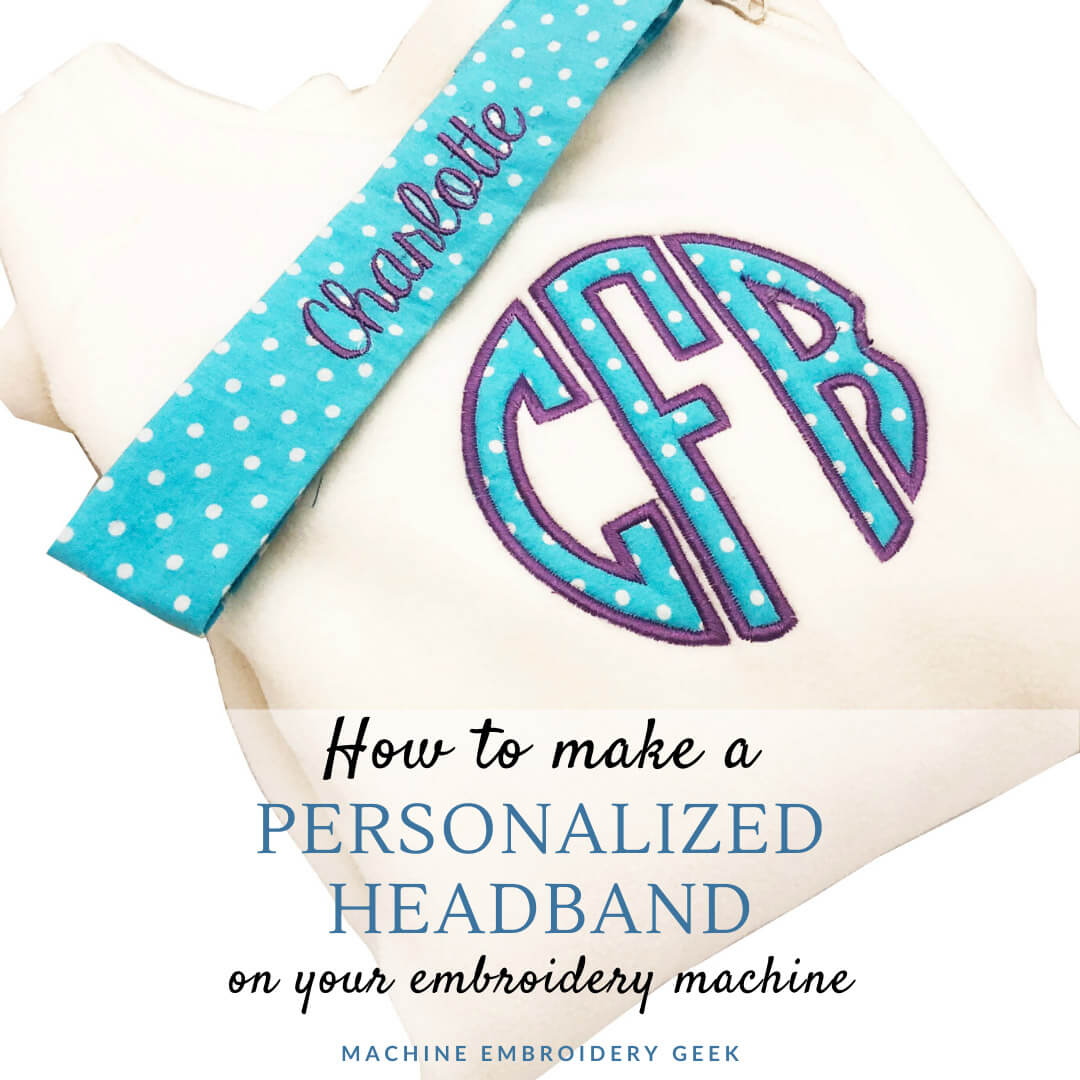
What do you say we raise the bar on headbands? While stretchy, knit headbands are fine and functional, in my opinion, a headband made from a printed cotton fabric looks SOOOOOO much more stylish. It’s super easy to make a personalized headband with a woven fabric. And, if you are lucky enough to own an embroidery machine, you can easily personalize it for the recipient.
Making these little headbands is also a great way to put your fabric scraps to good use. I have tons of small pieces of printed cotton fabric that would be absolutely perfect for this project. If you do a lot of machine applique, I imagine you have scraps to spare as well.
Headband making inspiration
I have to admit, I did not come up with this idea myself. When my girls were little, they attended a basic sewing camp, and this headband was one of their projects. But, of course, the headbands from beginning sewing camp were not personalized. That’s a little bonus I came up with.
Ever since sewing camp, I’ve been cranking out these headbands for my girls and all their friends. But, alas, they are getting a little old and too cool for headbands emblazoned with their names. Lucky for me, my littlest guy is quite the ladies man and got invited to a girl birthday party this past weekend, so I decided to resurrect this project.
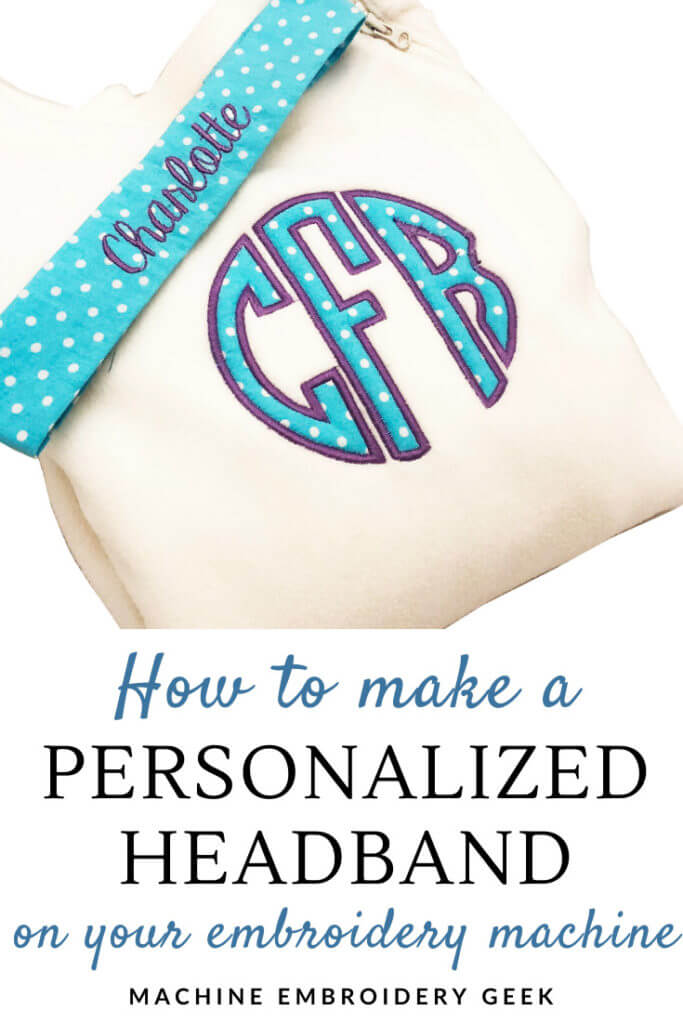
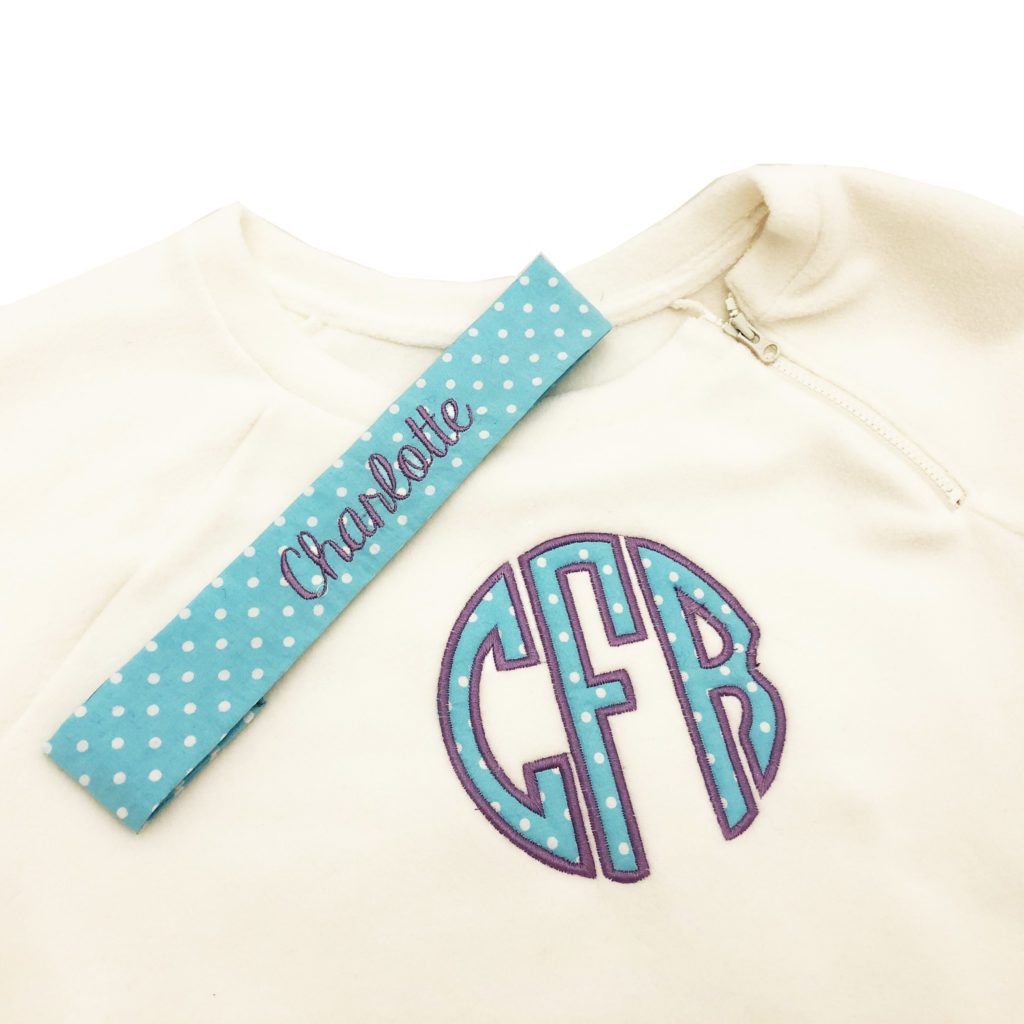
We have been making these headbands for years, but I took it up a notch this past weekend, making a coordinating applique monogrammed fleece with a coordinating headband. Ironically, while the applique monogram was much more of an investment in time and money, the gift recipient (an 11-year-old girl) squealed when she saw the headband with her name stitched on it. Go figure!
[do_widget id=custom_html-5]
How to make a personalized headband with a woven fabric
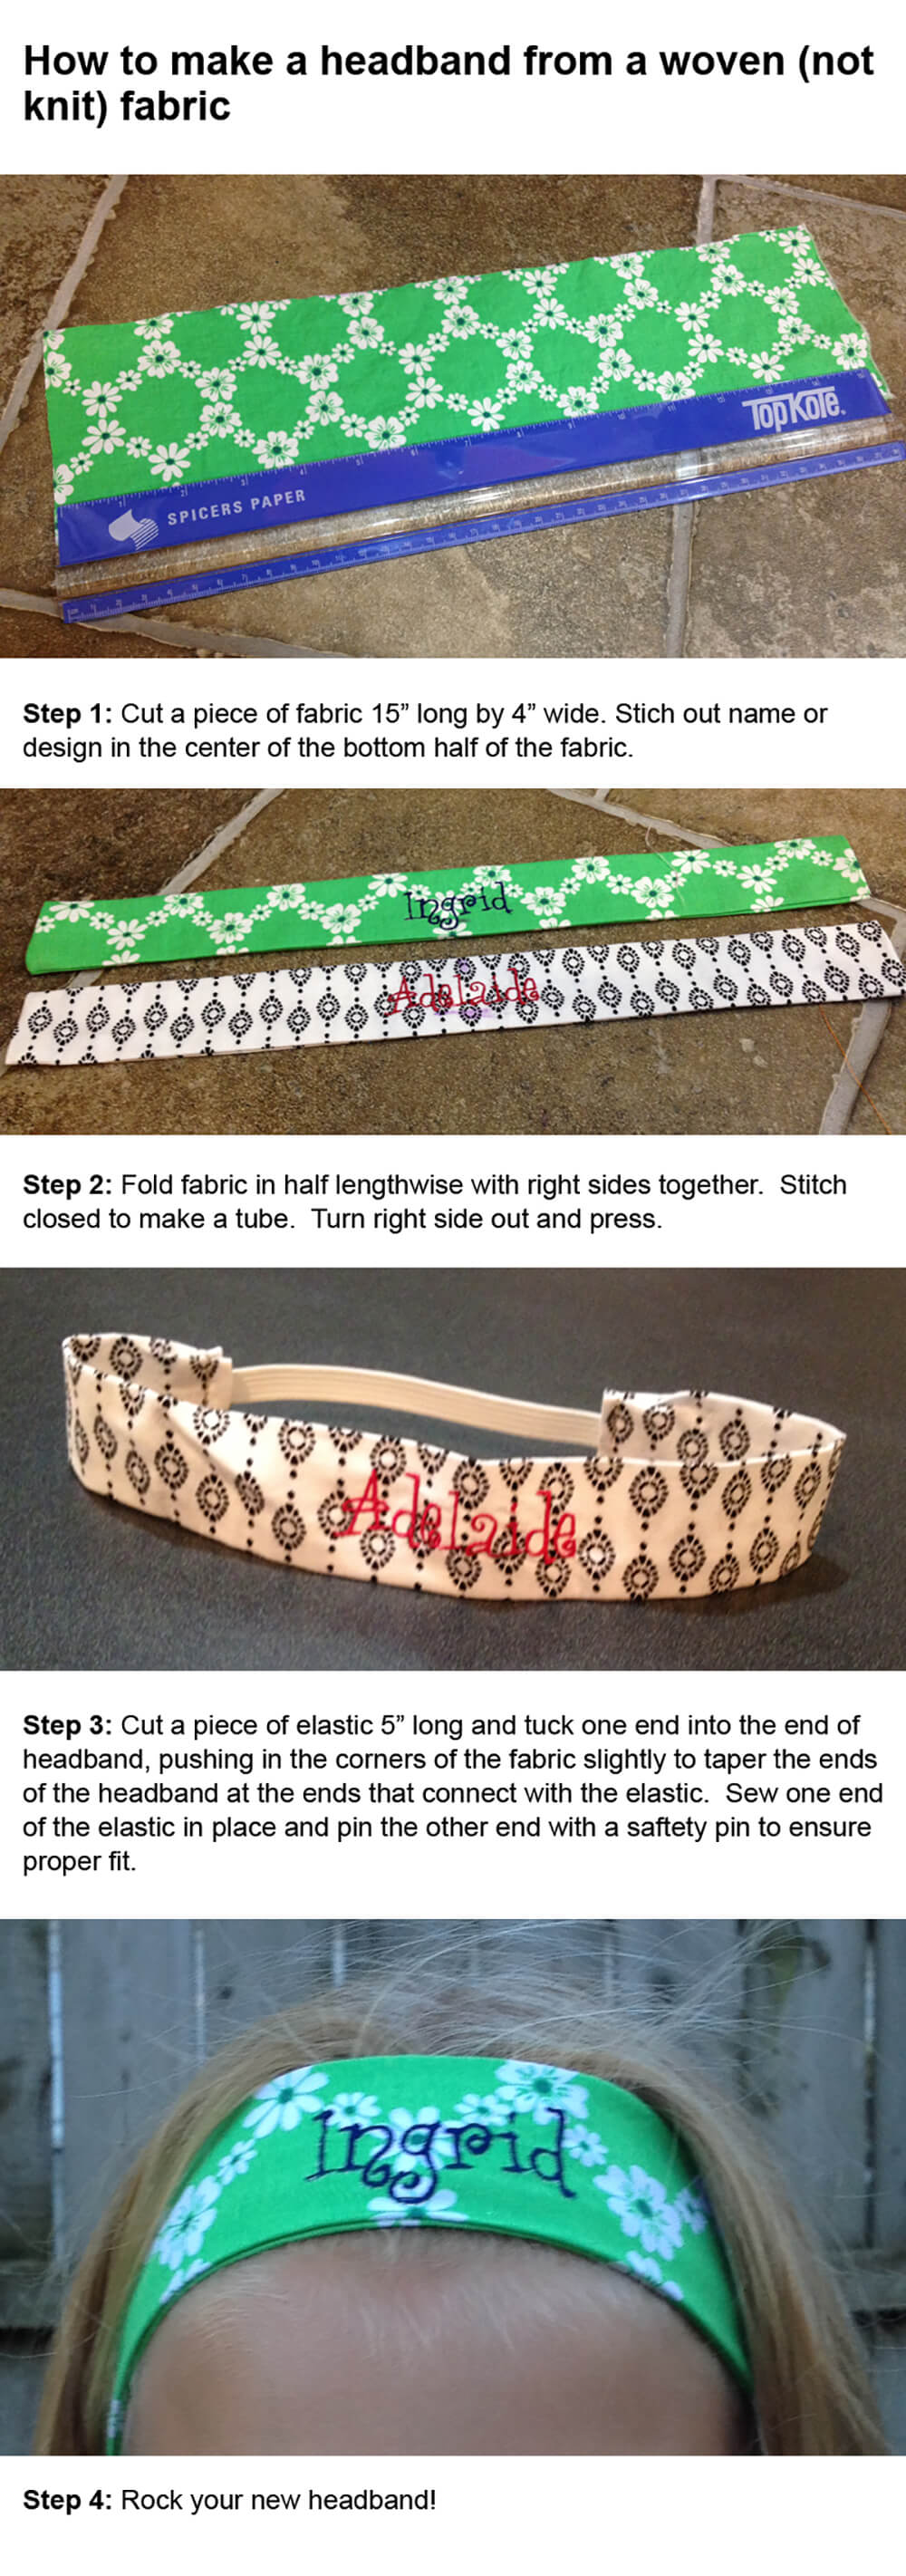
This project is so easy you don’t even need a pattern.
Required supplies
- Piece of cute cotton fabric – 4″ x 15″. Some of my favorite Etsy fabric sellers include:
- Piece of 1/2″ or 5/8″ wide elastic
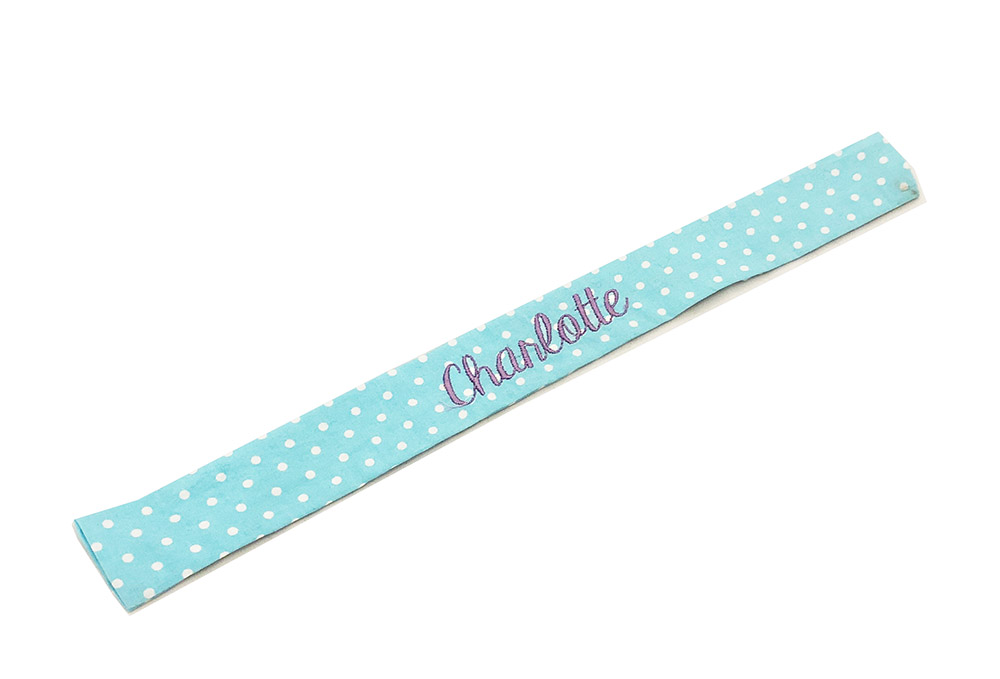
- Small embroidery design or name no larger than 1.5″ tall
How to make a personalized headband: step by step instructions
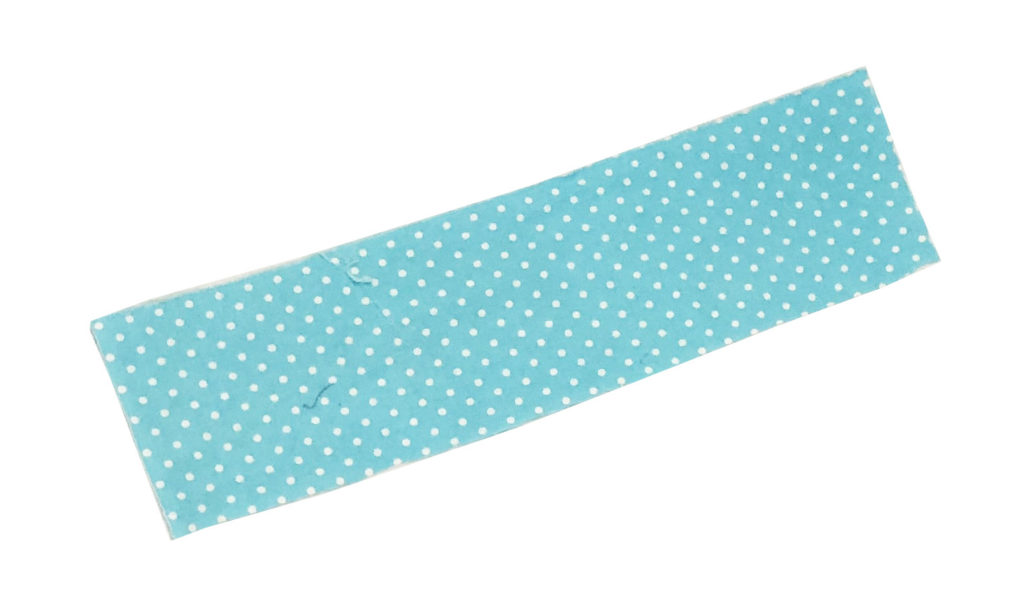
First, cut a piece of fabric 4″ tall by 15″ wide.
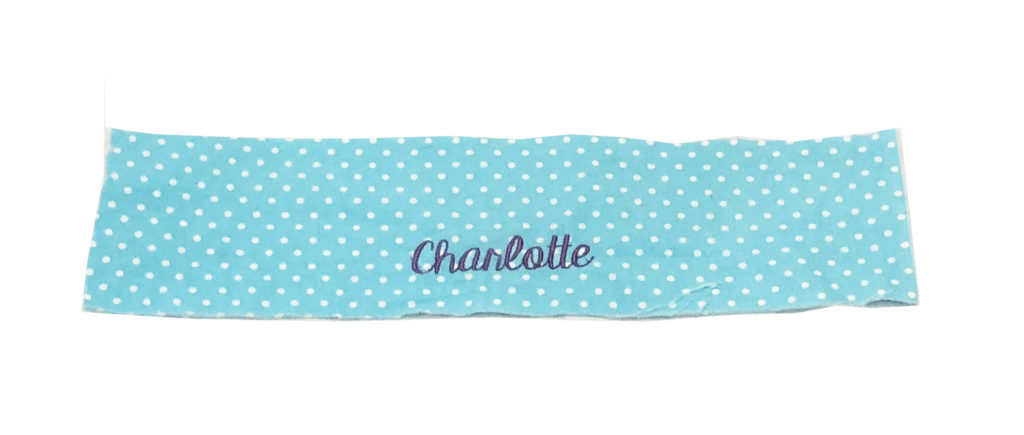
Locate the center point along the long edge of the fabric and mark a location 1-1/4″ up from the bottom edge of the fabric on the wrong side of the fabric.

Use the folding method to center the design on the center point of the crosshairs (on the right side of the fabric).
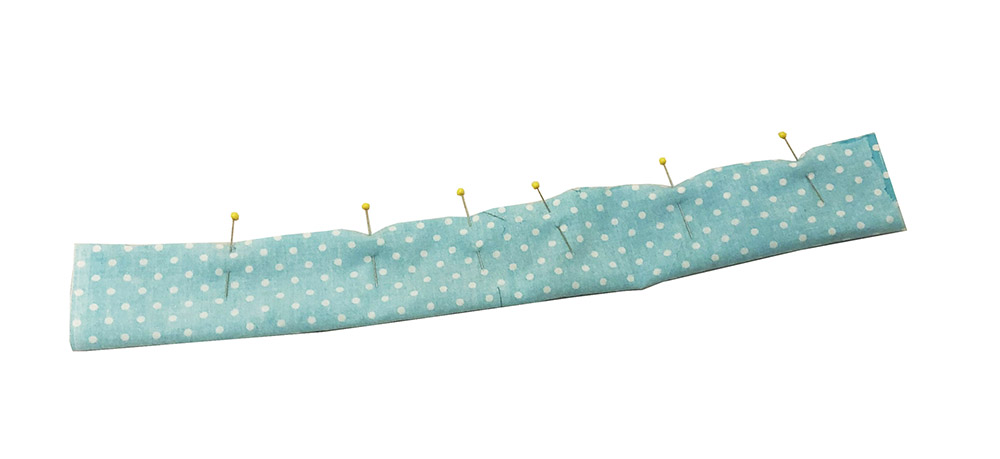
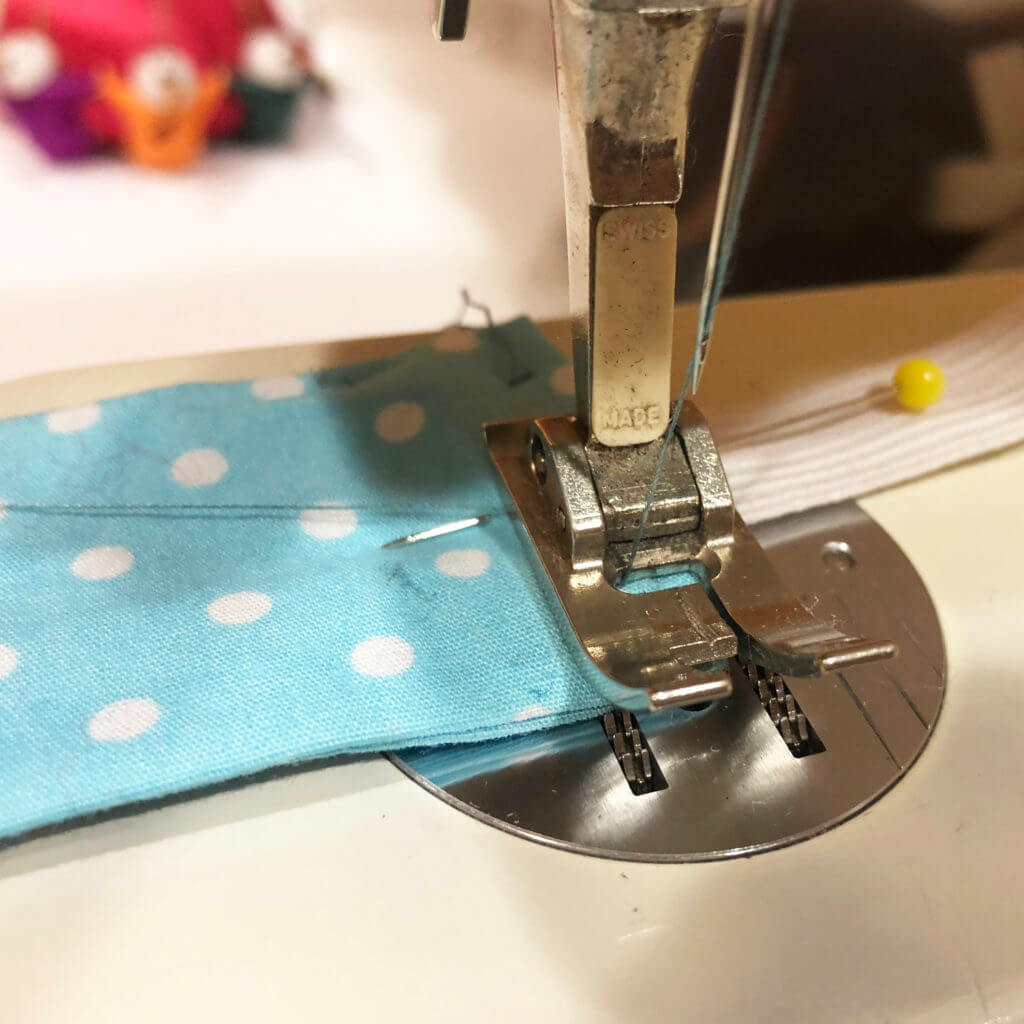
Fold the fabric back on itself along the longer edge. Pin together and stitch, leaving 5/8″ seam allowance.
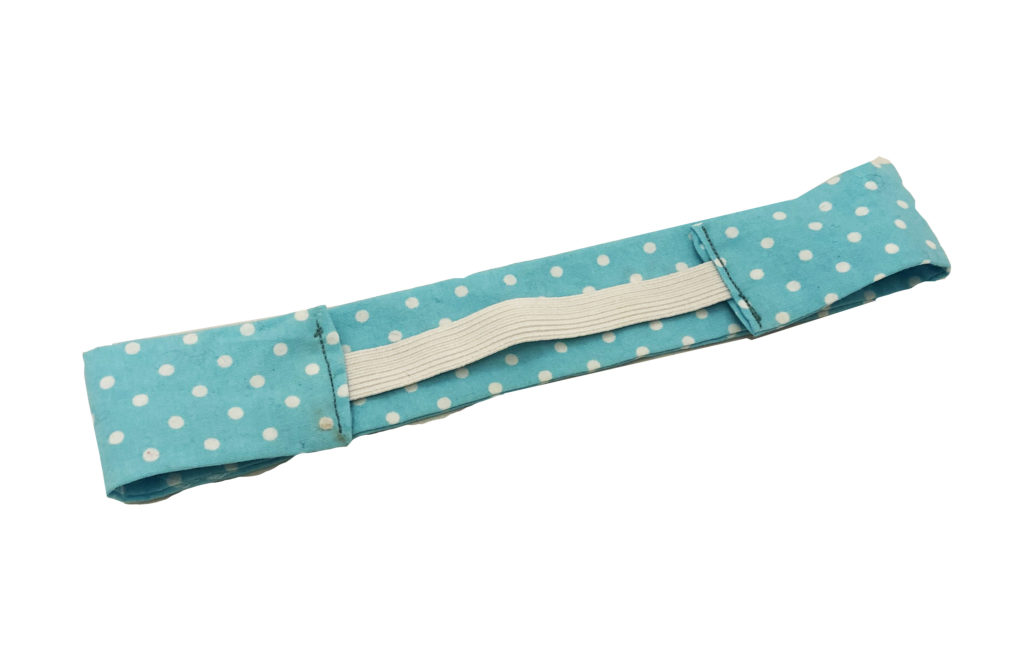
Turn right side out and press, tucking the ends in approximately 5/8″
Cut a 5″ piece of 1/2″ or 5/8″ wide elastic and stick into the end of the tube you have created. Stitch down. If you want to get fancy, you can fold the ends in a bit so that the headband tapers a bit when it connects to the elastic. But, I figure, who cares? No one will see this part anyway.
Repeat on the other side to complete putting headband together.
Voila! All done! Now if you are feeling really ambitious, you can make a monogrammed sweatshirt to match!
Happy stitching, everyone!
Julie
Want to remember this? Post “How to Make a Personalized Headband Using Your Embroidery Machine” on your favorite Pinterest board!
Want to remember this? Post “How to Make a Personalized Headband Using Your Embroidery Machine” on your favorite Pinterest board!