Disclosure: Some of the links on this site are affiliate links. This means that if you click on them and make a purchase, I may earn a small commission at no extra cost to you. Please know that I only recommend products and services I trust and use myself.
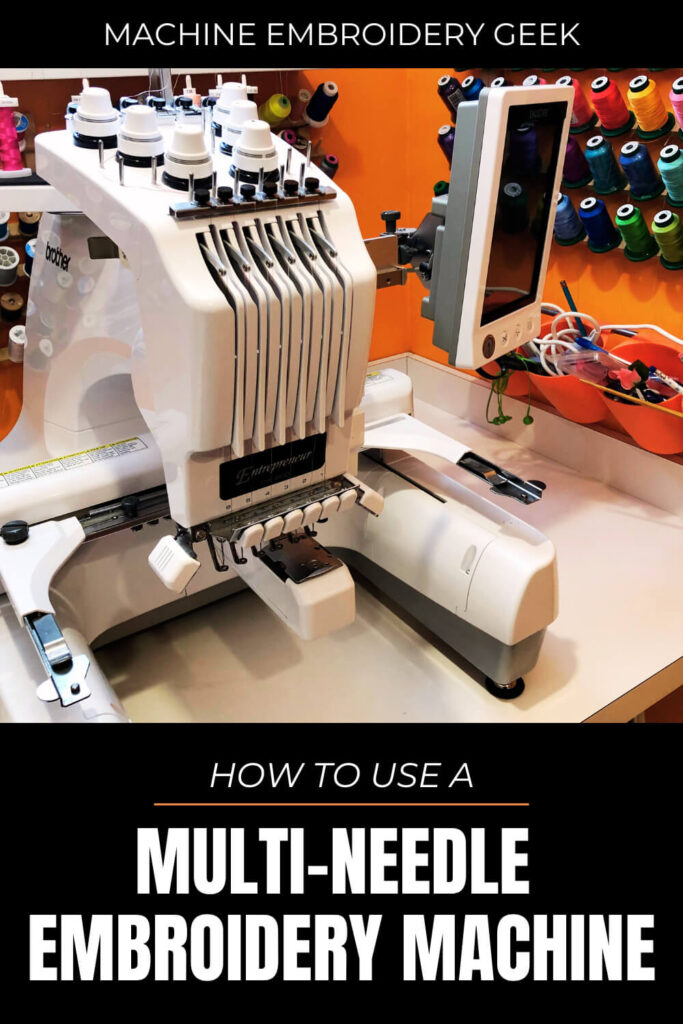
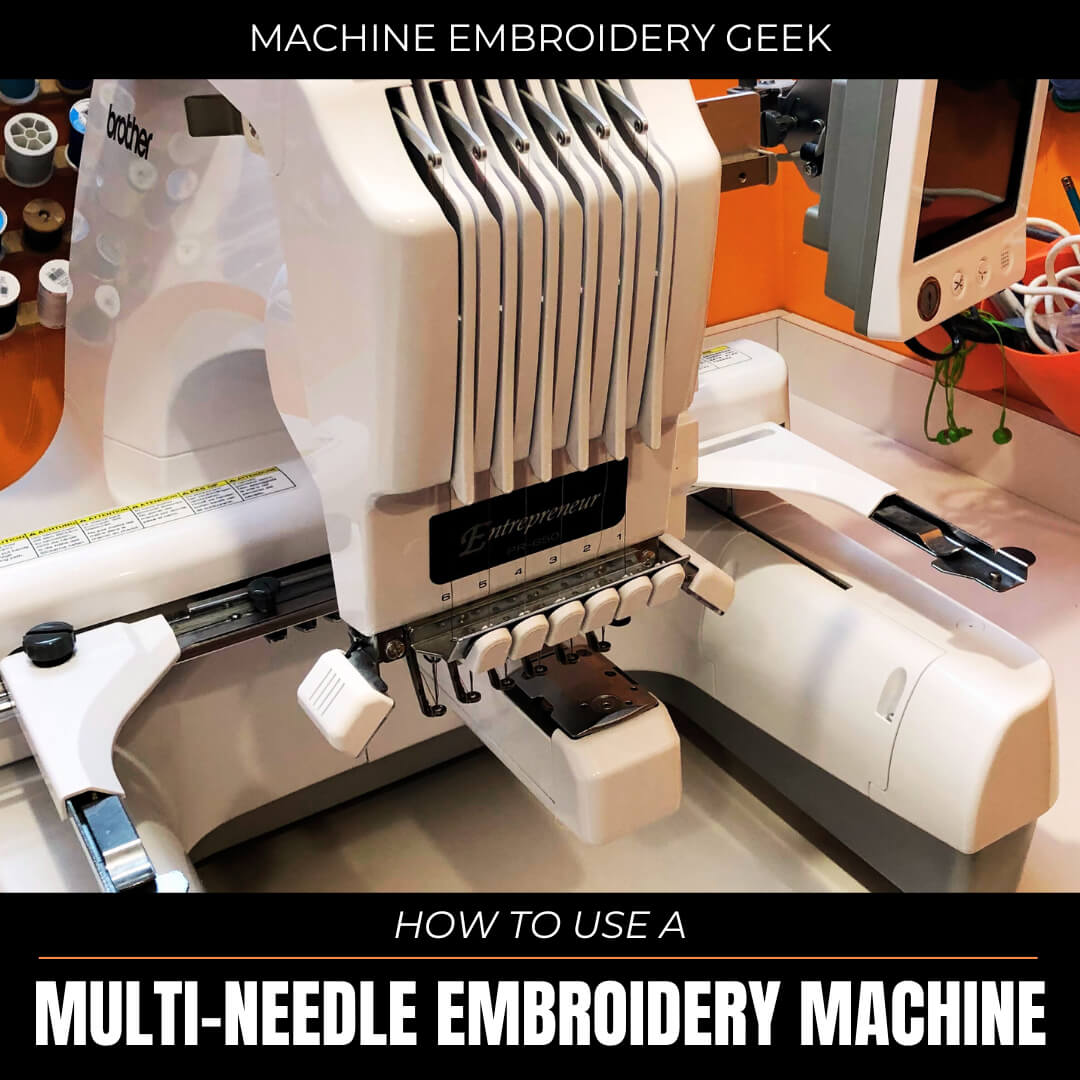
Are you tired of all the thread changing, small embroidery hoops, and slow stitch-outs? Well – maybe it’s time to say hello to a Brother multi-needle embroidery machine. As a beginner, using a multi-needle embroidery machine can seem a bit daunting. But trust me, it’s not as difficult as it appears. In this article, we’ll cover the key differences between a single and a multi-needle machine and how to use a Brother multi-needle embroidery machine.
Products mentioned in this post
The differences between a single and multi-needle Brother embroidery machine?
There are several differences between single and multi-needle embroidery machines.
Price
The biggest difference you will probably notice is price. You can buy a starter single needle home embroidery machine with a 4″ x 4″ embroidery hoop (like the Brother PE535) for between $300-$400. A multi-needle machine, on the other hand, starts at $5000.
Speed
A single-needle embroidery machine only offers the possibility to make a single thread color embroidery, while a multi-needle embroidery machine has, as the name suggests, multiple needles. This means that you won’t have to stop the machine and change the thread every time you want to use a different color. On a 6 needle multi-needle, the machine can be thread with 6 different color. Therefore, you can stitch out a design comprised of six different colors without the machine stopping and without having to change the thread.
Another difference is speed. Multi-needle machines can sew up to 1000 stitches per minute. Single needle machines are usually limited to 400-500 stitches per minute. This can make a big difference when you are doing commercial embroidery. After all, time is money!
Stitch Quality
Some people claim that the look of the stitching is “prettier” on a multi-needle embroidery machine. This is a matter of opinion. However, it’s true that multi-needle machines have more power, which can result in smoother stitches and fewer skipped stitches.
Physical Structure
A final major difference between single and multi-needle embroidery machines is the physical structure of them. A single needle home embroidery machine has a flat bed which can make it difficult to embroidery items with small openings. A multi-needle has an opening underneath allowing you to embroider on hard to access areas.
As you can see, multi-needle embroidery machines offer more power, speed and versatility which is why they are usually a must if you are running an embroidery business. But, on the flip side – you don’t need to have a business to enjoy a multi-needle. Many hobbyists make take the leap as well.
Why invest in a Brother multi-needle embroidery machine?
When it comes to multi-needle embroidery machines, you have quite a few choices. Many companies make top-notch multi-needle embroidery machines suitable for small businesses. However, the Brother multi-needle embroidery machines stand out for a number of reasons.
The first reason is that they are very popular. But why would this matter to you? Well, being popular means there are plenty of people out there who can help you out if you have a question or need tech support. In fact, there are many Facebook Groups dedicated to Brother embroidery machines. There are also a lot of Brother dealers, so you will be more likely to find a shop who can service your machine nearby.
Brother embroidery machines are known for being user friendly. Their machines have all sorts of helpful features like auto thread cutters, needle threaders and automatic color changes. They even have diagrams on the machine itself to help explain how they should be threaded.
Another reason why Brother’s multi-needle embroidery machines stand out is their affordability. Multi-needles are expensive, no doubt, but Brother’s pricing is very reasonable compared to other brands.
Finally, Brother’s multi-needle embroidery machines are known for being reliable. They have been around for a long time and have earned quite a good reputation for reliability and customer satisfaction.
How to use a Brother multi-needle embroidery machine?
A multi-needle embroidery machine can be a bit intimidating. But, if you have experence with a single needle there’s not much more to learn. Embroidering on a multi-needle requires you to be aware of a few new thing.
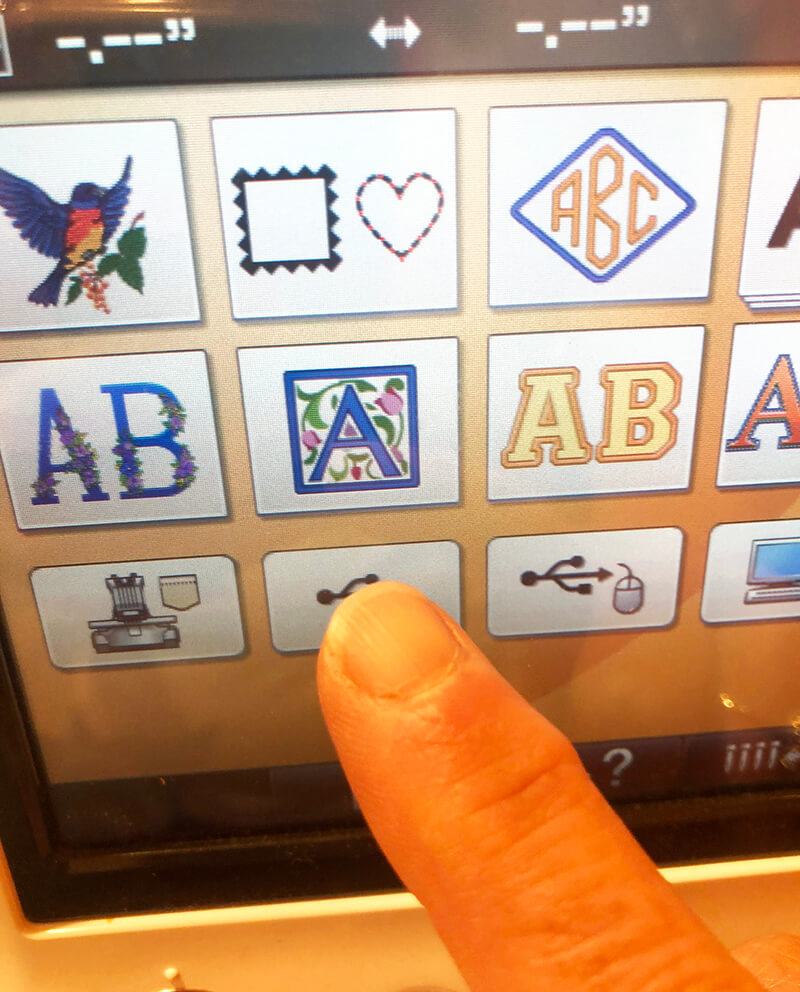
Choose your design
Before you can use your Brother multi-needle, you will need to have an embroidery design to stitch out. Most embroidery machines have built-in designs, but more than likely, these will not suit your needs.
Fortunately, you can obtain tons of different embroidery designs from online vendors or troll around the internet for free designs. Either way, you will ultimately need to get the design in PES format. PES is the embroidery file format that all Brother (single or multi-needle) embroidery machines read.
There are really no unique factors to consider when choosing an embroidery design to stitch out on a multi-needles vs a single needle embroidery machine. But since the multl-needle machines stitch faster, you may be more willing to stitch out a higher stitch count design than you would on a single needle.
Get your design onto your embroidery machine
There are a few different ways you can transfer an embroidery design onto an embroidery machine. While newer machines have bluetooth file transfer capabilities, most of the older machines will only let you send a file to the machine via a cable from your computer or via a USB thumb drive.
In my opinion, transferring files via USB stick is the easier solution. Once you have the design in PES format, you can copy it onto your USB stick and then plug it into your embroidery machine using USB storage device. Once you insert the USB stick into your embroidery machine, you can locate the files by clicking on the USB stick icon.
Occasionally, an embroidery machine will refuse to read the files from the USB stick. This is due to a number of different reasons that can often be quickly resolved.
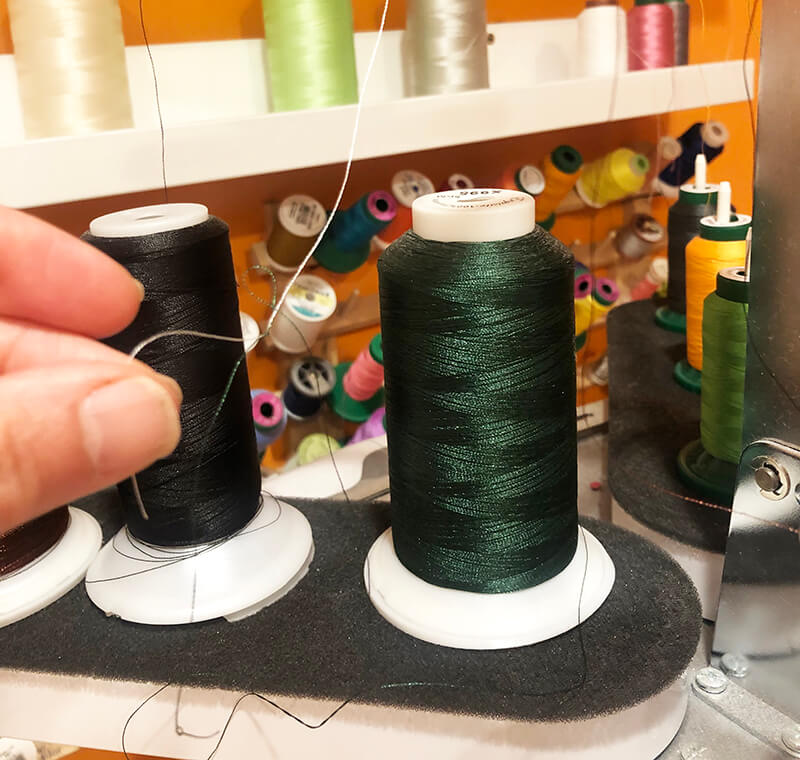
Thread your embroidery machine
Threading your multi-needle embroidery machine can seem a bit daunting. My suggestion is to carefully follow the manual when threading your machine. Once you have one thread color successfully threaded, you can simply change colors by tying on the thread to the threaded spool, then pull the thread all the way through. The knot will not make it through the eye of the needle, but you will avoid the pain of rethreading completely.
Insert your bobbin thread
Before you can begin stitching, you need to insert your bobbin thread. First you will need to remove the bobbin case. Then, properly insert the bobbin into the case before returning it to the machine. The orientation of the bobbin inside of the bobbin case MATTERS. If you insert it the wrong way, you will likely see your bobbin thread on top when you start stitching. Use the manual to help you insert your bobbin in the case the right way. Better yet – make a copy of that diagram and tape it to the wall in your sewing room. It’s easy to forget which way your bobbin should go.
Multi-needle machines do not have bobbin winders, so it’s a lot more convenient to use prewound bobbins on these machines.
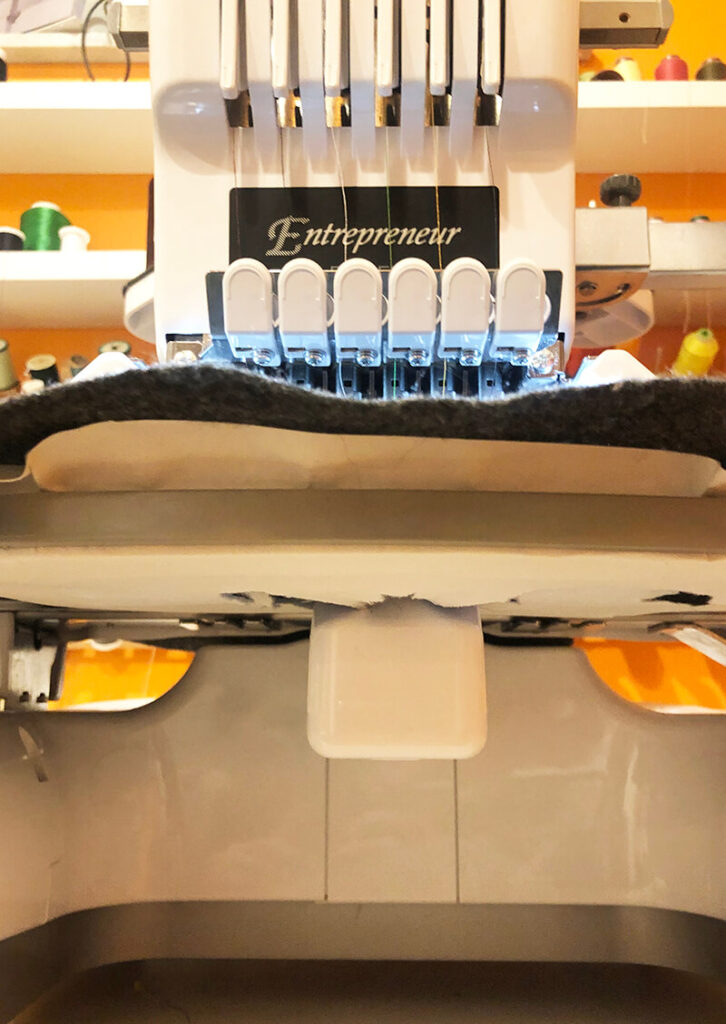
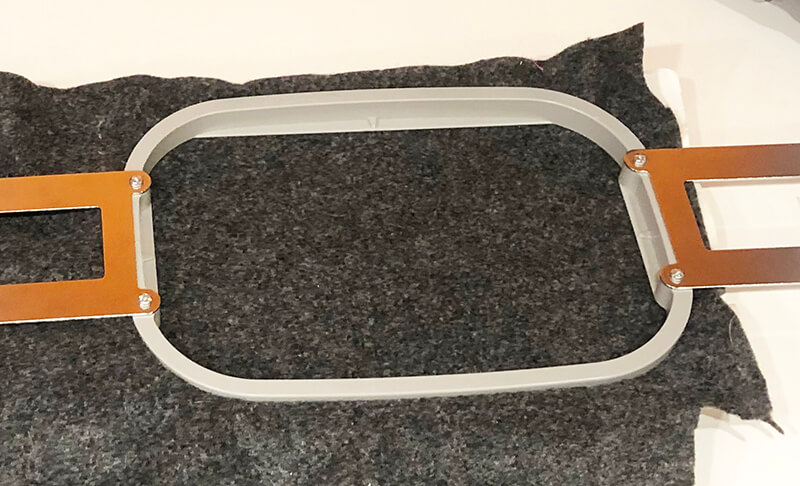
Hoop or float your project in your embroidery hoop
Just like with a single needle embroidery machine, you can choose to either hoop or float your project in your hoop. If you are hooping, you will secure your entire your project in the hoop. But, if you are floating, you will just secure the stabilizer in the hoop and then stick the project on top. This is no different from embroidering on a single needle.
But what is different is the way that the embroidery hoop fits together on a multi-needle versus how it works on a single needle machine. On a multi-needle machine, the larger piece of the embroidery hoop sits inside the smaller piece of the hop. Whereas on a single needle hoop the larger piece sits underneath.
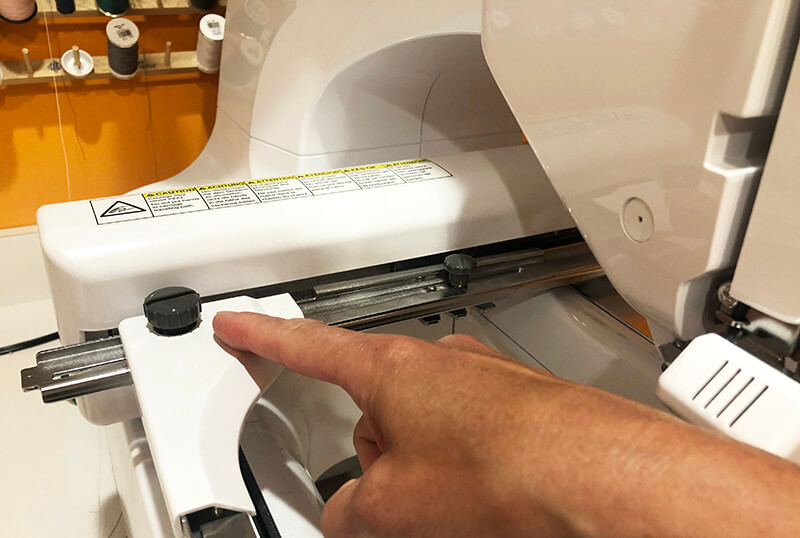
Adjust you machine for the hoop you are using
A Brother multi-needle can accomodate a variety of embroidery hoops. However, you need to adjust the arms to accommodate the different sized hoops. This is an easy adjustment. Simply unscrew the large knobs around the embroidery hoop arms to move them to accommodate larger or smaller hoops.
Adjust your thread colors
On a single needle embroidery machine, the machine can only stitch one color at a time. So, whenever the machine encounters a different thread color, it stops to allow you to change the thread. A multi-needle does not do that because it can change thread color without stopping.
When you load a design into your multi-needle machine, the machine will show you which thread spot it is assigning to each element of the design. If you don’t like it’s choices, you can do a thread color swap. For example, if the machine wants to stitch out the first element in your design with the thread in spot 1, but you want it to stitch in thread 5, simply tell the machine to swap them.
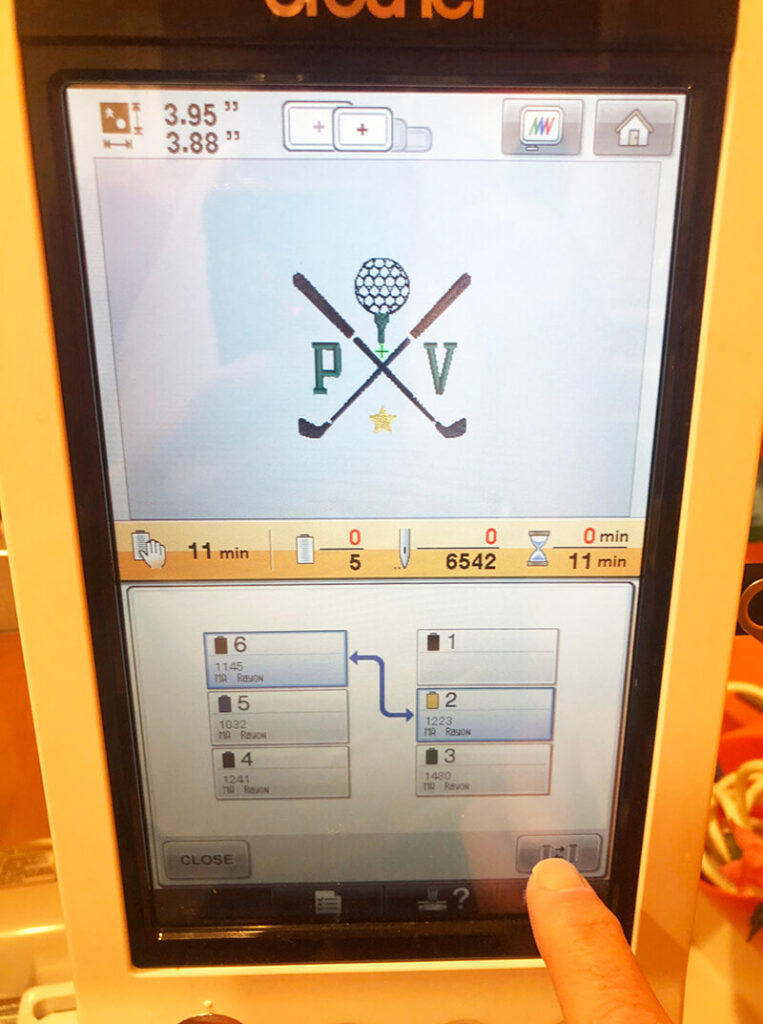
If you want the machine to stop after it’s done stitching a color, you simply tell it to pause by clicking the pause button. When the machine is done stitching one color, it will stop and wait for you to tell it to start again. This can be helpful when you have a design with more colors than you have needles on your machine.
Start the embroidery process
Once your fabric and thread are set up, it’s time to start your embroidery project. Make sure to double-check that your needle is threaded correctly and all thread ends have been carefully snipped before starting the machine. It’s recommended that you monitor your embroidery progress continuously. Even on a multi-needle, your excess fabric can fall into your stitching area.
A multi-needle machine can stitch faster than a single needle, so things can go awry even more quickly than you may be used to. Don’t walk away from your machine while it is stitching!
Ready to start using your Brother multi-needle embroidery machine?
To be honest, I found using a Brother multi-needle embroidery machine to be much easier than I expected. Because I had used a smaller Brother single-needle (the PE535), I was familiar with the interface and new what many of the ions meant on the screen.
If you decide that you want to upgrade to a Brother multi-needle machine, I’ll bet that you will be able to be up and running in no time. Just remember, always refer to the instruction manual before you start, choose a simple project to start, and take the time to prepare your material suitably. With these tips in mind, you’ll be well on your way to creating stunning embroidered pieces with your Brother multi-needle embroidery machine. Happy embroidering and have fun!
Want to remember this? Save “How to Use a Brother Multi-Needle Embroidery Machine” on your favorite Pinterest Board