How to keep fabric out of the way when embroidering
This site contains affiliate links to products. We may receive a commission for purchases made through these links.
Are you struggling with trying to keep fabric out of the way when embroidering? Well, you are not alone. It can be very challenging to prevent excess material from moving in on your embroidery area. This is especially true when you are working in tight spaces, such as kids’ and baby clothing.
On many occasions, I’ve had excess fabric flop back onto my hoop and get caught up in my stitching. And it is the WORST. All the sudden the machine is happily doing it’s thing and then it makes a very unpleasant noise. And, you turn to see a clump of fabric clustered around the needle. AAAAACCCCKKKK!
These mini disasters always seem to happen as soon as I feel confident that all is going well. The second I look away from my embroidery machine, I’m stitching through a sleeve. SO ANNOYING!
Then, one day – as I was tearing out the stitching in another sleeve, I had an epiphany. If this was a problem for me, it had to be an issue for others as well. What is everyone else doing to keep their excess fabric from falling back into the stitch area? Here’s what I learned.
Techniques to help keep fabric out of the way when embroidering
Slow down the machine and keep an eye on it.
The most crucial step you can take to prevent excess fabric from getting embroidered into your project is to slow down the embroidery machine and to keep an eye on it. For me, this is hard to do because I’m easily distracted. But, if the machine is slowed down a bit and you’re standing close by, you can quickly stop the machine if excess material gets in this way. To make the babysitting more tolerable, I often give myself a little busy work, like trimming strings on another project or straightening out my thread or supplies.
Turn the garment inside out first
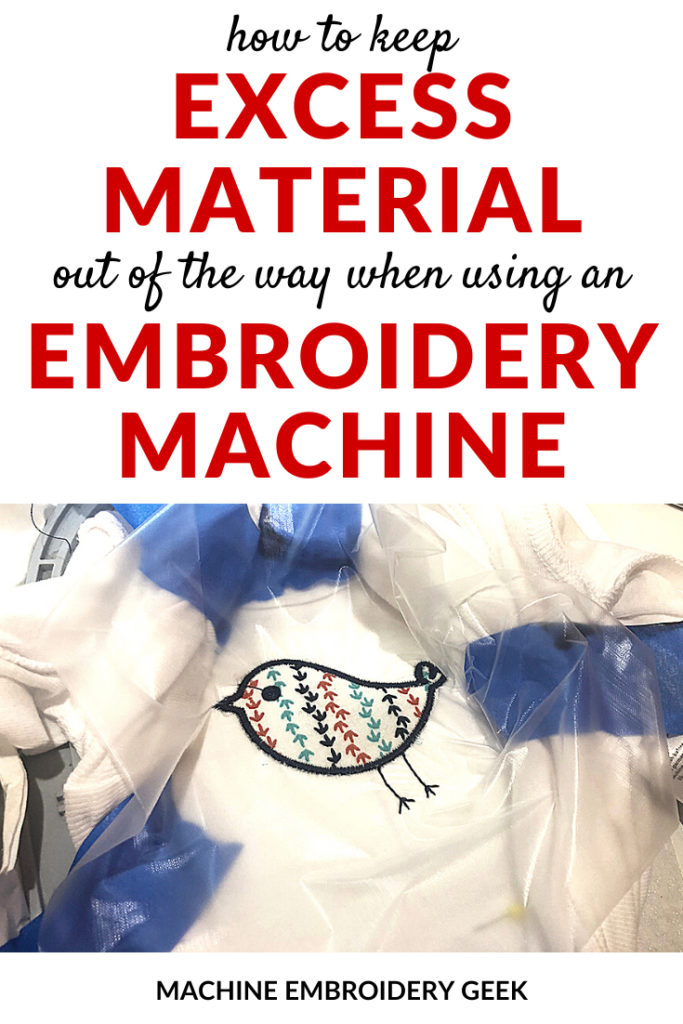
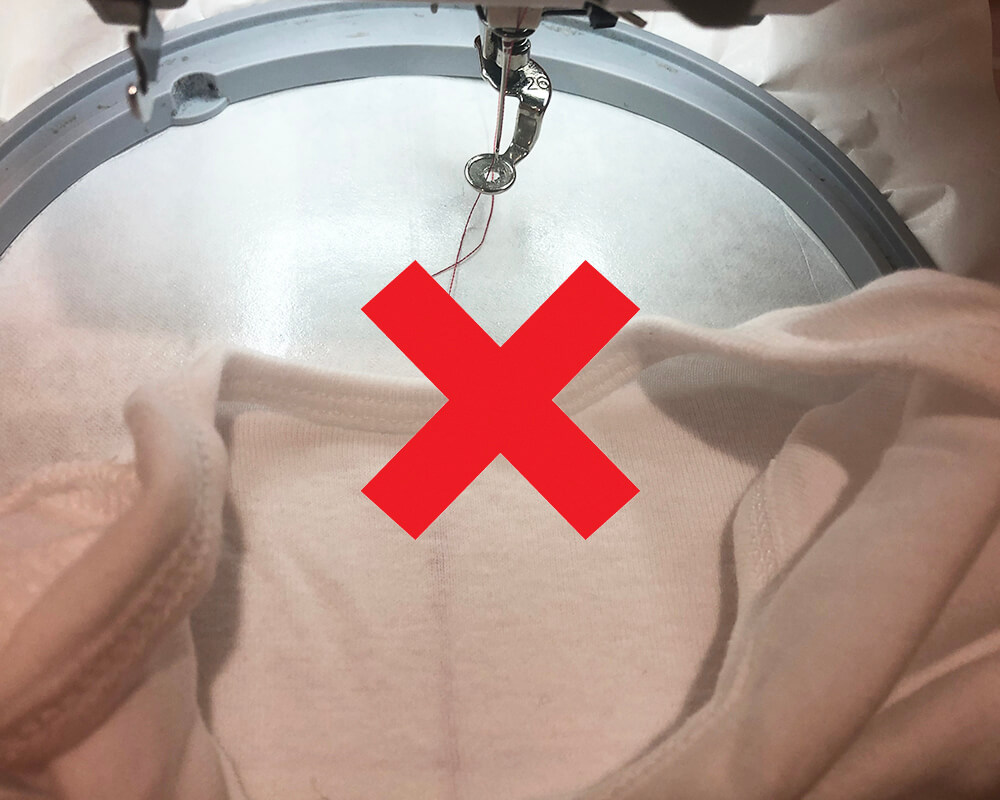
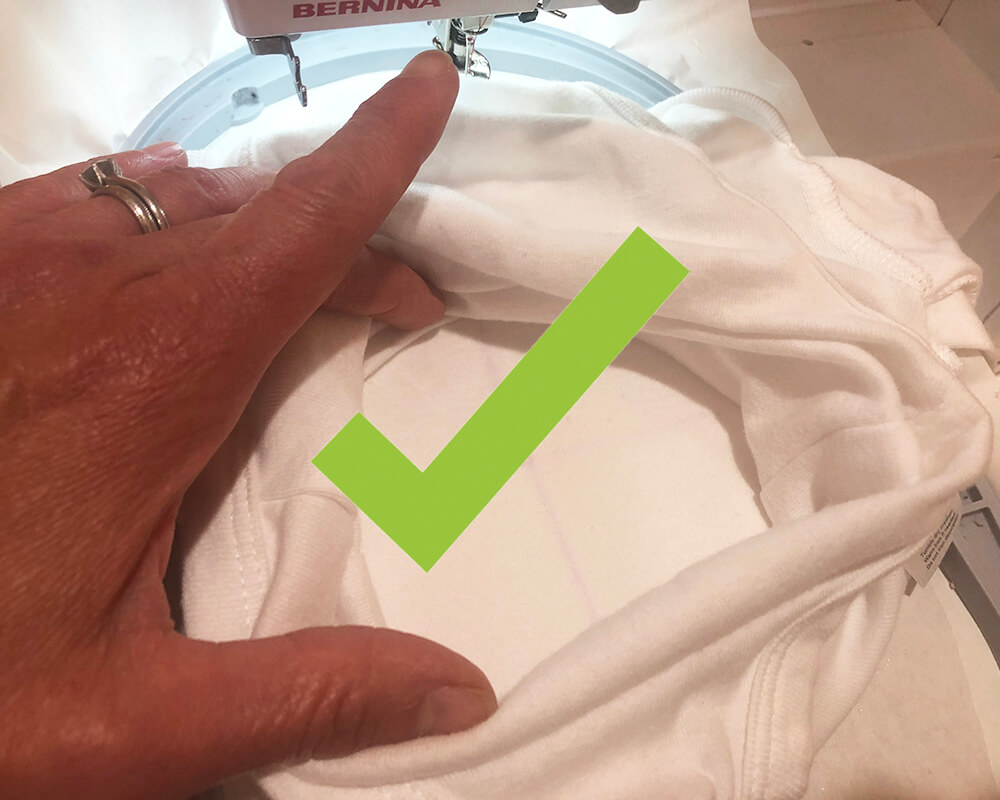
If you are floating a garment (instead of hooping it), it helps to turn a garment completely inside out before sticking it to the stabilizer. I always mark the center of the design on the wrong side of the fabric so that I can stick the wrong side of the the garment to the stabilizer, lining up the center of the design to the center of the hooped stabilizer. Then I push all of the excess fabric out of the way. If I’m embroidering on a onesie, then I access the front of the onesie through the unsnapped bottom as opposed to through the neck because the opening is much larger. The larger opening gives you more room to stitch and makes it easier to push the excess fabric out of the way.
Keep a chopstick nearby
Another tip that I think is quite smart and has probably saved my finger on many occasions is to keep a chopstick nearby. If the excess fabric starts to creep into the stitch area, you can gently push it out of the way with a chopstick.
Products to help keep fabric out of the way when embroidering
There are quite a few inexpensive household products that can help you keep the excess fabric out of the way when you are embroidering.
Clothes pins
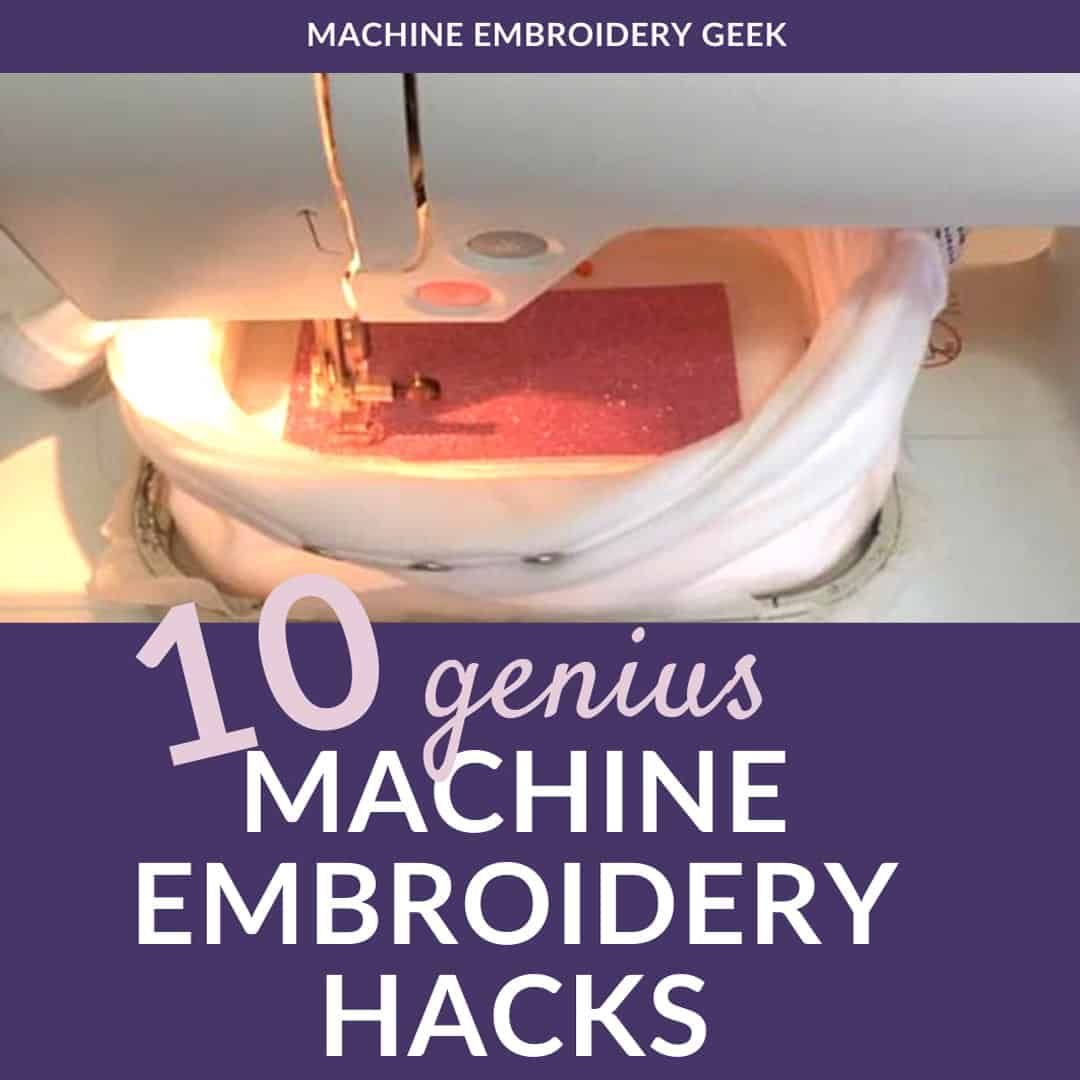
One easy solution is to clip the excess fabric to the side of the hoop using clothes pins. They sure are strong, but you have to have enough vertical space to keep them from bumping into the under side of your machine.
Binder clips
Binder clips are another option, and are actually recommended on the the Brother website. You will just need ones that are large enough to accommodate the width of the hoop frame, but short enough to not interfere with the movement of the hoop and machine.
Barrel Style Hair clips
If you are wondering what barrel style hair clips are, you are not alone. I have never, personally used these types of clips in my hair (except for a brief stint in the late 90s / early 2000s). So, I had no idea what people were talking about when they recommended them for this purpose. Barrel style hair clips are the round clips with the bat wings on the outside, allowing you to twist your hair up any which way and then secure it to your head. Anyway – they are cheap, readily available, and do a pretty darn good job of keeping the excess fabric away from your stitch area on your embroidery machine.
Pins
Pinning around your design helps to not only keep the excess fabric out of the way, it also aids in keeping your fabric in place. The problem with pinning, however, is two-fold. One – you need to make sure that your pins are not in your stitch area. And, two, the pins will not leave a permanent mark on your fabric. For example, a pin prick will leave a permanent mark on a nylon windbreaker fabric.
I, personally, prefer to work with quilting pins because of their longer length. It’s also easier to pin the fabric to the hooped stabilizer with the longer quilting pins than regular pins.
Thread holders
Now talk about killing two birds with one stone! These inexpensive thread holders are designed to keep all your spools of thread from unwinding. However, you can also use them to secure your excess fabric to the hoop and keeping it out of your way.
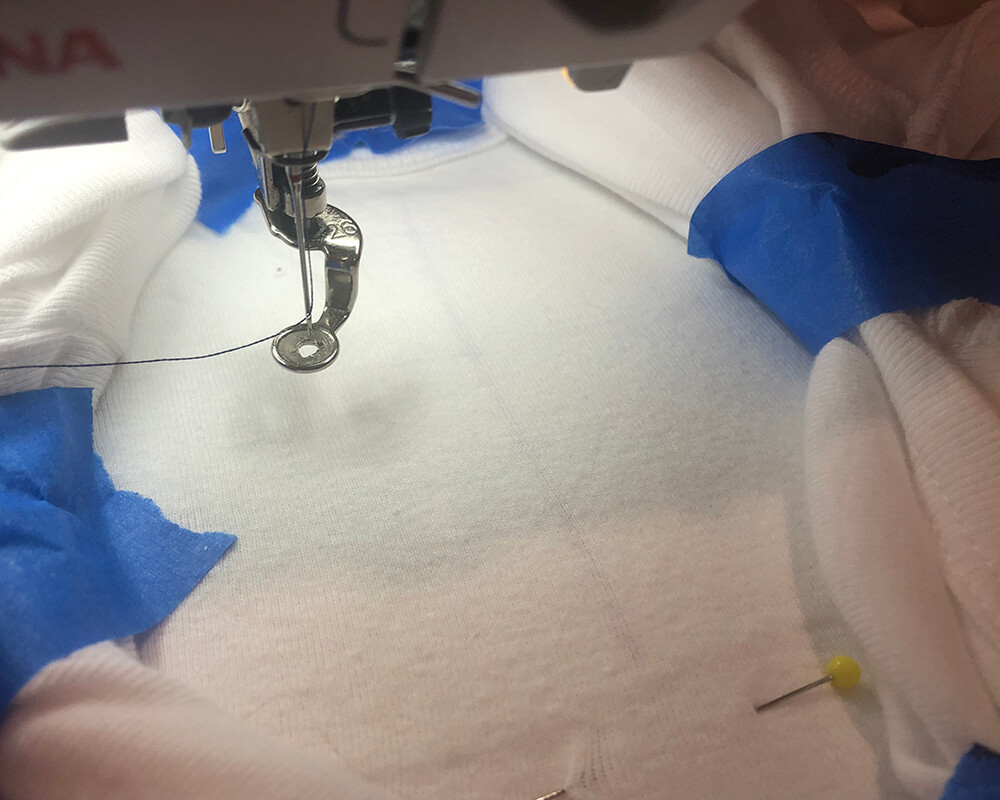
Duck tape or painters tape
When all else fails, you can tape the heck out of your project to hold everything out of your way. I would probably choose painters tape over duck tape as I would assume it would leave less residue.
JTHOOPITUP
JTHOOPITUP is not a household product, but I have to mention it here as many people swear by it. The device is a stainless steel insert designed to go inside of your garment to expand the embroidery area and make it more accessible. It can be used when either hooping or floating the embroidery project. If you visit their website, you will see that they also sell some really strong clips to hold your fabric to the hoop.
Fabric being pulled under the hoop
Guess what? It’s not just the excess fabric falling back onto your stitch area you have to worry about. Your excess fabric can also get sucked under the hoop! This is a whole new type of embroidery disaster that I learned about the hard way.
A few holiday seasons ago, I was merrily cranking outsome more personalized tunics for the little girls in my life when I had a near disaster. I had the last one on the machine, and everything was going beautifully. And then…. I took the tunic off the hoop. I COULD NOT believe what I saw.
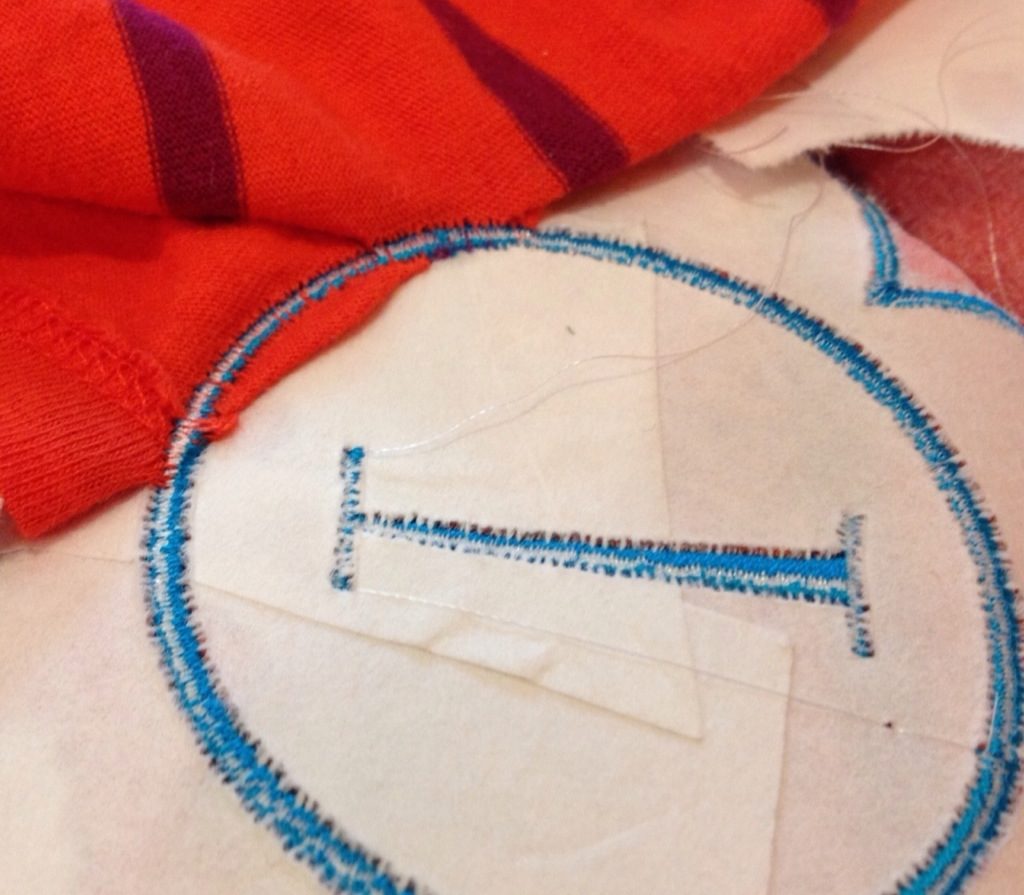
Normally when I am stitching a large design out on a T-shirt, I am especially vigilant about keeping the t-shirt out of the way of the embroidered area using one of the aforementioned techniques. In the case of this tunic, I was even paying attention to the machine to make sure this would not happen. It would have never occurred to me that part of the tunic could have gotten sucked into the stitching UNDERNEATH the hoop. But it’s possible. Trust me.
Fixing the mistake
Once I discovered what I had done, I sat there stunned for a few minutes before I could do anything. Armed with the wisdom of an experienced embroidery friend who said, “everything is fixable,” I carefully removed the embroidery where it had caught the sleeve. Then, I floated the tunic on a new piece of hooped stabilizer. I was miraculously able to line up the design with what had already been stitched fairly accurately and simply restitched the part that I had removed.
While I was able to fix my mistake, I developed a new habit to prevent clothing and fabric from getting stuck under the hoop. Before I start stitching any project, I take a peek underneath my hoop. And, I check to make sure that no part of the garment or fabric I’m stitching is hiding out under there.
If and when this happens to you
When you do a lot of machine embroidery, it’s inevitable you’ll make a mistake, especially if you like to carry a glass of wine into your sewing room. Fortunately there are steps you can take to avoid common embroidery mistakes and even creative ways to repair them when they do occur.
Good luck, my friends! And happy stitching!
xo
Julie


