Disclosure: Some of the links on this site are affiliate links. This means that if you click on them and make a purchase, I may earn a small commission at no extra cost to you. Please know that I only recommend products and services I trust and use myself.
Call me nuts, but I really don’t get the embroidery on toilet paper craze. I mean – it was fun during a shortage, but I don’t think I would do it again. I’m just that big on novelty gifts. But you know what I am interested in? Embroidery on paper cards. Why? What a quick and easy way to make a card for any occasion! You just float a piece of paper or cardstock on some stabilizer and start stitching out any type of card you need. But is it really just this easy? Um, yes. Hang tight because I’m going to show you how to embroider on paper cards, and you’ll be ready for any occasion.
Supplies for machine embroidery on cards
- Single panel cards in a variety of colors
- Sheets of water color paper than can be glued on cards
- Cards made from water color paper
- Simple folded cards in a rainbow of colors
Why embroider on a card?
In the digital era we are living in, an embroidered card looks rich, custom and unique. However, the cost and time to make one is pretty minimal.
Plus – you can totally customize the card for any recipient. Just load up a different design and add a name.
Cards are typically not too big. So they are a great project to get started on if you only have a small embroidery hoop.
Cards are cheap! If you screw one up – you are not out much. Embroidering on a cards is a great way to get comfortable with your embroidery machine.
[do_widget id=custom_html-5]
What type of cards should you embroider on?
There are basically two ways to embroider on a card. You can either embroider on paper and then glue it to the front of a plain notecard. Alternatively, you can simply embroider on the front of the notecard.Whatever method you choose, you will need to choose a paper that is durable enough to withstand the needle punctures from stitching out the embroidery design. Watercolor paper or cardstock works well.
Keep in mind that if you stitch out an embroidery design on the front of a folded card, the ugly, backside of the embroidery will be on the inside of the card. For this reason, you cover the inside of the card with a piece of paper.
What designs are suitable for being stitched on cards?
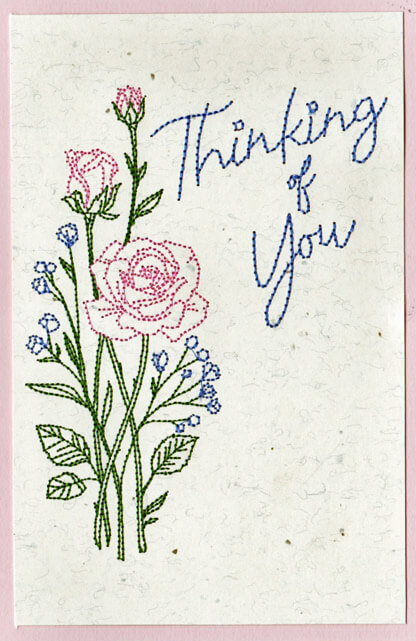
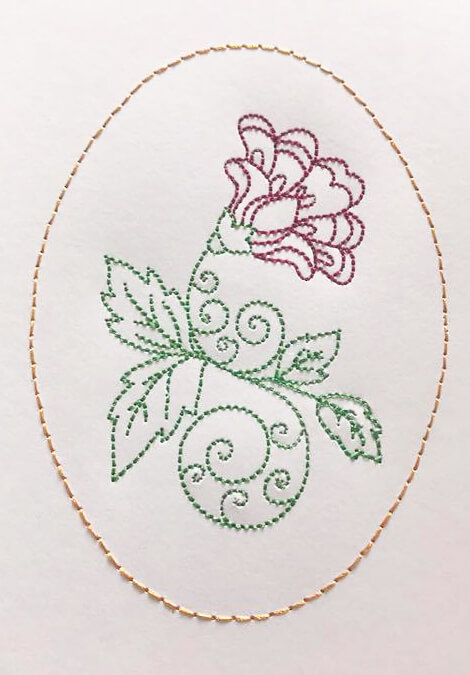
Apparently many people stitch out embroidery designs on cards, so much so that companies that sell embroidery designs actually make designs specifically for stitching out on greeting cards. You don’t need to use one of these designs, but you certainly don’t want to try to stitch out a high density filled embroidery design on a card. Simple redwork designs (designs comprised only of running stitches) work best. For example, Original Stitches offers several redwork designs that would be perfect for stitching out on a card.
Some of the companies that offer embroidery designs specifically for stitching include:
- Lovely Mother’s Day card embroidery design from Big Bee Embroidery
- Artistic Threadworks has a set of 10 designs specifically for greeting cards.
- Set of 5 floral designs suitable for any occasion.
- Sweet birthday card designs for kids
- Holiday card designs
Decorative techniques for making embroidered cards
Yes, the types of designs that you can stitch on cards may be a bit limited but there are a lot of techniques you can use to make your embroidered card really unique.
- Stitch out an entire design with white thread on a blue or black card.
- Stitch out a design with variegated, glow-in-the-dark or metallic embroidery thread to include a rainbow of colors.
- Enhance your card with paper punches and a ribbon tie
- Combine the embroidered design with stamping or decorative writing.
The possibilities are endless. So let’s see how you do it.
How to embroider on paper cards
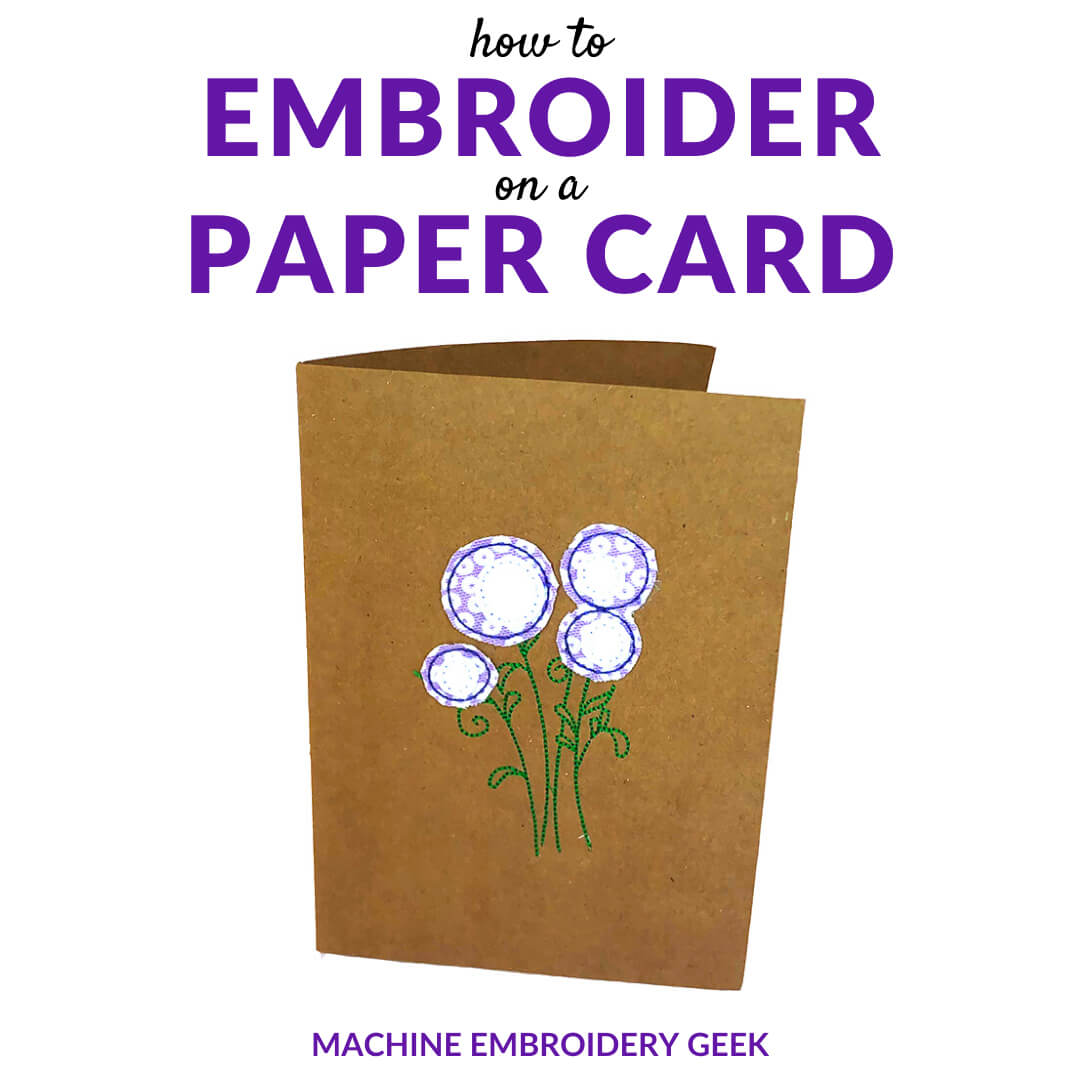
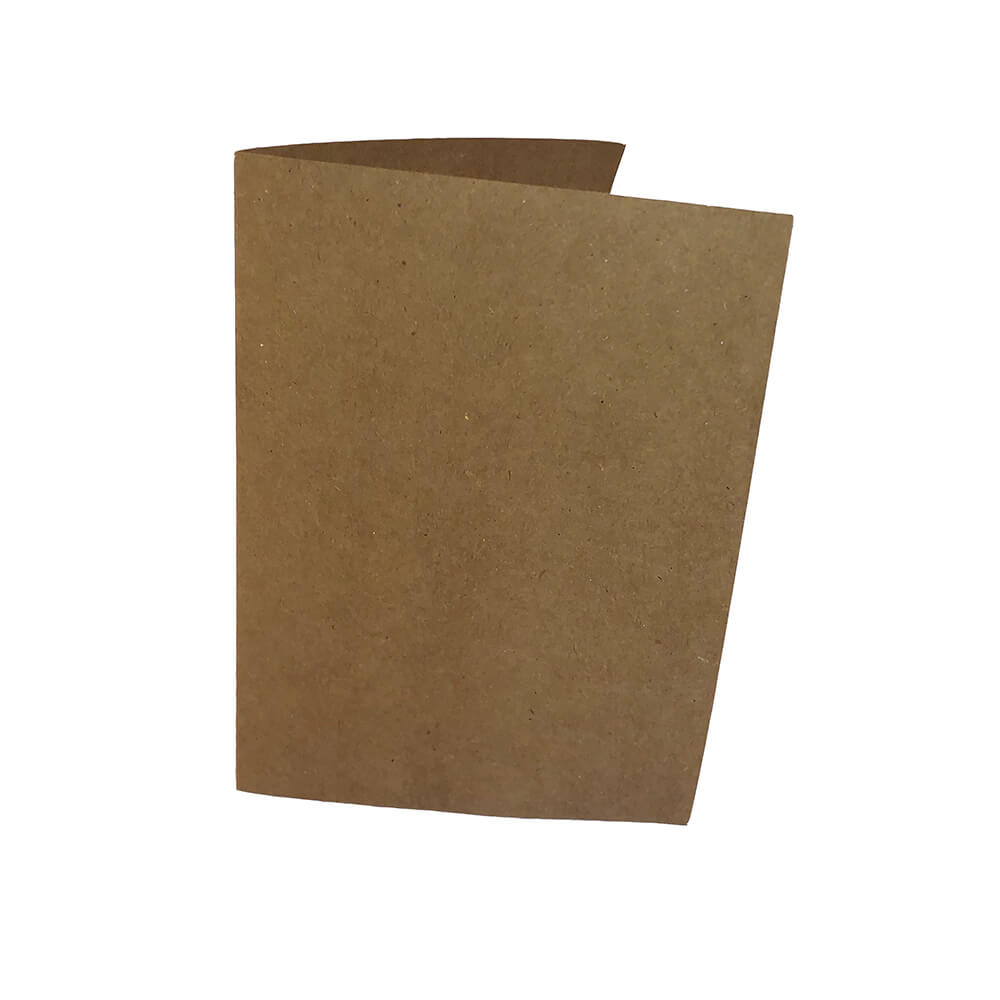
I started this project by finding a boring, brown paper card. It’s so dull that I can’t imagine what I would ever use it for. The embroidery design I used to stitch on the card was one I digitized a while back, the whimsical flower bouquet appliqué.
 Step 1: Hoop a piece of stabilizer.
I think you can really get away with any type of stabilizer for this project. I hooped a piece of adhesive-backed tearaway stabilizer, but I’ve heard of people using regular tearaway or cutaway stabilizer as well. After you hoop the stabilizer, mark the center of the hooped stabilizer using a disappearing ink pen and extend the center lines vertically and horizontally.
Step 2: Float the card
If you are using adhesive-backed tearaway stabilizer, score the inside edge of the stabilizer with a pin to tear the top paper layer. Then, peel back the paper to expose the sticky surface. If you are using regular tearaway or cutaway stabilizer, you will need to spray the stabilizer with temporary adhesive. Stick the card on the stabilizer so that the center of the card aligns with the center of the hooped stabilizer.
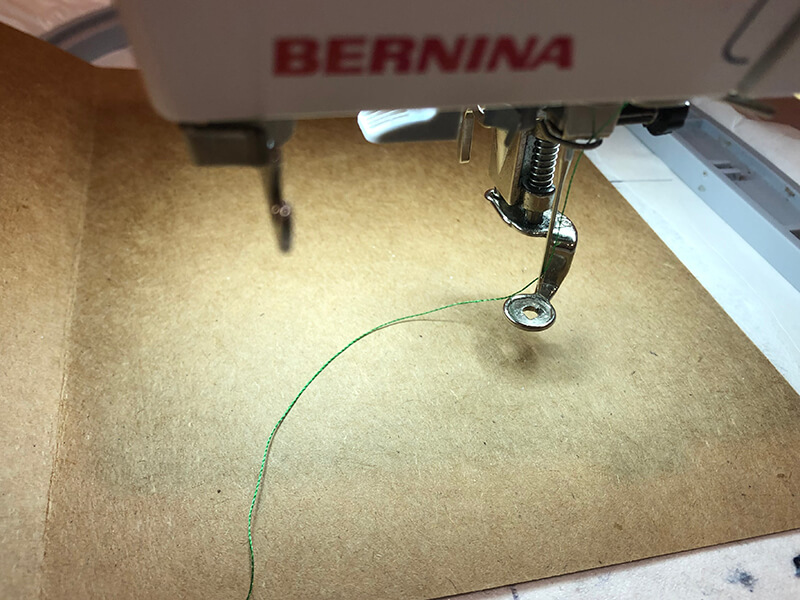
Step 3: Start stitching on your design
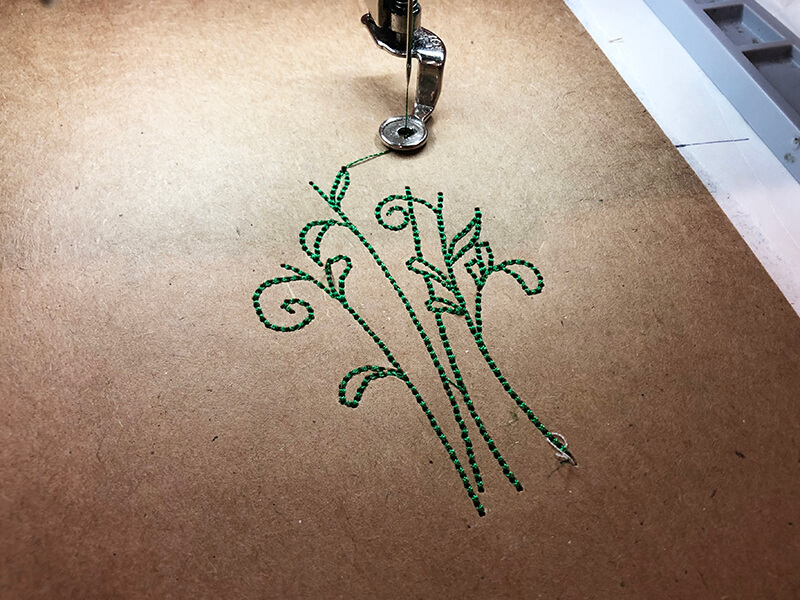
Hearing the needles pierce through the card is very satisfying.
Step 4: Carefully remove the card from the hoop
If you are using tearaway stabilizer, make sure you tear the stabilizer and not the card when removing it from the hoop.
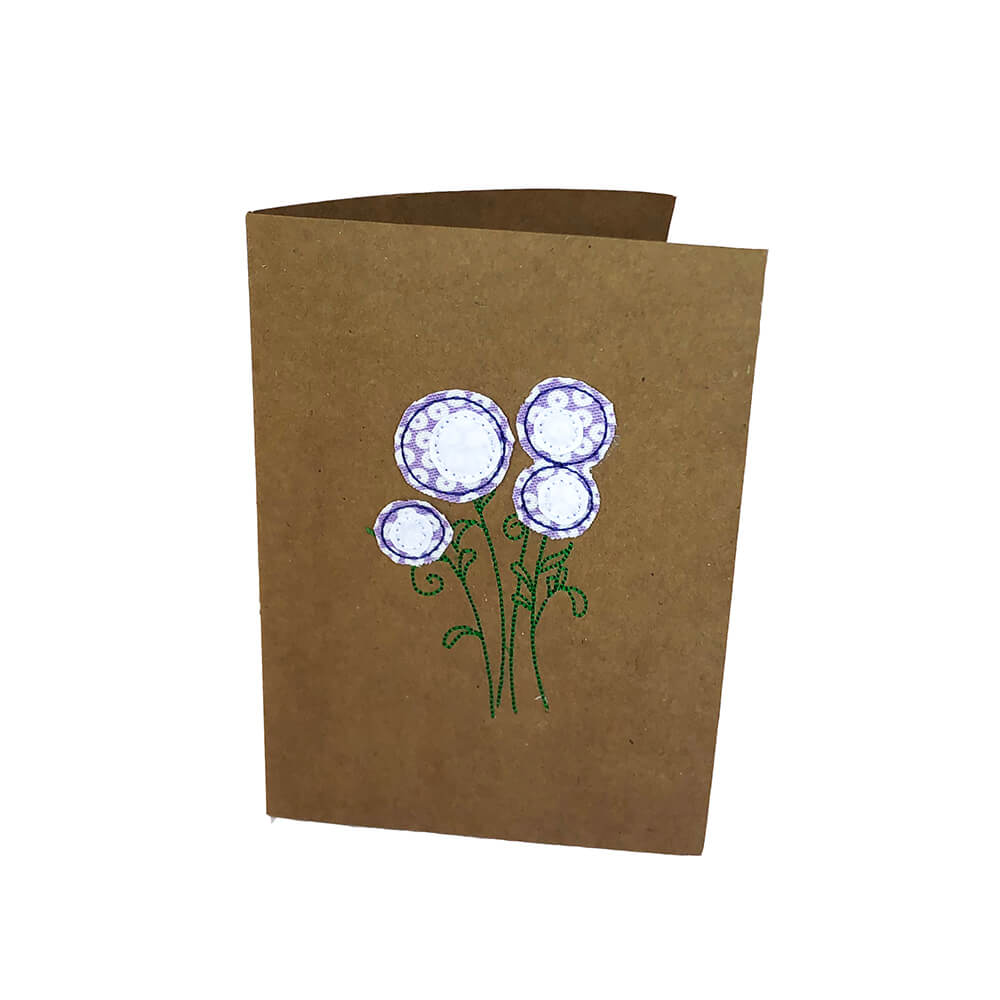
Step 5: Add some finishing touches
Trim your strings off of your design using embroidery nippers. Because the design I stitched out was a raw edge appliqué design, I also needed to trim my fabric using appliqué scissors.
You’re done!
So are you ready now to stitch out all your Christmas cards? Maybe not – but an embroidered card is a work of art on it’s own that will be sure to impress any recipient. Give it a try!
Happy stitching!
xo
Julie
[do_widget id=custom_html-10]
[do_widget id=custom_html-9]
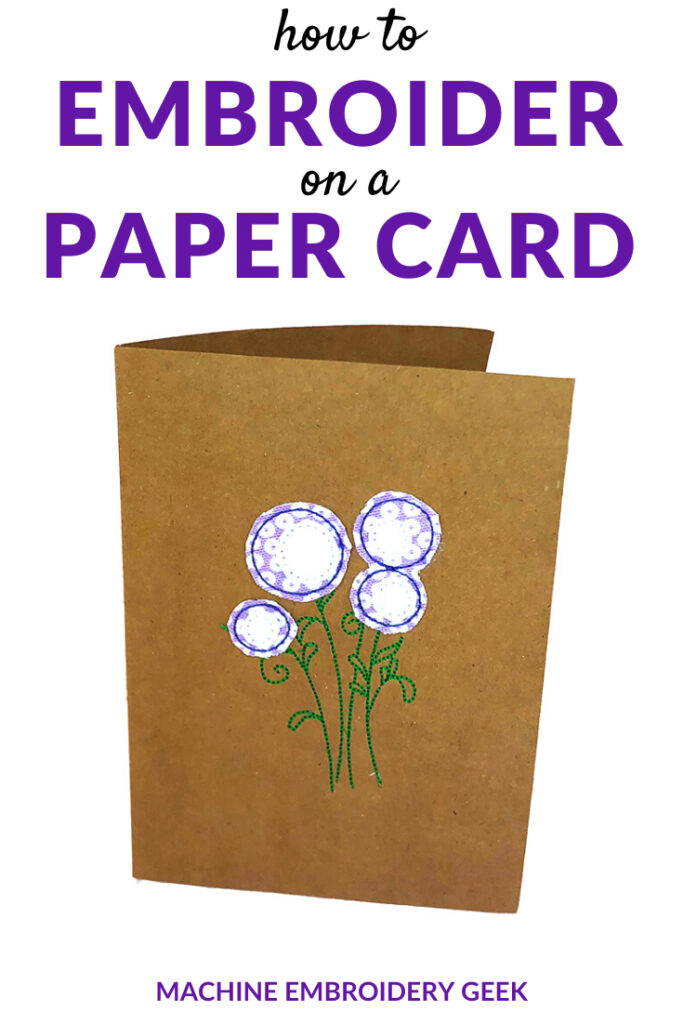
Want to remember this? Save “How to embroider on paper cards” on your favorite Pinterest board.
Loved the idea, & clean simple lines.
The close up of the green stems & leaves looks like its couched, which stitch did you use please? Or is it freehand machine embroidery?
I used an embroidery design to make this. The flower design is available on my site. https://www.machineembroiderygeek.com/product/whimsical-flower-bouquet-raw-edge-applique-design/