Disclosure: Some of the links on this site are affiliate links. This means that if you click on them and make a purchase, I may earn a small commission at no extra cost to you. Please know that I only recommend products and services I trust and use myself.
Around Christmastime, my husband often refers to me as the Scrooge because I’m not the most willing participant when it comes to Christmas decorating. This is probably because I am usually embroidering, wrapping gifts, sending out Christmas cards, or doing some tasks that ago along with celebrating the Christmas season. Would the Scrooge be willing to do all that? I don’t think so. Nevertheless, I really feel like, once he sees this Santa pillow I whipped up with my sewing and embroidery machine, he’s going to REALLY see that Scrooge is no longer a fitting nickname.
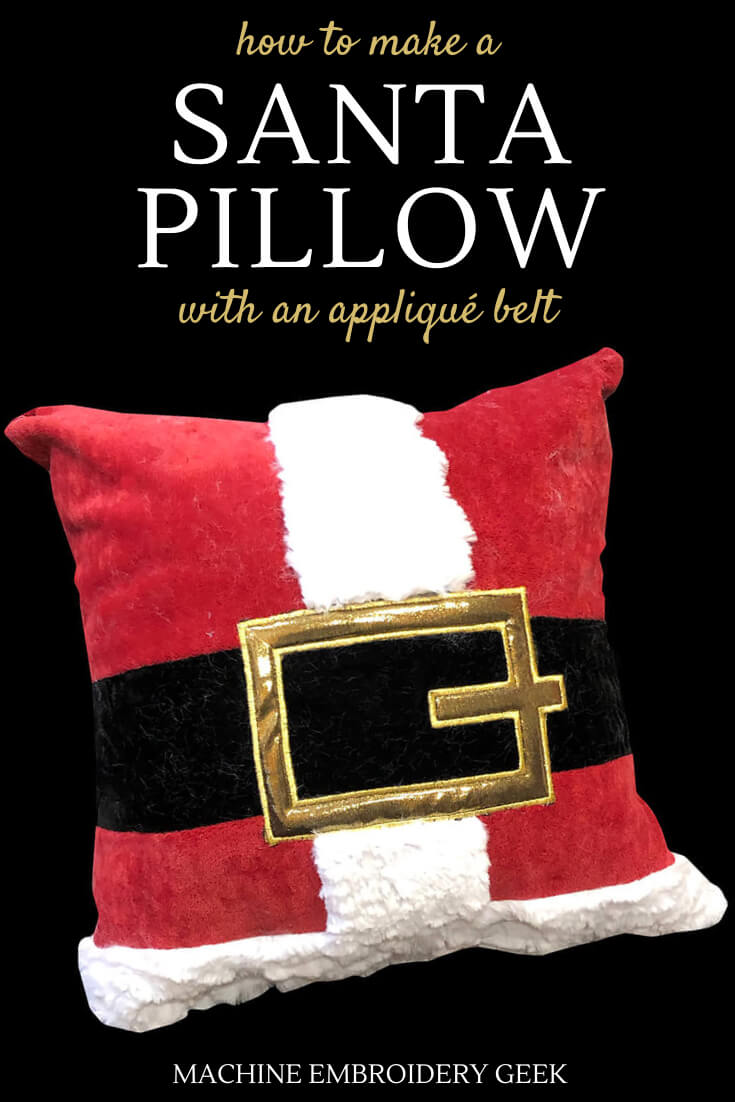
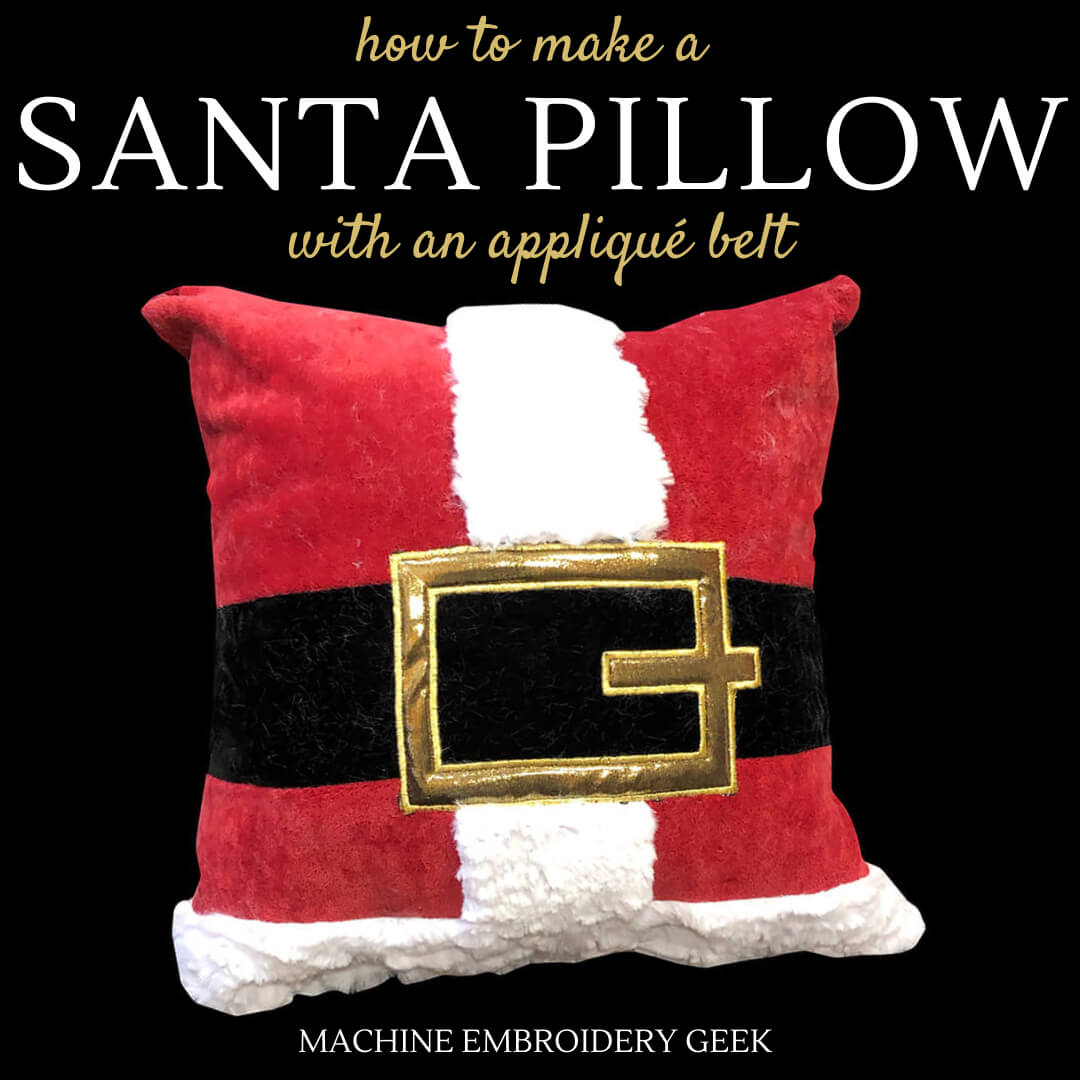
The pillow that I made (and I’m going to show you how to make below) is designed to look like Santa’s midsection with a shiny gold buckle in the center. I can’t claim to have come up with this idea on my own. I have seen similar pillows, but only made from crochet. My unique contribution here is to translate this pillow concept into a color block sewing pattern with an appliqué belt buckle.
Ready to un-Scrooge yourself? Here’s how to do it!
Products mentioned in this post
- red velvet fabric
- white faux fur
- black velvet.
- gold lamé fabric
- PDF pattern to make a 16″ pillow as well as a the appliqué design for the belt buckle *
- Sticky tear away back stabilizer
- water soluble topper
- HeatnBond Lite
- white sewing thread
- gold metallic embroidery embroidery thread
- 16″ pillow form
- poly-fil
* Pattern used in this post.
How to make a Santa pillow with an appliqué buckle
The following instructions and pattern pertain to a 16″ finished pillow.
Supplies
Fabric
I was actually able to make my pillow with some remnants I found in my sewing room. The red fabric I used was a brushed upholstery fabric, and my black piece was a scrap of velvet. The gold was also a tiny scrap of gold lamé from my collection. The white was a bit of faux fur for I purchased.
If you have none of these fabrics laying around, you can take your pick as to what type of fabric you want to use. I do think that a brushed upholstery fabric and velvet give the pillow a luxe look. I also like the white faux fur as it mimics the fur trim you would expect to see on Santa’s coat.
If you purchase the fabric, 1/3 of a yard of red velvet fabric will be more than enough. And you will only need about 8 inches of white faux fur and 6 inches of black velvet. For the belt buckle, you will need a piece of gold lamé fabric about 5“ x 7″.
Pattern
Get the PDF pattern to make a 16″ pillow as well as a the appliqué design for the belt buckle.
Adhesive backed stabilizer
Sticky tear away back stabilizer is the ideal type to use for this project as it will allow you to simply float (and stick) the pillow front on your embroidery hoop and appliqué the gold belt buckle. Regular tear away or cut away stabilizer will work as well but you will probably want to use some temporary spray adhesive to stick the pillow front on the hooped stabilizer.
Water soluble topper
When you are trying to appliqué or embroider over material with a lot of nap (e.g. velvet, faux fur), you should always integrate a piece of water soluble topper to prevent the fabric fibers from popping through your stitching.
HeatnBond Lite
You will need a small piece of HeatnBond Lite to fuse onto the back of your gold lamé belt buckle. It will give it a bit more body and help keep it from sliding around on your Santa pillow front.
Thread
You will need regular sewing thread to stitch the pieces of the pillow together (any color will work). When you hand stitch the bottom of the pillow together, however, you will probably want to use white sewing thread.
You will also want some gold metallic embroidery embroidery thread to appliqué the belt buckle onto the front of the pillow.
16″ pillow form or poly-fil
Your pillow can’t be flat, right? I happened to have a 16″ pillow form which is what I used, but you can also stuff it with poly-fil.
Steps
Cut the Santa pillow pattern pieces out of the fabric
Print out the entire PDF file on 8.5″ x 11″ paper then cut out all of the pattern pieces from the PDF. You will notice that a few pieces have stars on them. These are pieces that are too large to fit on an 8.5″ x 11″ page. You will need to tape two pieces of paper together to make the complete shaped pattern piece. The star is intended to help you line up the two pieces and tape them together to make one pattern piece.
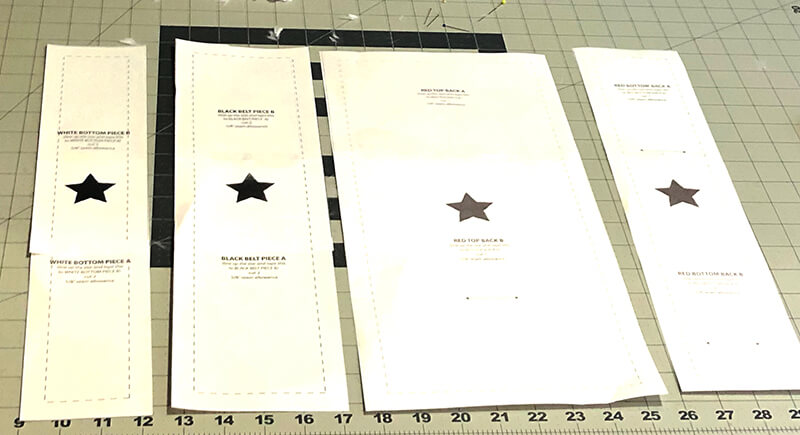
The pattern pieces are pretty well labeled to show you which one to use to cut out of each colored fabric. It also helps to look at the pattern preview pillow preview to better understand how these pieces will fit together.
Cut out all your fabric as directed by the pattern pieces. All of these pieces are so much easier to cut out with a rotary cutter, ruler and cutting mat.

Sew together the pieces you cut out
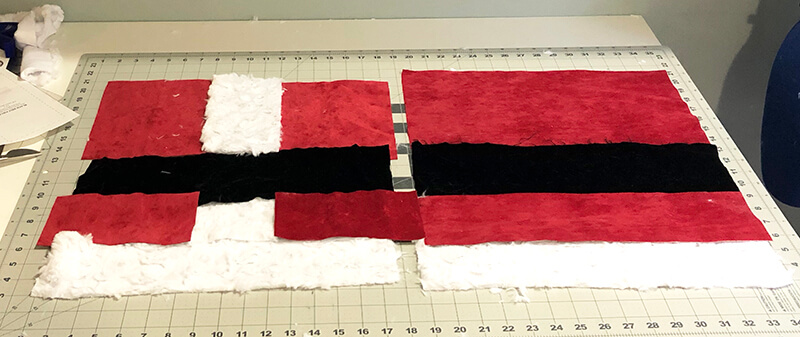
The back of the pillow is simpler than the front, so you may want to start assembling the back first. From top to bottom, you will have one red piece attached to the black belt which is attached to the bottom red piece and then the white faux fur. So, it’s essentially four stripes. Sew all four stripes together.
The front of the pillow is a little more complex. I think it’s easiest to look at the color blocking in terms of four rows. The top row is comprised of one red piece, then the white faux fur in the middle, and then another red piece. The next row down is the black belt. Then third row is like the first: a red piece, the white faux fur, and a red piece. And, the final row is the just the white faux fur at the bottom. I think it helps to lay them all out like the picture.
Once you have your fabric laid out, you can start putting pieces together. I pinned together two pieces at a time then sewed them together using 5/8″ seam allowance.
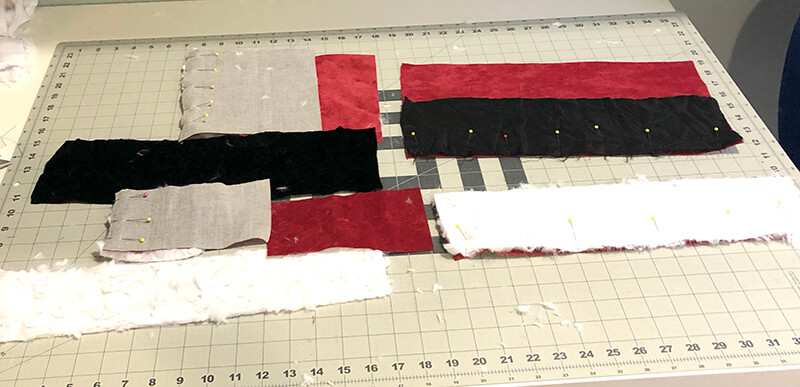
I gradually connected all the parts, piece by piece.

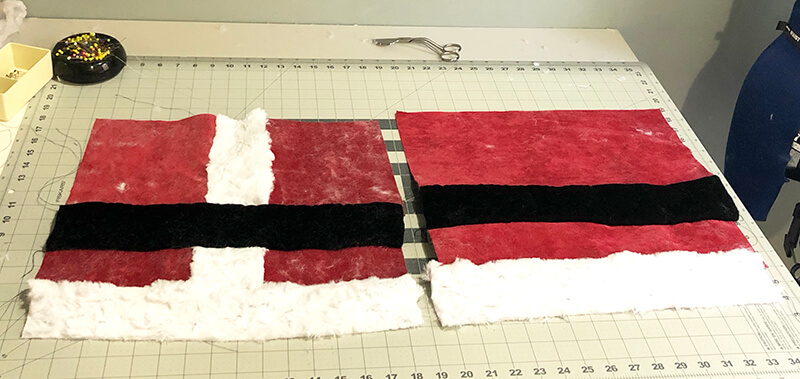
When I had all the pieces sewn together, I pressed open all the seam allowances. When you have all the pieces sewing together, you are ready to add the appliqué belt buckle.
Preparing to appliqué the belt buckle
This is undoubtedly the trickiest part of the project for a couple of reasons: 1) placement of the design and 2) having the appliqué material slip around. But I’ll provide some tips on both of those issues in just a second.
First, fuse a piece of HeatnBond Lite onto the back side of the gold lamé fabric, then remove the paper backing. Set it aside until you are ready to lay it on the Santa pillow front.
Preparing the stabilizer
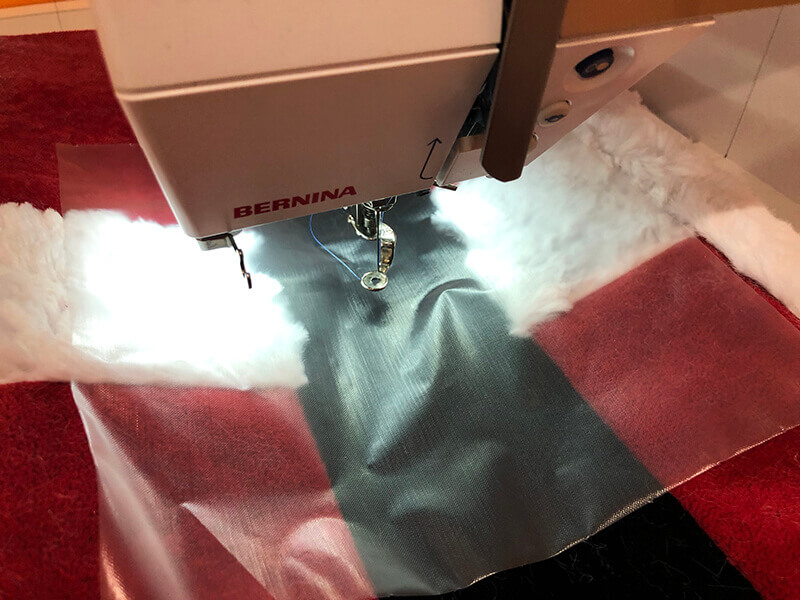
Hoop a piece of sticky tear away back stabilizer with the shiny side of the stabilizer up. Use a pin to score around the inside edge of the hoop creating a small tear in the top paper layer of the stabilizer. Peel away that paper layer to expose the sticky surface. Next, draw a horizontal and vertical line through the center of the hooped stabilizer using a disappearing ink pen.
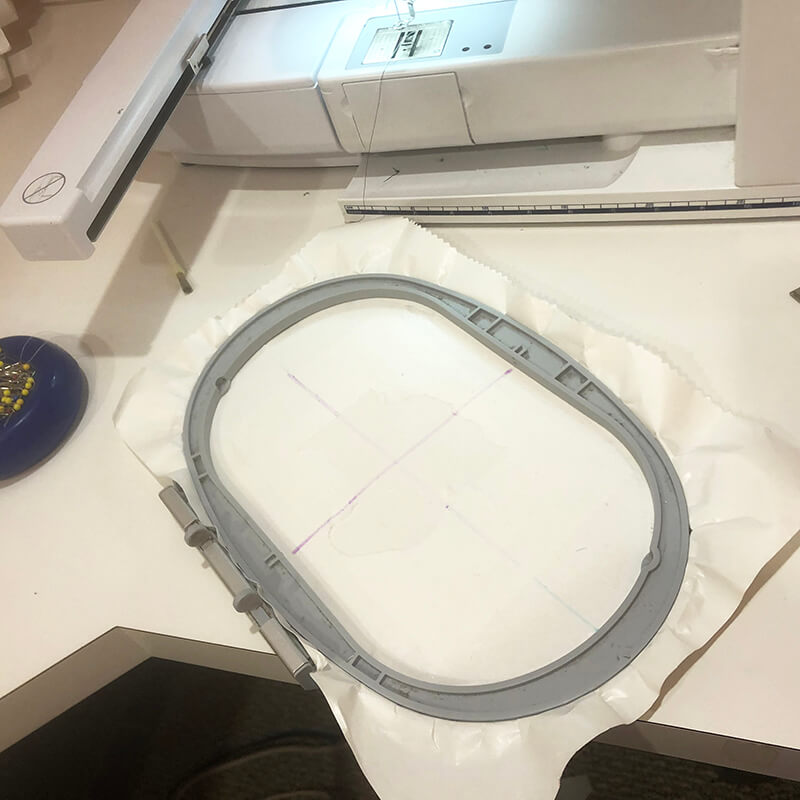
Carefully stick the front of the Santa pillow on the hooped stabilizer lining up the center of the pillow with the center of the stabilizer. I normally do this using by folding the pillow in half (with right sides together) and placing the fold line on the center line on the stabilizer.
Lay a piece of water soluble topper over the pillow front to help tamp down the nap of the fabric.
Begin stitching out your appliqué design
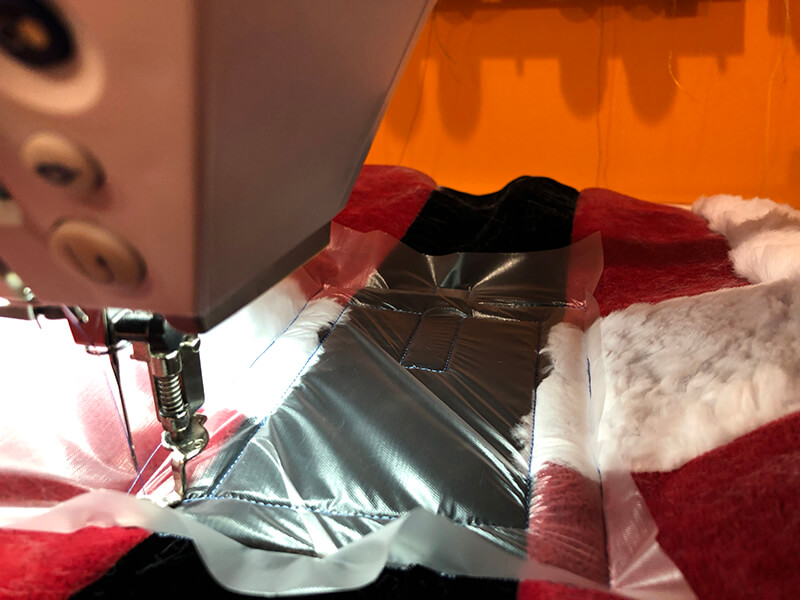
Before you start stitching the design, let’s first talk about location of the design on the pillow front. Keep in mind that the center of the appliqué design is not the center of the open area of the buckle. The little buckle arm is included in the center calculation so the machine thinks the center is somewhere to the right of the center of the opening of the buckle. So, if you want the center of the opening to line up with the center of your pillow, you should nudge the design over to the left just a bit.
Start stitching your first thread color. This is the placement stitching for the appliqué buckle. It is designed to show you where the buckle will go. It also gives you a chance to see if you like the placement of the buckle. If the belt outline looks crooked or you don’t like the location, rip it out and start again before you go any further.
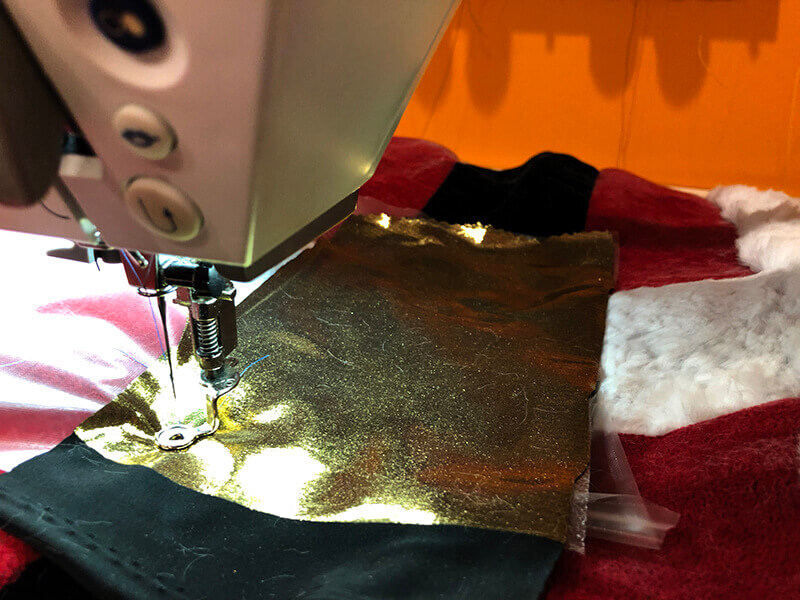
If you are happy with the placement, you can now lay down your appliqué fabric. I found the gold lamé fabric to be VERY slippery. So I sprayed a bit of temporary adhesive on the back to help hold it in place. You could also use some fabric glue. But don’t overdo it because you will need to cut away parts of the gold fabric after you tack it down. Lay your prepared gold appliqué fabric down over the placement stitching lines and then start your next round of stitching. This will tack down your appliqué fabric.

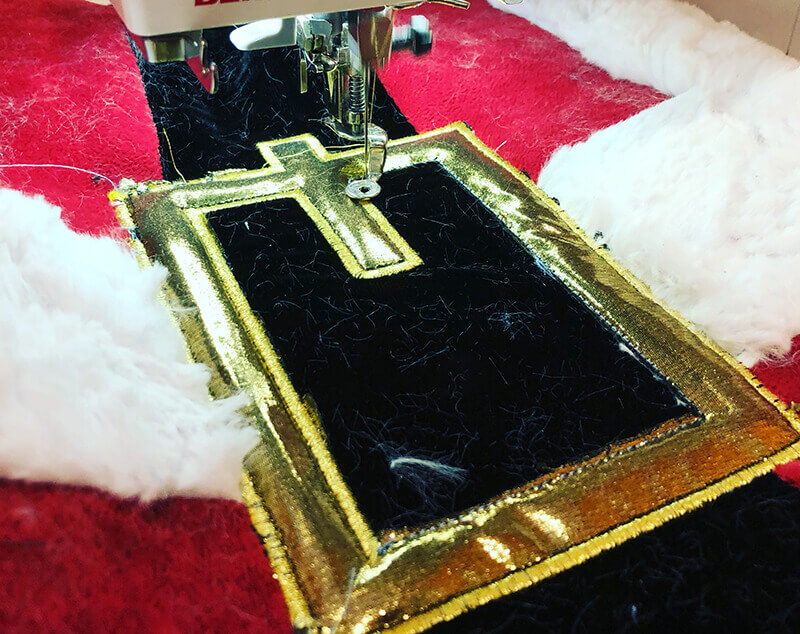
Remove your embroidery hoop from the machine and trim away the excess gold appliqué fabric using appliqué scissors.
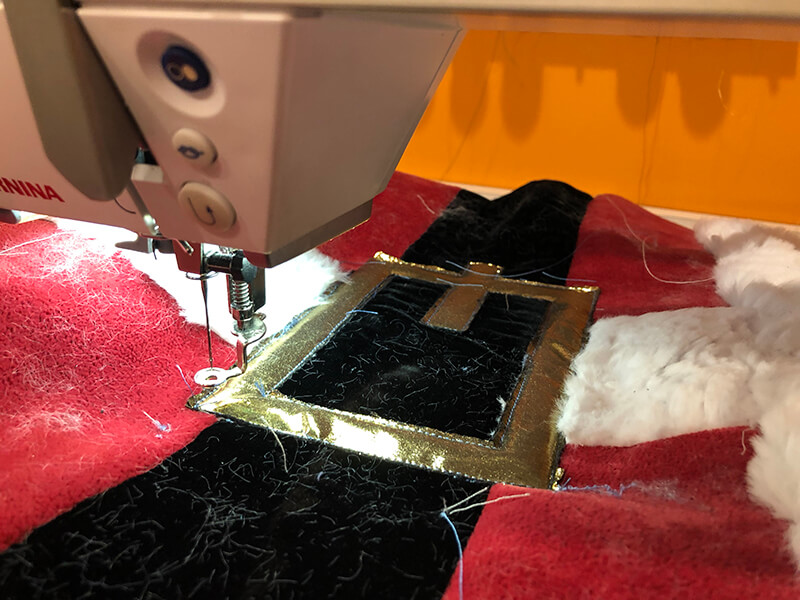
Change your thread to a gold metallic and start your final round of stitching. This is your final satin stitching around the gold belt buckle.
Complete the pillow
When the appliqué is done, you can breathe a sigh of relieve because, frankly, that’s the hard part. Remove your Santa pillow front from the embroidery hoop and pin together the front and back, leaving an opening at the bottom to turn it right side out.

After you are down sewing the front to the back, turn the pillow right side out, stuff it or insert the pillow form and slip stitch it closed.
You are done!
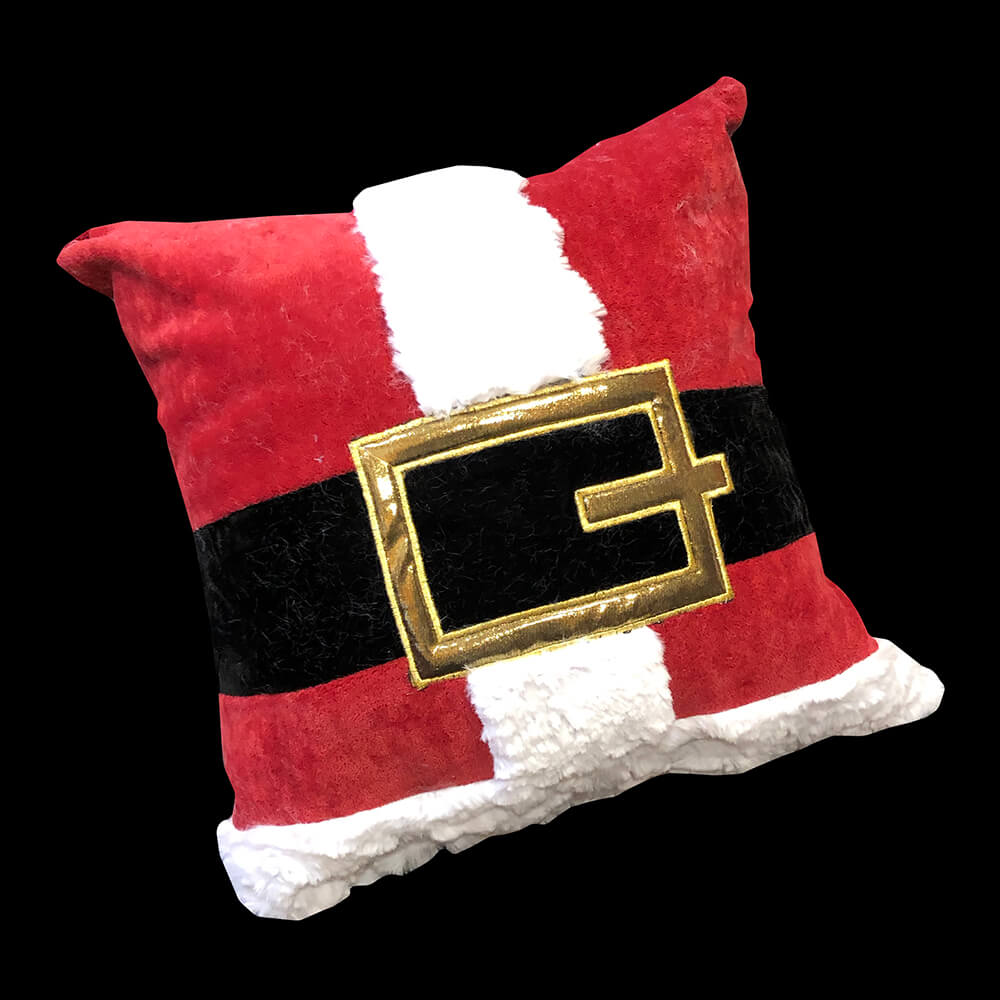
Place your Santa pillow out on one of your favorite chairs to add a bit of festive decor to your house and enjoy!
Now, tell me, would the Scrooge make such a cute Santa pillow? I think not!
Enjoy
xo
Julie
[do_widget id=custom_html-71]
[do_widget id=custom_html-10]
Want to remember this? Save “How to make a Santa pillow with an appliqué buckle” on your favorite Pinterest board