Disclosure: Some of the links on this site are affiliate links. This means that if you click on them and make a purchase, I may earn a small commission at no extra cost to you. Please know that I only recommend products and services I trust and use myself.
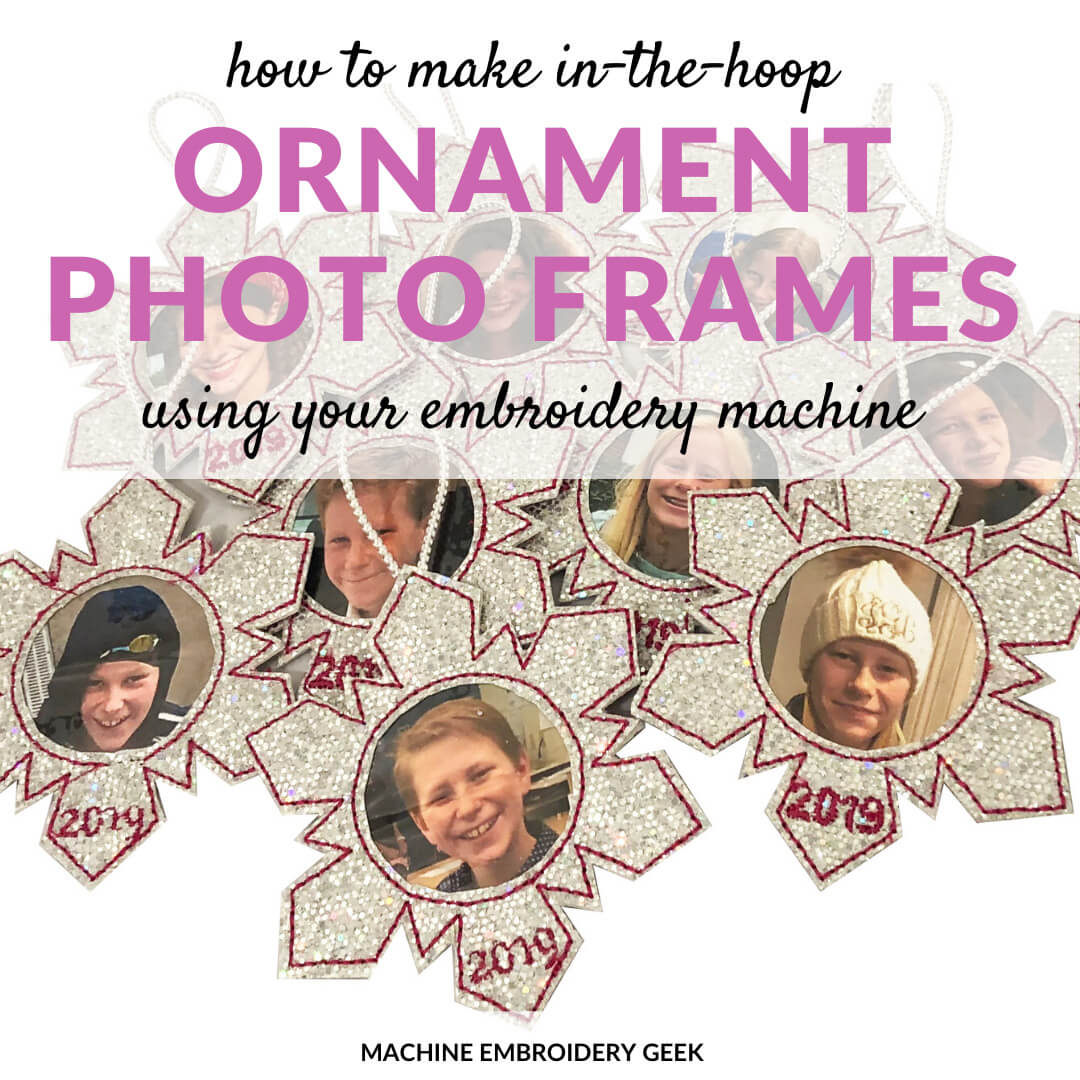
Let me just start by saying that I am not really a Christmas tradition kind of gal. Just making it through the holiday season without drama and keeping everyone happy is a win in my book. So, I don’t put a lot of pressure on myself to re-create these big holiday traditions. In fact, as I write this, we still have a rotting pumpkin sitting on our front stoop. However, there’s one thing that I do every year that I’m hoping I will be grateful for years in the future: make photo ornaments of each of my kids. And recently, I’ve been making in-the-hoop Christmas ornaments with photos.
Products mentioned in this post
How the tradition of making photo Christmas ornaments began
When I was little, my favorite ornaments were always the ones with pictures of me or my siblings as babies. When I had my own children, I noticed that these ornaments fascinated them as well. It was then I decided that when my kids were little, I wanted lots of ornaments with pictures of them throughout the years on the Christmas tree.
So, every year I make picture frame ornaments featuring my three kids. And, I always make a total of nine ornaments: three for us to keep, and one set to go to each set of grandparents.
And, each year I do something a little bit different. With the exception of last year, when I got lazy and ordered picture frame ornaments from Michael’s, I generally make them in-the-hoop on my embroidery machine.

Supplies needed to make in-the-hoop Christmas ornaments as picture frames.
If you’ve never done and in the hoop project, this is an easy one to get started with. It can be done with a 4″ x 4″ embroidery hoop. And, it doesn’t require all that many supplies.
- Adhesive-backed stabilizer
- Photos to put in the frame. The opening is 1.75 inches (44mm) in diameter, so the picture should be sized accordingly.
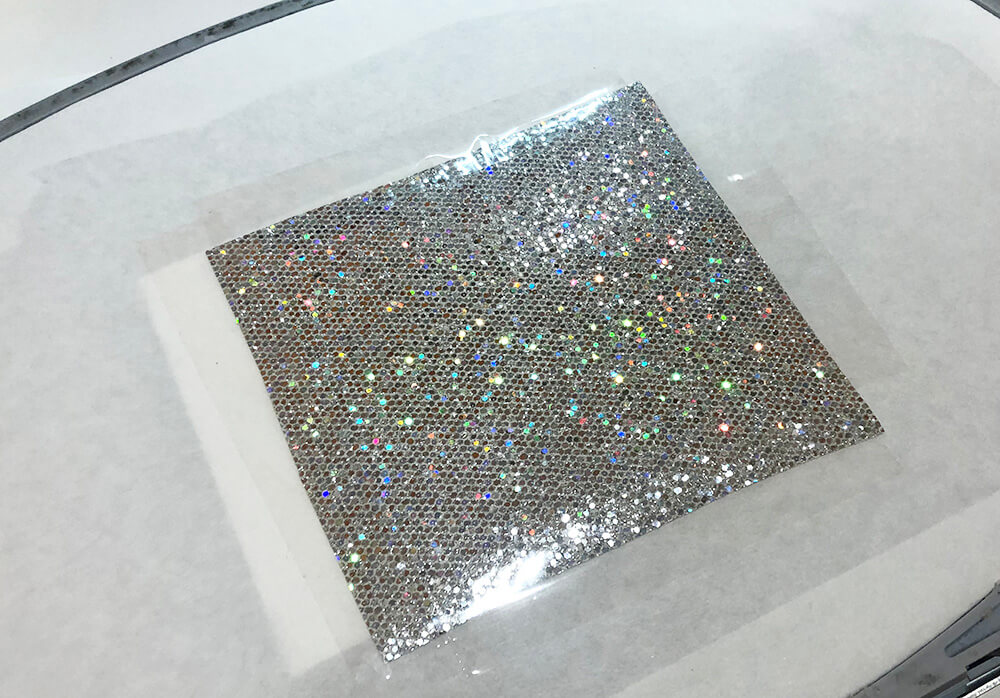
- Fun sparkly vinyl – I bought this exact vinyl and had more than enough to make 9 ornaments.
- Clear vinyl
- Thin cording
- In-the-hoop snowflake picture frame embroidery design
How to make in-the-hoop Christmas ornaments as picture frames
Before you begin, you will want to change your bobbin thread so that it matches your top thread. You can see that I used a dark pink thread because I thought it contrasted well against the silver vinyl.
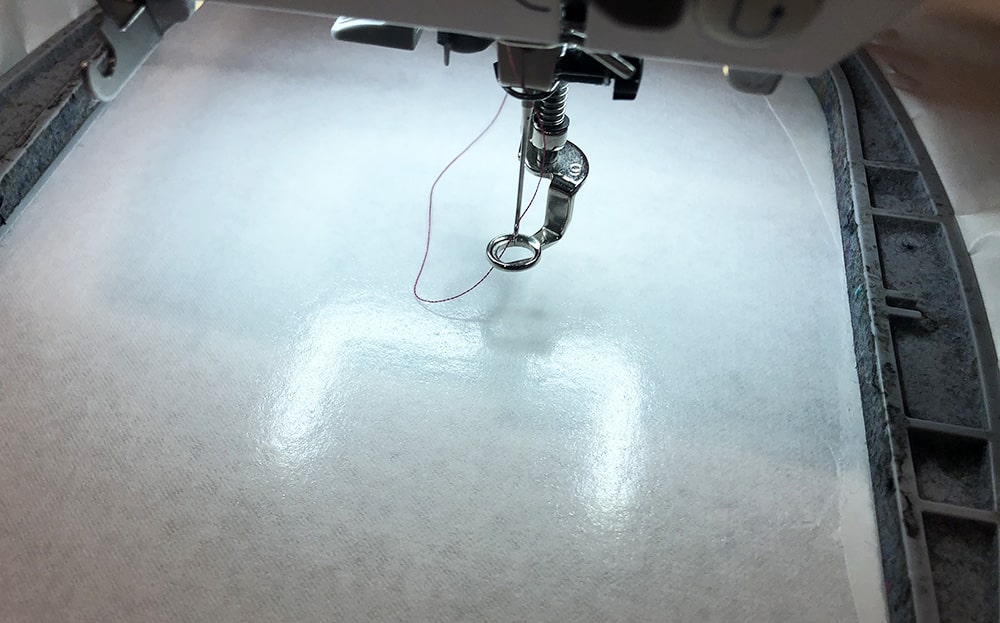
First hoop a piece of adhesive backed stabilizer. Score the top layer of the stabilizer with a pin so that you can peel back the top paper and expose the sticky surface. Then start your first round of stitching.
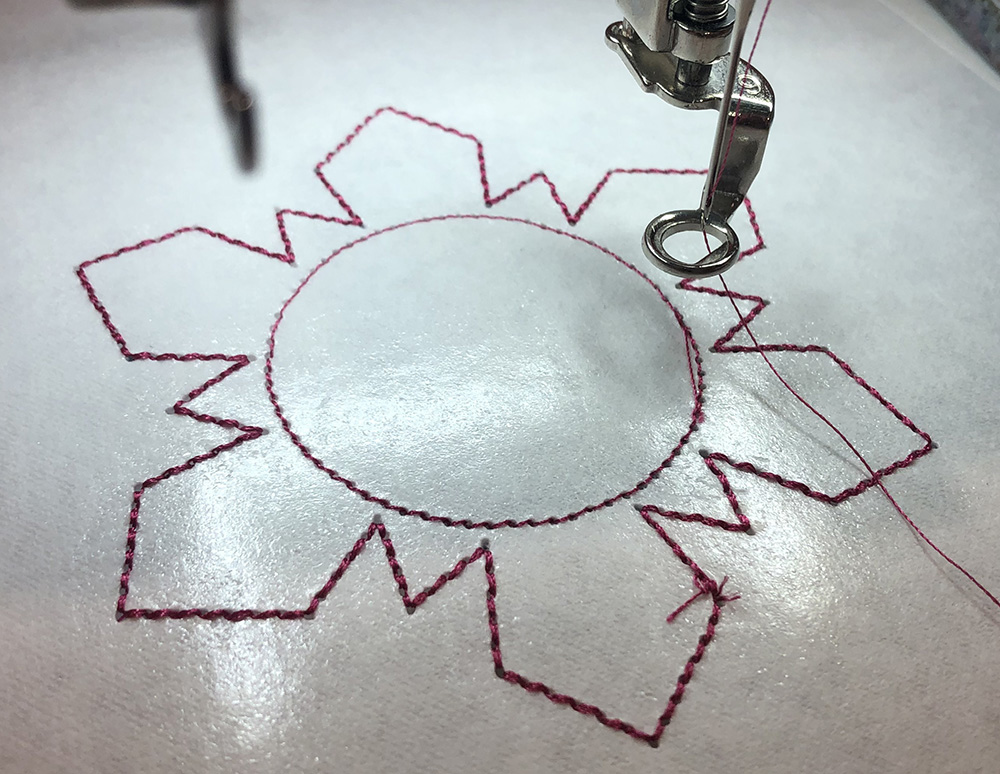
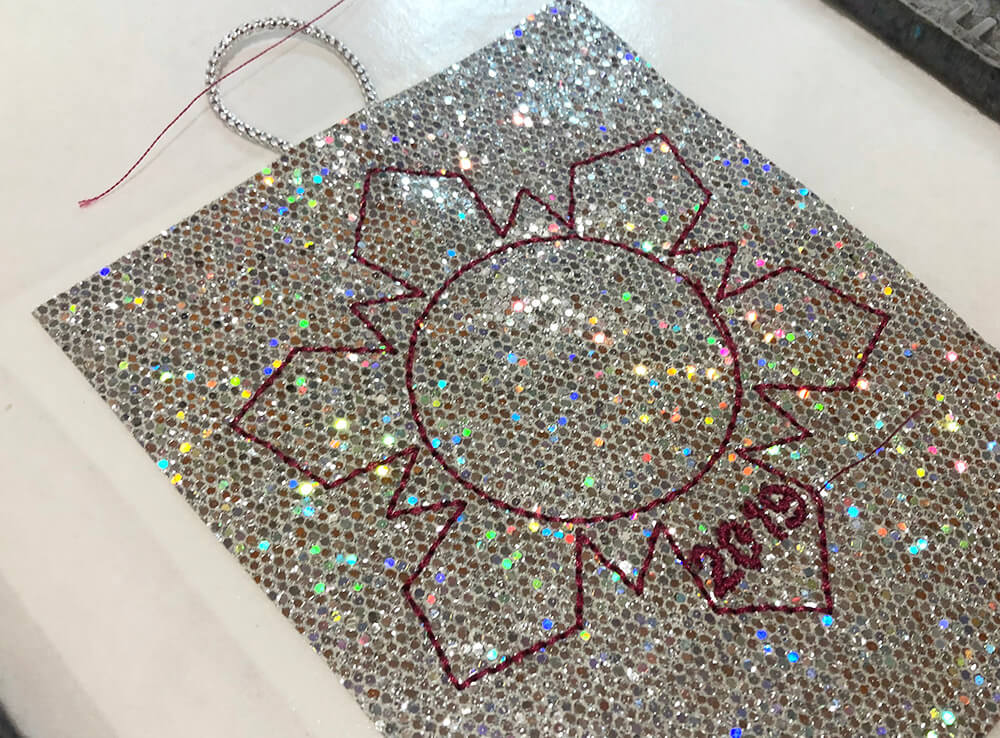
The first round of stitching to define the outside edges of the ornament and the frame area for the picture. Trim any strings.
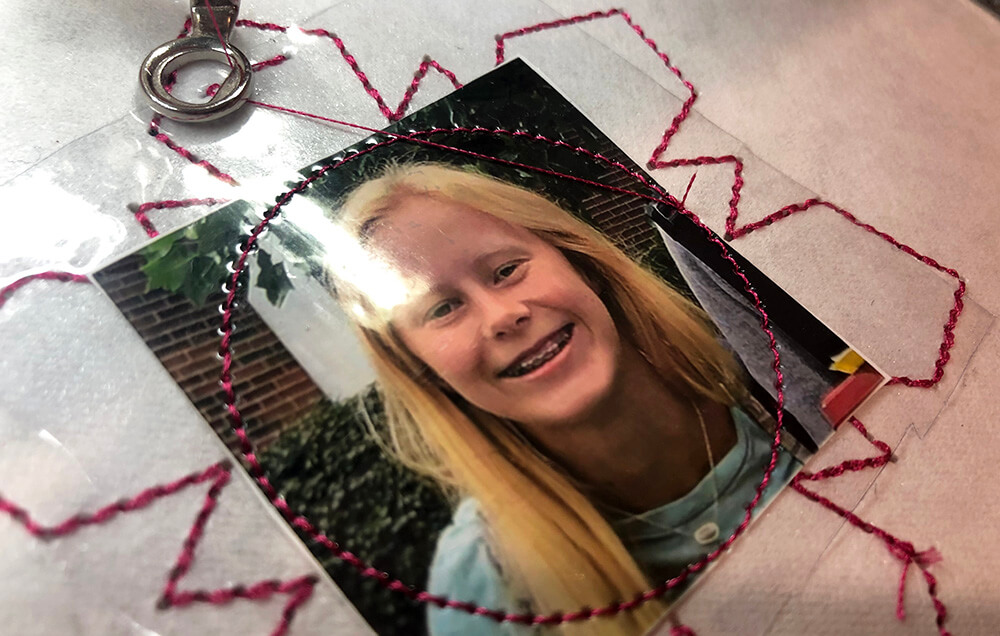
Stick down your picture so that it is centered in the circle. Then stick down a piece of clear vinyl over the photo. Start your next round of stitching.
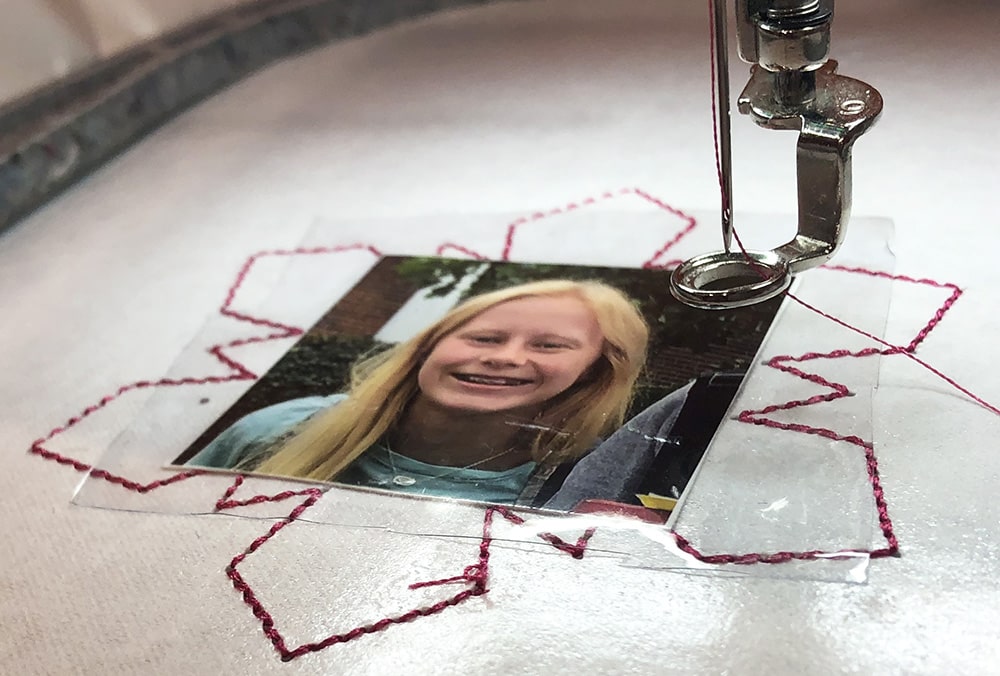
The picture and the clear vinyl will be stitched down as well as a small stitch line at the very top. The line at the top the ornament is a placement line to show you where to put the tag for the ornament.
Cut a piece of decorative cording or ribbon about 5 inches long. Folded in half and then secure the two ends together with a piece of tape.
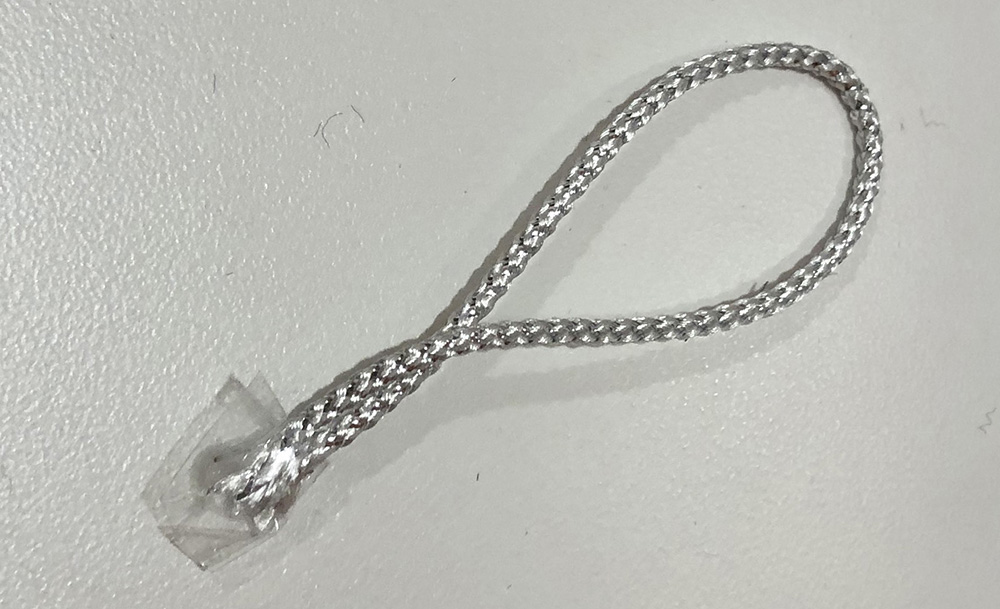
For the next round of stitching, you will stitch down the ornament loop onto the stabilizer. Make sure to stick down the loop you just created so that the bottom ends overlap the stitch line. I actually hold the loop in place squatting in place while the machines ditches these few stitches to tack down the cording.

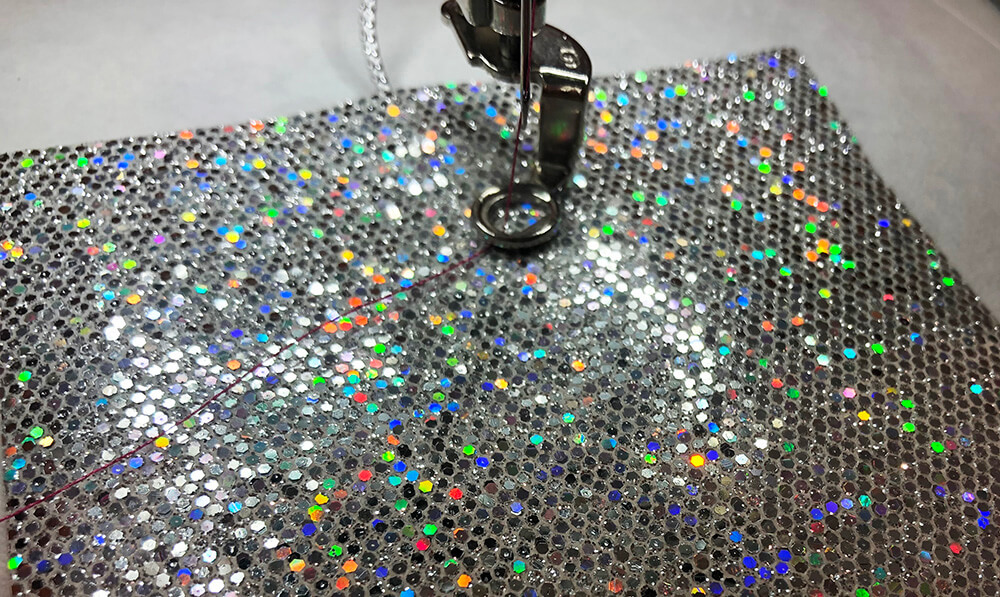
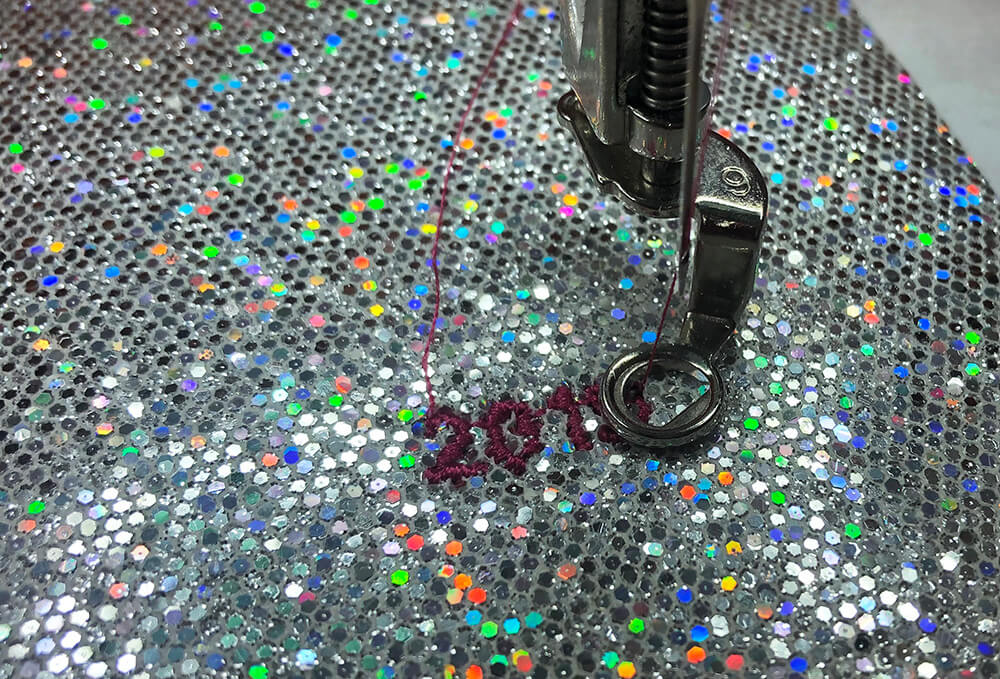
Now lay down a piece of vinyl over the outline of the ornament and start the next round of stitching which will be the current year. (Yes – I know it’s no longer 2019 – I’ve included the next 20 years in the file so you can use this design for many years into the future.)
Remove the hoop from the machine and flip it over. The tape another piece of decorative vinyl onto the back of the stabilizer, covering the entire stitching area. Tape around all four sides. Trim the connector strings before taping down the vinyl.
Return the hoop to the machine and start stitching the next round.
Now the stitching is done! Simply tear the vinyl from the hoop and start trimming around the outside edge of the snowflake. But be careful! You will need to trim the front piece of vinyl and back piece of vinyl separately around the top so that you don’t cut off the loop.
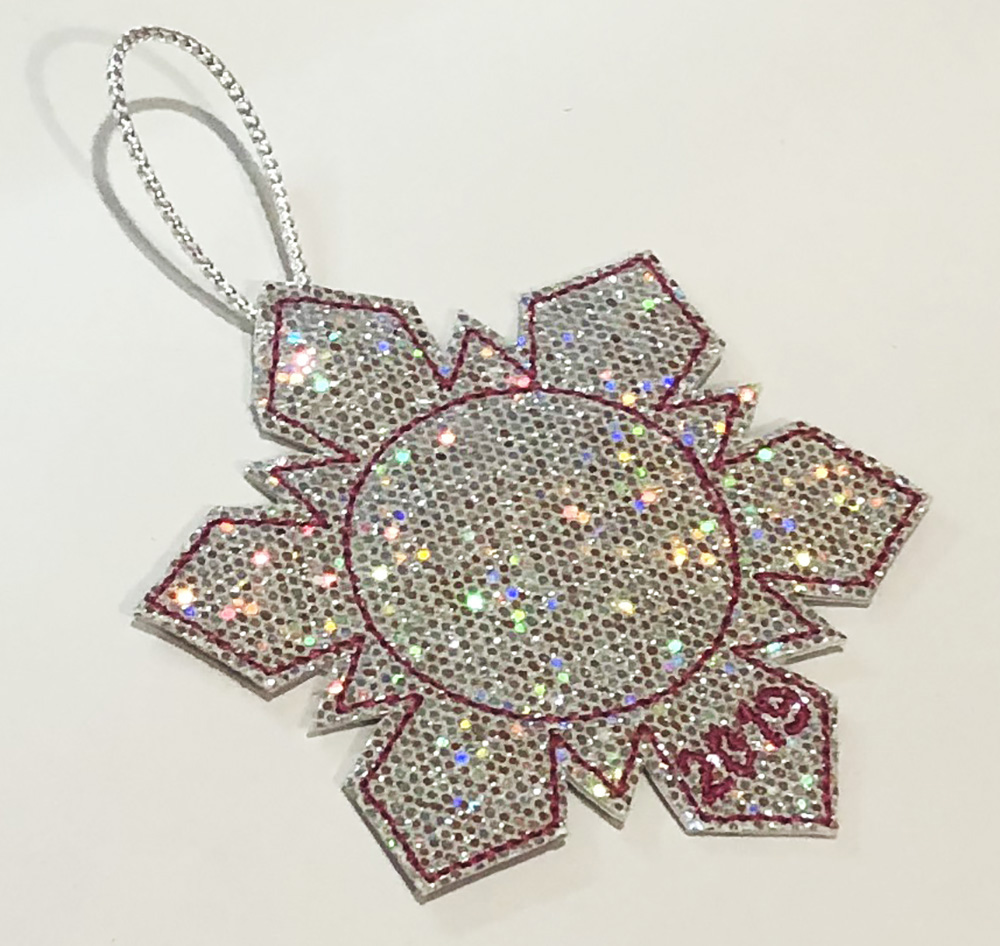
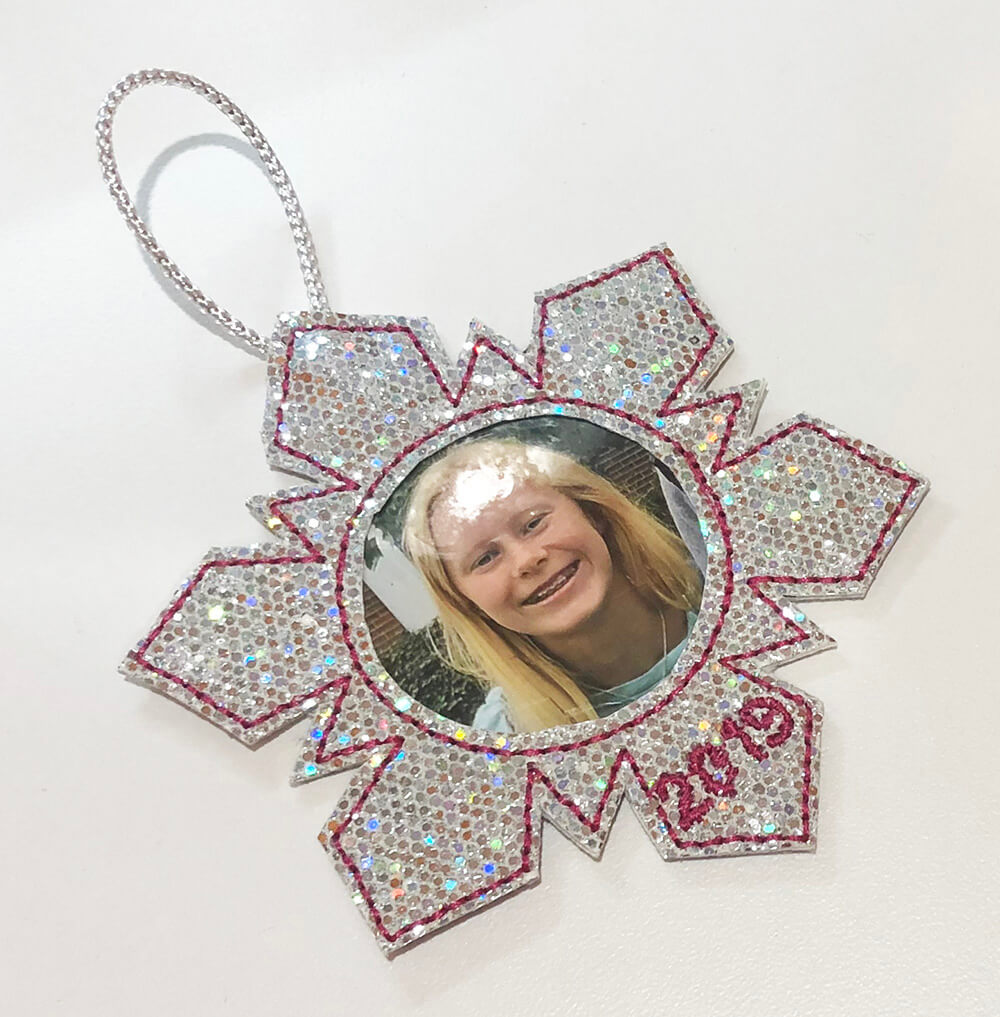
The final step is to trim away the top vinyl layer within the circle to expose the picture underneath. It might seem tricky, but it’s actually not. I simply insert a seam ripper through the top layer of vinyl. I make a cut just large enough to insert my appliqué scissors. Then, I gently trim away the vinyl.
Like these? Good news! The file is available on my site.
Happy stitching!
Julie
Want to remember this? Save “how to make in-the-hoop ornament photo frames using your embroidery machine” on your favorite Pinterest board