Disclosure: Some of the links on this site are affiliate links. This means that if you click on them and make a purchase, I may earn a small commission at no extra cost to you. Please know that I only recommend products and services I trust and use myself.
Very shortly after I started to get the hang of my embroidery machine, I wanted to know exactly how to create the designs that my embroidery machine stitched out. I assumed that I could press a button or find some wizard that would automatically convert images into embroidery designs. But, I quickly learned that in order to create machine embroidery designs, I would need digitizing software. And, I also discovered something called “auto digitizing software”, which touted the ability to automatically convert an image into an embroidery design.
Now this just seemed too good to be true. I have worked with digital graphics for years. To be able to press a few buttons and convert my photo or graphic to an embroidery design sounded incredible!
Well – turns out it is. Auto digitizing is not the instant fix it seems like it might be. But, it’s not all together terrible either. Auto digitizing features are not all that bad if you combine their capabilities with some smart digitizing choices.
Digitizing vs auto digitizing
Auto digitizing
When you import an image into auto digitizing software, it analyzes the image and builds colored stitch areas based on the colors in the graphics. Sounds pretty simple, right? Unfortunately it doesn’t always yield great results.
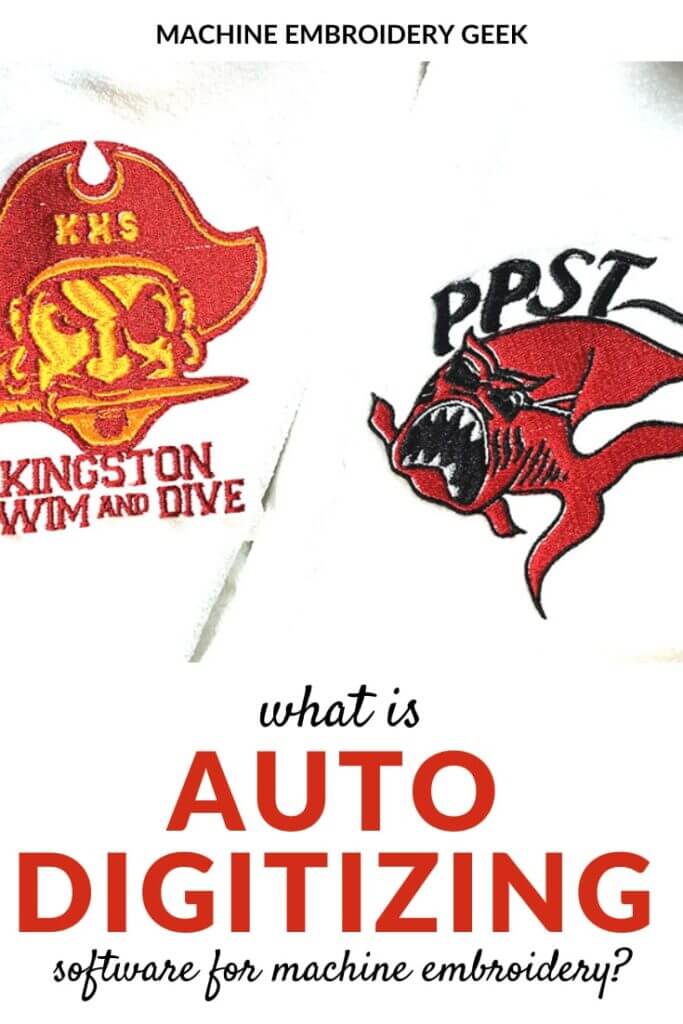
Auto digitizing creates embroidery files from digital images
To help you understand why this can be problematic, it helps to know a little bit about computer graphics. Most of the images that come off of our cameras or that we download from the Web are JPGs. Actually PNG and GIF images are frequently used on the Web as well – but these are all pixel-based images. What this means is that the computer stores these images pixel by pixel. And these pixels can be millions of different colors – 16 million different colors to be precise. The incredible variety of colors as well as the sheer number of pixels contained in an digital, pixel-based image is what allows them to represent reality in a photo-realistic manner.
Now, let me ask you this? Do you own 16 million different shades of embroidery thread? Well – sometimes I feel like I do, but I actually don’t. If this graphic (with millions of different colored pixels) was auto digitized into an embroidery design – each one of those colors contained in the image would be converted to a shape that needed to be stitched in that thread color. Of course, this would be impossible to stitch and look pretty crappy as well.
Colors in graphics must be reduced for successful auto digitizing
Because no one wants an embroidery design containing millions of different thread colors, auto digitizing features within embroidery software ask the user to reduce the number of colors in an image prior to converting it into an embroidered shape. In SewArt, for example, the number of colors in any image is limited to 256, but this is still WAAAAAAY too many colors within one embroidery design. If you were to accept these defaults and leave your design at 256 thread colors, it would be nearly impossible to stitch out.
If you are using an auto digitizing program, you will want to reduce the number of colors in your image as much as possible prior to bringing it into the program. You can also do color reduction within the program, but I think it’s easier to merge colors in a graphics application.
Manual digitizing
Manual digitizing software works differently from auto digitizing software. Regular digitizing means that an operator (you) draws or traces shapes (based on an imported graphic) within the program. The computer doesn’t automatically decide what these shapes should be.
If you spend some time in machine embroidery forums, you will quickly pick up on the fact that auto digitizing gets a bad rap. Experienced digitizers pride themselves on the creative and strategic choices they make when digitizing an embroidery design. These are choices that only a human and not a machine can make. There are just a lot more variables involved in an embroidery file as opposed to digital graphic, and these variables should be given adequate consideration.
[do_widget id=custom_html-28]
Manual digitizing decisions
There are many careful choices that a digitizer makes when manually digitizing an embroidery design.
- Stitch order. Sometimes the digitizer wants shapes to appear behind others for aesthetic reasons. Manually digitizing programs allow you to specify the stitch order.
- Stitch angle. An embroidery design where every shape is stitched with the same stitch angle looks very flat and uninteresting. Also an embroidery design tends to pull in the direction of the stitching. So, a smart digitizer takes this into consideration and makes adjustments in the digitizing.
- Stitch type. Every digitizing program has a lot of different stitch types to choose from. Varying the stitch type among the shapes within the design help to distinguish them from one another.
- Traveling stitches. A smart digitizer sequences the stitching in a manner that eliminates as many jump stitches as possible. Sometimes I will actually add stitches between shapes to force the machine to travel in an unusual direction between shapes, creating stitches in areas that will be covered by the next round of stitching as opposed to creating a jump stitch.
- Stitch length. If you are creating a very small design, sometimes the stitch length is too long to properly define the shape. When this is the case, you need to reduce the stitch length.
These are just a few of the decisions that a digitizer makes when converting a graphic into an embroidery file. You see? Not exactly something that can be done with the push of a button.
[do_widget id=custom_html-49]
Is auto digitizing all bad?
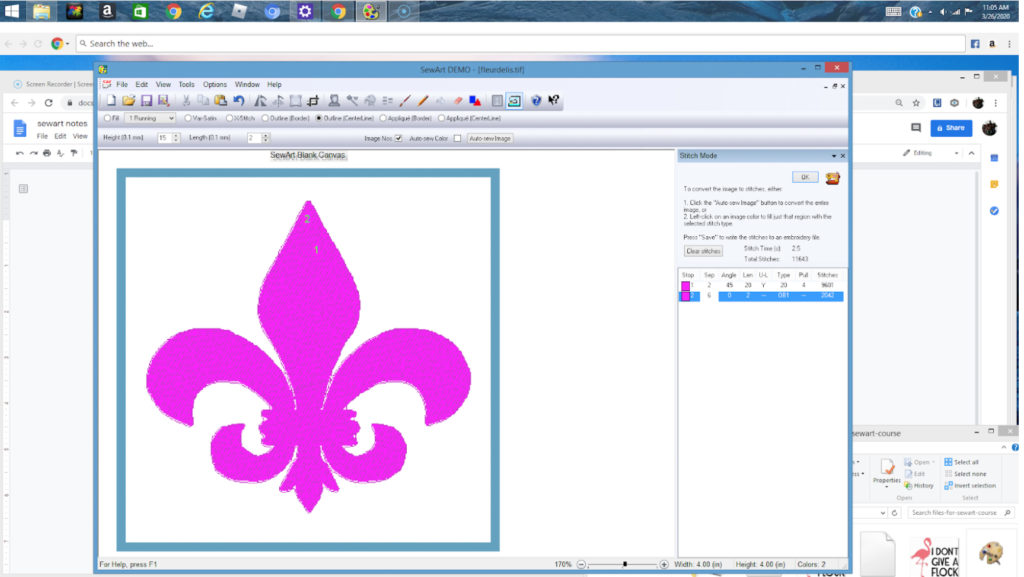
NO! What if the item you want to digitize is just one solid shape? Then, why not auto digitize it? In a program like SewArt, you can select the area you want to digitize, specify your stitch type and angle and convert it into an embroidery design. You can even add a satin stitch or rework outline to your shape – all in an auto digitizing software.
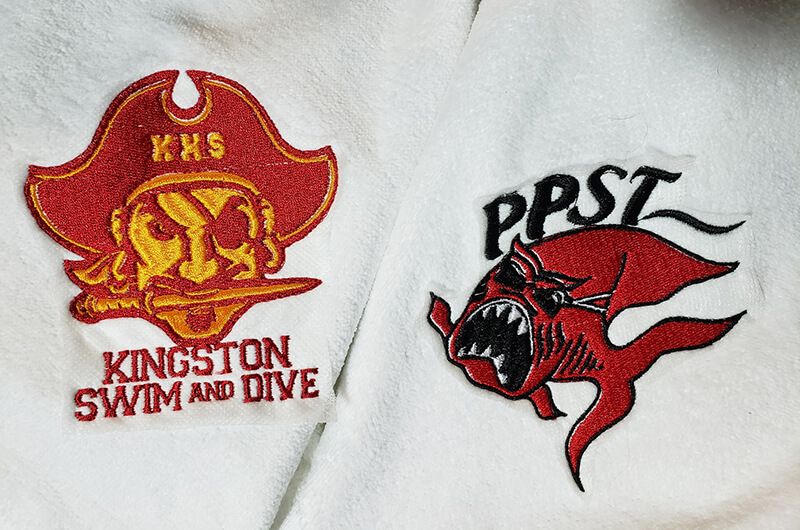
In a situation where you are digitizing a logo, sometimes auto digitizing software is all you need. Logos are usually only 1-2 colors to they lend themselves well to being auto digitized. In fact, if you can obtain your logo in EPS format, it can be really easy to auto digitize. See how to auto digitize an EPS logo.
Auto digitizing features within manual digitizing programs
Even full-blown manual digitizing programs have auto digitizing features. For example, Bernina Artista, which is one of the pricier digitizing programs on the market, has a magic wand tool where you can select portions of an image and convert it to a stitch area. In a program like Artista, as well as many other high end digitizing programs like Hatch by Wilcom, you can use some auto digitizing techniques with manual ones. In a case like this, the auto digitizing feature is used more as a shortcut as opposed to full-blown solution.
There is no denying that for most embroidery designs, you will achieve better results using manual digitizing software. However, auto digitizing software is not all bad. For simple objects and shapes, it may be all your need. Plus, it is a great place to start on your adventure in digitizing. Once you run up against its limitations, you’ll be ready to move on to bigger and better digitizing software.
Happy stitching!
xo
Julie
Want to remember this? Save “What is auto digitizing software for machine embroidery on your favorite Pinterest board.”