Disclosure: Some of the links on this site are affiliate links. This means that if you click on them and make a purchase, I may earn a small commission at no extra cost to you. Please know that I only recommend products and services I trust and use myself.
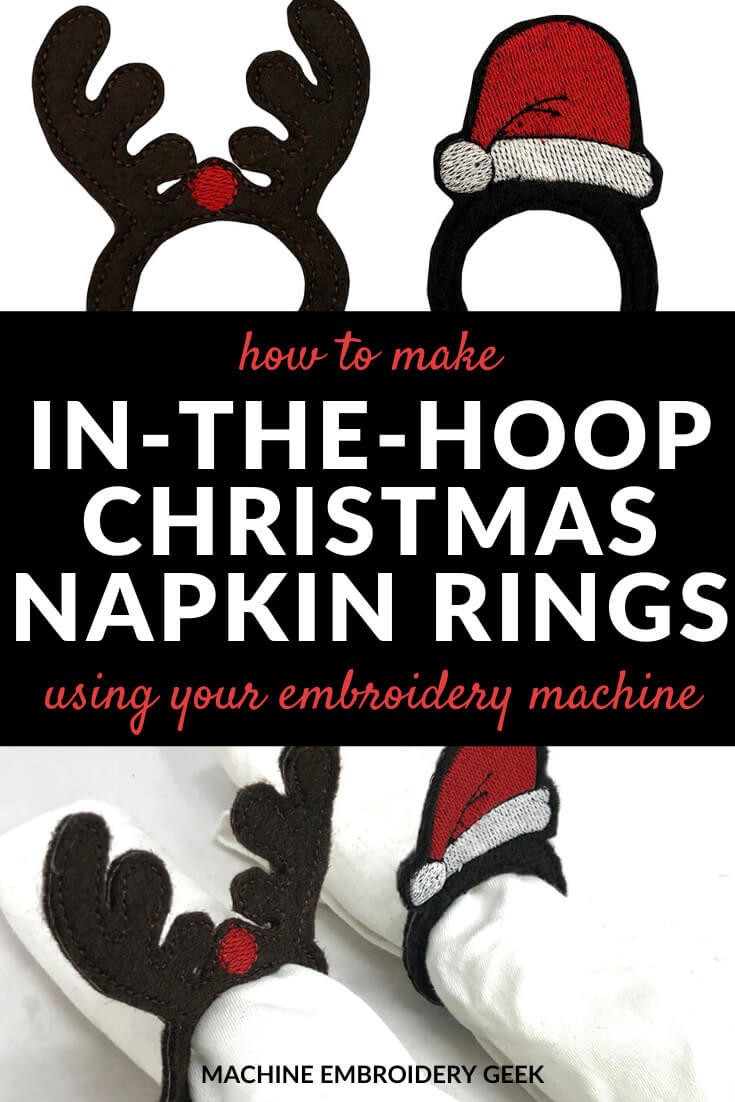
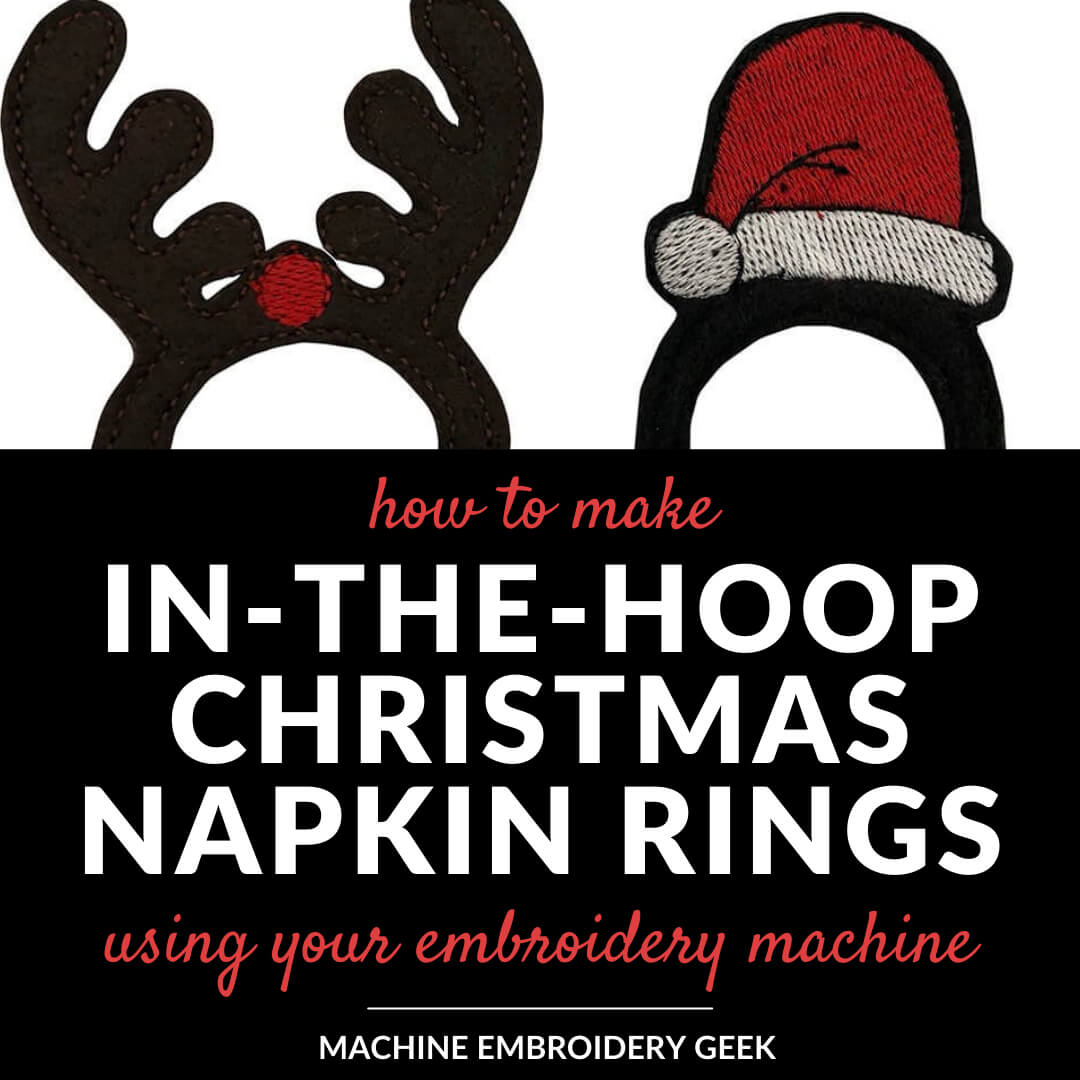
Are you looking for a way to make your table a little bit more festive this Christmas? One super easy way of doing so is to use your embroidery machine to make festive in-the-hoop Christmas napkin rings. These darling little nuggets stitch out quickly and can be made even in the smallest of embroidery hoops. In this post, I’ll show you how to make a Santa and a reindeer napkin in-the-hoop napkin rings and then highlight some alternative designs.
Products mentioned in this post
- Felt – I used black and brown
- Black, brown, red and white machine embroidery thread
- Water soluble stabilizer
- Blue painters tape
- Red napkins
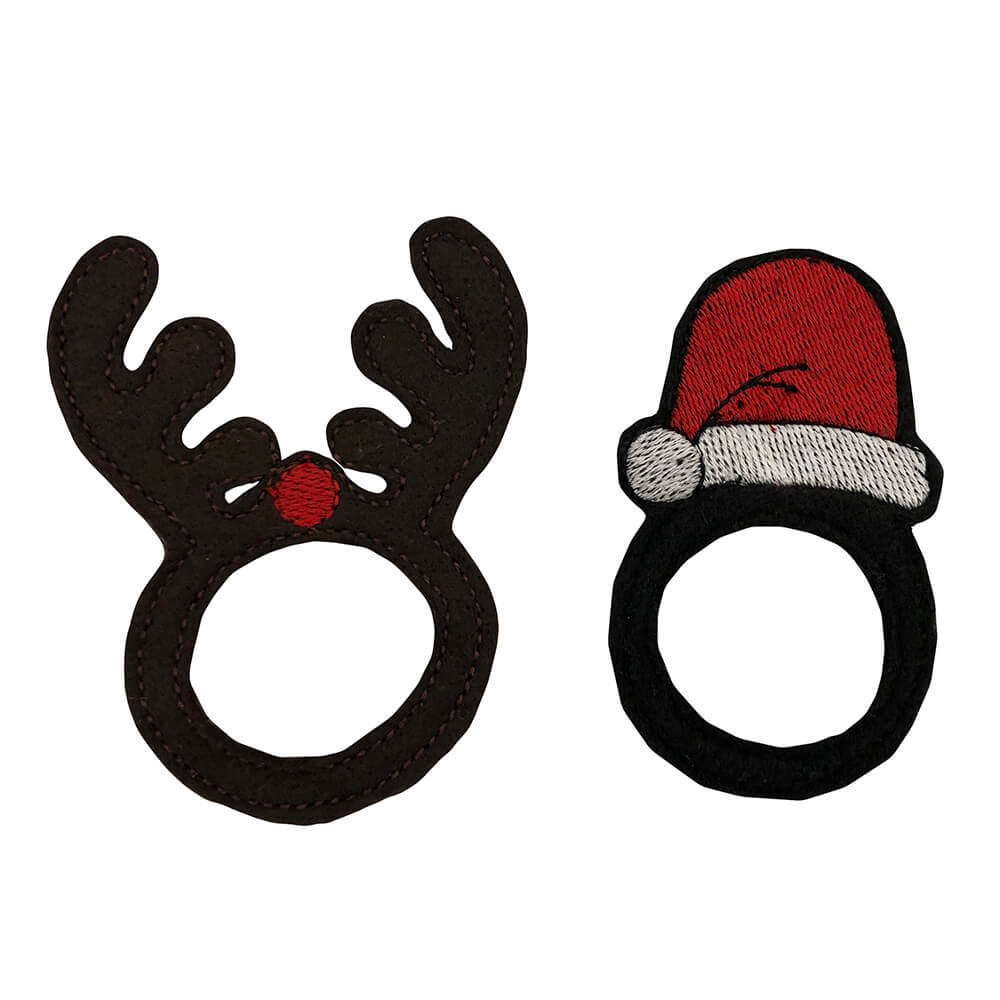
- Christmas In-the-hoop napkin ring design (Santa hat and Rudolph antlers)
- Coordinating utensil holder and a coaster
- Adorable Santa in-the-hoop napkin ring design
- Retro pickup truck with a Christmas tree in the back in-the-hoop napkin ring or utensil holder.
- Set of Christmassy napkin rings that are made up of free-standing lace
- In-the-hoop napkin ring with a three-dimensional flower
What do you mean by an in-the-hoop design?
If you have never heard of an in-the-hoop design or project, you are probably wondering what the heck I’m referring to. An in-the-hoop project is one that can be constructed entirely in your embroidery hoop. The range of items you can make in-the-hoop is pretty extensive. But napkin rings are definitely on the simpler end of the spectrum. Learn more about in-the-hoop projects + find in-the-hoop projects that are especially suited for beginners.
Types of in-the-hoop Christmas napkin rings
There are many different styles of Christmas in-the-hoop napkin rings available. In fact, you can probably find one for just about any holiday or special occasion. Nevertheless, I decided to use the upcoming Christmas holiday season as an opportunity to make my own version (and show you how to do it).
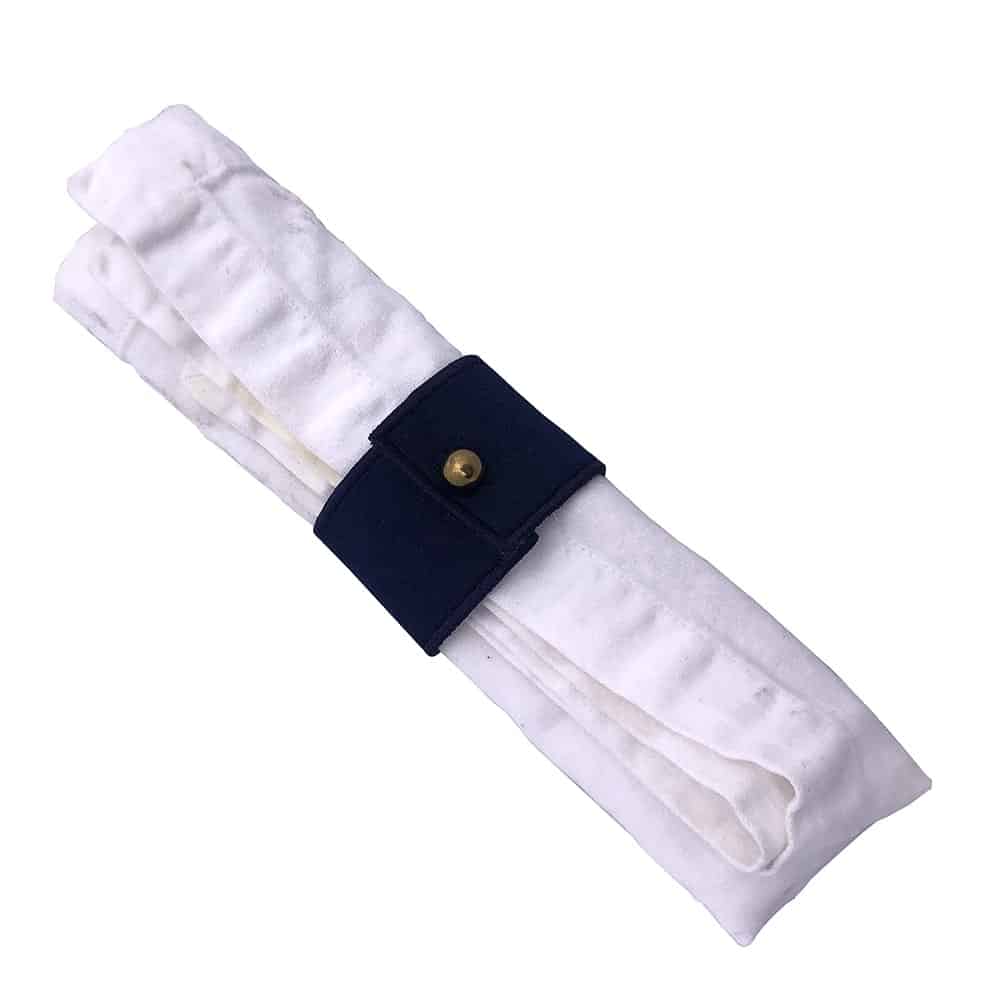
When looking at in-the-hoop napkin ring designs – you will essentially find two different types. One version wraps around the napkin and must be fastened in some way in order to maintain a circular shape and stay on the napkin. You can see an example of this type of in-the-hoop napkin ring in my previous post where I created an elegant single initial napkin ring (and actually provided the design for free). You will notice that in this design, since it was intended to wrap around the napkin, I needed to integrate a buttonhole within the design, and then stitch a button on the other side of the napkin ring in order to create some type of a closure.
The other type of in-the-hoop napkin ring design you will find are a little bit different in that the napkin actually goes through the fabric. As you might imagine – for this type of design you probably want to use a fabric that has a bit of stiffness and one that will not fray. You will see in my examples below, that I used felt for these napkin rings.

So want to see how I did it?
How to make in-the-hoop Christmas napkin rings
Supplies needed
You don’t need much to make these in-the-hoop Christmas napkin rings. In fact, you may just have all these supplies laying around.
- Felt – I used black and brown
- Black, brown, red and white machine embroidery thread
- Water soluble stabilizer
- Blue painters tape
- Christmas In-the-hoop napkin ring design (Santa hat and Rudolph antlers)
Steps
Change the bobbin color
The first thing you want to do, (before you forget), is to change your bobbin thread color. For this particular design, the napkin ring back is going to be quite visible. So, you will want to wind a bobbin in the same color as the the felt. For the Rudolph napkin ring I used a brown bobbin and for the Santa hat napkin ring, I used a black bobbin.

Hoop your water soluble stabilizer
The next step is to hoop a piece of water soluble stabilizer. Make sure that it is very taut in the hoop.
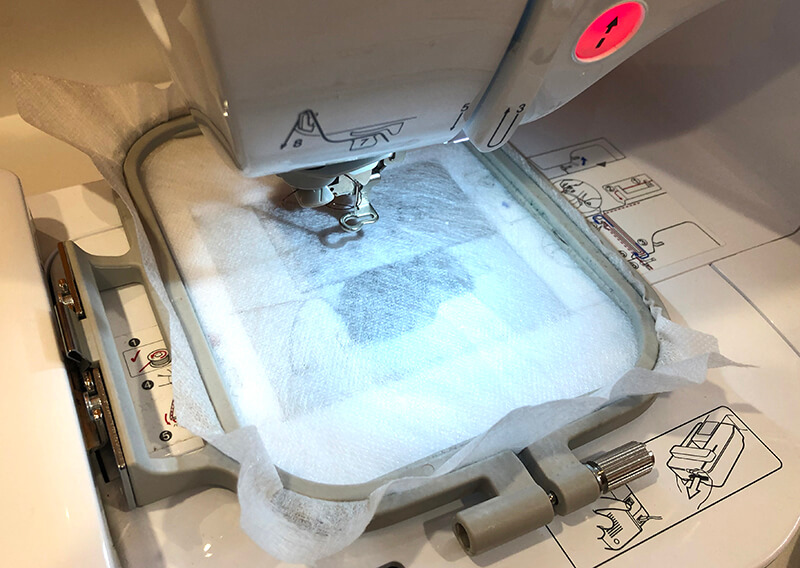
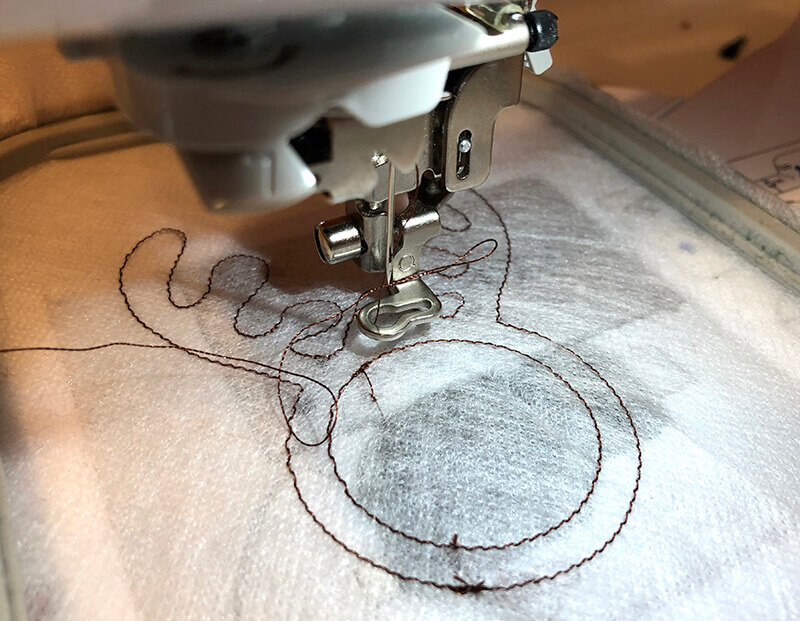
Load in the embroidery design and start stitching
Start stitching your first thread color. It will serve as a placement stitching line so you know where to lay down your fabric.
Lay down your fabric
Lay down your napkin ring fabric completely covering the placement stitching lines. I chose a dark brown felt for my fabric because it had some body and it also was an appropriate color for antlers.

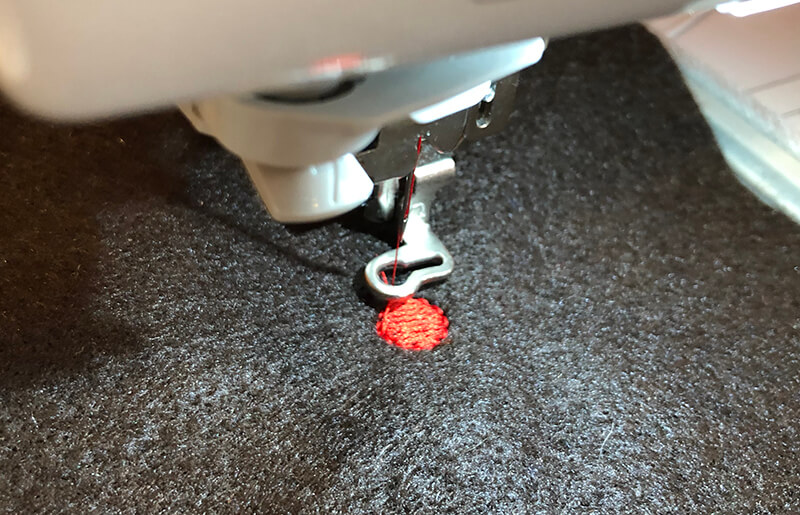
Stitch the design details
There are not many details on this design. The only one is the red nose. So, change your top thread color to red and stitch out the nose.
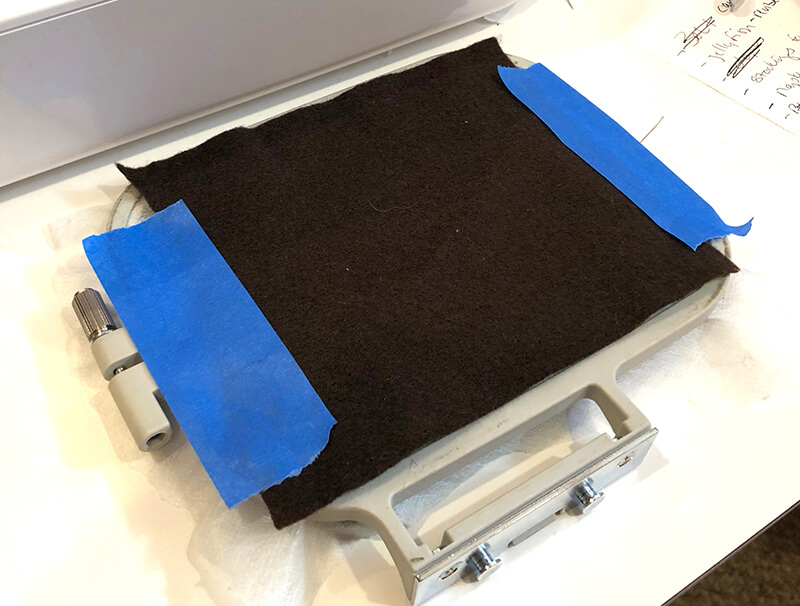
Add the backing
Remove your embroidery hoop from your embroidery machine. Then tape another piece of your fabric to the back of your embroidery hoop, completely covering the placement stitching lines. Tape it down using blue painters tape. Return the hoop to the machine.
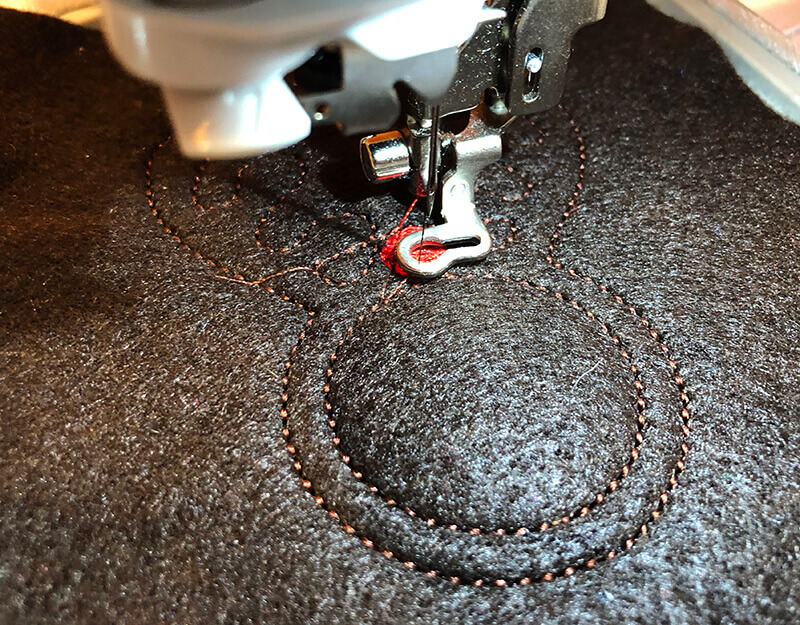
Complete the final stitching
Change your thread color back to brown, and then start stitching the next thread color. This stitching will serve as top stitching and secure the back fabric to the front.
Cut out your napkin ring
Once you are done, you should remove all layers of fabric and stabilizer from the hoop and trim your jump stitches. Then cut out your napkin ring, leaving about 1/8″ of a raw edge outside of the stitching.
Wash away the remaining water soluble
Once you cut out the napkin ring, you will see the stabilizer around the edge. All you need to do is soak the item and the stabilizer will dissolve. It will leave the material a little stiff which is actually makes the ring more substantial.
All done!
And that is it! Oh – and repeat about 11 more times if you want to make a set of 12.
Obviously, I’ve only described my process here for making the antler napkin ring, but you would make the Santa hat napkin ring using the same method. The only difference is that instead of stitching out the red nose, you will stitch out the colors on the hat with red and white embroidery thread.
Other styles of in-the-hoop Christmas napkin rings
Ok – let’s say you are not so crazy about my in-the-hoop Christmas napkin ring designs. Well – lucky you – there are a lot of alternative ones out there. Here are some of my favorites.
Christmas Tree In-the-hoop Table Accessories
If napkin rings are not quite enough for you, why not add a coordinating utensil holder and a coaster? This complete set featuring a modern Christmas tree embroidery design looks great stitch out on a buffalo flannel.
Santa in-the-hoop napkin ring
If you already own red napkins – then how can you resist this adorable Santa in-the-hoop napkin ring design. Simply roll your napkin so that the napkin points out of the top of the napkin ring and it will look like Santa’s hat. Such a clever idea!
Christmas tree in pickup truck in-the-hoop napkin ring (or utensil holder)
If you celebrate Christmas more country style – this may be the in-the-hoop Christmas napkin ring for you. The design is an retro pickup truck with a Christmas tree in the back in-the-hoop napkin ring or utensil holder. Plaid appliqué fabric gives it an outdoorsy look.
Free standing lace napkin rings
Here’s an entire set of Christmassy napkin rings that are made up of free-standing lace. So there’s no fabric required to make this project! Talk about the perfect project to make when you don’t have any fabric on hand.
Free standing lace 3D poinsettia napkin ring
Here’s a real beauty. It’s hard to believe you could actually make this in-the-hoop napkin ring with a three-dimensional poinsettia using your embroidery machine. But it’s true – and it’s gorgeous.
Ready to make some Christmas in-the-hoop napkin rings?
In-the-hoop Christmas napkin rings are quick and easy project to make on your embroidery machine and will surely make your table a bit more festive this holiday season. Why not give it a try?
Happy stitching!
xo
Julie
[do_widget id=custom_html-69]
[do_widget id=custom_html-10]
Want to remember this? Save “In-the-hoop Christmas napkin rings” on your favorite Pinterest board