Disclosure: Some of the links on this site are affiliate links. This means that if you click on them and make a purchase, I may earn a small commission at no extra cost to you. Please know that I only recommend products and services I trust and use myself.
As a mother of three, I’ve played a lot of games with my kids. And frankly, many of them are pretty stinking boring. Candy Land? Yawn!!! Chutes and Ladders? Snooze. But a memory game? That’s actually pretty fun. So whenever it was game time in our house – that’s the kind of game I would try to steer my kids toward.
So when I came up with the idea of making an in-the-hoop matching game – I got pretty excited. What a fun way to combine two of my favorite things – matching games and machine embroidery!
The first matching game I ever made was actually not for my kids – I made it for my two little nieces who were toddlers at the time. (My kids were a little too old for it.). When I came up with the idea, I had actually never seen an in-the-hoop matching game, so I really thought I invented the idea myself. And – I had no idea how it would turn out.
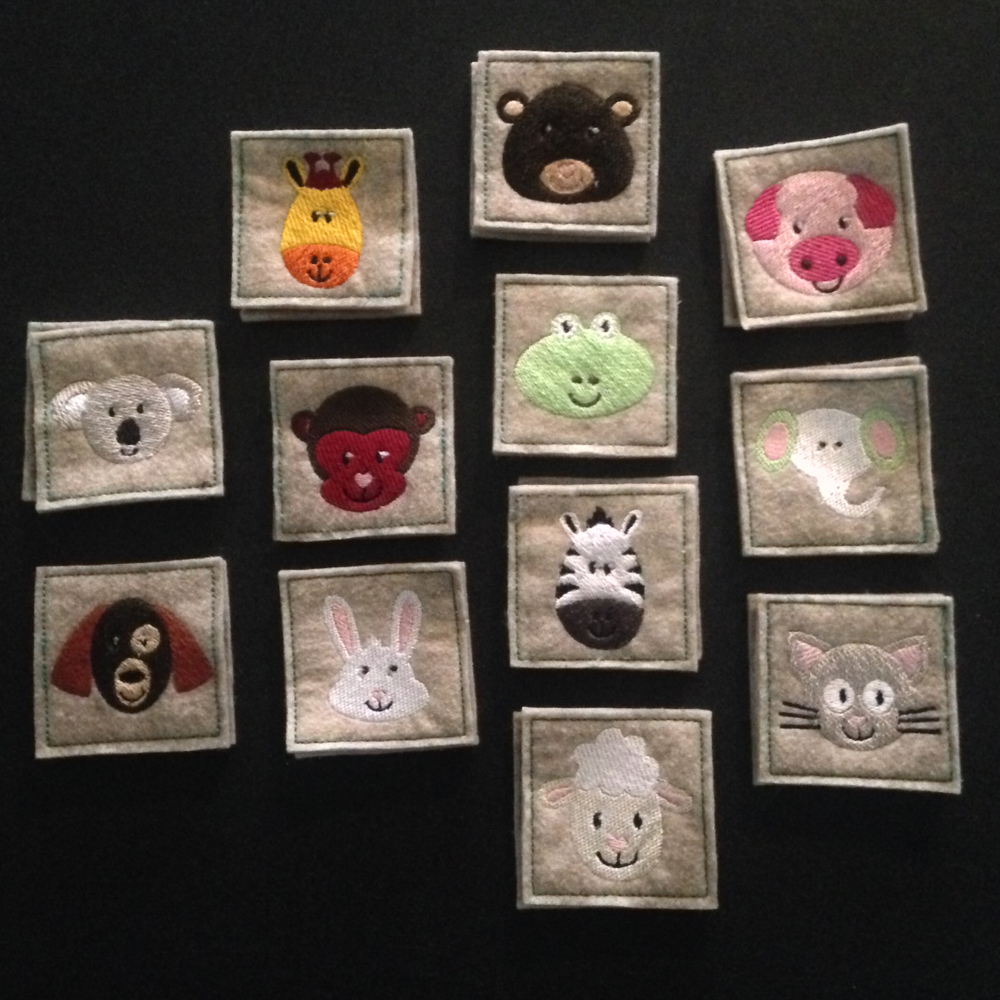
Fortunately – to my amazement, the tiles turned out perfectly. Each pair was a different animal face. And, after I finished it, I sewed together a personalized little zipper pouch embroidered with my nieces’ names for storing all the tiles.
The animal face in-the-hoop matching game was a total hit. But, to be honest, though, since my nieces were quite little, they had just as much fun putting the tiles in and out of the zippered pouch as they did actually playing the game. It really was a perfect gift my little nieces. Not only was it an ideal travel toy, it was also one that grew with them as they got older and figured out new ways to play with the matching tiles.
But, despite my success with this project, I have not made another one since. So, being that it’s the holiday season – it’s time to make another in-the-hoop matching game!
In this post, I’ll show you exactly how to make an in the hoop matching game and highlight a few other versions available for you to download and purchase.
Products mentioned in this post
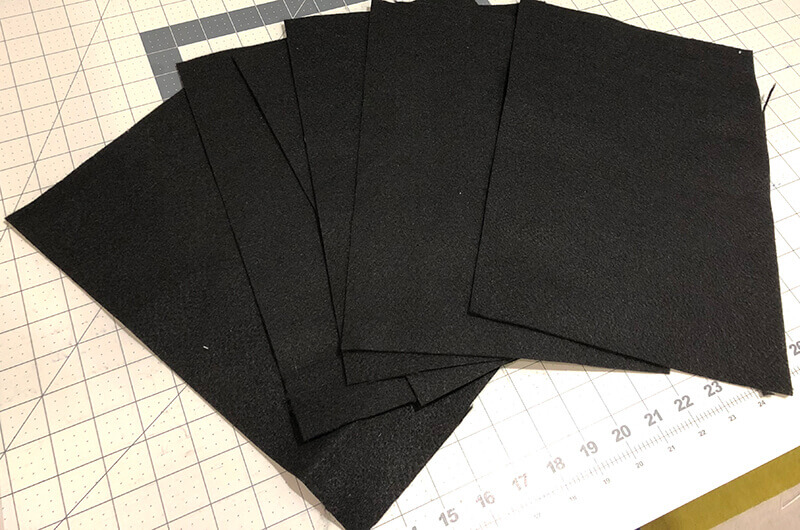
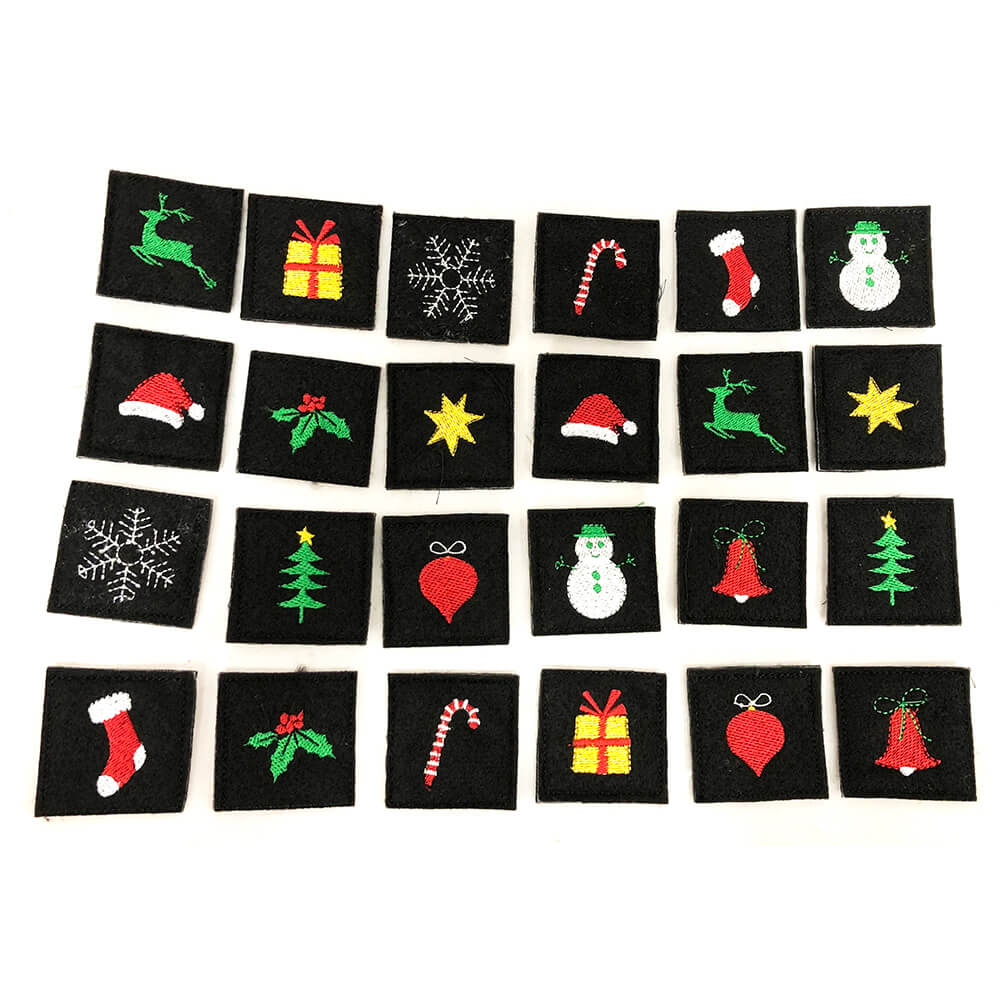
Felt – The amount you need depends on whether you are making the larger or smaller tiles. Each of the smaller tiles is 1.8″ x 1.8″ and each of the larger tiles is 2.3″ x 2.3″. There are 24 tiles total and each tile is comprised of two layers of felt. A yard of felt will be more than enough.
Perhaps you recall playing a match game when you were a kid. But, if not, allow me to explain.
In order to play a matching game, you have a set of tiles that are identical from the back, but have different designs on the front. Each of the designs come in pairs. To play the game, you lay out the tiles face down usually in a grid like arrangement. Then you take turns flipping over two. If you get a match, you keep the pair and pick again. But if you don’t get a match, you must flip the tiles back over, and the next person takes a turn.
You can actually even play a matching game with a set of playing cards. You just need to interpret the two red corresponding diamond and heart cards as a pair and the corresponding clubs and spades as a pair. You can also buy plenty of pre-made matching games, as they come in many different designs and styles. Usually the cards are made of a cardboard like material.
In the example, below, I am going to be making match game cards, stitching out the matching designs using my embroidery machine. The tiles will be comprised of two layers of felt with a layer of stabilizer inside. This combination of materials gives the cards some stiffness and thickness to be appropriate for gameplay.
Why make an in the hoop matching game?
Matching games are actually pretty entertaining. I came to this realization when my kids were quite small. There’s a bit of strategy involved, so it is actually fun for all ages. After you’ve played Candyland a few times – I think you will agree.
I’ll admit, it takes a little while to stitch out all of these tiles. But the resulting product is really adorable. Plus if the little kids in your life are tired of receiving monogrammed clothing as gifts, it’s a great opportunity to give them some thing a little bit different. I personally love the idea of creating in-the-hoop toys and games on my embroidery machine. It’s amazing what you can make with a little bit of scrap fabric and some stabilizer.
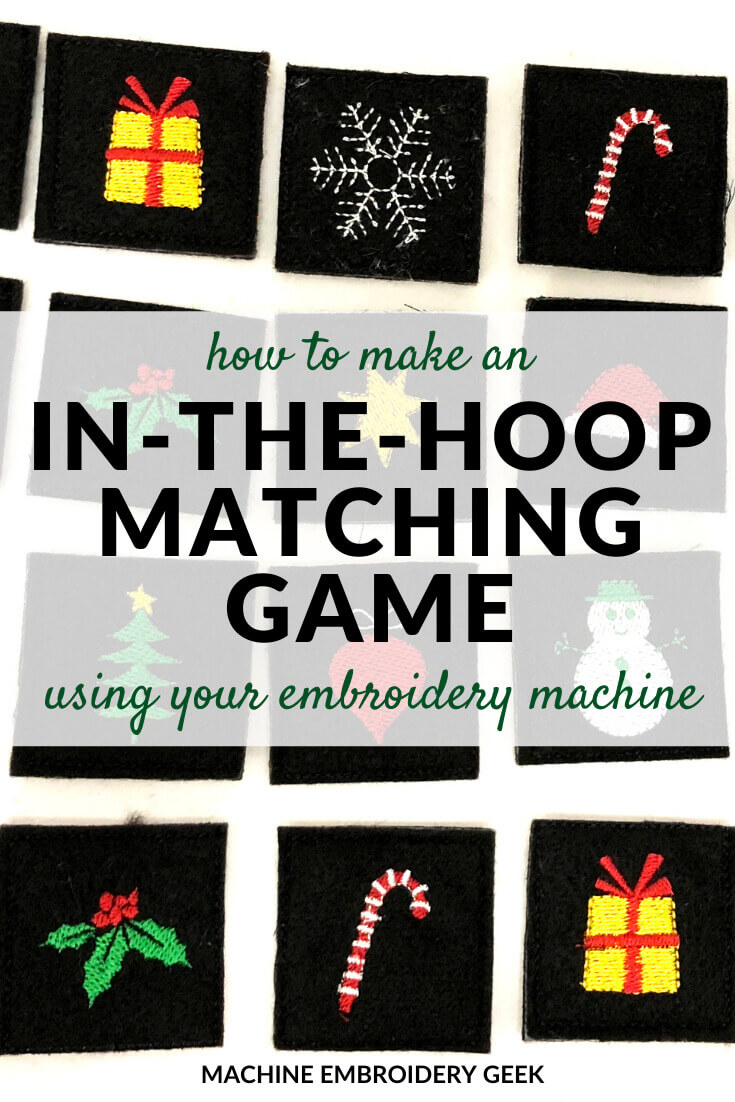
How to make an in-the-hoop matching game
Supplies needed
Felt – The amount you need depends on whether you are making the larger or smaller tiles. Each of the smaller tiles is 1.8″ x 1.8″ and each of the larger tiles is 2.3″ x 2.3″. There are 24 tiles total and each tile is comprised of two layers of felt. A yard of felt will be more than enough.
To expedite my process, I pre-cut all my felt and my stabilizer to be slightly larger than my embroidery hoop.
Change your bobbin thread color
The first step you want to take is to change your bobbin thread color to match your top thread. For my tiles, I used a black embroidery thread as my bobbin thread because that was the color I wanted to use for my final outline stitching on my tiles. I wanted to have the same black outline on the back of every single one of my tiles so that they would appear identical. I chose black because I stitched out the entire project on black felt, and this seemed like the most subtle option. Remember – you want the backs of the cards to look identical so any glitches in stitching on the back of the tile would make it stand out. I figured that black stitching – even if it wasn’t 100% perfect – would not be quite as noticeable on black felt.
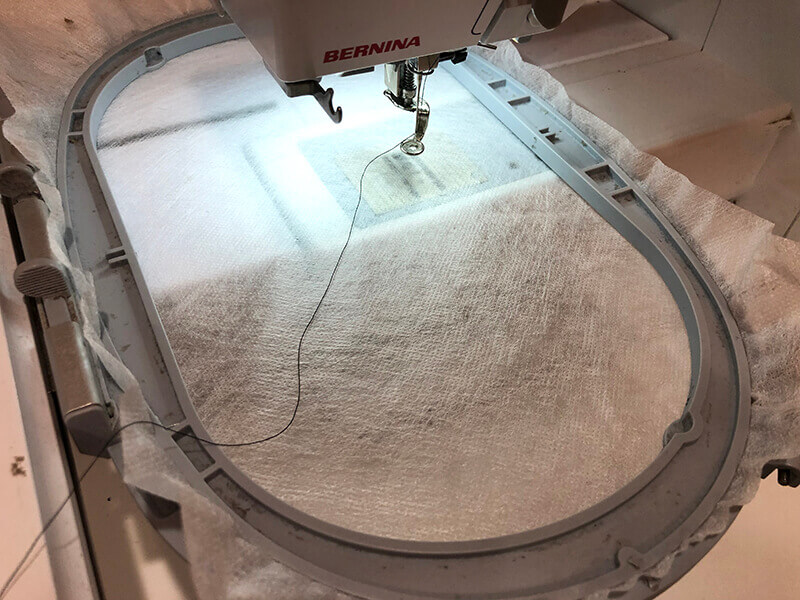
Hoop a piece of water soluble stabilizer
Hoop a piece of water soluble stabilizer. Make sure that your hooping is quite tight as you don’t want the stabilizer to buckle or slip as you are stitching out your tiles.
Although the water soluble stabilizer will be completely enclosed inside of the tile, I still recommend using it so that you don’t see any stabilizer around the edges of your tile. Plus, once you wet the tile to dissolve the stabilizer it gets a bit of stiffness which is a desired property for this particular purpose.
Combine your tiles
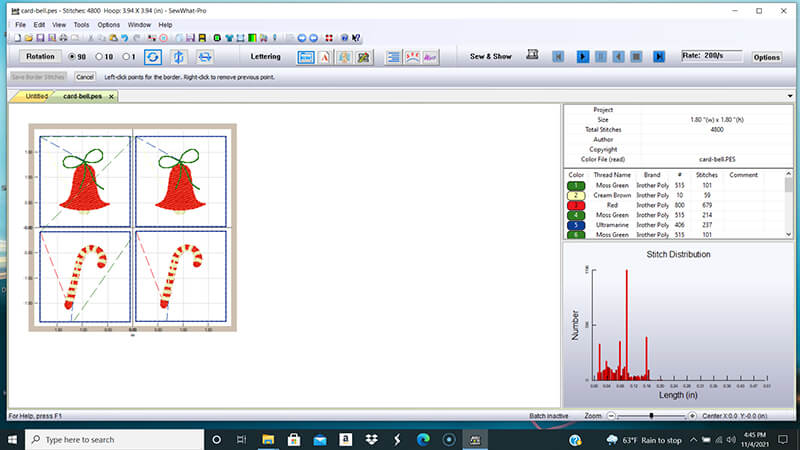
This is an optional step, but it will sure make your stitching go a lot faster. By combining the tiles into one file, I was actually able to stitch out eight tiles in each hooping which meant that I only had to re-hoop my stabilizer three times. I was able to do this because I have a fairly decent sized embroidery hoop and I combined two instances of four tiles into one embroidery design. And then I exported it into the format read by my embroidery machine.
Please note: for this particular memory game – I’ve created files that incorporate multiple tiles. So, you can stitch them out in sets of four or sets of eight depending on the size of your hoop. If you wanted to stitch them out in other combinations, you would need to merge the tiles together as I am demonstrating here.
You can combine embroidery designs into one file using some pretty basic software. This particular task is doable in both SewWhat-Pro as well as Embrilliance Essentials. All you have to do is merge the designs into one document.
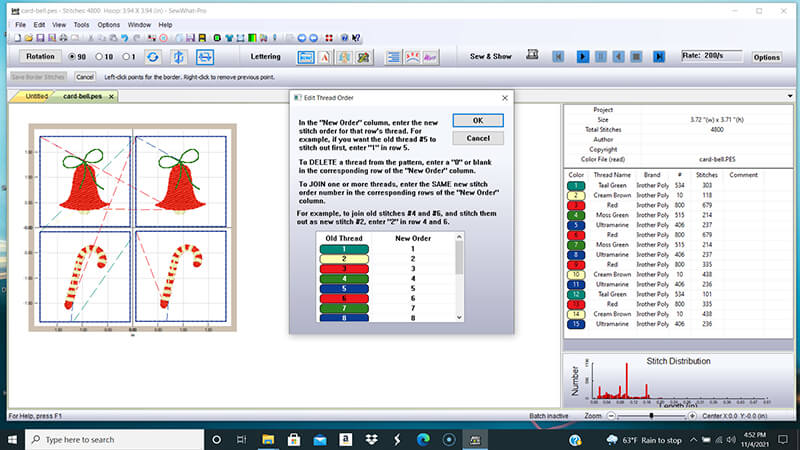
Combining tiles in SewWhat-Pro.
Then, you will want to change the stitch order of the threads so that all of the placement stitching is done at once then all of one particular color is done next and so on until you get to the final outline stitching. Combine all of the same colored elements together so that they will be stitched together.
Reordering thread colors in SewWhat-Pro
When you are combining thread colors, be mindful of the stitch order needed for each particular design. For example the Santa hat is intended to be stitched out with the red area of the hat first and then the white trim on top. So even if you combined this card with other ones you should maintain that particular stitch order. Group that tile with another one that is intended to be stitched with red thread and then white.
Start stitching
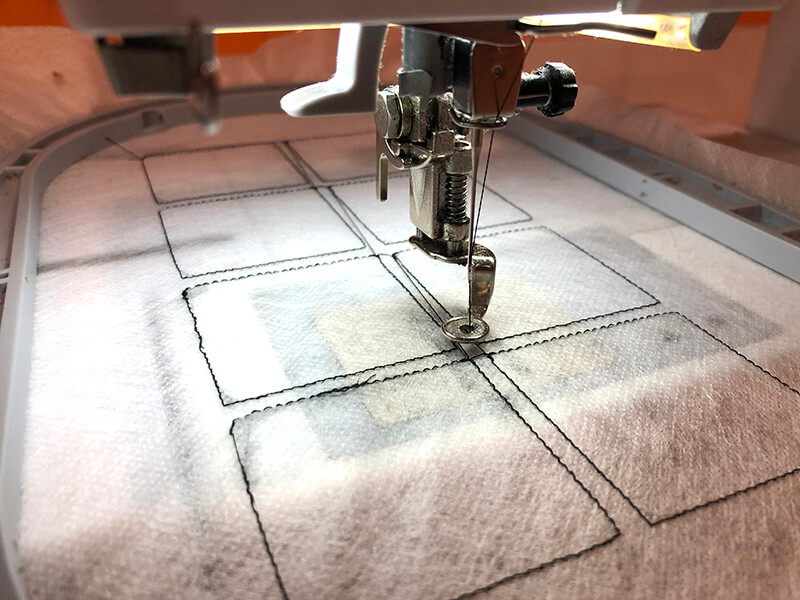
Load your completed design onto your embroidery machine and start stitching. Your first round of stitching will be your placement lines. This will show you exactly where to lay down your first layer felt.
Add your top layer of felt
Lay down a piece of felt that completely covers all of the stitching lines then start stitching your next round of stitching.
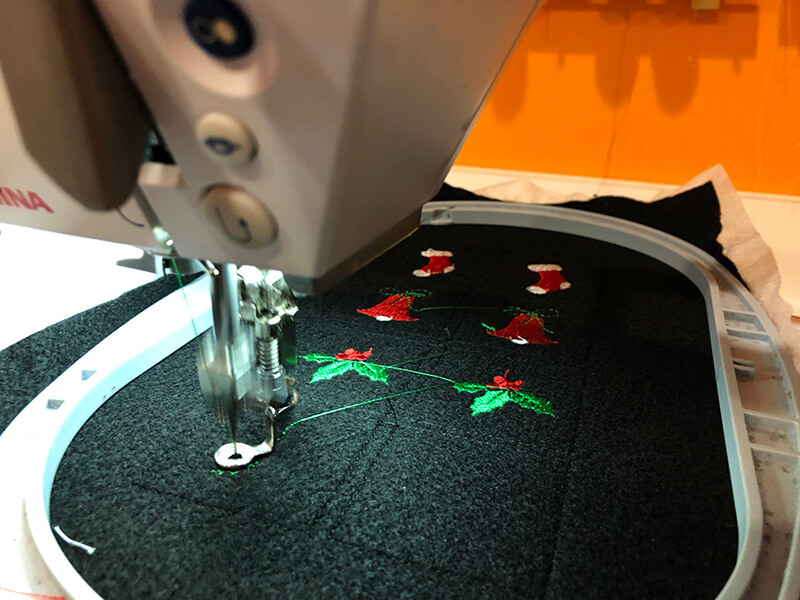
Stitch out the designs
Stitch out every element of the design until you get to the final round of stitching which are the tile outlines.
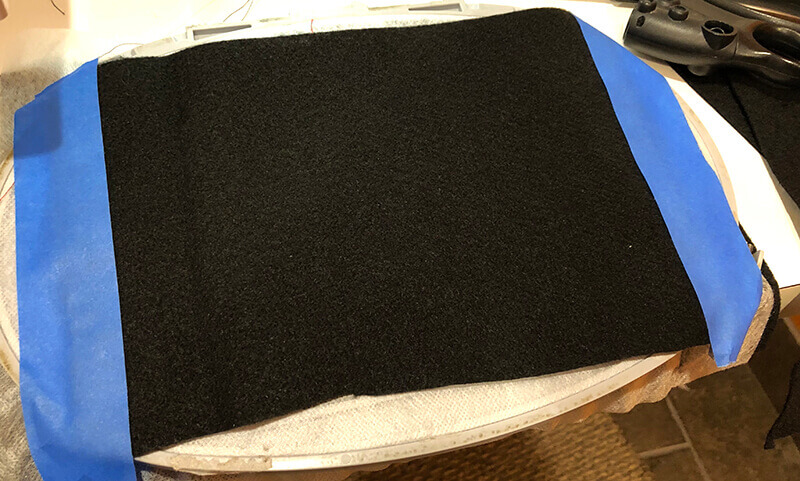
Add the tile backs
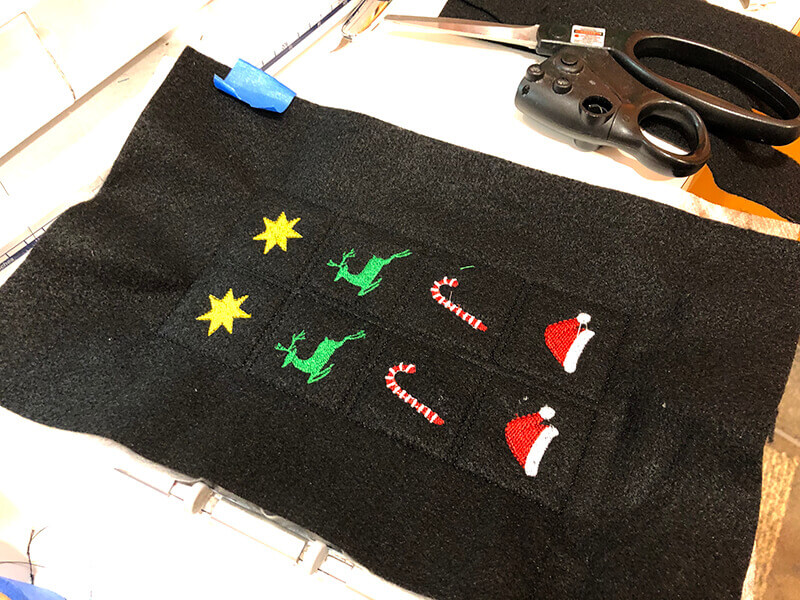
Remove your embroidery machine embroidery hoop from your machine and flip it over. Tape another piece of felt to the underside of your embroidery hoop using blue painters tape. Make sure that they felt completely covers all of the placement stitching lines.
Stitch the tile outlines
Finally, return the embroidery hoop to the machine and start stitching out the final tile outlines. This will create a border around each tile that will show up on both the front and the back of the tile.
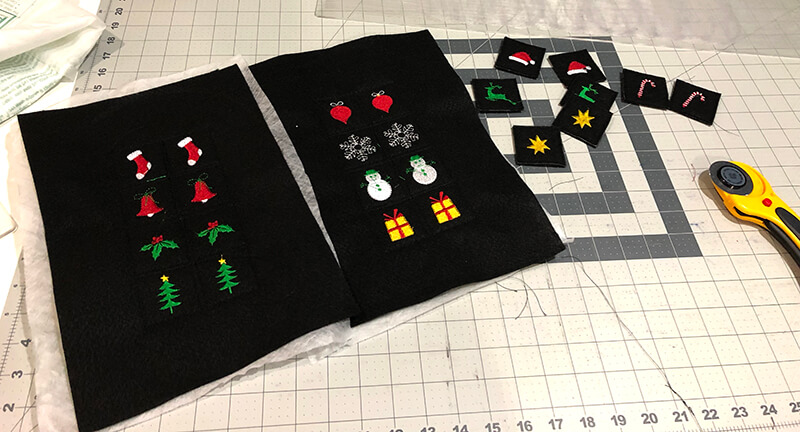
Cut out your tiles
After all of the stitching is done you were ready to clean up your cart and cut them out. Use a pair of nippers to trim all of your jump stitches. I would suggest using a rotary cutter and cutting mat and a ruler to cleanly cut out all of your tiles.
All done!
And that’s it. You’re done you can start playing your match game.
Additional in-the-hoop matching games
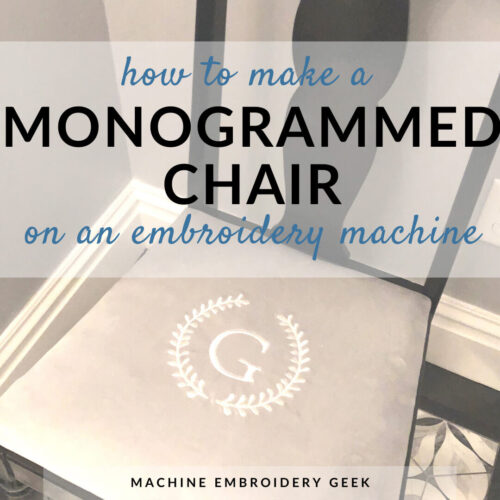
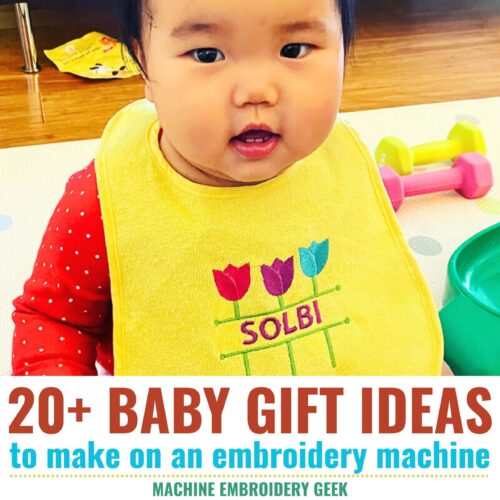
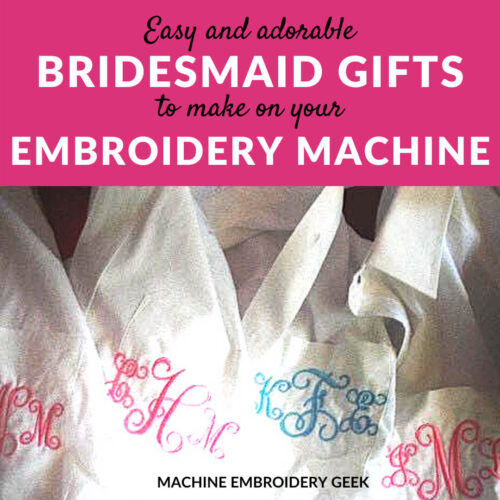
Are you looking for alternative match games for other occasions besides Christmas. As I mentioned I do you have another batch came available that is comprised of animal faces. But there are plenty of other out there. Here are some of my favorites.
Hello! I'm Julie, the founder of Machine Embroidery Geek. As an educator with over 20 years of teaching experience and a machine embroidery designer for more than 10 years, I combine my love of teaching with my passion for embroidery.
I believe that machine embroidery should be fun, creative, and accessible to everyone. That's why I create easy-to-follow tutorials, online courses, and modern embroidery designs that help embroiderers build skills and create projects they're proud of. Whether you're learning the basics or mastering advanced techniques, I'm here to help you stitch with confidence.