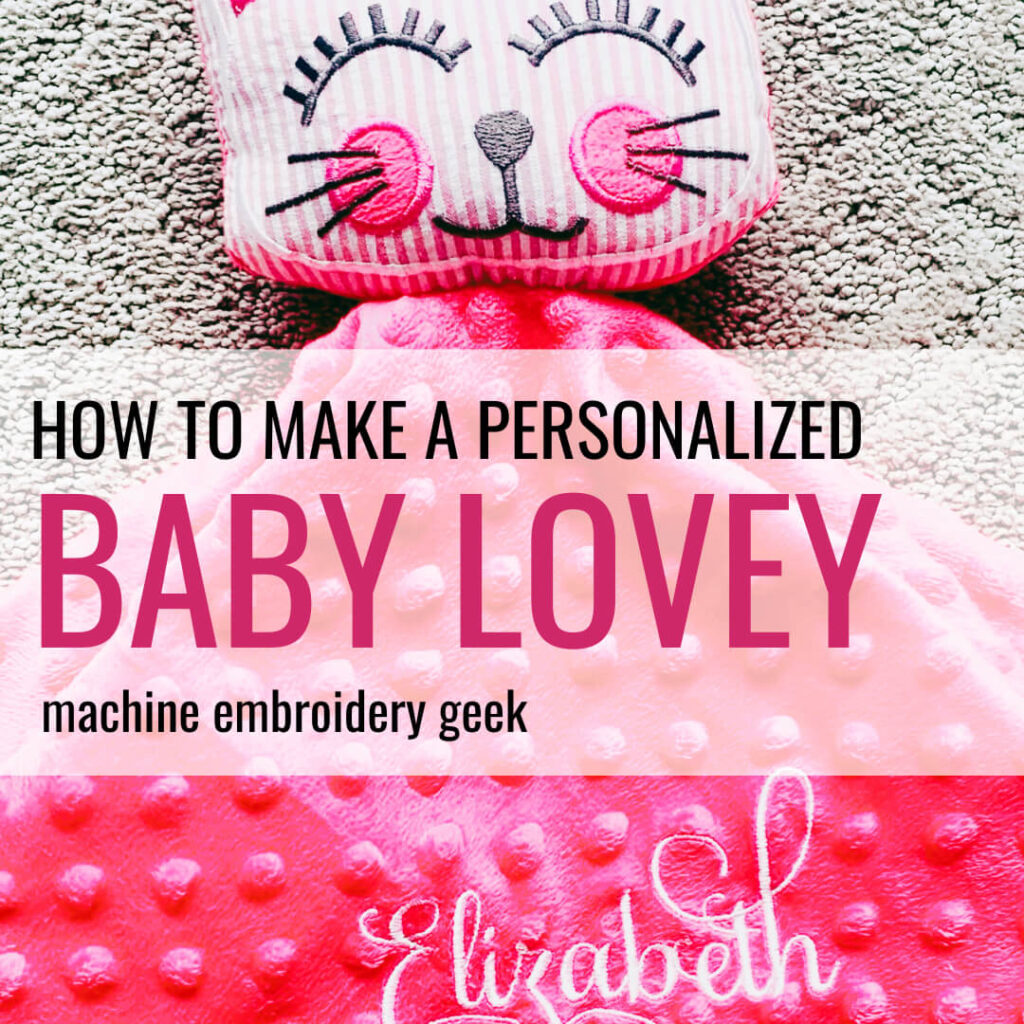
How to make a custom baby lovey using your embroidery machine
By Julie on September 25th, 2023 This site contains affiliate links to products. We may receive a commission for purchases made through these links.
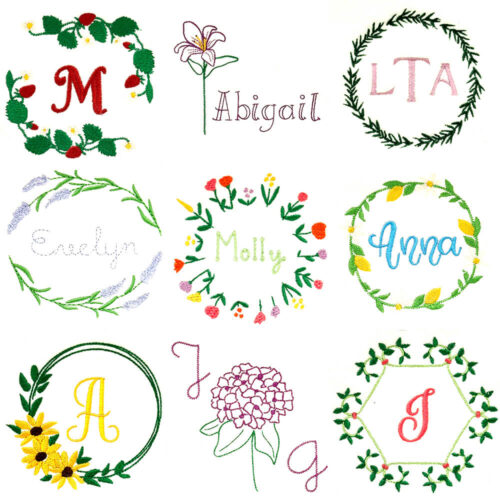
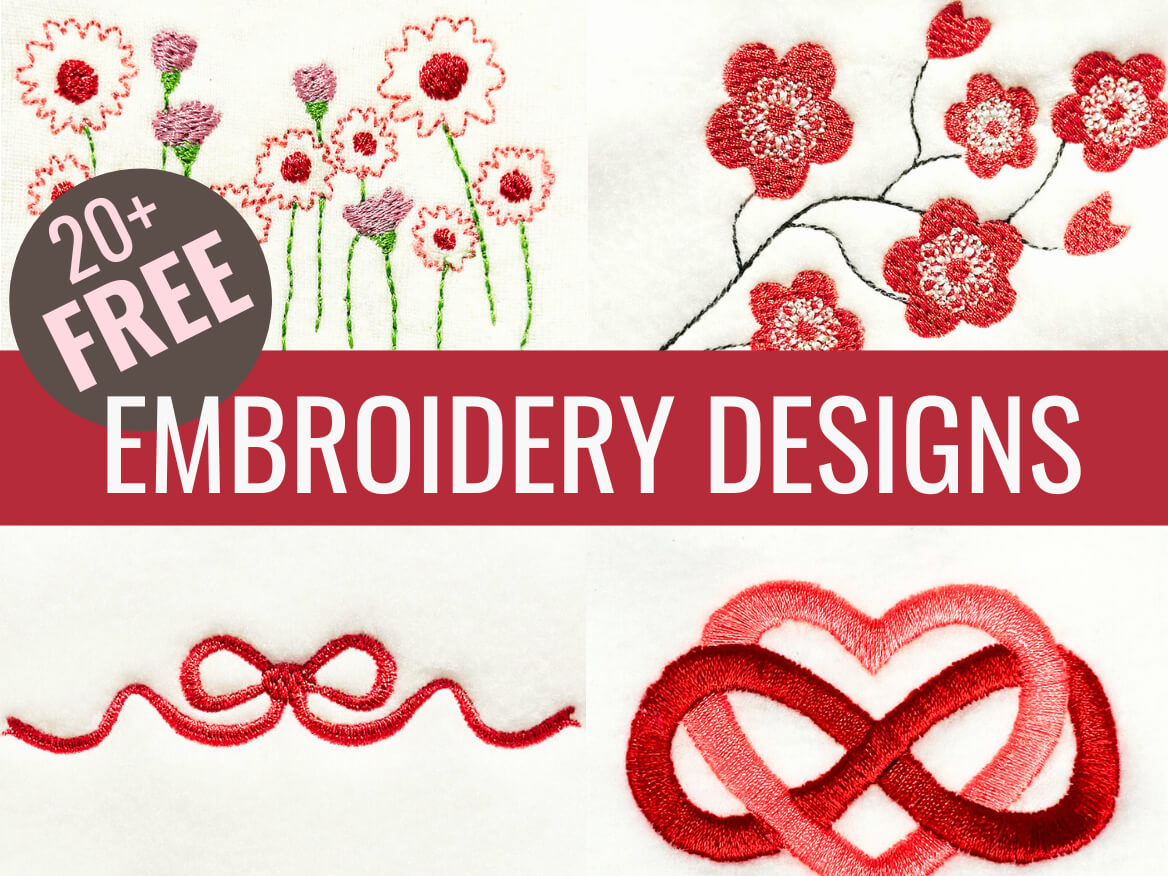
Looking for FREE embroidery designs and PDF patterns?
Subscribe to the Machine Embroidery Geek newsletter
For tips, how-tos, loads of inspiration and access to the resource library full of free machine embroidery designs and PDF patterns.
Thank you!
You have successfully joined our subscriber list.
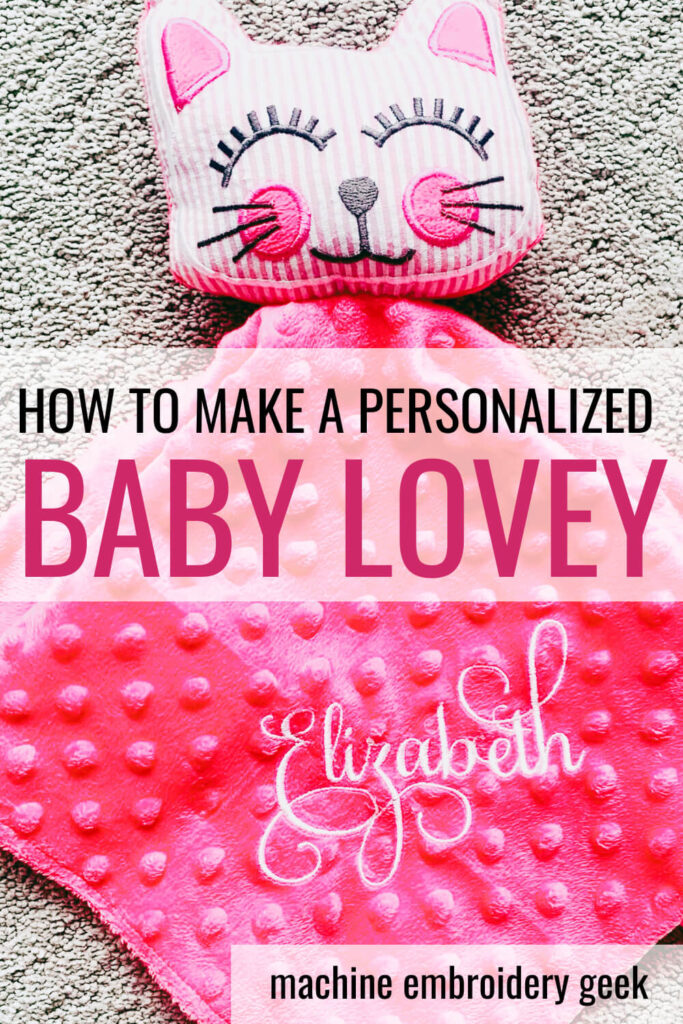
Ready to make the most adorable, personalized baby gift using a few scraps lying around your sewing room? In this post I’ll show you how to make a custom baby lovey using your embroidery machine with just a little bit of sewing.
First of all – i can take absolutely no credit for this project. My brilliant friend Ellie of Gracefully Stitched, sent me a picture of this adorable baby lovey you that she made from scratch using some scraps from her sewing room.
“Yes, you can post this on Instagram” is what she said which I didn’t understand.
It wasn’t unusual for her to send me a picture of her project as we quite frequently text each other pictures of our latest makes. But, I didn’t get why she thought I would want to post her project on my Instagram. Finally, it dawned on me that she had used one of my embroidery designs to make the face of this darling little creature.
Wow – it had never occurred to me to make a baby lovey using my animal faces appliqué designs. But I absolutely loved how hers turned out. And so, with her permission and guidance, I set out to make one for my expecting friend.
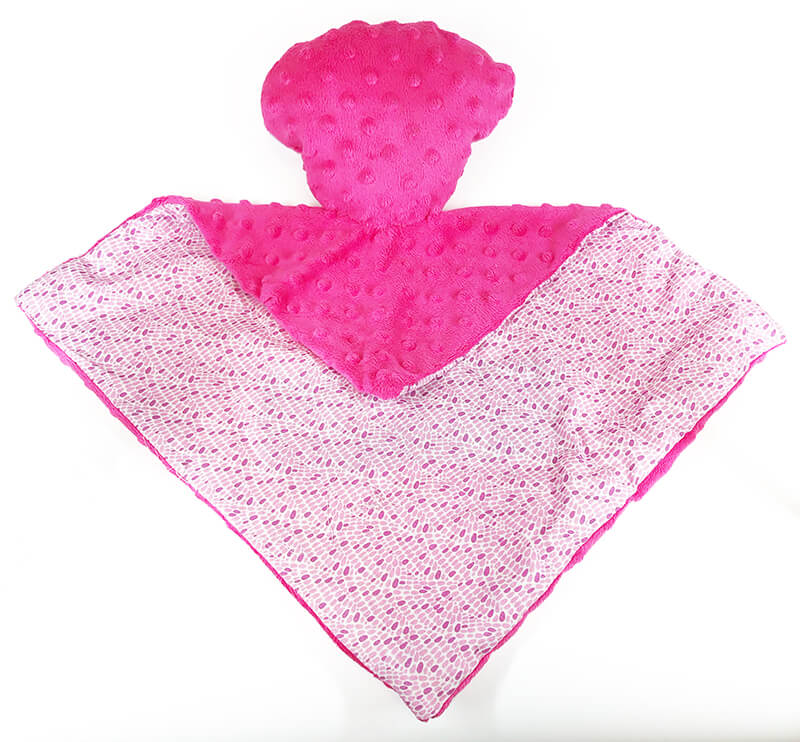
A baby lovey, also known as a security blanket or comfort object, is a small plush toy attached to a soft double layered blanket that provides a sense of security and comfort to a young child. These objects often become cherished companions for babies and toddlers, providing them with comfort during times of stress or anxiety.
Why make a custom baby lovey using your embroidery machine?
Of course, you can easily purchase a baby lovey and add a name, design or monogram using your embroidery machine to personalize it. But, there are a couple of downsides. First, you may not find a lovey with the exact design or motif that you want. Second, store-bought baby loveys can be pricey and may not fit within your budget. And finally, if you want to keep the lovey as soft as possible and not have the back of the embroidery showing (and rubbing on delicate baby skin) – you will have to take the lovey apart so that you can hide the back of the embroidery in the inside of the lovey.
By making your own baby lovey, you have complete control over the design, colors and materials used, allowing for a truly unique and personalized gift.
How to make a custom baby lovey using your embroidery machine
So, now that i have you convinced to make your own baby lovey, let’s dive into the process!
Supplies Needed:
Embroidery machine with a 5″ x 7″ or larger hoop
16″ x 16″ and two pieces of 10″ x 10″ piece of minky fabric
16″ x 16″ and other small pieces for applique details of complementary 100% cotton fabric. One fat quarter works perfectly. Seersucker is a great choice but any quilter cotton will work.
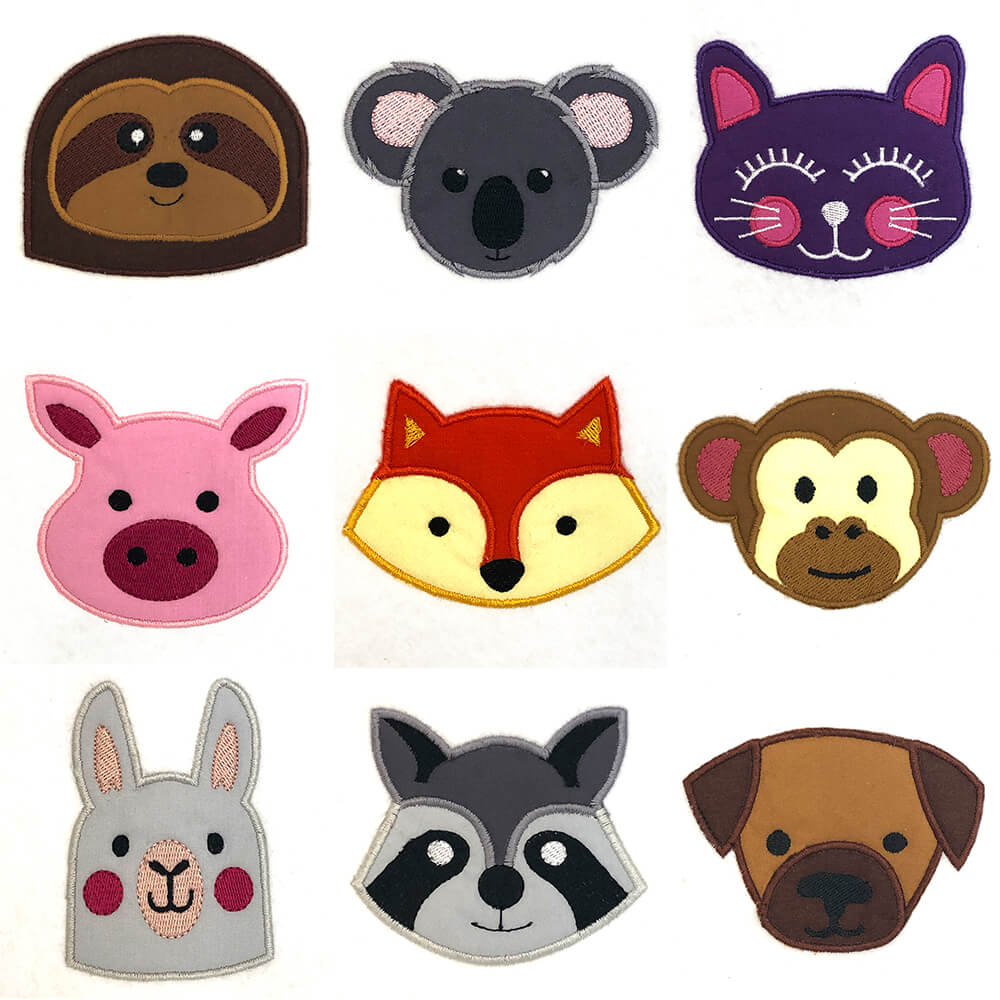
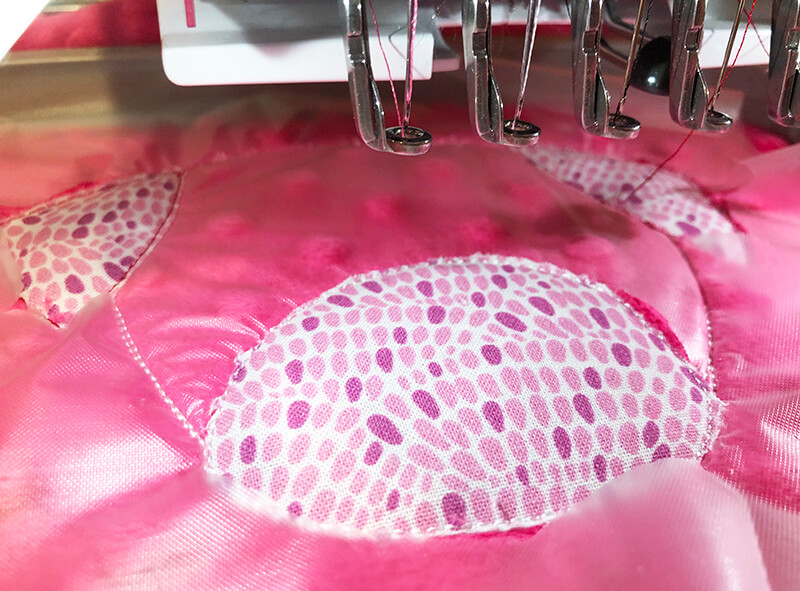
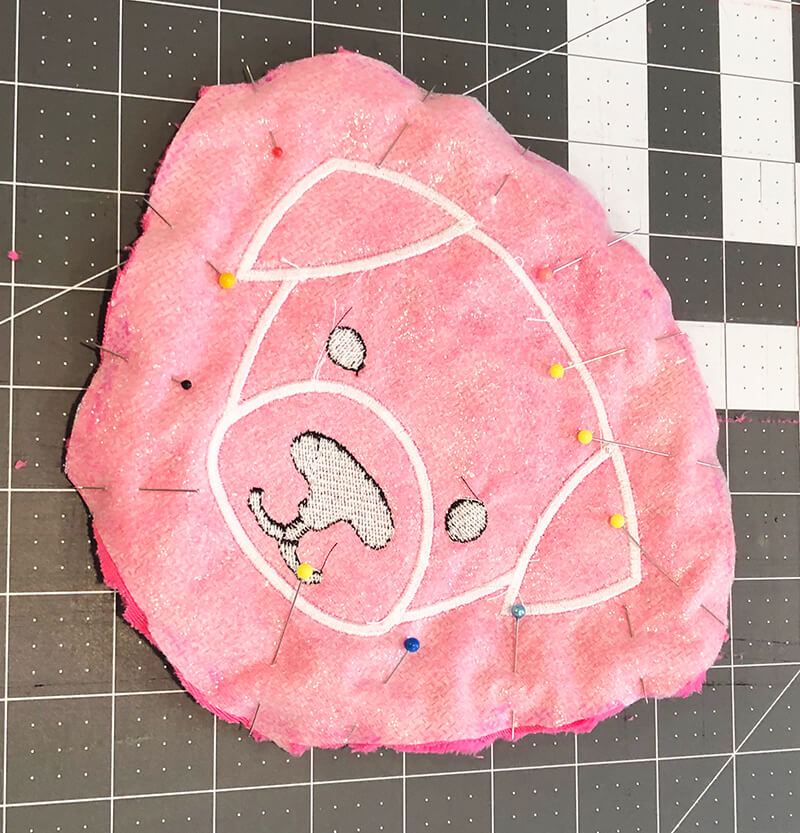
The first thing you need to do is to stitch out the applique design on the 10” x 10” minky fabric. You can choose any animal face design that you like. Ideally, choose a size that’s about 7″ wide.
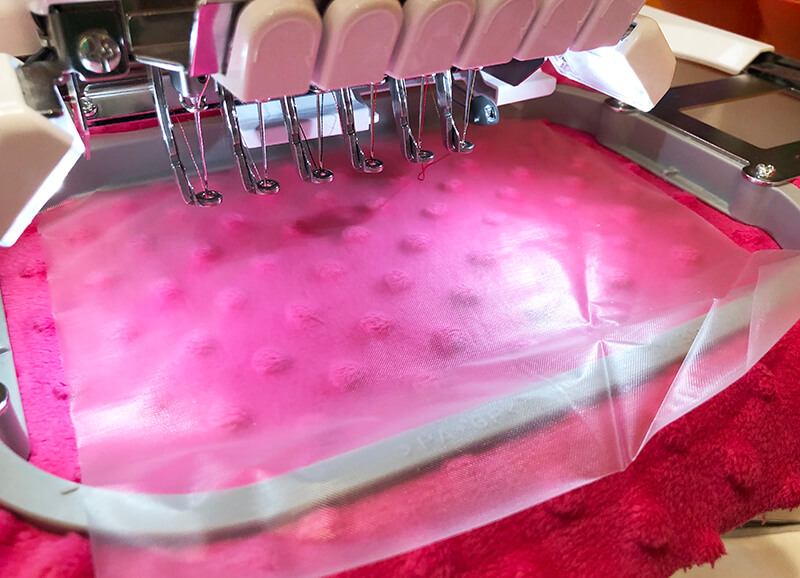
Fuse the fusible poly mesh onto the back of the 10″ x 10″ piece of minky fabric.
Hoop the fused together minky and stabilizer tightly in the hoop of your embroidery machine.
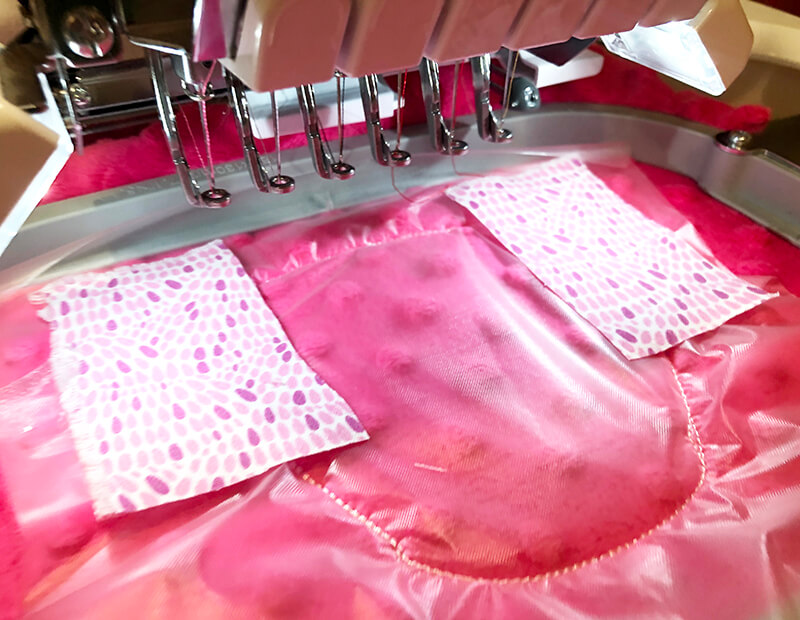
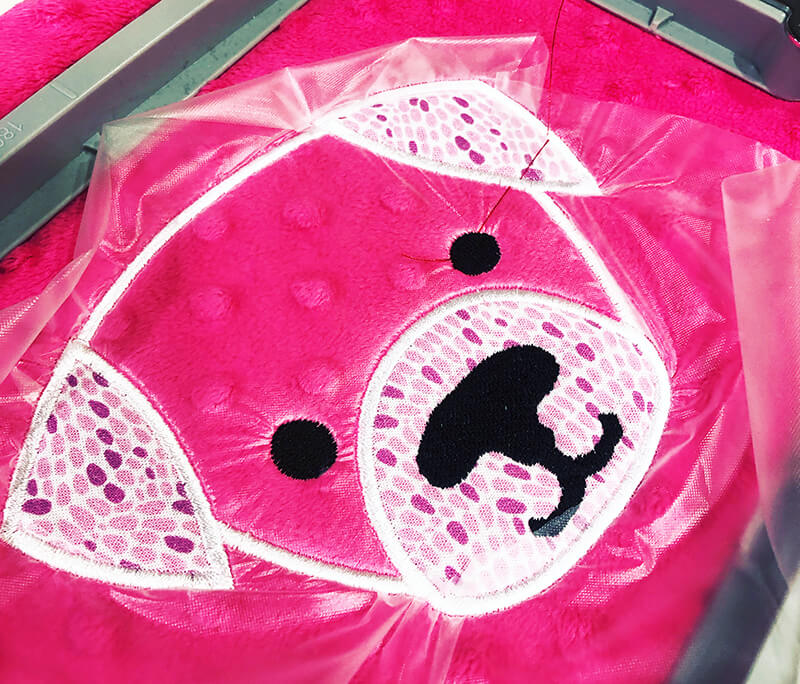
Load your chosen animal face design onto your embroidery machine and begin stitching out the design. Use small pieces of your cotton fabric for the applique details. This helps give the lovey a cohesive look.
Once the design is complete, remove it from the hoop and trim any excess stabilizer.
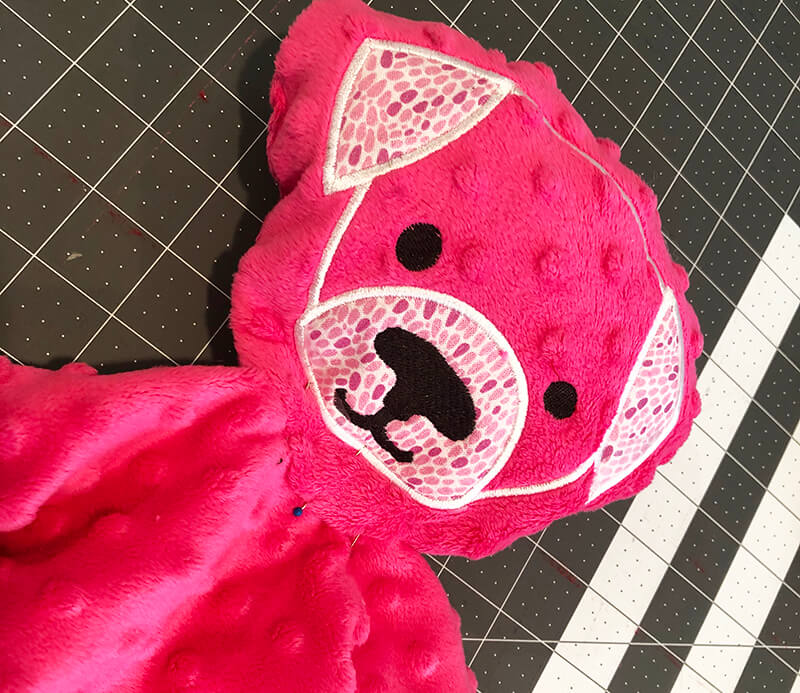
Create the lovey head
Next, it’s time to create the head of your lovey using the piece of minky on which you stitched out the applique design.
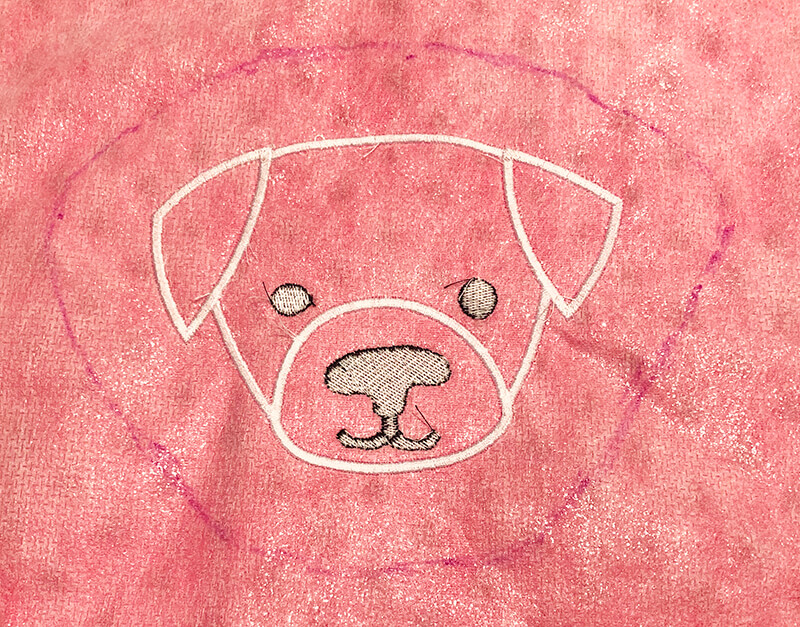
Flip over the applique minky face. Using a disappearing ink pen, draw a border 1″ around the outside of the animal face.
Cut out the animal face around the line you just drew.
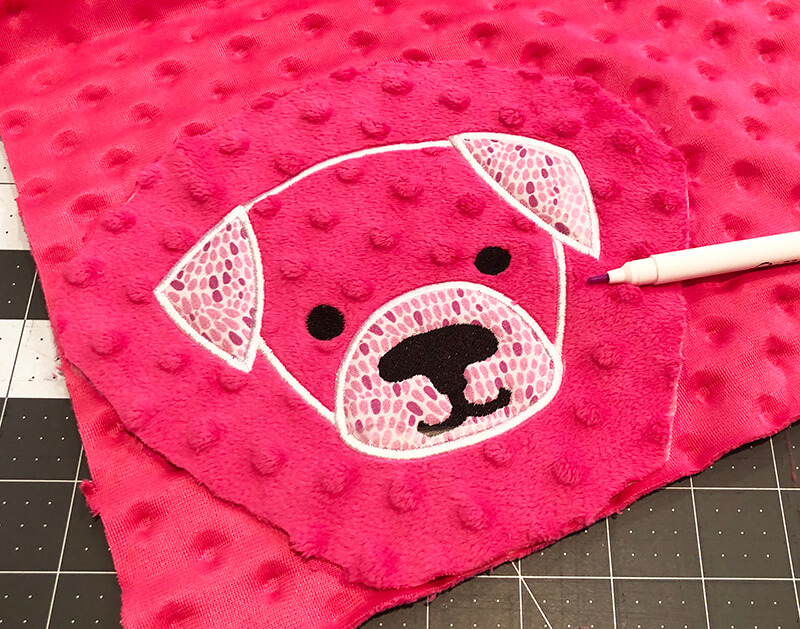
Lay the face you cut out on the other piece of minky fabric. Using the disappearing ink pen, trace the outline of the animal face you cut out onto the other 10″ x 10″ piece of minky fabric. This will be the back side of the head.
Cut the back piece out of the minky fabric around the line you just drew.
Pin the right sides together.
Sew the two pieces together with a 0.5″ seam allowance leaving a 3″ opening at the bottom of the head for turning. Be sure to reinforce the stitches at the beginning and end of your sewing.
Turn right side out through the opening and stuff it lightly with polyfill stuffing. You will leave the bottom open for the time being.
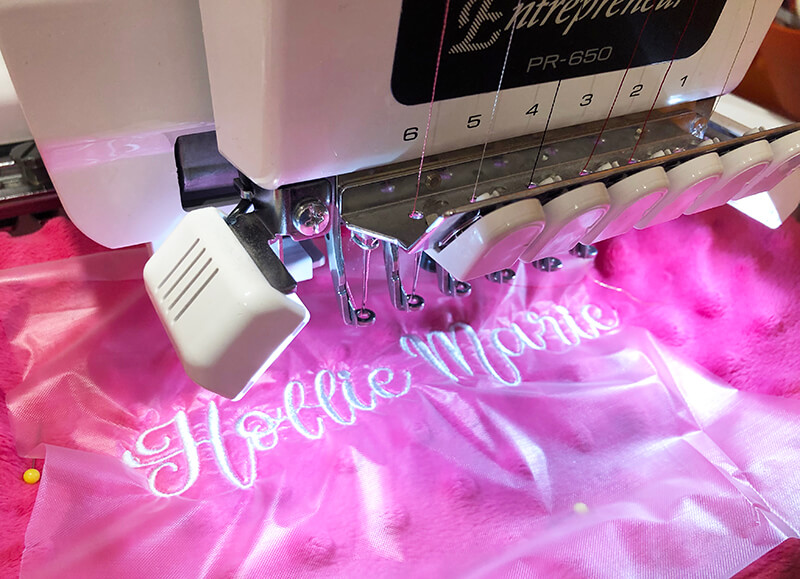
Stitch out the name on the lovey front
Before attaching the head to the lovey blanket, you will want to stitch out the baby’s name on the front of the lovey and line the bottom of the lovey blanket.
Start by setting up the name. You can use the built-in fonts on your embroidery machine to stitch out the name. However, if you want a specialized font, type your name in the software and save out the resulting embroidery design and load it onto your embroidery machine. I used my embroidery font: Hollie Marie Script. The width of the name should (ideally) be between 5″ – 7″. You want the name to be prominent but in proportion to the overall piece.
Before you hoop or float your 16″ x 16″ piece of minky fabric, you need to identify the center point of where you want the name stitched out. Fold the minky along the diagonal. Mark a spot 6″ up from the corner along the fold line. Use this as the center point for your name.
Hoop or float your minky fabric with fusible poly mesh stabilizer.
Stitch out your name using a complimentary thread color.
Line the blanket portion of the lovey
Next, you will line the blanket portion of your lovey.
Pin the 16″ x 16″ piece of minky to the 16″ x 16″ cotton fabric with right sides facing together.
Trim the seam allowance at the corners
Stitch together the two pieces, leaving 4″ along one side open for turning.
Turn the lovey blanket right side out.
Slip stitch the opening closed. If you would like to topstitch the blanket around the outside edge, you can.
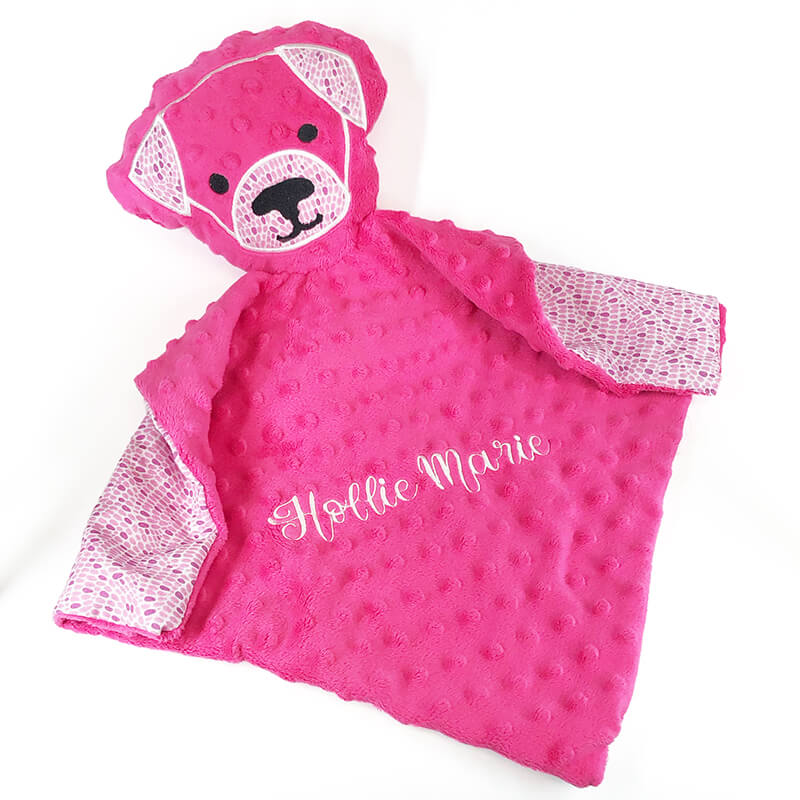
Attach the blanket to the head
Now is the fun part – attaching the head to the lovey blanket!
You first need to locate the point on the lovey blanket that will go inside the opening in the animal head bottom. This spot should be about 6″ from the top corner of the lovey along that diagonal line (that is now stitched out perpendicularly)
Pinch the blanket in that spot and pin it inside the animal head. As you pin the blanket into the head, tuck in the raw edges of the fabric around the hole of the animal head front and back so that the raw edges are hidden inside the head.
Use a slip stitch to secure the head to the blanket.
All done! You now have a custom baby lovey that is both soft and cuddly, with the added personal touch of an embroidered name. This makes for a wonderful gift for any new baby or a special keepsake for your own little one to cherish. Have fun creating different animal designs and fabric color combinations to make each lovey unique!
Want to remember this? Save “How to make a custom baby lovey” on your favorite Pinterest board
“I am a novice machine embroiderer and this class [Master the Machine – Learn to Embroider Like a Boss] is proving to be extremely helpful in understanding the basics. I love that you are so practical and sincere in your suggestions and recommendations.”


 fabric")