Disclosure: Some of the links on this site are affiliate links. This means that if you click on them and make a purchase, I may earn a small commission at no extra cost to you. Please know that I only recommend products and services I trust and use myself.
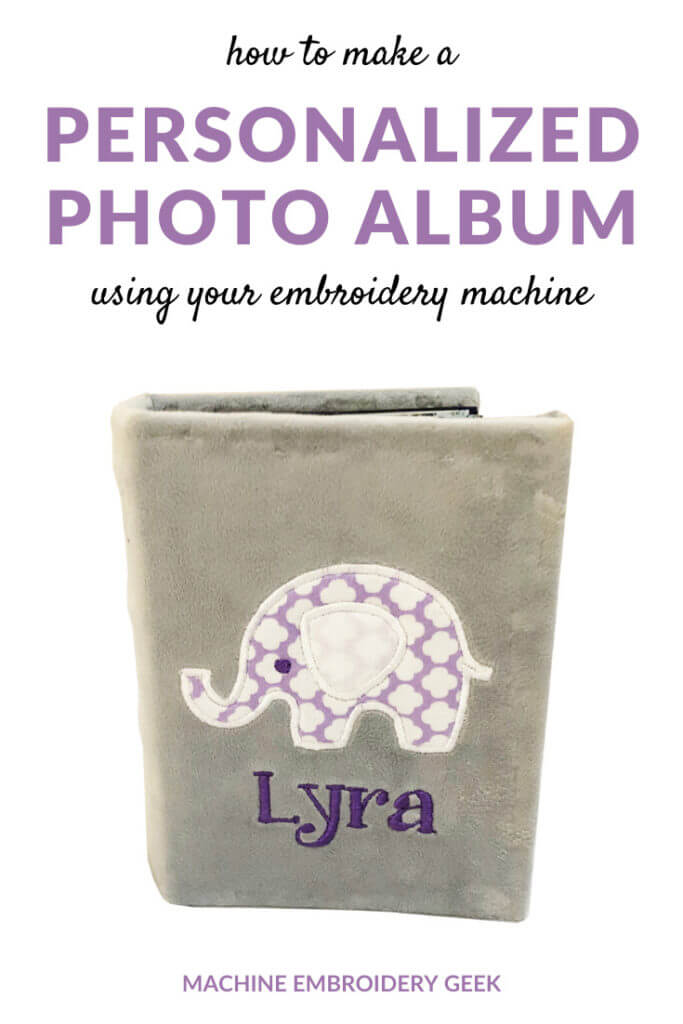
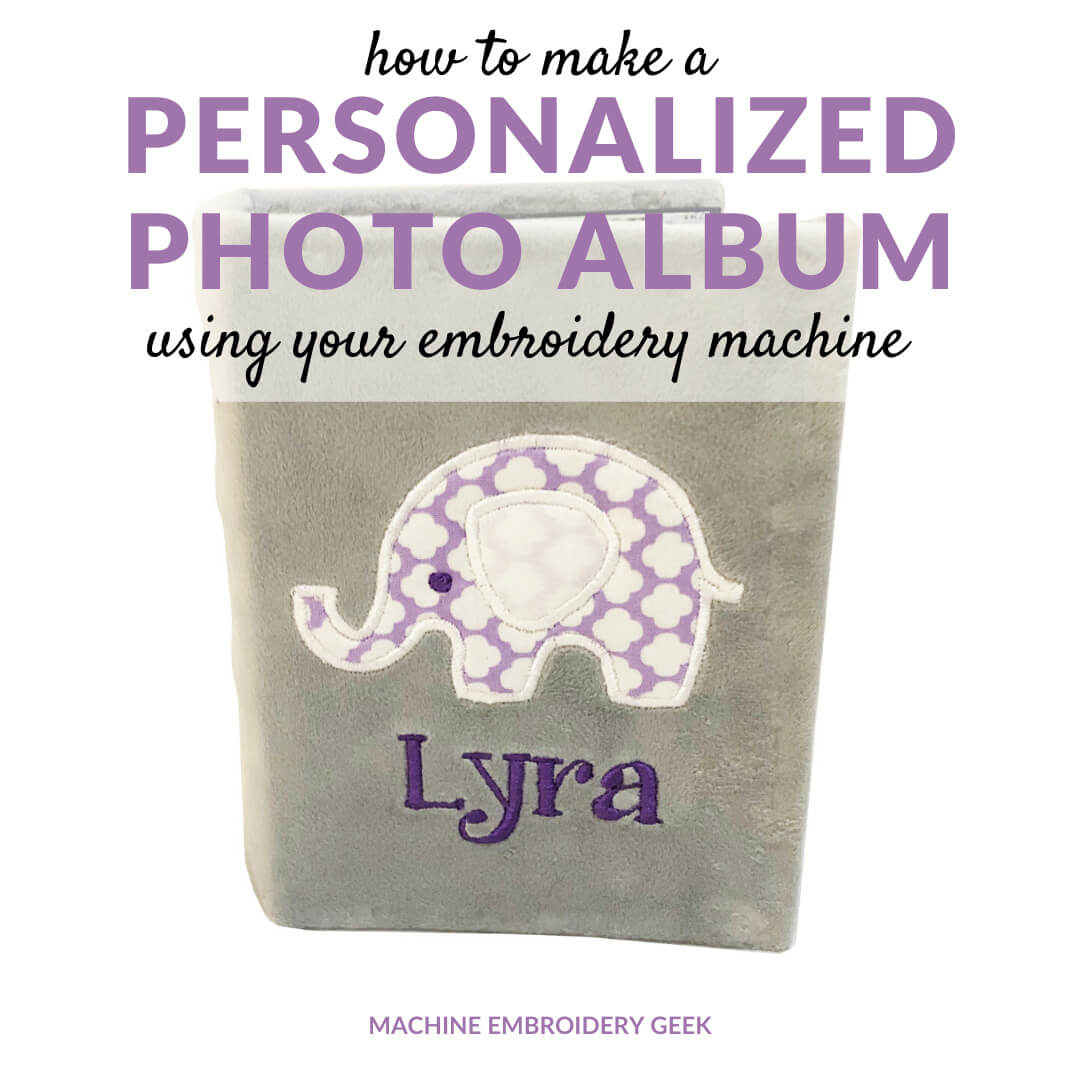
Last weekend I attended a baby shower of a friend’s step-daughter which is something I hadn’t done in a while. Since my peers are kind of done having babies, I saw this as a great opportunity to make a baby gift. Although I purchased a few items off of the registry, I wanted to supplement the gift with something more personal. So, I decided to resurrect an old project I came up with a view years ago: a personalized photo album. And, guess what? This latest version turned out better than any I had made before. And the new mom LOVED it. So, today I will be showing you how to make a personalized photo album with your embroidery machine.
How the idea for a personalized photo album originated
I came up with this project a few years back after taking a trip to Switzerland with a friend of mine. She had been much better than me about taking pictures and was nice enough to share them all. So well, in fact, that I just stopped taking pictures and asked if I could simply have copies of all of hers. It was pretty fantastic. Whenever I felt compelled to take a picture, I just said, “Julie, get a picture of that.” And it was done. Great service!
So, as a way of thanking her, and to commemorate our trip – I thought it would be fun to make a photo album of all our – I mean Julie’s – pictures and have the cover of the photo album be a Swiss flag. To do it, I digitized an applique design of a Swiss flag and stitched it out on a sturdy piece of red fabric and covered an existing, inexpensive photo album.
Since the trip wasn’t that long, I didn’t need a huge album to accommodate all the prints. For this project I picked up a little mini album for $3 at Walgreens and used this as the foundation. But, of course, you could do this project with a larger album.
Why a personalized photo album makes a great gift
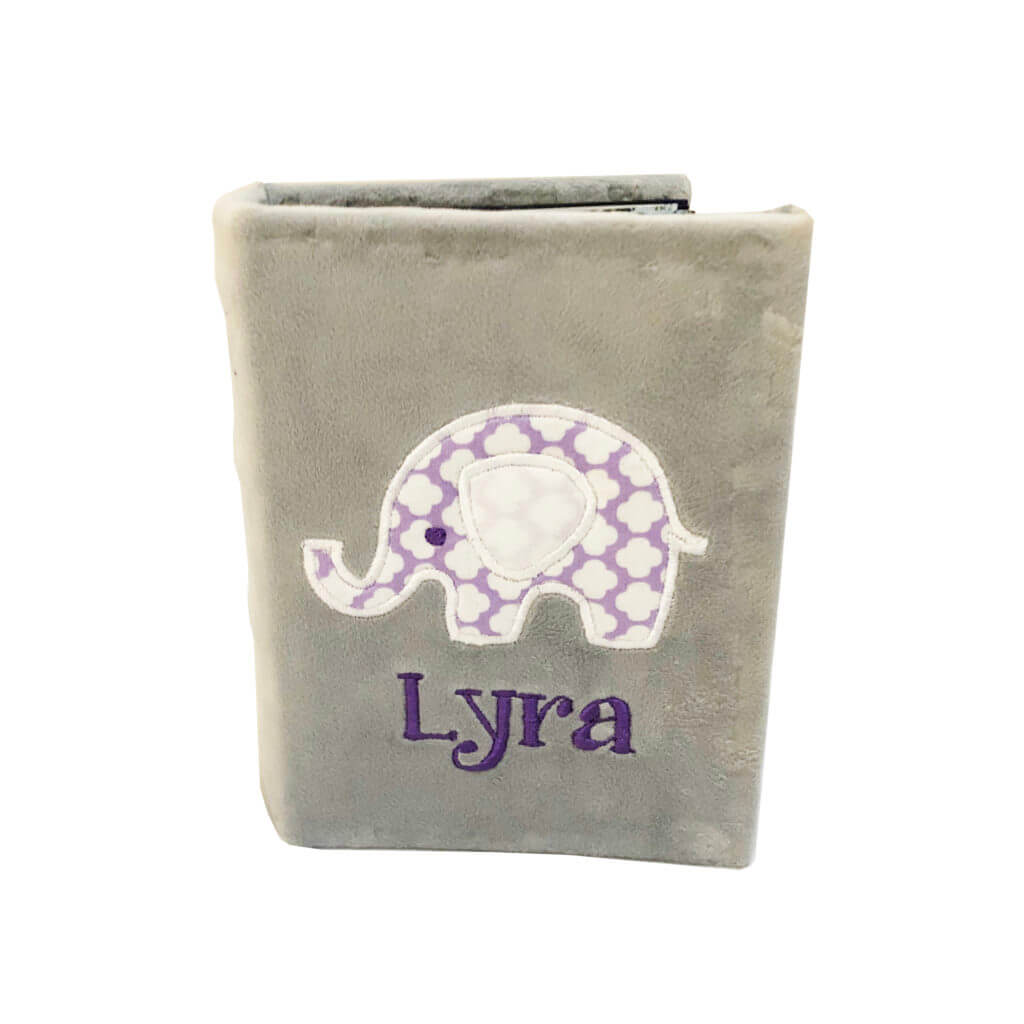
When I first discovered these mini photo albums, their tiny size immediately made me think they would be a perfect size for a baby. And I think I stumbled upon the perfect baby gift.
Never thought about making a personalized photo album for a baby? Maybe you should. Here’s why it’s a great idea.
First of all, it’s personalized. New moms and moms to be go apeshit over anything with their baby’s name on it. There’s just something about seeing that baby’s name in print that fuels the excitement of a newborn.
If you really want to score with a new mom, make the personalized photo album coordinate with the baby’s nursery. A cute, custom photo album that coordinates with the baby’s room decor could be displayed on a shelf and help tie everything together.
But a personalized photo album for a baby doesn’t just have to sit on a shelf. A mini album with pages that are easy to turn will provide hours of entertainment to a young toddler. I know from first-hand experience, babies LOVE turning pages. If the album is filled with pictures of friends and family, the baby could get to know friends and family near and far by flipping through the pages. The baby certainly won’t be clicking on folders of pictures stored in the Cloud.
Now here’s one of the best reasons to make this personalized photo album. It’s cheap! I made mine for less than $5 using supplies I already owned plus a $3 photo album.
So, let’s do this!
[do_widget id=custom_html-5]
How to make a personalize photo album using your embroidery machine
Supplies you will need
- Inexpensive photo album
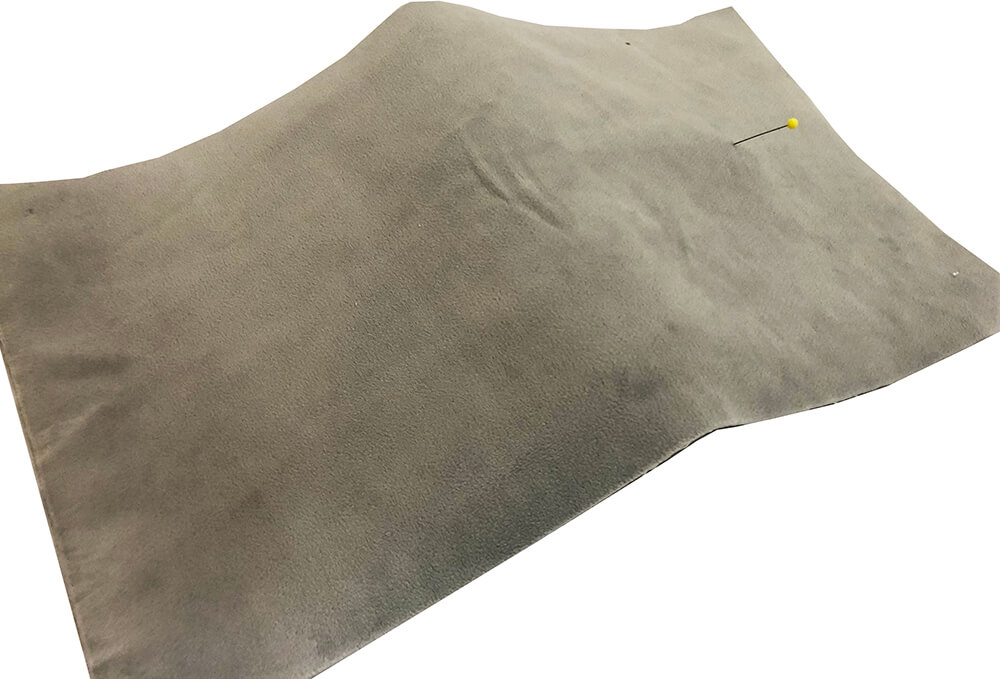
- Piece of sturdy fabric slightly larger than 2X cover + spine. Suitable fabrics include corduroy and upholstery fabric.
- Fabric glue
- Embroidery or applique design that will fit on the front of the album. I like to use a cute animal embroidery or applique design and add the baby’s name below.
- 3/8″ grosgrain ribbon
- Binder clips
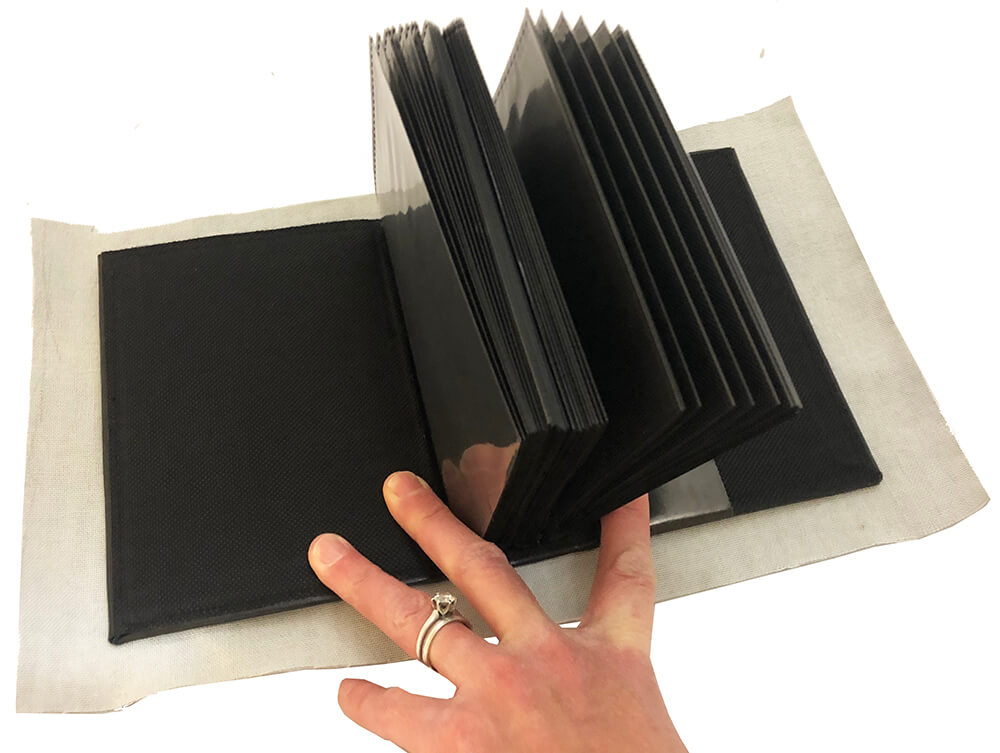
STEP 1: Determine how big of a piece of fabric you will need to cover your album, by laying your fabric over the back of the album. Cut around the album, leaving about an inch on each side.
STEP 2: Mark the center of the design using a pin by laying the fabric over the album.
STEP 3: Stitch out your design on the fabric.

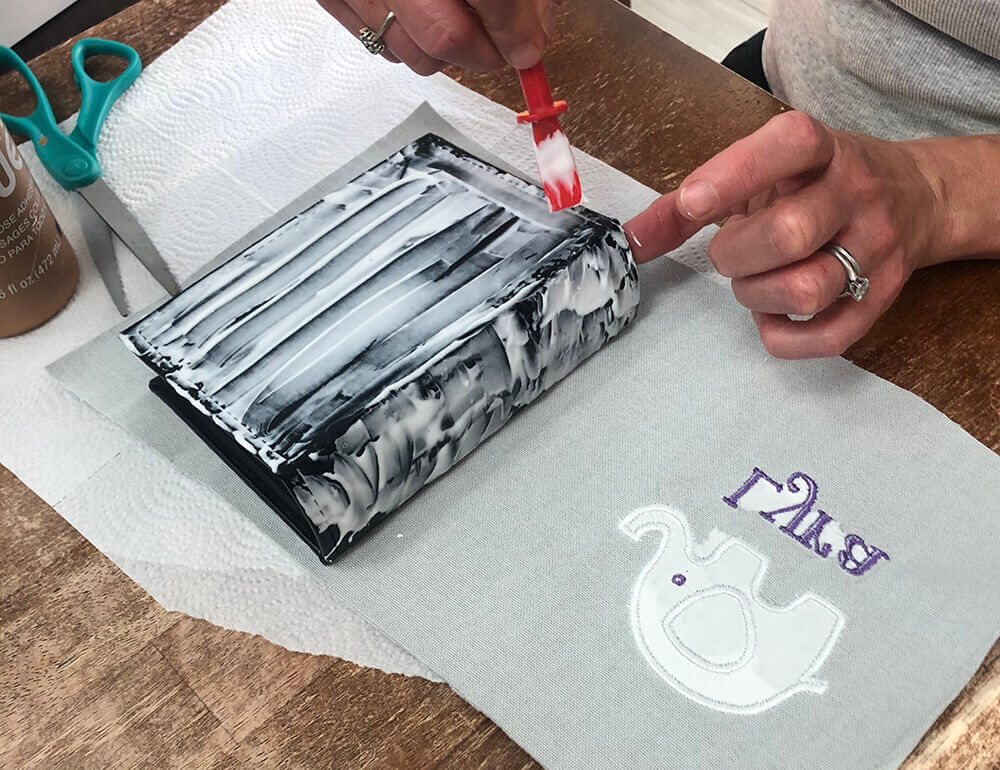
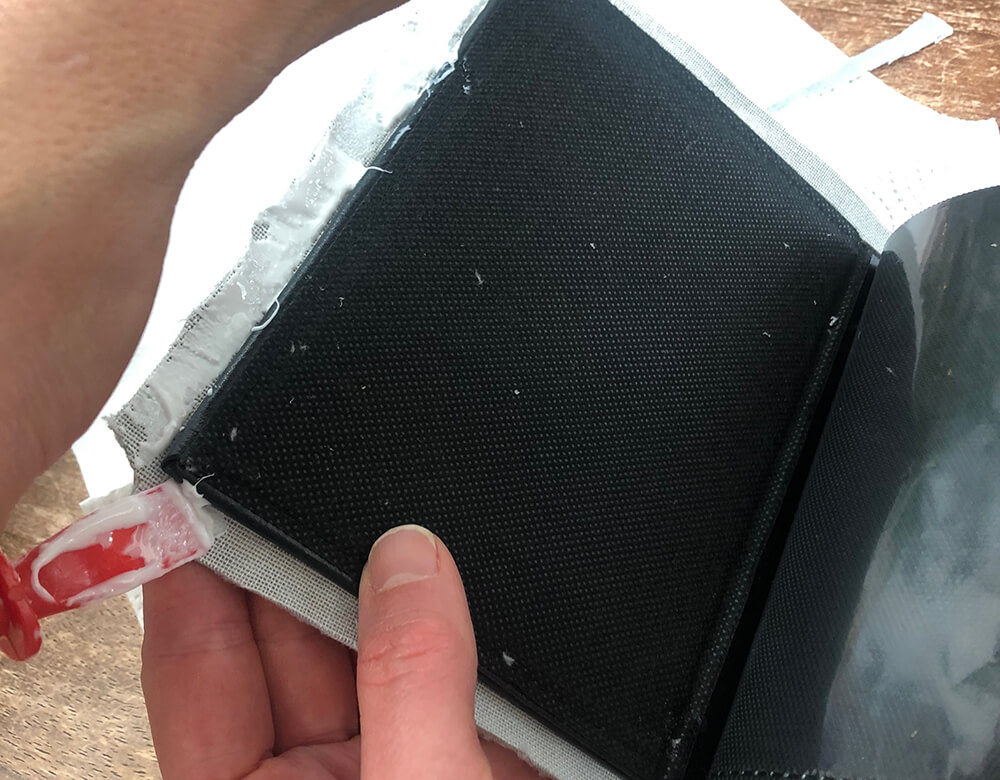
STEP 4: Cover the album with fabric glue then stick the cover onto the photo album.
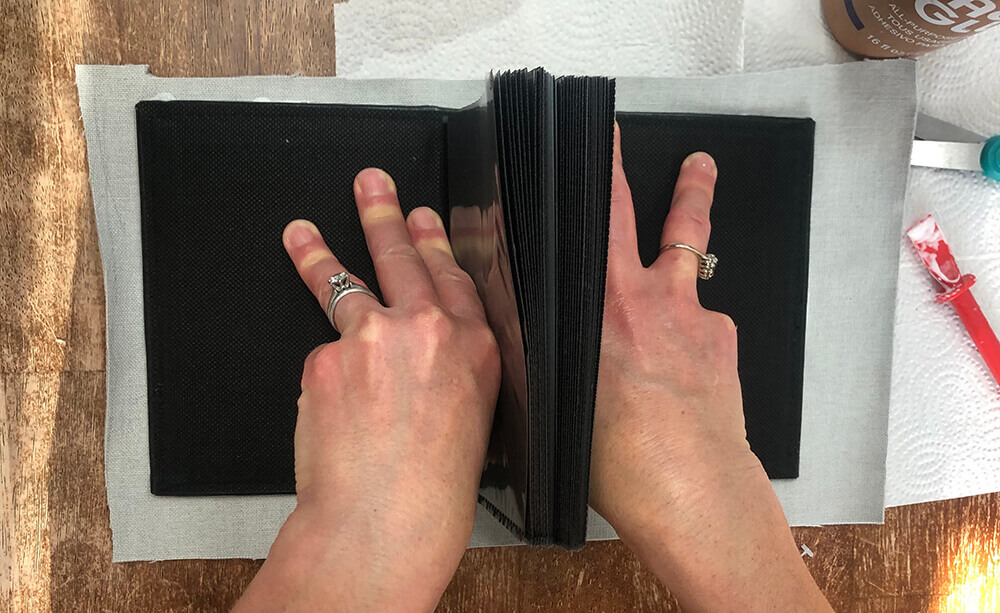
STEP 5: Press front and back cover onto the fabric.
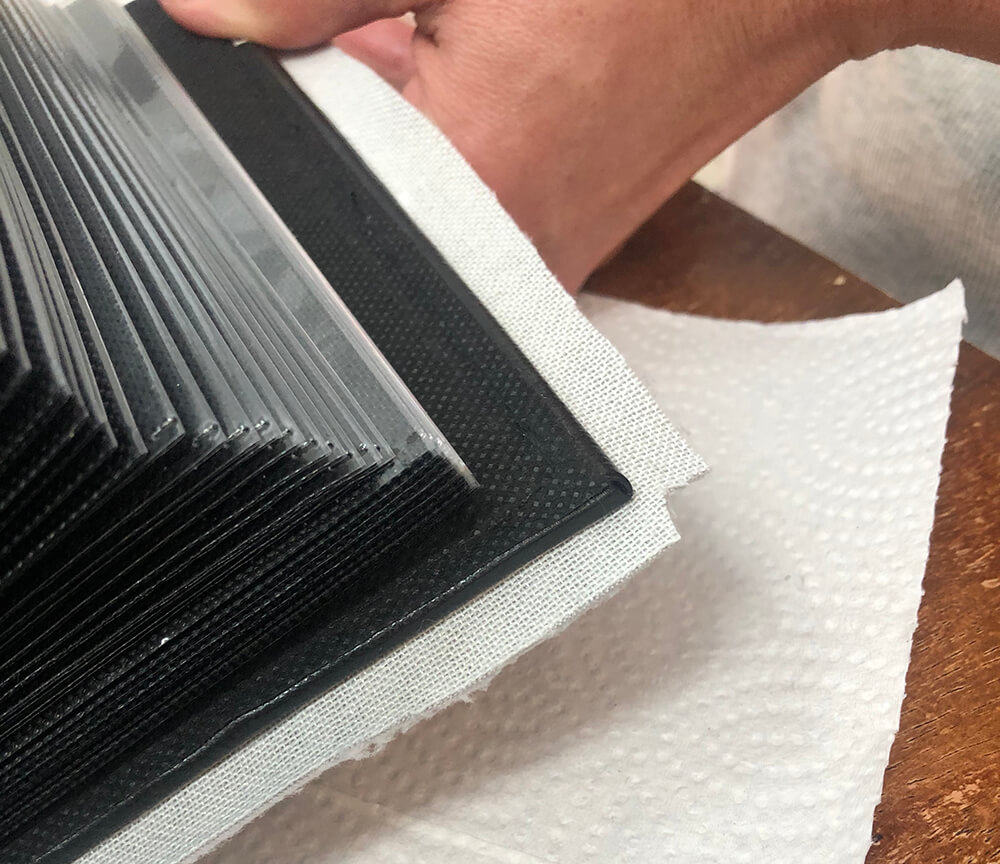
STEP 6: Trim the fabric around the outside edge of the photo album, leaving approximately 1/2″ of fabric. Cut away corners as pictured below.
STEP 7: Apply glue to the remaining fabric around the outside edges of the album.
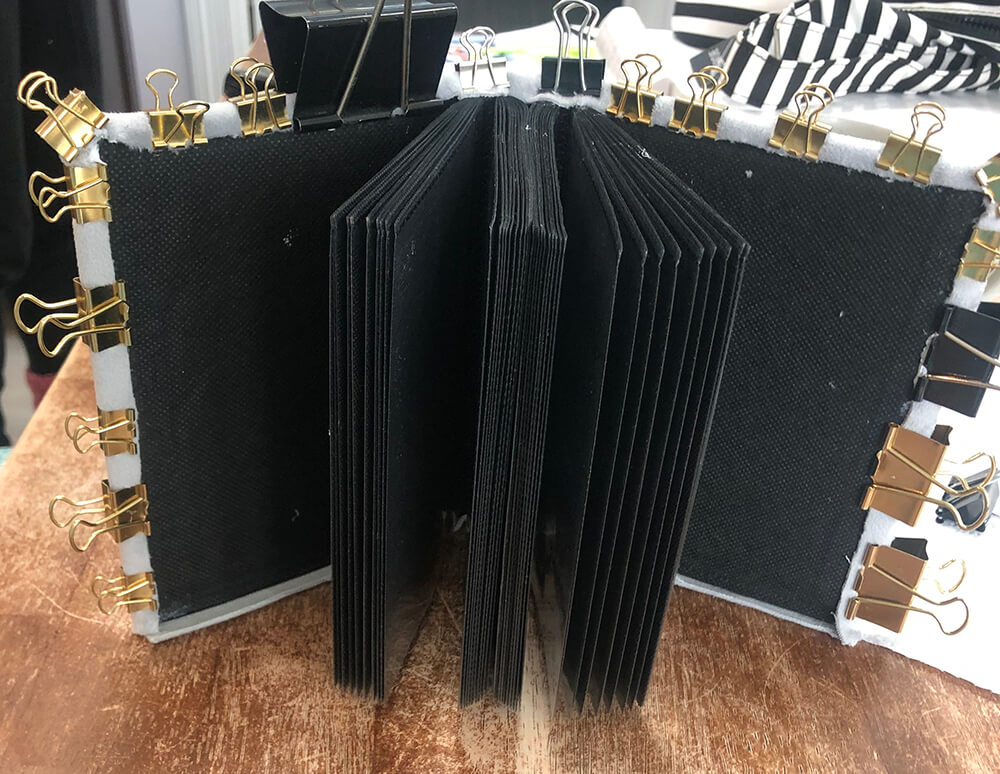
STEP 8: Fold over the excess fabric around the edges and hold in place with binder clips.
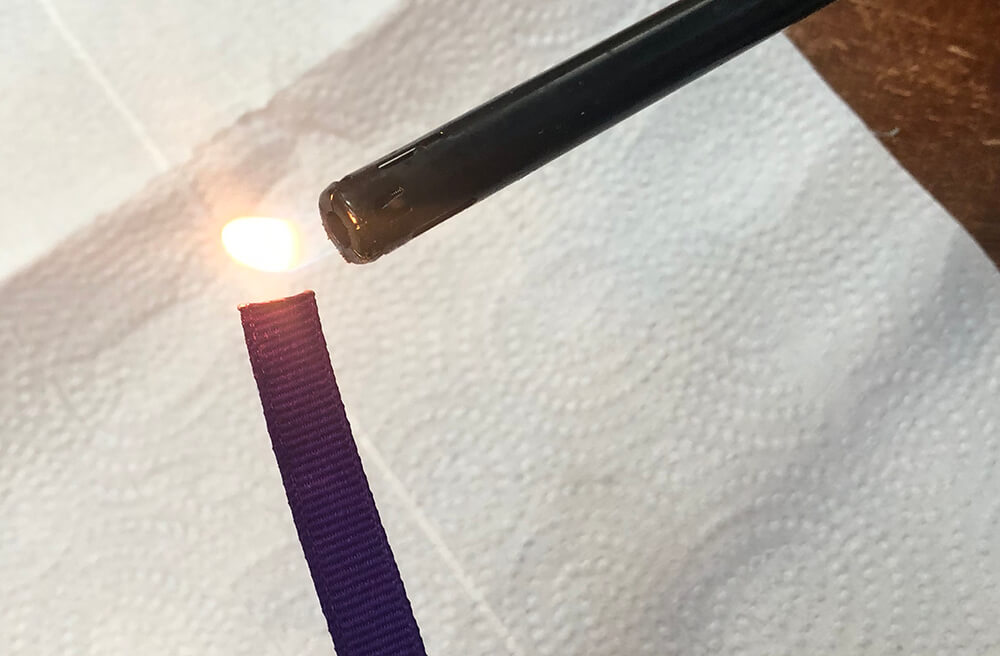
STEP 9: Cut 6 pieces of ribbon to cover the raw edges of the fabric that is folded over onto the inside cover of the album. Before gluing these piece onto the album, burn the ends of the ribbon to prevent them from raveling.
STEP 10: Glue the pieces of ribbon down onto the inside cover of the photo album to cover the raw edges of the photo album, both front and back. Use binder clips to hold the ribbon in place.

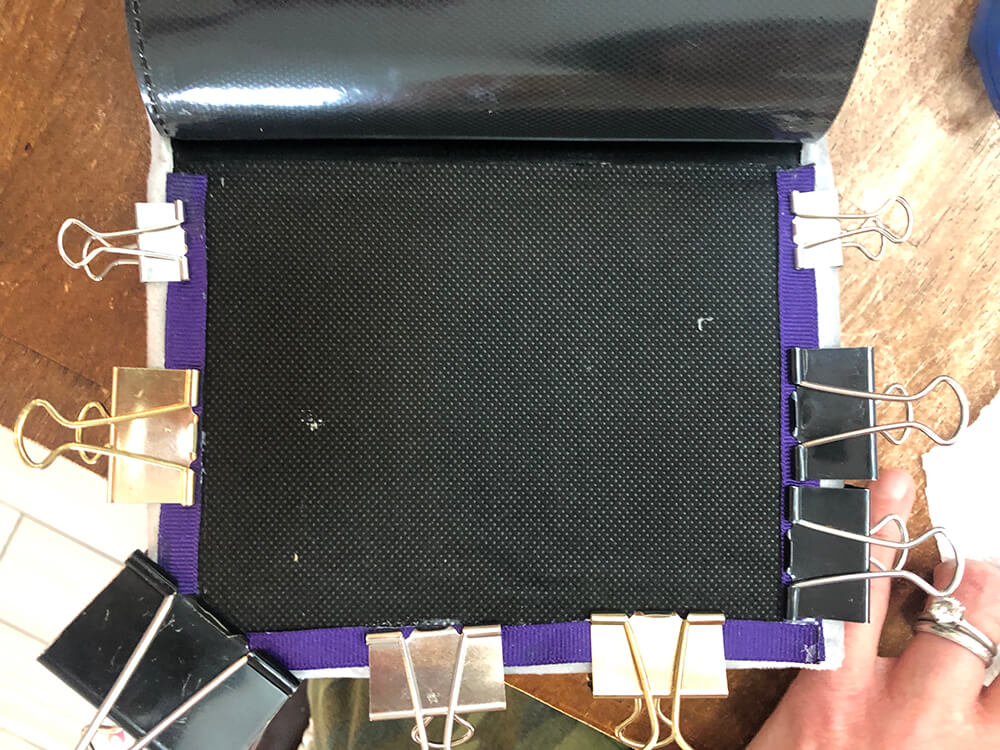
STEP 11: Once the glue is dried, the album is all done!
Don’t like this idea? That’s ok. I have lots of other baby shower gift ideas to make using your embroidery machine.
Enjoy! And happy stitching!
Julie
Helpful Shopping Links
Want to remember this? Post “How to Make a Personalized Photo Album Using Your Embroidery Machine” on your favorite Pinterest board!