Disclosure: Some of the links on this site are affiliate links. This means that if you click on them and make a purchase, I may earn a small commission at no extra cost to you. Please know that I only recommend products and services I trust and use myself.
If you are a true embroidery geek, you probably collect A LOT of embroidery and appliqué designs, especially when there are so many great sources for free ones. But, once you start amassing a collection, it can be challenging to find the one you are looking for which is why it’s important to implement some organization systems. Fortunately there is some inexpensive (and free) software as well as clever techniques to help you organize machine embroidery designs.
Products to help organize machine embroidery designs
Why you should organize your embroidery designs
Before we get into the nitty gritty of machine embroidery design organization systems, let me first paint a picture of why establishing an organization system early on can really make a difference.
When I first started machine embroidery in 2001 and purchased or found free designs and downloaded them, I did not organize any of my designs. It really made it so difficult to find designs as my “collection” grew. So now I have the monumental task of going through all of these files and organizing them. It’s a very slow and tedious process. But slowly my design files are becoming organized. 🙂
So before you go too hog wild buying and downloading designs, take some time to set up a system.
[do_widget id=custom_html-28]
Setting up your file folders to organize your embroidery designs
Create meaningful names
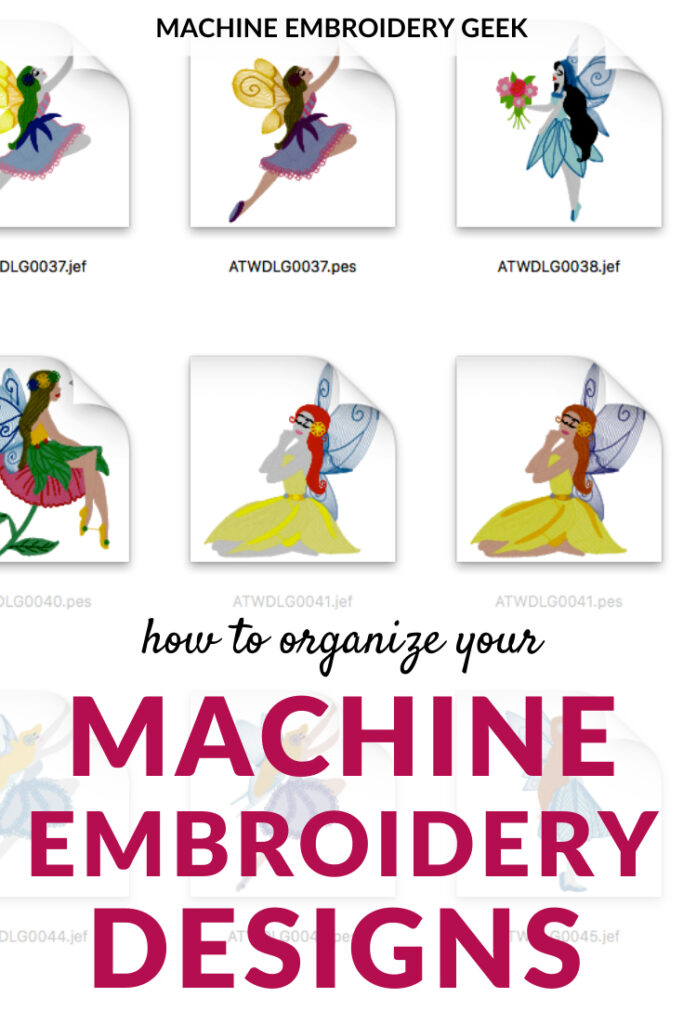
When you download an embroidery design from a designer, it may be named something that is meaningless to you. For example, a file named “flower 1” is not going to be very descriptive after you download twenty other flower designs. So, after you download a design, it’s a good idea to change the file name to something more meaningful to you that will help you identify it in the future.
Keep the zip files, extract and remove unwanted formats
A good tip is to rename the zip file with the digitizer/website and the name of what the design is. If you name all of the downloaded file names starting with the name of the company you bought it from, all of the files from the same company will be grouped together when you sort them by name. So, for example, you would have all of Machine Embroidery Geek embroidery designs clumped together. Once you extract the zip file, the folder will inherit the name of the ZIP file. Since you can always extract the ZIP file again, you can throw away all the file formats that don’t to pertain to your machine.
Keeping the original ZIP file is a good practice because it allows you to go back to that zip file and extract all the designs again. That way, if you obtain a new embroidery machine that reads a different file type, you can access the designs in other formats and don’t have to bother with converting it yourself.
Set up files and folders
If you just download embroidery designs, rename them and store them in one folder, you will end up with a lot of files in a single folder, so you probably set up some subdirectories, sub subdirectories, and so on.
There are generally two different schools of thought regarding how to set up the folder structure for machine embroidery designs. Some people organize files by designer, and others do so by type or theme. There are benefits of each system.
If you organize your embroidery designs initially in folders by designer, it can help you remember where you got the design. This is helpful if you want to go back and buy additional designs in a similar style. Also, if you have any issues with the stitch out of the design, you know which digitizer to contact for a revised design.
The downside of organizing embroidery designs by digitizer is that all of your flower designs (for example) will be distributed among many different folders.
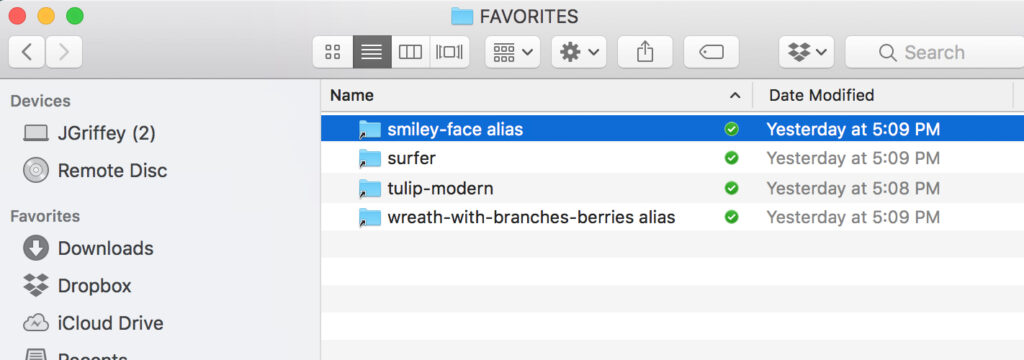
However you decide to structure your folders for your embroidery designs, you can always create a “favorites” folder full of the designs you use most. Instead of making a duplicate copy of your designs, you can simply create shortcuts to the designs you use most and put them in this favorites folder. You may also want to use this shortcut technique for specialty designs like fonts, monograms and appliqués.
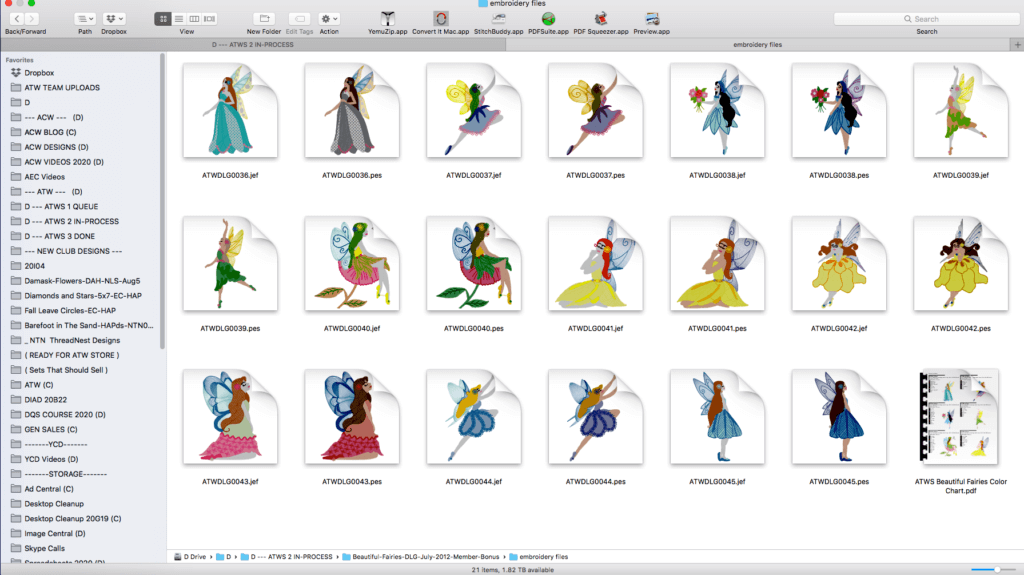
Keep the image of the design
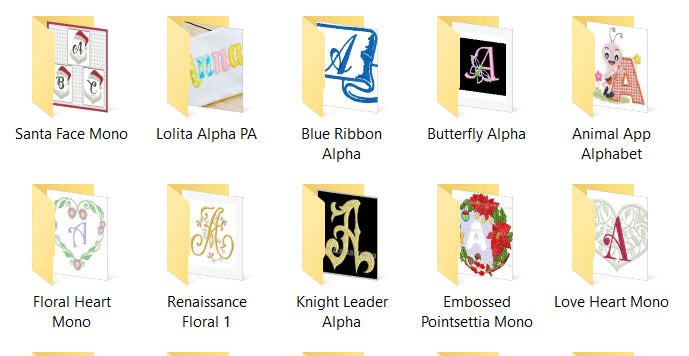
Most designers include a picture of the design stitched out with the embroidery files. If you keep this picture in the folder of the extracted zip file, your operating system will naturally create a preview for you. If the designer doesn’t include a JPG image of the design stitched out, you can simply save the image from the website and store it in the extracted folder.
How to set up your folders
If you are not sure how to set up directories and sub directories for your machine embroidery designs or don’t want to take the time to do it, you an actually buy a nested set of folders already named with the most common categories of embroidery designs. One set that gets good reviews is the set of 600 nested, empty folders from Creative Applique. I think that paying a few dollars for this named, hierarchical set of folders is a bargain considering the amount of time it will save you.
Other hacks to help you organize your machine embroidery designs
Evernote
I am a huge fan of Evernote and have been using the app for years. I primarily use it to capture random notes, business cards and other paperwork that I would like to throw away but feel like I might need to reference it down the road. Evernote allows you to set up “notebooks” full of notes which can be pictures, text and even audio.
One of the most powerful features of Evernote is to be able to tag your notes. And for this reason, it can be a very useful tool in helping you organize your machine embroidery designs. All you have to do is create a note for every design you buy, inlduce a picture of it and tag it with things that you would use to find it like “Christmas” or “winter” or “typeface” or “girls” or “sports” etc. You can also tag it with the designers name, which allows you to easily get back to the website if you need future assistance with the design.
Because Evernote notebooks are accessible on your desktop as well as your phone, you can do all the tagging and organizing from your computer and then reference your designs from your phone.
Pinterest is another great tool that you can use to quickly see all of the embroidery designs that you own. You simply need to pin the image of the design and then add a title and description of it. Once you add your embroidery designs to boards, you can see them all just by viewing the board. You can also search your boards for a particular design. And, like Evernote, Pinterest is accessible from both your desktop computer as well as your phone.
Another benefit to putting your designs on Pinterest is to be able to share boards with customers. For example, you could set up a board of all the embroidery typefaces you own, then simply ask clients to pick a style from the board.
Notebooks
If you do a lot of work with customers face to face, or you simply like to work off screen, you can always print off a picture of your embroidery designs and store then in notebooks. Three-hole-punch your printed out pictures and store them in a binder. If you label the picture with the name of the file, you can always get back to the design by searching for it on your computer.
Software to help you organize your embroidery designs
Thumbnailer from Embrilliance is a great tool to help you organize your embroidery designs. And – bonus – it runs on both a Mac or PC. It works kind of like a rolodex that lets you see pictures of all your embroidery designs. This software doesn’t organize your designs, but you can get a preview of the design without having to open each file.
At just $25, Sew Iconz from S & S Computing is a steal for allowing you to preview your embroidery files. The only limitation is that it only runs on a PC.
Keep in mind though, with all of these embroidery design previewing tools, you will need to extract the embroidery files from the ZIP file in order for them to “see” it.
Preventing the loss of your machine embroidery designs
After you go through all of the trouble of organizing your embroidery designs, the last thing you want to happen is to lose all of your embroidery designs. Therefore, it’s critical to have some system in place to backup your designs.
Dropbox
Dropbox is a cloud based file storing system that acts like an external hard drive. I, personally, keep all my embroidery designs on Dropbox which is really helpful because I can access my files from any computer. I can also access my designs from the Dropbox app on my phone, which is handy when someone needs me to send them a link to one of my embroidery designs – I just send them the Dropbox link.
Some people back up embroidery designs on an external hard drive, however these can always fail, plus you don’t have the accessibility you would get from a cloud-based system like Dropbox.
So, who’s ready to get organized?
I hope these tips and tools help you manage all your machine embroidery designs. In doing this research, I actually learned a thing or two. So, maybe it’s time for me to put my money where my mouth is and start organizing my machine embroidery designs.
Happy stitching!
xo
Julie
[do_widget id=custom_html-10]
[do_widget id=custom_html-9]
Want to remember this? Save “How to Organize Machine Embroidery Designs” on your favorite Pinterest board.