Disclosure: Some of the links on this site are affiliate links. This means that if you click on them and make a purchase, I may earn a small commission at no extra cost to you. Please know that I only recommend products and services I trust and use myself.
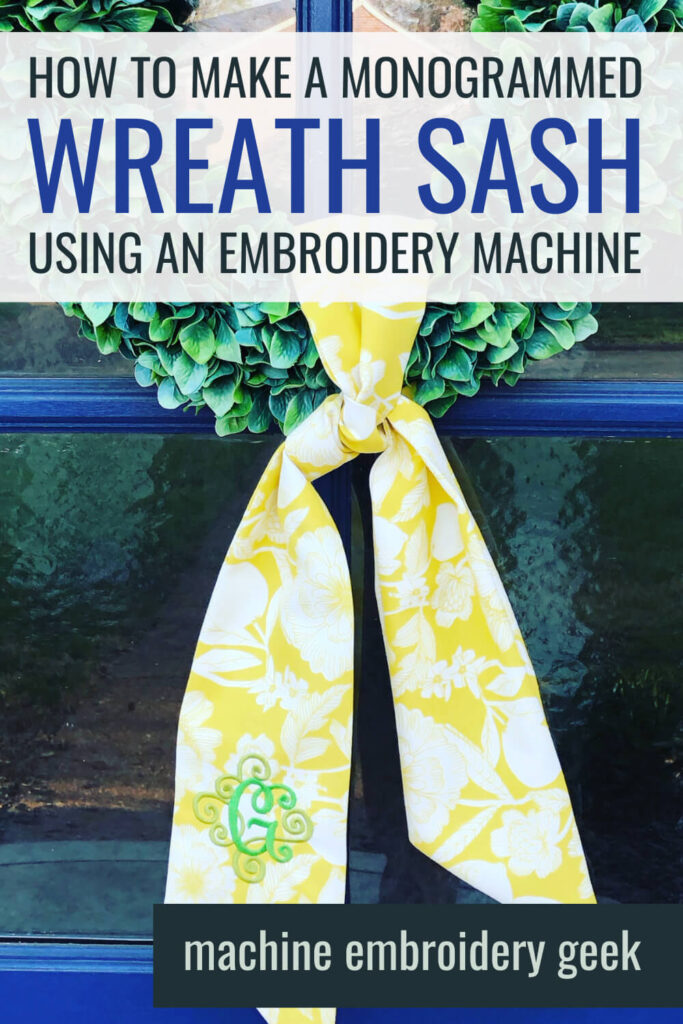
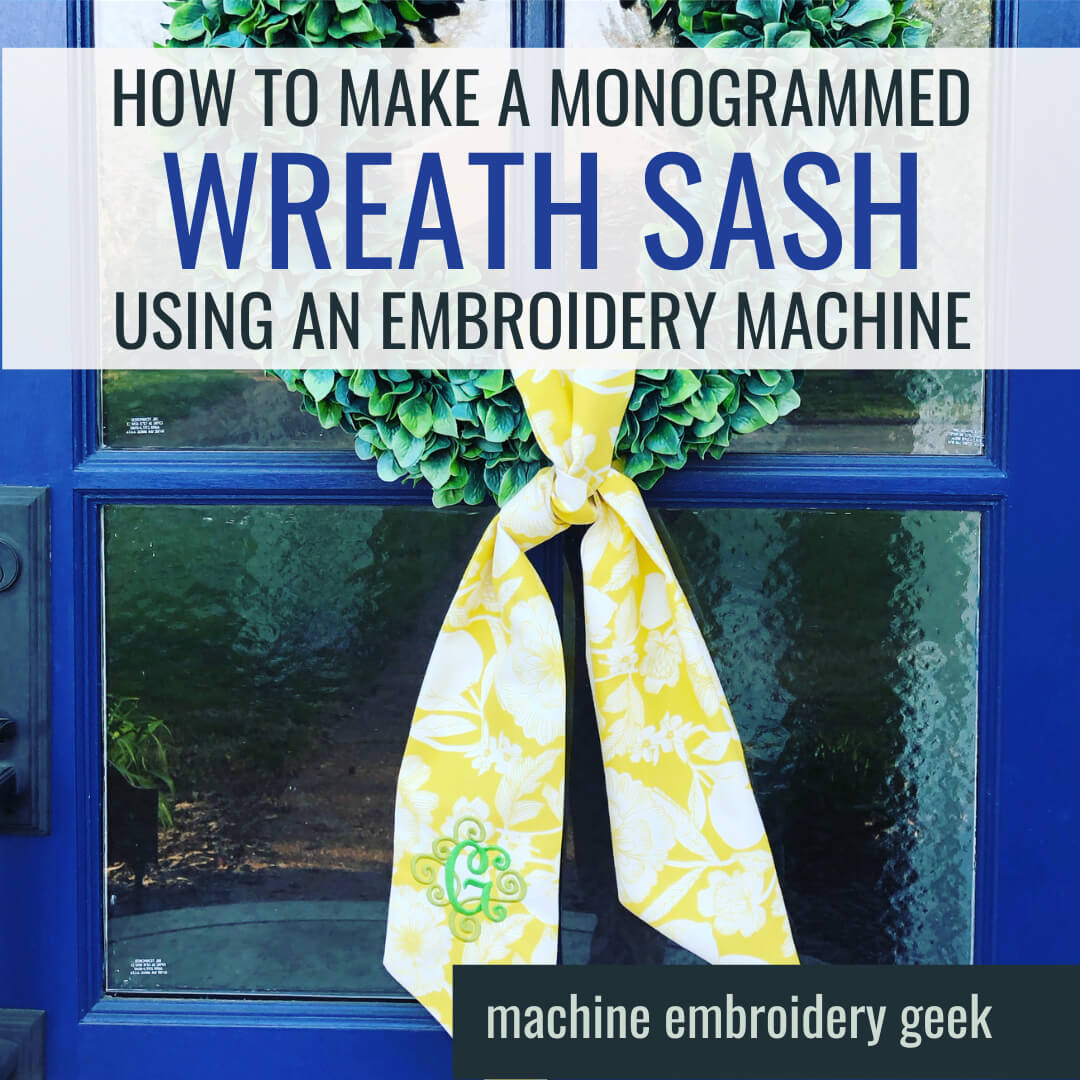
Are your front door wreaths looking a little generic and seasonally ambiguous? Well, then it’s time to make a monogrammed wreath sash! Never seen one before? Let me introduce you to these lovely bits of home decor that you can easily whip up on your sewing and embroidery machines that will take your curb appeal to the next level.
Products mentioned in this post
- Simple green wreath for a front door
- Indoor/outdoor type of fabric
- Tear away stabilizer
- Cut away
- Machine embroidery thread
- Machine embroidery bobbin thread
- Disappearing ink fabric pen
- HeatnBond Lite
- Forest Hills scroll machine embroidery font
What is a monogrammed wreath sash?
A monogrammed wreath sash is not too different from a regular sash that you might tie around a dress. Its a folded and finished piece of long fabric with pointed ends.
But a wreath sash is intended to add a bit of polish and character to a wreath. They drape over the bottom of the wreath and tied in a casual loose knot.
Why make a monogrammed wreath sash?
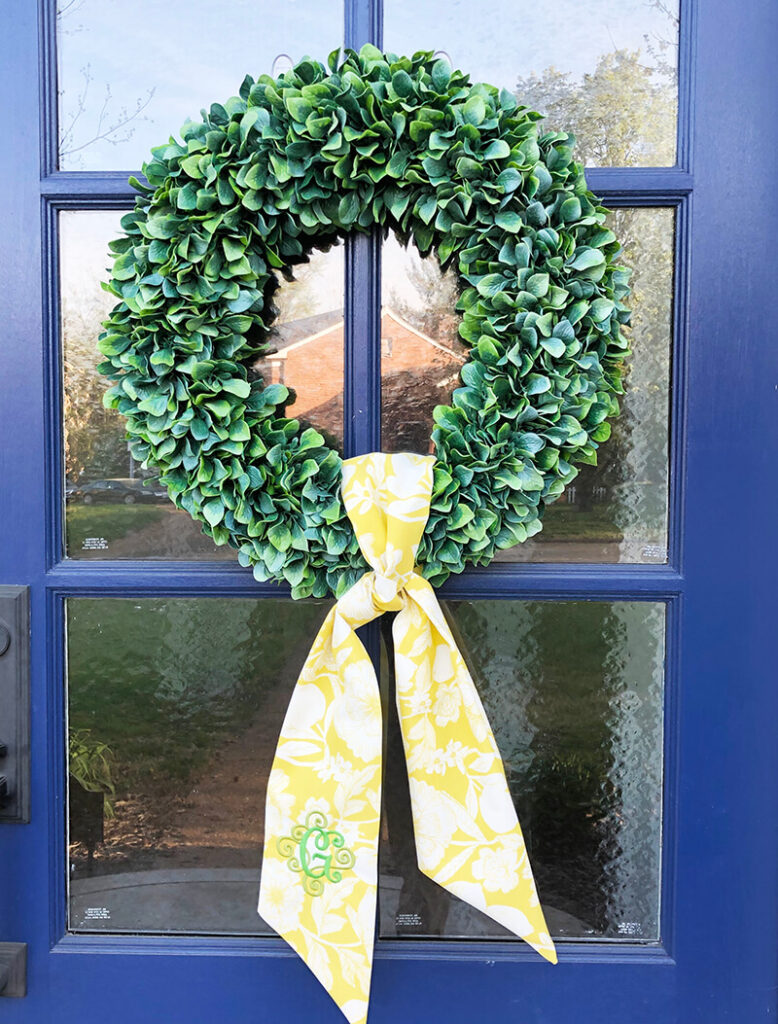
A monogrammed wreath sash allows you to showcase your initial as well as your personal style while adding a pop of color and texture to your front door.
And let me tell you… my front door needed a bit of help.
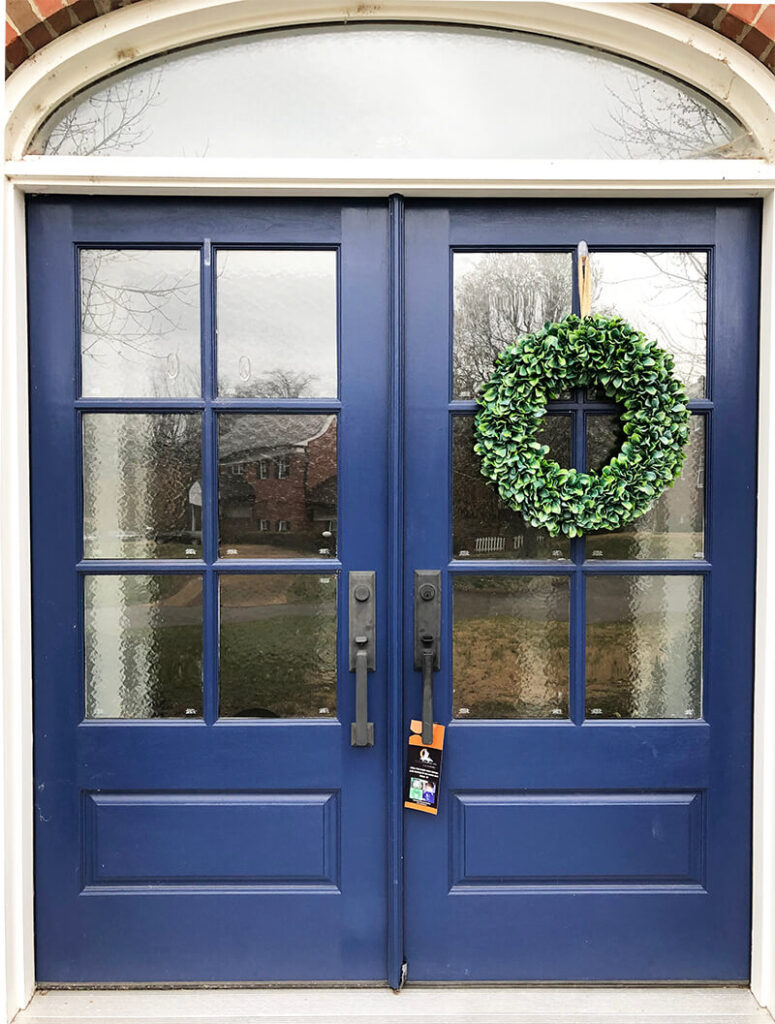
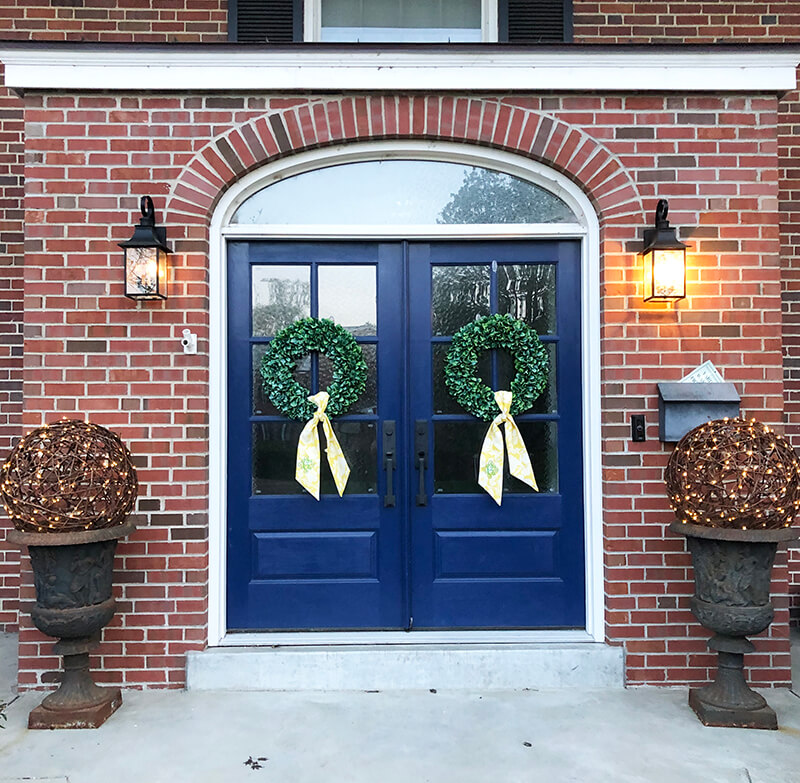
A few weeks back, I bought two fairly generic looking artificial green leafy wreaths from my painted blue front double doors. I hung them up using command hooks. But, two days later, one was on the front stoop. The whole situation was pretty uninspiring. I finally revised my hanging technique which (fortunately) seems to be pretty successful – the wreaths are staying put. Nevertheless, they lacked a bit of Character and interest.
My husband’s assessment of my front door greenery? “Too Christmassy.”
So when I started this project, the bar was pretty low.
My hope was that my yellow, monogrammed wreath sashes would kill the winter holiday vibe while bringing out the color and texture of the spring landscape.
Who is using these monogrammed wreath sashes?
Perhaps you are wondering if this is just a project I came up with or an actual trend. I can assure you that it is a real trend that I’ve witnessed all over Instagram. But the best examples of monogrammed wreath sashes can be found on my pal Diane’s Insta feed (@highmeadowdiane)
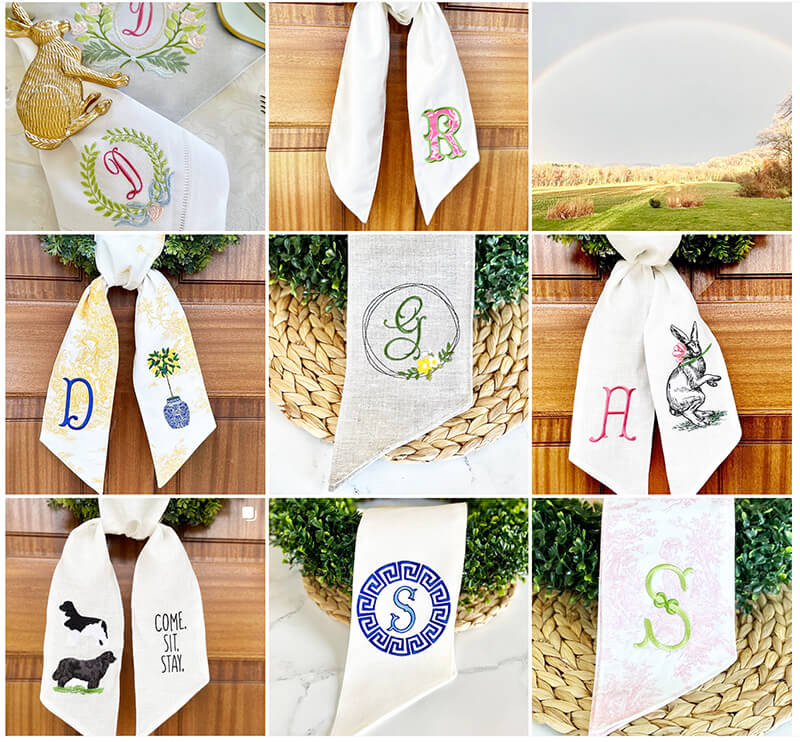
Diane has become the go to source in her area for monogrammed wreath sashes. She has a great eye for fabric and design as well as a great sense of humor. She knows how to make a wreath sash for a front door that truly reflects the personality of the home owner. You can see she’s embroidered everything from family pets to family crests. They are all truly one-of-a-kind masterpieces.
How to make a monogrammed wreath sash
Now that you know what a monogrammed wreath sash is and who’s using them, let’s get down to the nitty gritty of how to make one.
Fortunately Diane was willing to share some tips and tricks to make the whole project go much smoother.
How to make a monogrammed wreath sash
Gather your materials
Wreath
Of course, in order to do this project, you will need to have some wreaths. If you don’t have some already that you plan to add these sashes to, make sure you buy ones that are fairly plain and not going to compete with the lovely sash you add to it.
Fabric
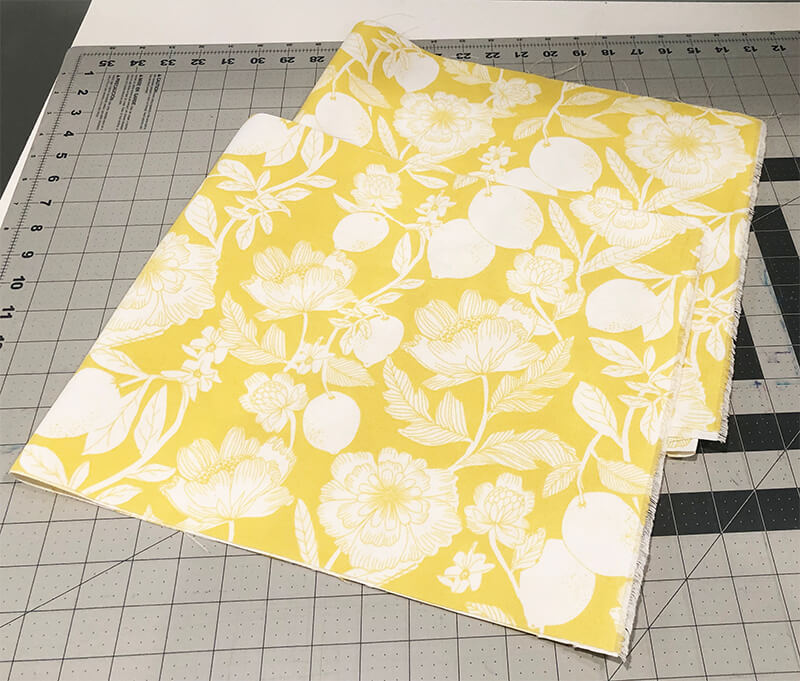
You will need to choose a fabric that has some weight to it and is going to drape nicely. You can use any type of fabric you want but Diane recommends a material that does not need to be lined and will hold up well to the elements. She reports that she often chooses an upholstery fabric. You can see, below, that I used an indoor/outdoor type of fabric for my sashes.
You will find that these heavier weight fabrics are usually between 54″ – 60″ wide which is the perfect length for this project. Assuming you get this width of fabric, you will only need 1/3 of a yard.
Stabilizer
Assuming you will be making the monogrammed wreath sash from a heavier weight fabric, you have some flexibility in the type of stabilizer you choose. Generally I only use a tear away stabilizer on wearable projects, but either cut away or tear away is fine.
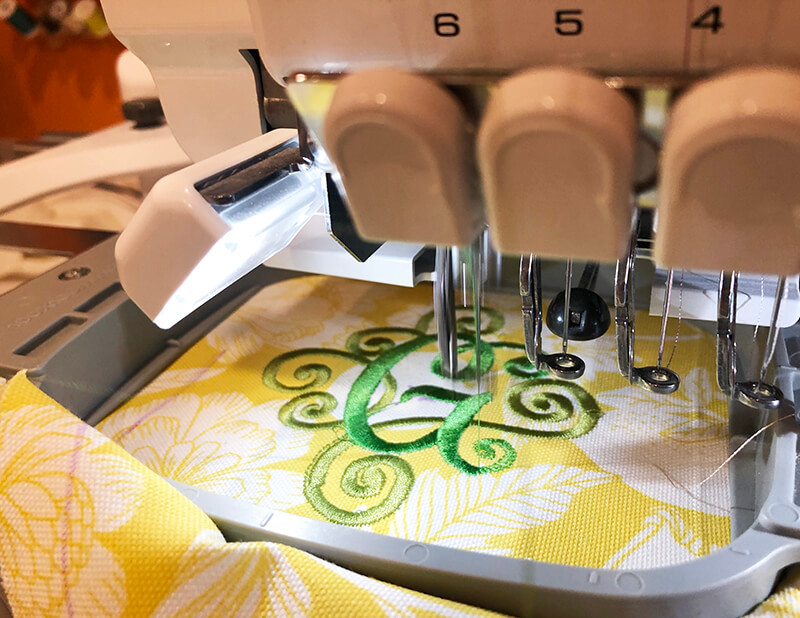
Embroidery design(s)
If you take a look at the monogrammed wreaths on Diane’s Insta feed, you will see that she has worked with a wide variety of designs. An ornate single initial design works well, as it can be seen from a distance. But, you can also use a full monogram.
On many of Diane’s wreaths, she stitches out a design that is reflective of the owner’s interests and taste. If you are selecting a design, avoid anything too small or too ornate as it will look too puny compared to the large wreath. Pick a design that can be stitched out at least 4″ high.
Also keep in mind that the design can’t be too large. The width of your final sash will be between 5″ x 5-1/2″, so your design can not exceed about 4″ in width.
You may also notice that some of Diane’s sashes include one design and some have a design embroidered on both ends. Of course, this is personal preference. Since I had two wreaths on my double doors and hence two wreath sashes, I thought that a single design on one end of the sash was enough.
I actually digitized an entire font set specifically for this project. Check out my new Forest Hills Scroll machine embroidery font.
Machine embroidery thread and bobbin thread
You will obviously need machine embroidery thread in order to stitch out the designs on the sash and the color will depend on the design you chose.
If you are choosing a single initial or a monogram design, I would suggest choosing a thread color that ties together your color scheme. In my case, since my wreath sashes were yellow, I chose a green thread color for my single initial design to tie in the colors in the environment as well as the green in the wreath.
Standard machine embroidery bobbin thread is all you need for this project.
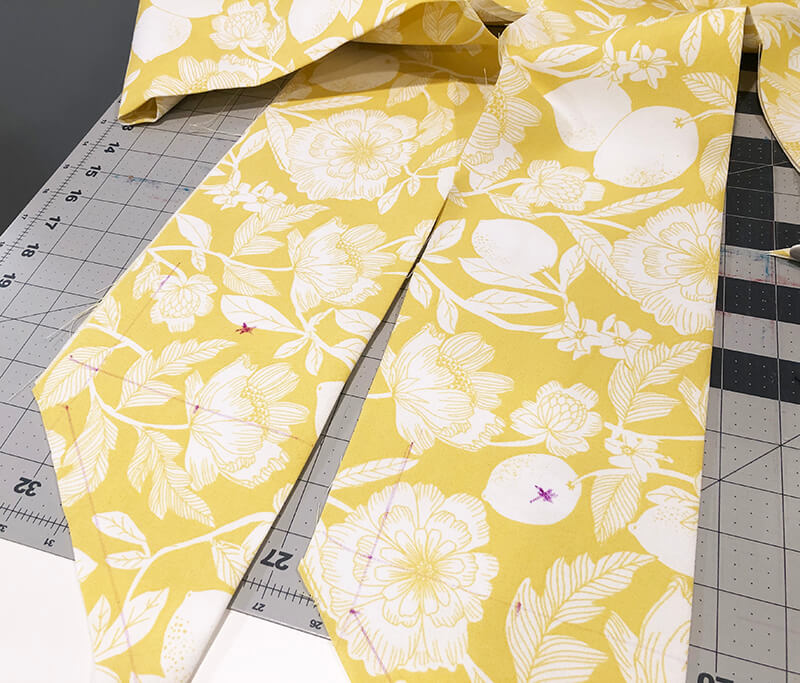
Cut your fabric
If you purchase just 1/3 of a yard of fabric, your cutting work is done. The piece of fabric you start with should be 12″ wide by 54″ – 60″ long which is exactly what you need.
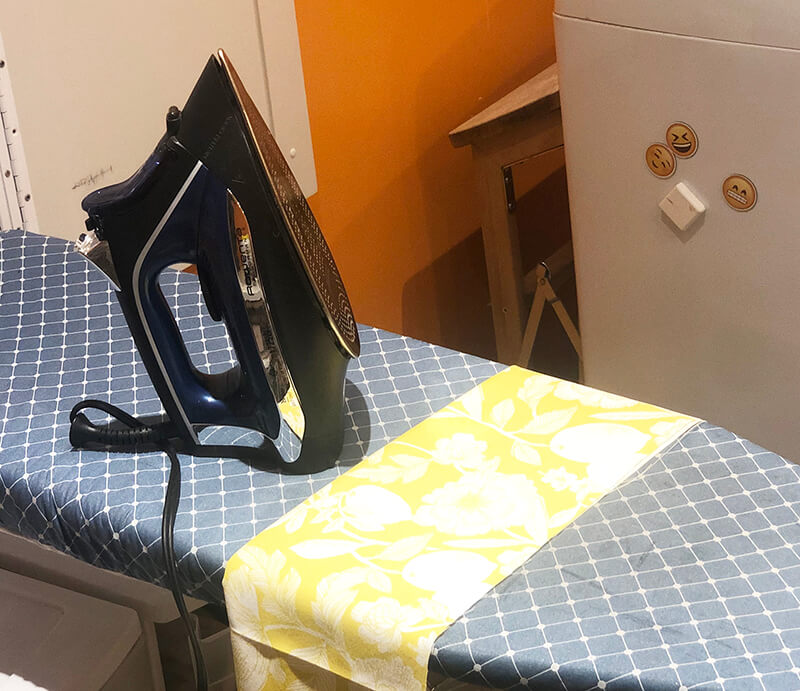
Press your fabric
With right sides together, fold your fabric in half lengthwise and press.
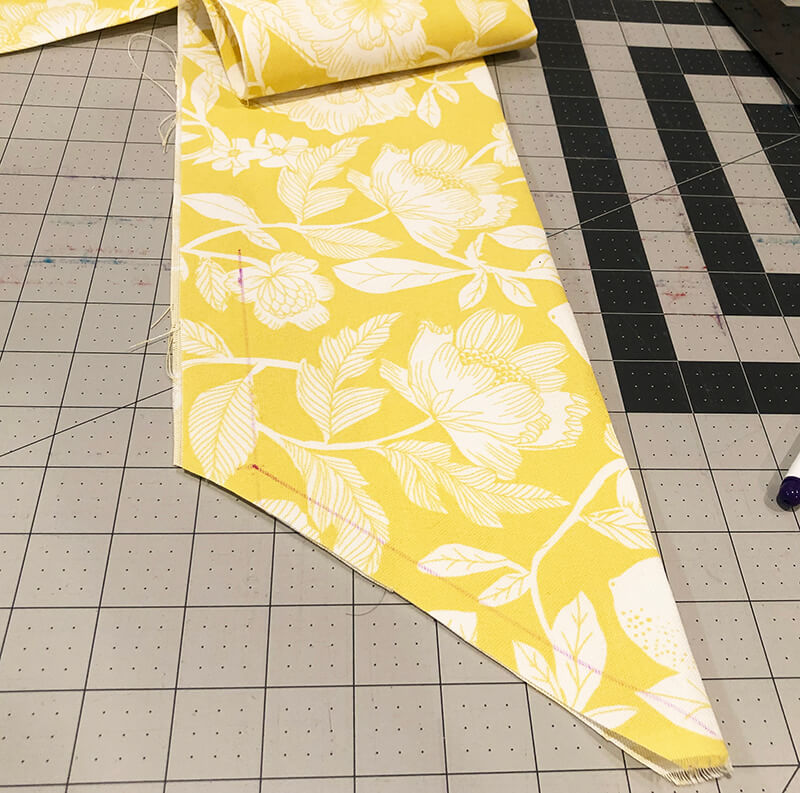
Mark your stitch lines
Now you need to mark your sewing lines as well as the center points for your designs. First you must decide how wide you want your sash to be. I decided that I wanted to my sashes to be 5″ wide, so I drew a line 1″ parallel to the long edges of the fabric. Yes – I know this is more seam allowance that normal, it was just easier than trimming it down.
Mark a spot 4″ up from the bottom along the line you just drew. Draw a line from that point to the a spot 1/2″ up from the end of the fabric on the folded side. This is your diagonal sew line that will form the point at the end of the sash.

Trim off the excess corner fabric leaving 1/2″ raw edge from the diagonal line.
Mark the center of your embroidery design
Finally, you need to mark the center of your embroidery design. Let’s start by locating the bottom center of the design. Draw a line parallel to the bottom of the sash 5″ up. Mark the center of this line between the fold and the sew line. The center of the design will be directly above this spot. And the distance should be one half of the height of your design.
Since you are working on the wrong side of the fabric, stick a pin through the design center spot so you can mark it on the right side of the fabric (using a disappearing ink fabric pen) as well.
Use the folding method to float the fabric on some hooped stabilizer or hoop the fabric and the stabilizer, aligning the center mark of the design in the center of the hoop.
Stitch out your design
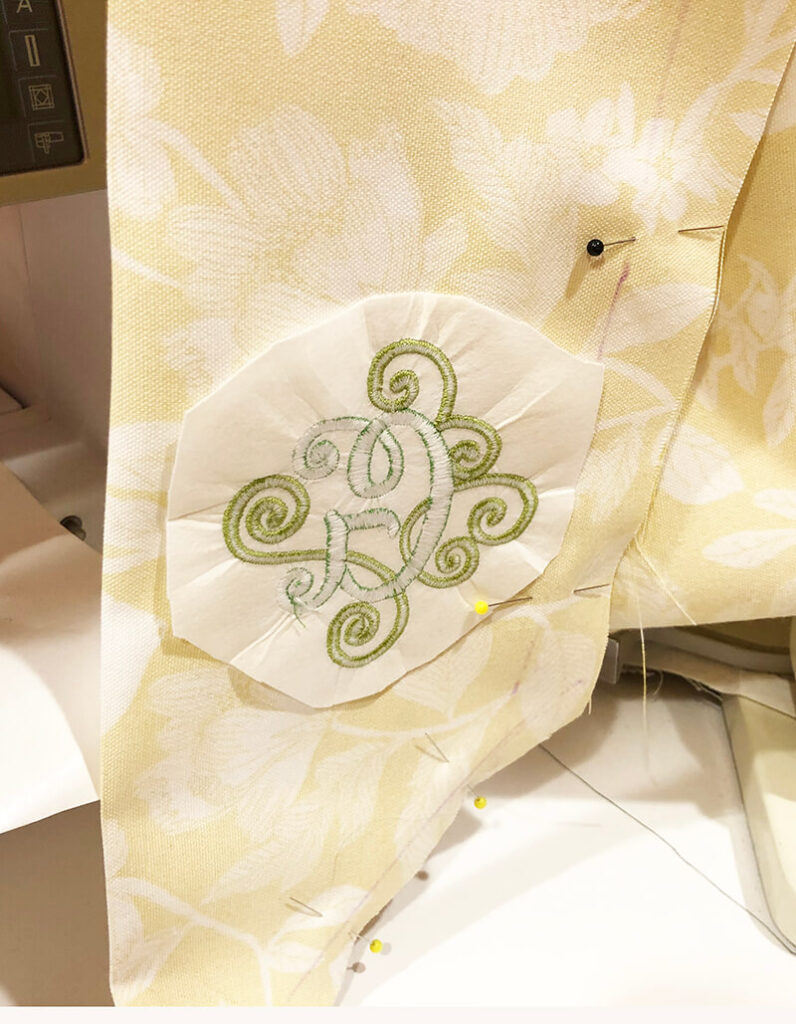
Stitch out your embroidery design, remove the hoop from your machine and trim away excess stabilizer.
Pin (or clip) the fabric
With right sides together, fold the sash back on itself. Pin the raw edges of the fabric together along the long edges. Pin around the pointed ends as well.
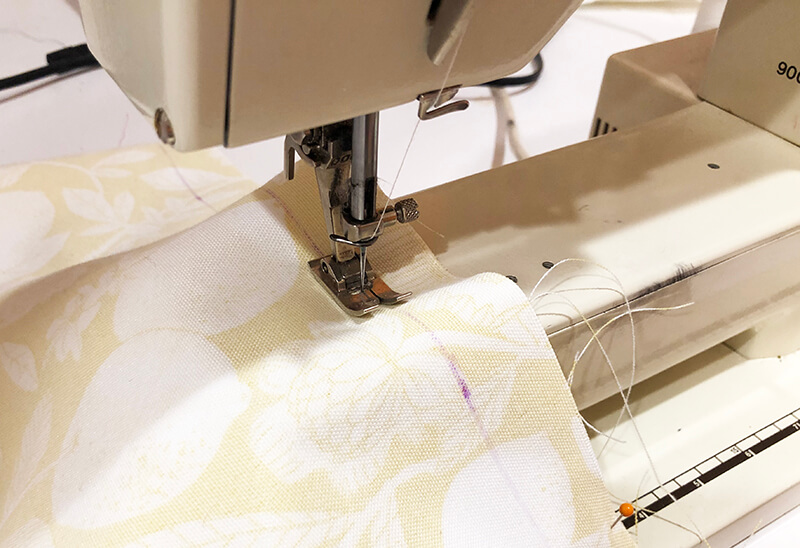
Sew the sash together
Sew the sash together along the sew line – leaving about a 10″ opening in the middle so that you can turn the fabric.
Complete the sash
Turn the sash right side out and press. You may want to use a pin to pick at the pointed ends to make them look sharp. Hand stitch the opening closed. Alternatively, you can fuse it together with some HeatnBond Lite.
Add your sash to your wreath
Now you have a beautiful handmade sash to embellish your wreath. Simply tie the ends of the sash around the wreath and you’re all set!
Enjoy your improved curb appeal
As you can see – my monogrammed wreath sashes improved my curb appeal tenfold. And now I am so proud of them that I can’t bring myself to take them down!
I hope that inspires you to make your own monogrammed wreath sashes for your home décor. Have fun with it and let me know how they turn out.
Want to remember this? Save “How to make a monogrammed wreath sash on your favorite Pinterest board”