A heart appliqué for the perfect Valentine’s sweater
This site contains affiliate links to products. We may receive a commission for purchases made through these links.

It’s sort of ironic that I make this heart appliqué sweatshirt and the fact that I love it so much. You know why? I’m totally not into wearing holiday related apparel. In fact, my kids even called me out on wearing a pink dress (with my black velvet pom pom shawl) on Christmas Eve. My son even said, “mom, those aren’t Christmas colors.” But this cute sweatshirt I simply couldn’t resist. Plus it’s a little more subtle than a Christmas sweater or head-to-toe in red and green.
Anyway – if you are looking for some apparel to celebrate the season of St. Valentine’s – I got you covered. The heart appliqué sweatshirt is quick, easy, and inexpensive to make. And it is ADORABLE.
How I got inspired to make the heart appliqué sweatshirt
But first, a little back story. My husband has a bit of a problem. He keeps ripping his shirts at the elbow. It’s weird. One after the next, his left elbow keeps tearing a hole in his shirts. But only the left one, and only on his nicest shirts. It’s infuriating.
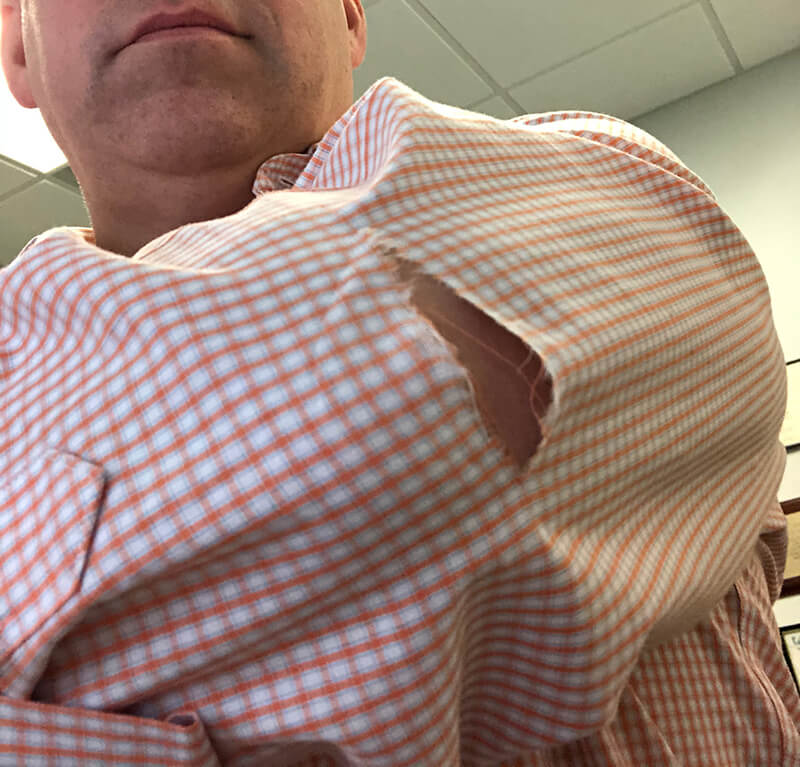
I know you must be thinking – simple – make them short-sleeve shirts. Yes – we have done this several times. But now he has so many short-sleeved shirts that he doesn’t want or need anymore.
He’s actually asked me to make a left elbow patch for all of his shirts. But I have, up until this point, resisted because I think it would look pretty dumb.
The whole situation is pretty funny, despite the fact that it seems like every day another Brooks Brothers dress shirt gets destroyed. Oh and the fact that my husband feels compelled to share photos of the daily destruction. Jeez! ok! How about just roll up your sleeves? Or at least the left one.
Anyway….. my friends think this is hilarious. And, I guess this just got us thinking about elbow patches. So, when the following picture came up on my friend, Alix’s facebook feed, she sent me this text which inspired me to make my own version.
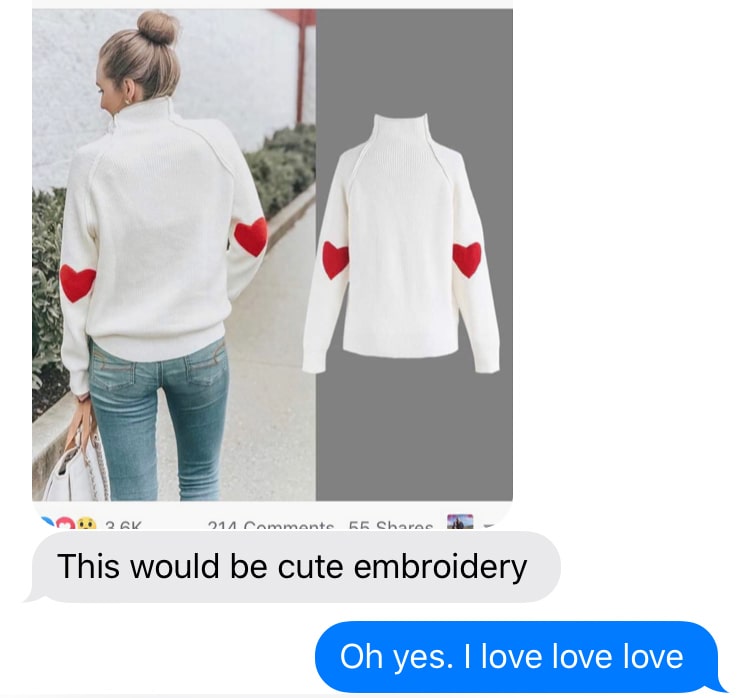
Lucky for her, her birthday is just around the corner, so I decided she would be the lucky recipient of my first heart appliqué sweatshirt. She would literally be wearing her heart on her sleeve!
How to make the heart appliqué sweatshirt
Supplies needed
- Store-bought sweatshirt. I bought my sweatshirt at Walmart in the Juniors section. It was fuzzy and black and fuzzy which provided a nice contrast to the red heart. But any solid sweatshirt will work.
- Red jersey fabric. I bought my red jersey fabric at JoAnns in the minimum yardage they would sell me – I believe 4 1/2″.
- Red embroidery thread that matches with the red fabric you purchase.
- Seam ripper – to open up the sleeve so that you can lay the sleeve fabric flat on the hoop.
- Pins – to mark the elbow point.
- Adhesive backed stabilizer
- Small piece of HeatnBond Lite
- Heart appliqué design – available for free! Just subscribe to the blog and you will receive access to the resource design containing this and many other free embroidery designs!
Step by step instructions
1) First, mark the elbow point. I did this by putting the sweatshirt on myself and marking with a pin where my elbow hit the sleeve.
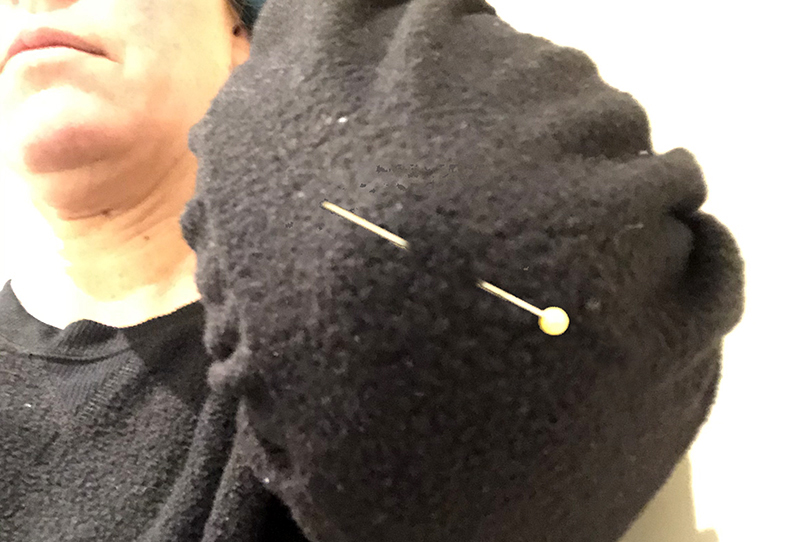
2) Open the sleeve seam using a seam ripper. You will want to open at least 6″ of the seam around the elbow
3) Hoop a piece of adhesive backed stabilizer, score around the inside of the hoop and peel away the paper to expose the sticky surface. Draw a line on the stabilizer to mark the center point.
4) Stick the opened sleeve to the stabilizer, lining up the elbow point to the center of the stabilizer you just marked.
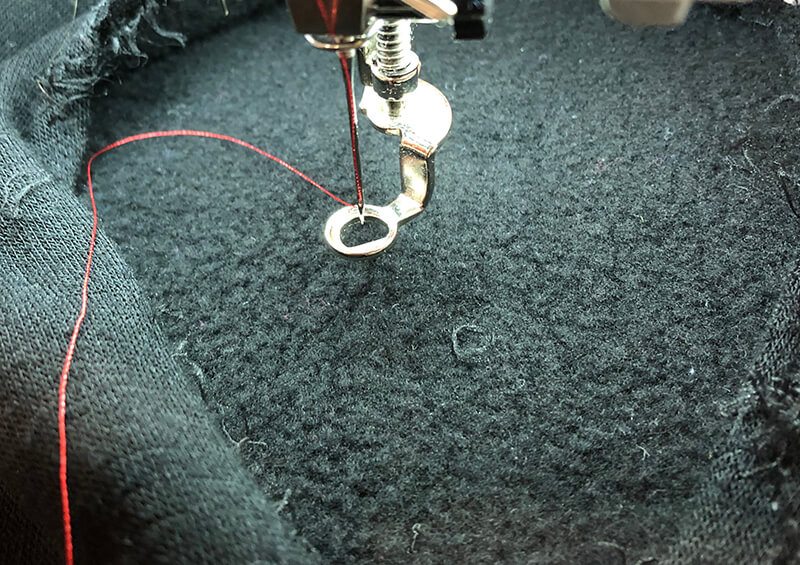
5) Cut a 4″ x 4″ piece of the red jersey fabric and fuse a similarly sized piece of HeatnBond Lite onto the back of the fabric.
6) Start the first round of stitching on the sleeve. This serves as the placement line.
7) Place your appliqué fabric over this placement line.
8) Start the next round of stitching over the appliqué fabric. Because this is a raw edge design, you are now done with the stitching, and you can remove the hoop from the machine and gently tear away the appliqué from the stabilizer.
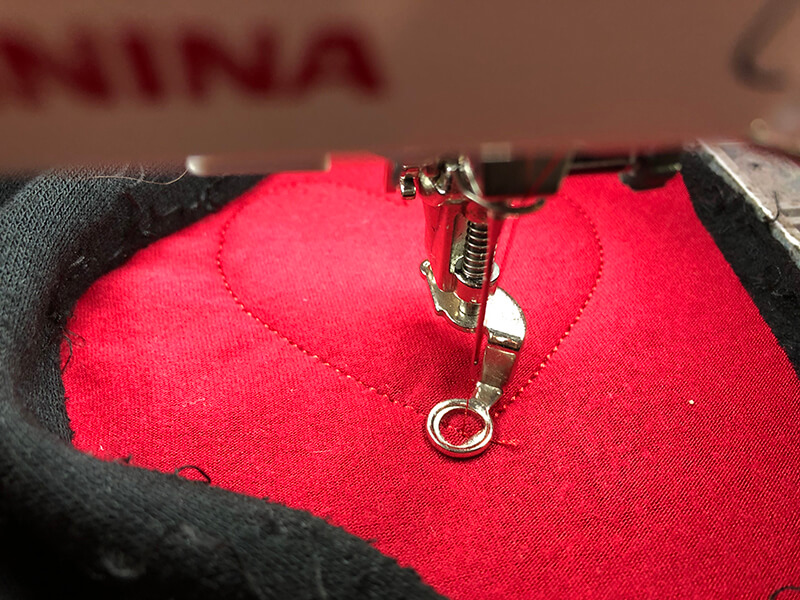
9) Now carefully cut away the excess appliqué fabric, leaving about 1/16″ of a raw edge on the outside of the stitching line.
10) Stitch closed the sleeve. I used my serger for this step, but you can also zig zag it closed using a regular sewing machine.
Now repeat steps 1-10 to place a heart on the other sleeve!
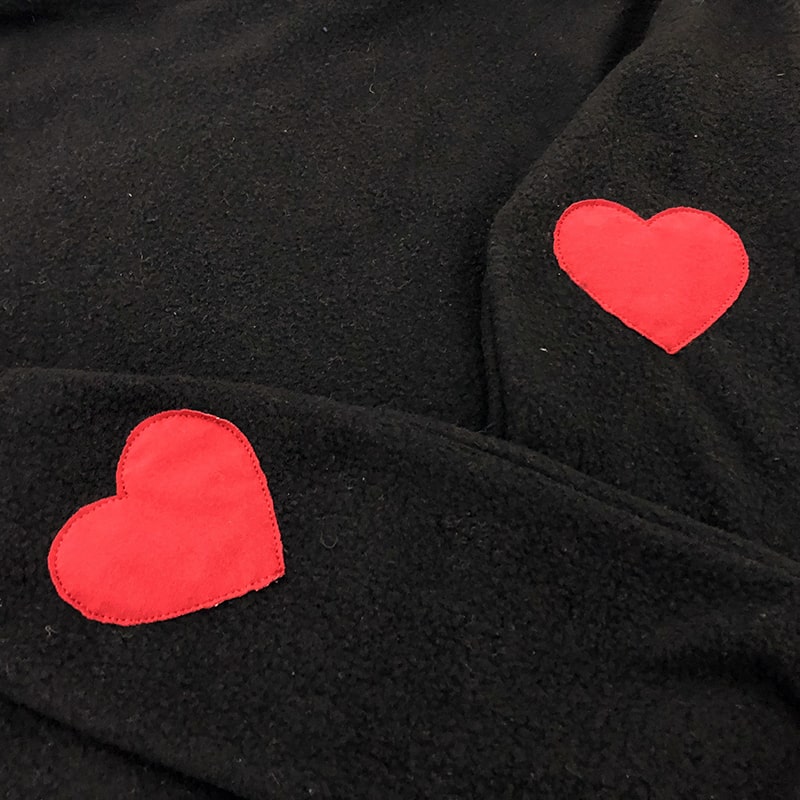
Alternative methods and ideas…
If you are not excited about the thought of ripping open the sleeve and putting it back together, you can also stitch out the heart as a patch and then iron it onto the sleeve. Check out my instructions for making a patch on your embroidery machine.
If you don’t like the raw edge heart design, I also have a free heart appliqué design with a satin stitch. It too can either be sewn directly on the sweatshirt or applied as a patch. You can see in this previous article that I used the heart patch to patch my kid’s jeans. I never could actually get her to wear jeans, but that’s another story…
Happy sewing, everyone and Happy Valentine’s Day
Julie








Great idea! I’ve been wanting to do this too. Do you have a single needle? How do you get the patch sewn without taking out the seam of the pants? TIA!!
NO problem. There is some instruction in this post. Let me know if I can answer more questions. https://machineembroiderygeek.com/2013/08/making-my-first-patch-on-my-embroidery-machine/