How to embroider on a pillow case
This site contains affiliate links to products. We may receive a commission for purchases made through these links.
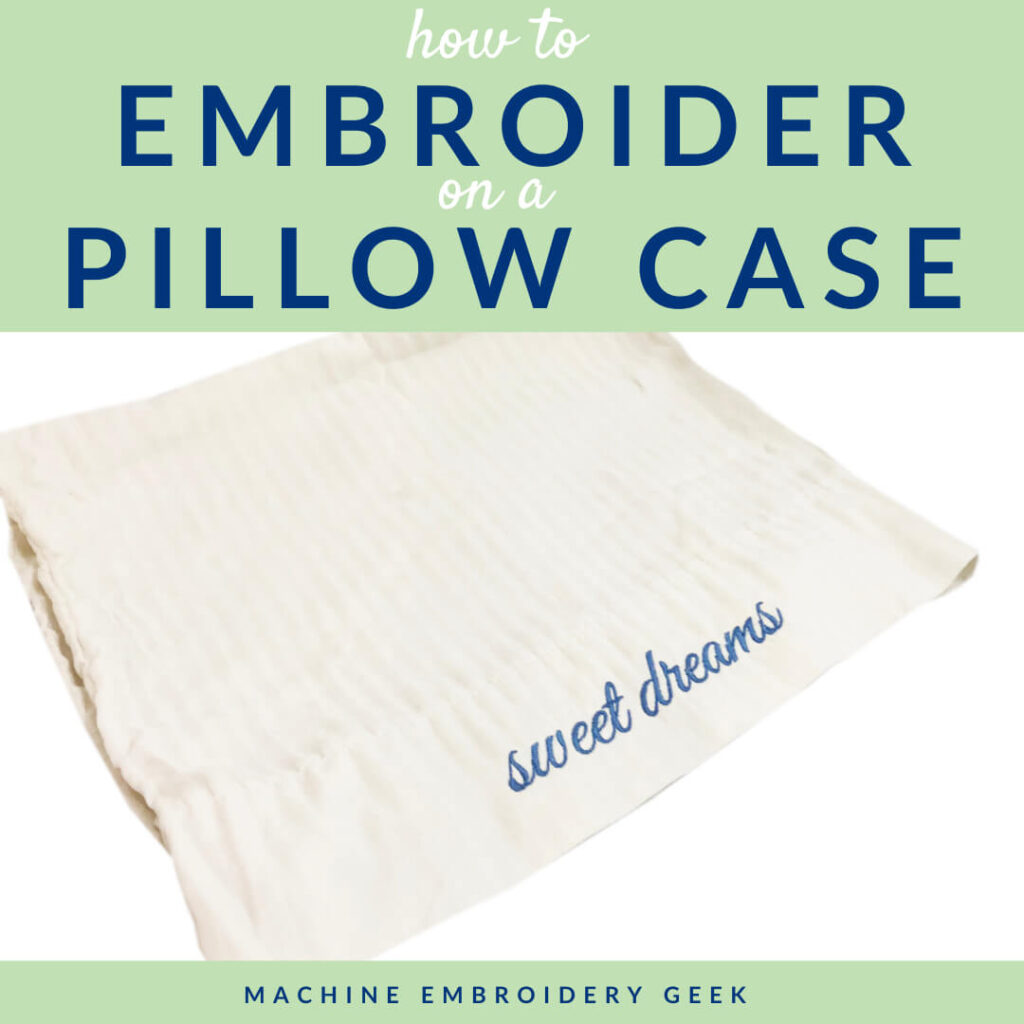
Machine embroidery on a pillow case can be a bit daunting. The cuff of the pillow case, where you will likely want to embroider, is doubled over. So, you are essentially embroidering through two layers of fabric which can be problematic if those two layers move around. Therefore, it’s essential to stabilize the pillowcase properly so that you don’t end up with a lot of unsightly buckling. Fortunately, I’ve done this a lot, taken my licks, and now I will show you how to embroider on a pillow case based on lessons hard learned.
Products mentioned in this post
- standard pillow cases
- king sized pillow cases
- Suggested embroidery designs suitable for pillow cases.
- Supplies for embroidering on a pillow case
Why embroider on a pillow case?
Well, there are a lot of reasons why you might want to embroider on a pillow case.
They can make a great engagement or wedding gift
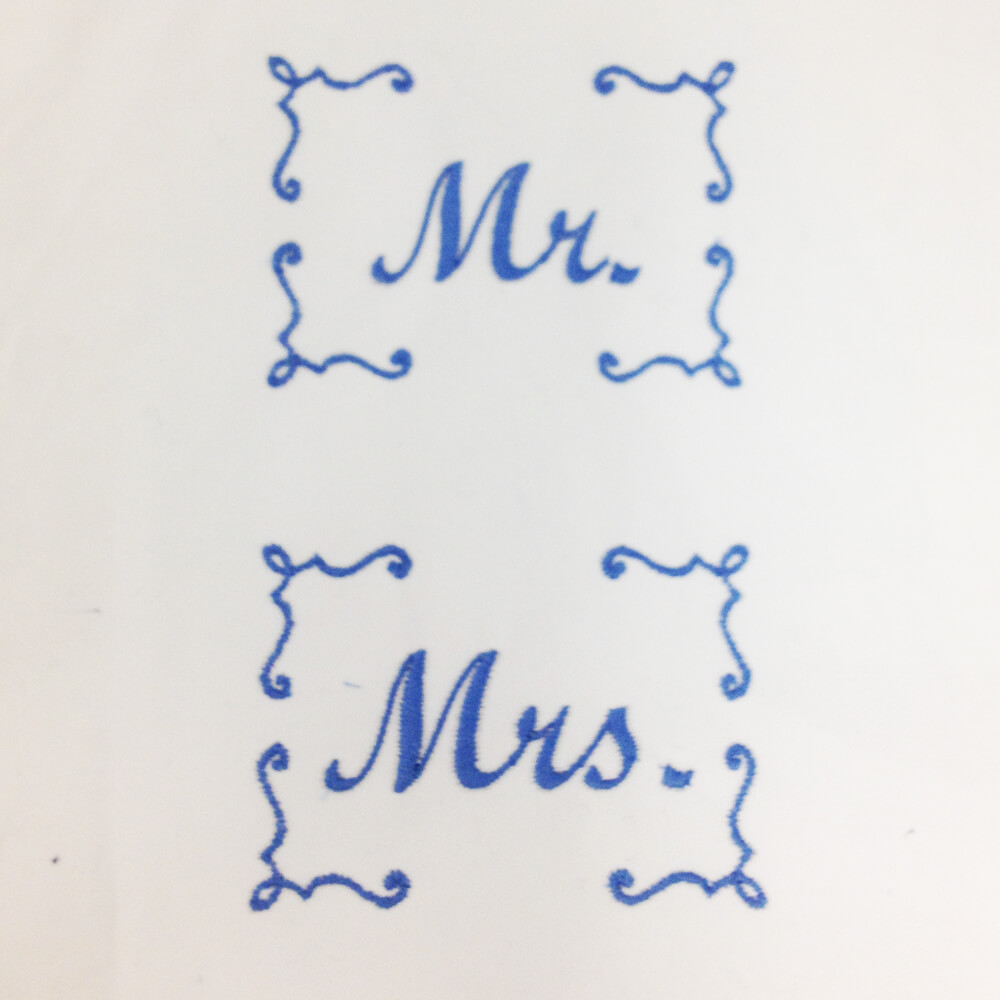
I first got the idea to embroider on a pillow case when I was browsing in an antique shop in Hazel, Kentucky and discovered the cutest pillowcase gift set – EVER. The pillowcases were packaged beautifully – perfect for a newlywed gift. The package contained two embroidered pillowcases – one with “Mr.” and the other with “Mrs.” Even though I was no longer newlywed, I found pillowcases to be so charming that I bought the set for myself (and my husband).
A few years later I decided to digitize my own versions of Mr and Mrs specifically for embroidering on pillow cases. I made two versions: a classic style and a modern one. And, since then, I’ve used these for several wedding and engagement gifts.
An embroidered pillow case can help you figure out whose pillow is whose
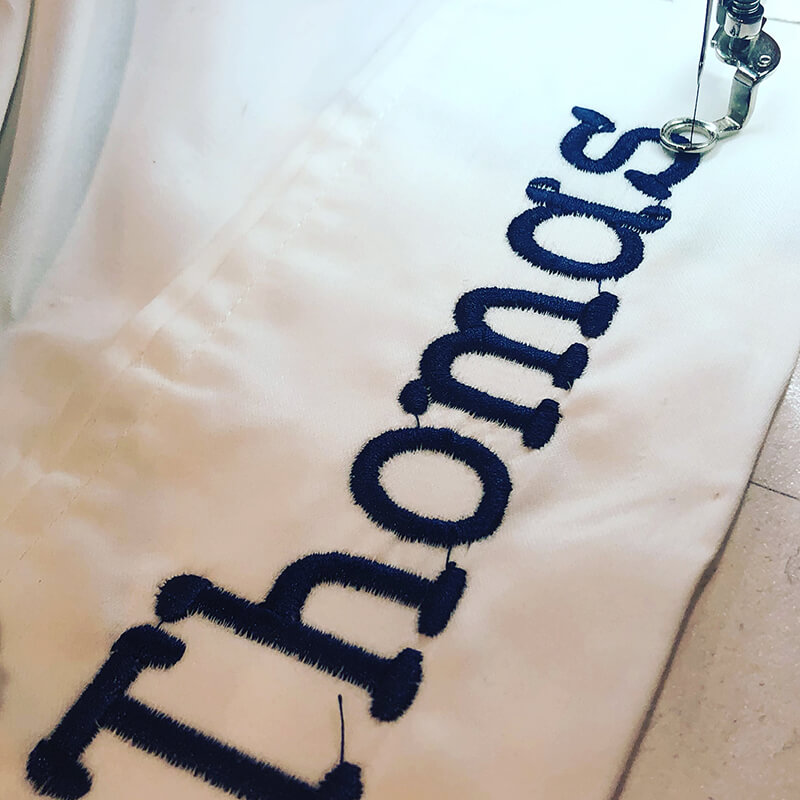
Last year my daughter informed me that it would be a really good idea if I embroidered each of her siblings’ names on pillowcases to use as travel pillowcases. That way, when we did our cross-country road trips, there would be no question as to whose pillow was whose. This all seemed pretty ridiculous to me, but I did it anyway.
AND IT WAS A GAME CHANGER.
When your name is on the pillow – it’s kind of hard to deny the fact that you a) let the dog sleep on it b) spilt Slurpee on it c) drooled on it d) lost it or e) left it in the car.
Embroidered pillowcases can enhance your home decor
Adding an elegant embroidery design to your linens can really elevate the entire look of your bedroom. Embroidering a pretty design on a set of pillow cases can add an expected pop of color to your bedroom decor.
What to embroider on a pillow case
In addition to the aforementioned embroidery designs, there are tons of other great ones that are intended to be stitched on a pillow case and are suitable for all different types of recipients. Here are some of my favorite embroidery designs that would look adorable stitched out on a pillow case.
- A friendly reminder for a spouse or significant other to stitch on their pillow case: “always kiss me goodnight.”
- For your little one: “sweet dreams” or “good night, sleep tight“
- For anyone you love – an adorable love with heart and arrow.
Where to buy pillow cases
In our house, most of the pillow cases we own have come from sheet sets. However, you can actually buy a set of pillowcases independent of the top and bottom sheet. On Amazon, you can order a set of 2 either in standard or king size in a variety of colors
How to embroider on a pillow case
My preference when embroidering just about everything is to float instead of hoop. And, pillowcases are no exception. You might assume that if you are embroidering on the cuff of a pillow case you would need to hoop it to prevent the two layers of fabric from sliding around. But, I have found that with careful floating and pinning, I can achieve good results, despite the fact that I’m stitching through two layers of fabric when embroidering on a pillow case.
So here are the steps I would take
Start by hooping a piece of adhesive-backed stabilizer with the shiny side facing up. Make sure that the hooping is very secure.
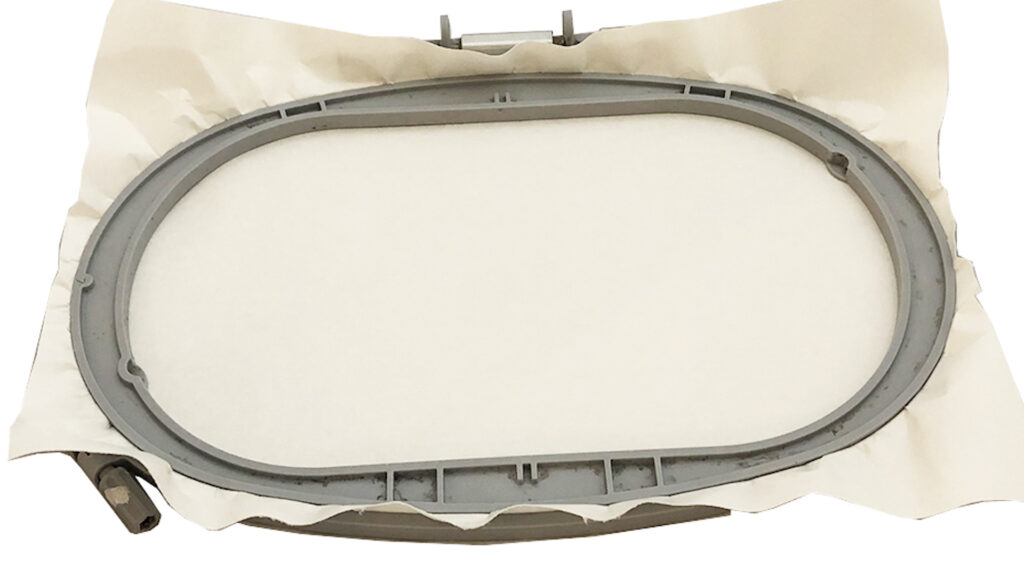
Next, score the inside edge of the hooped adhesive-backed stabilizer with a pin to create a small tear in the top layer of the paper. This will allow you to peel the paper off.
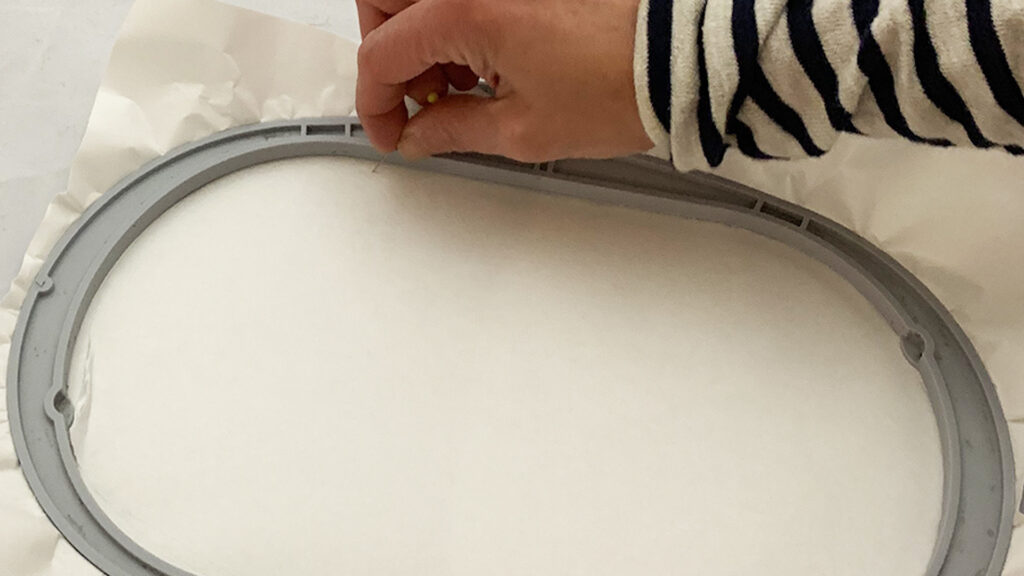
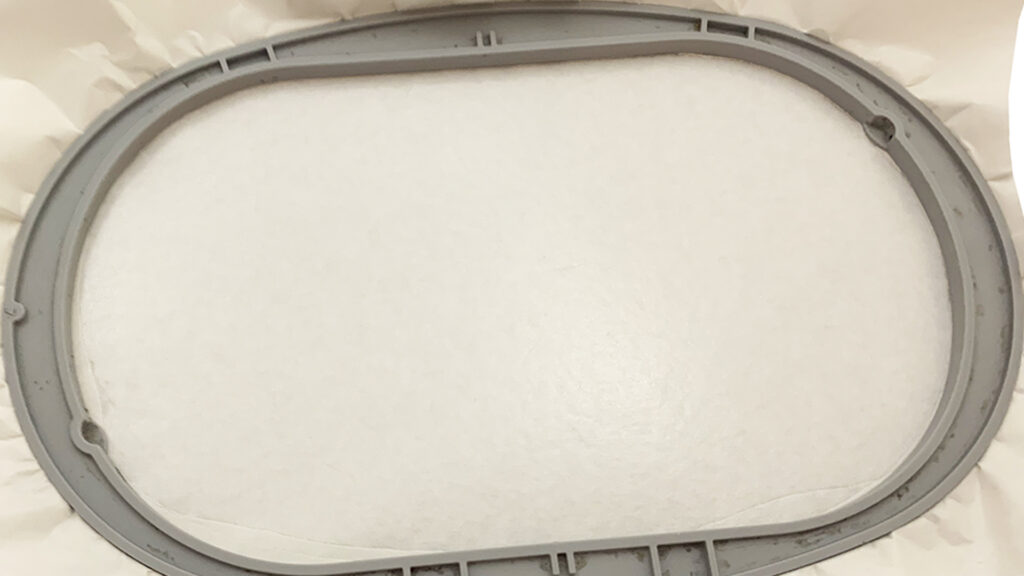
Once you remove the paper, use a disappearing ink pen to draw a horizontal and vertical line through the center of the hooped stabilizer to the edges of the hoop.
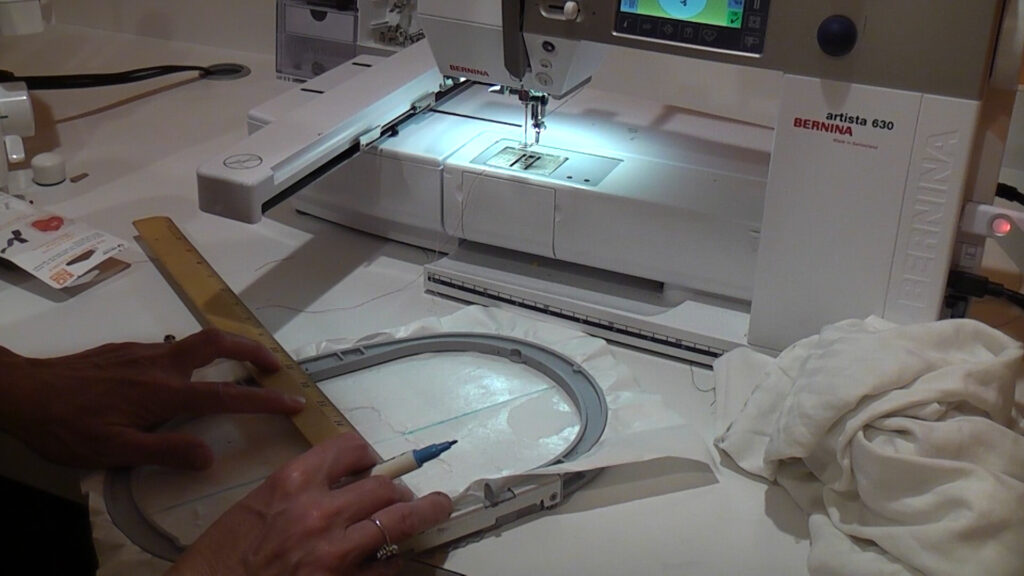
Now, turn your pillow case inside out and locate the center of your design on the pillow case. I typically center the design in the middle of the pillow case on the doubled up fabric around the opening of the pillowcase. Mark it with a pin. Then mark the spot with a disappearing ink pen where the pin pokes through on the inside of the pillowcase.
Using a ruler, draw a line horizontal and vertical line through the center of the intended center of the pillow case that you marked with a pin.
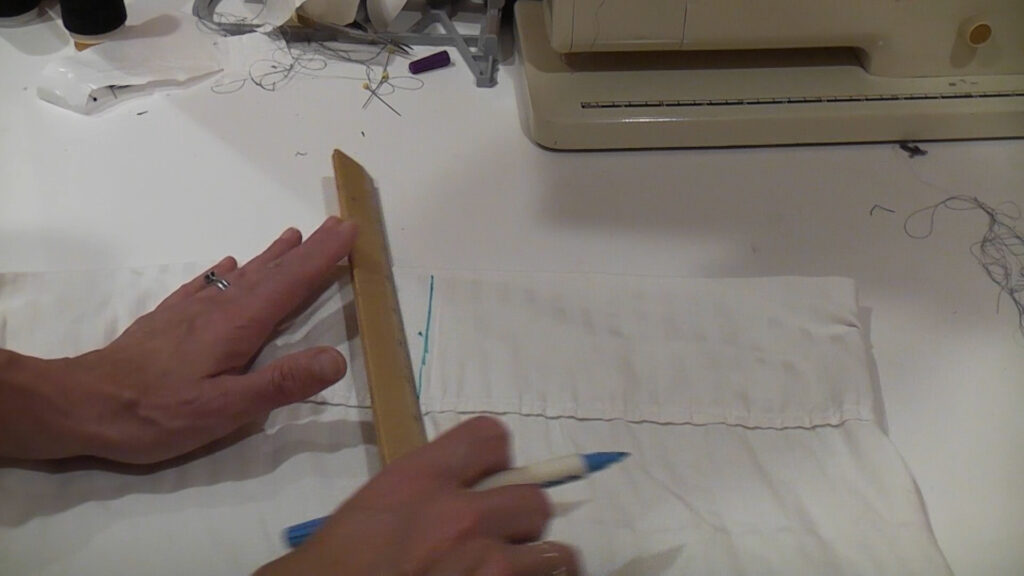
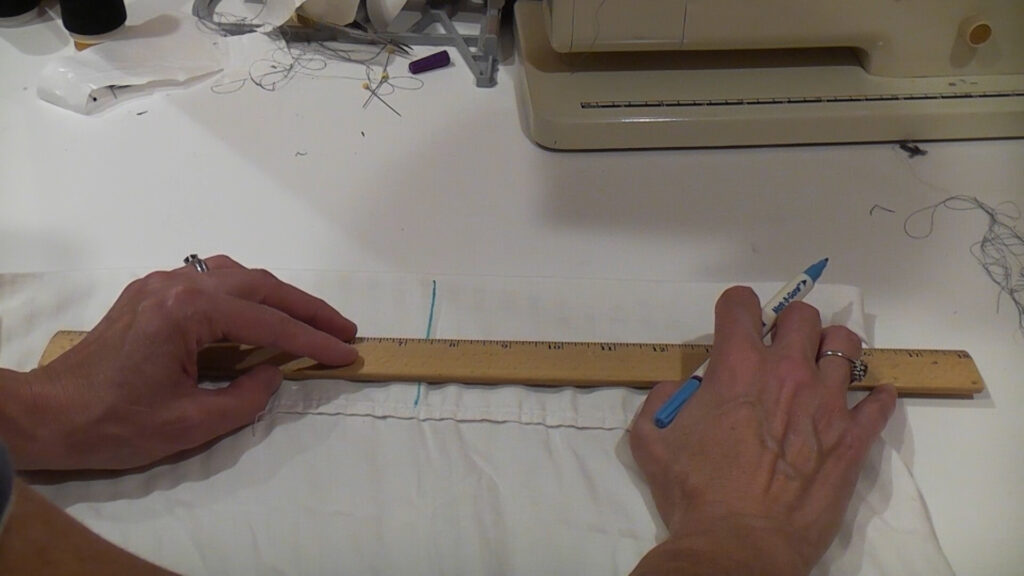
Fold the pillowcase in half along the vertical line you drew.
Align the fold of the pillow case with the horizontal or vertical on you drew on the hooped stabilizer. If your design is very wide you may need to rotate it 90°. Place your pillow case on the stabilizer according to the orientation of the design.
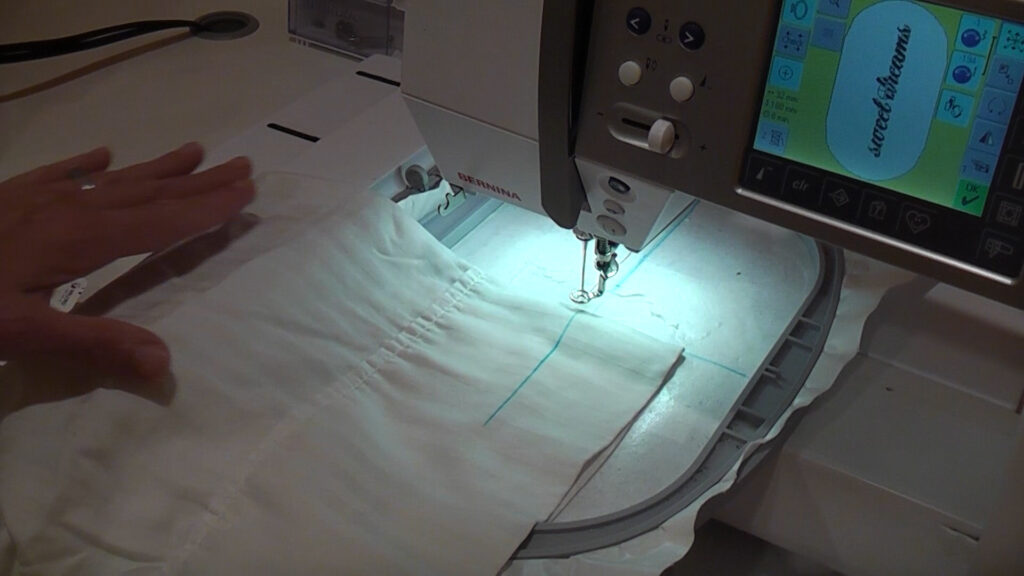
Unfold the pillowcase so that it is spread out and stuck to the hooped stabilizer.
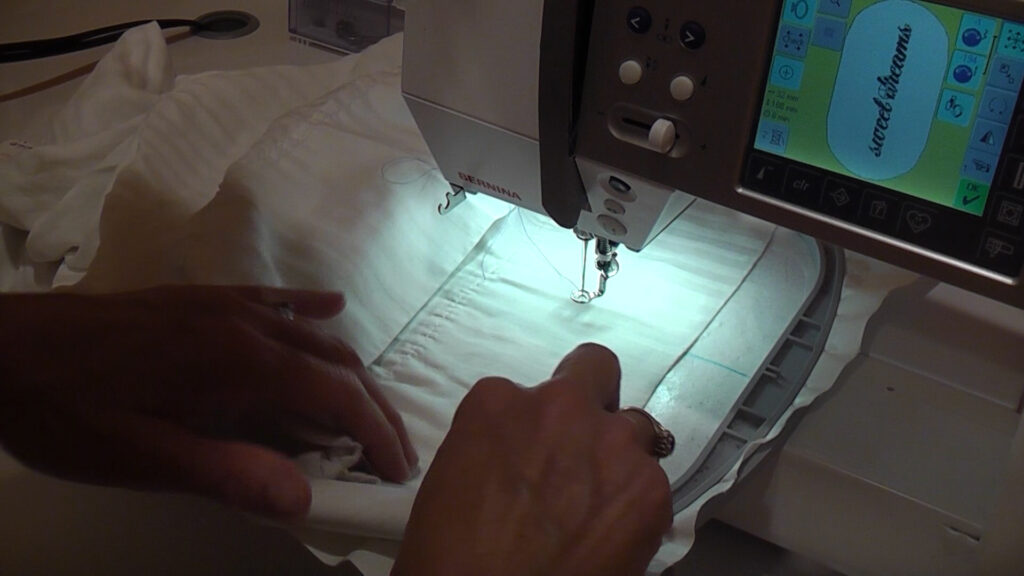
Now pin the pillow case to the stabilizer as much as you possibly can around the embroidery area.
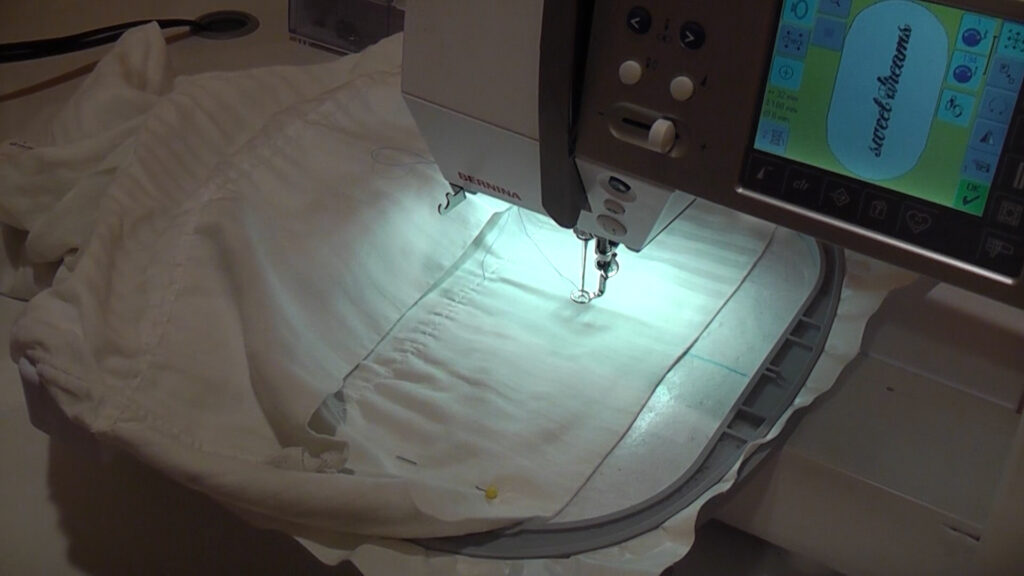
Start stitching
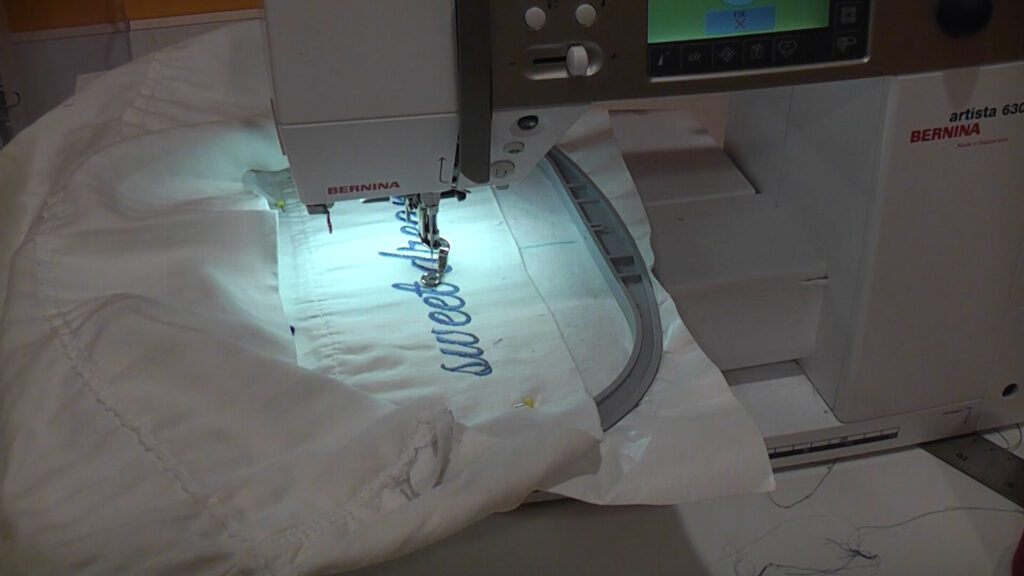
After the stitching is done, carefully remove it from the hoop, trim your connector strings with nippers and you are done!
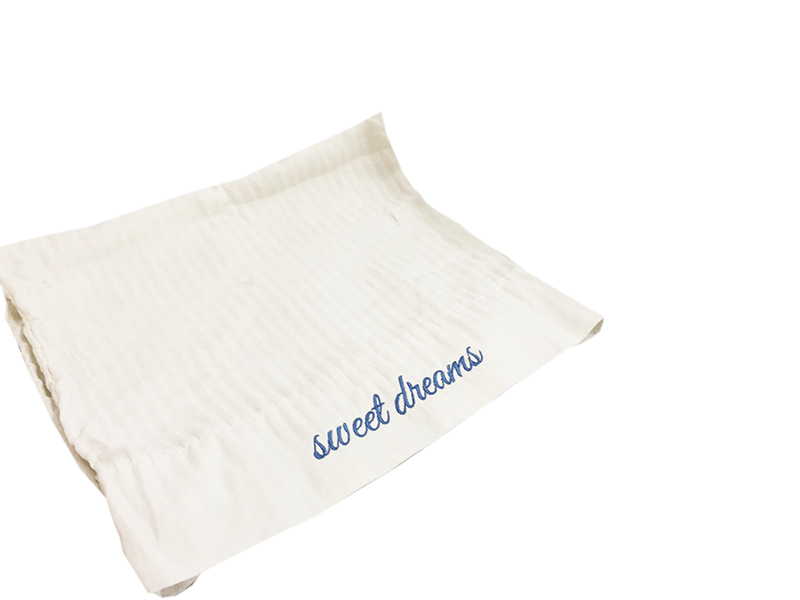
See – that wasn’t too bad?
Now go out there and embroider some pillow cases!
Happy stitching!
xo
Julie


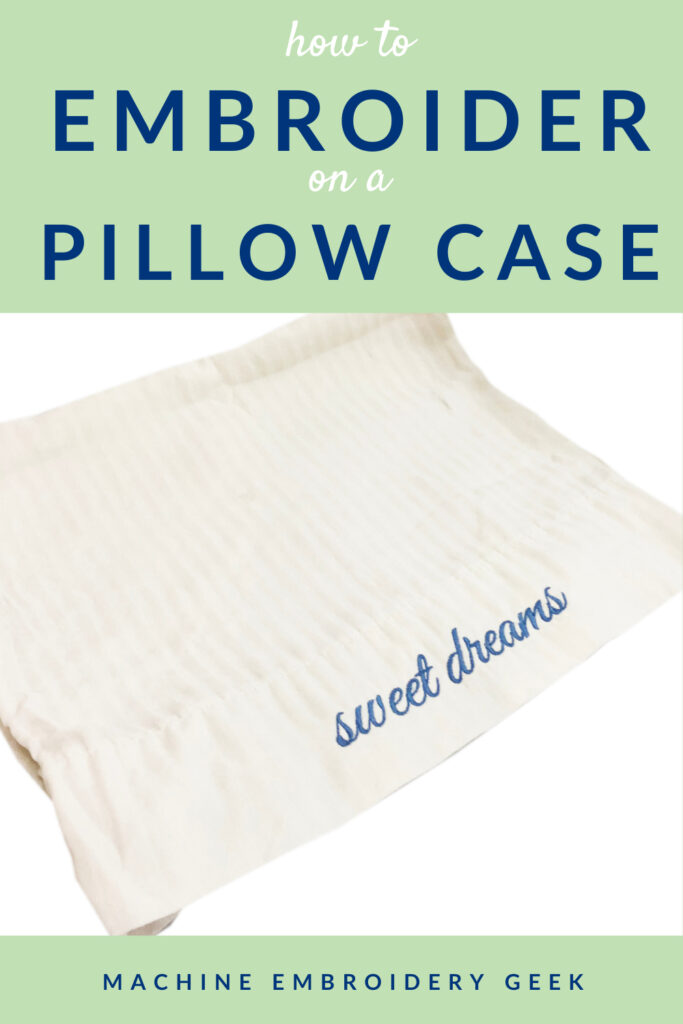 Want to remember this? Save “How to embroider on a pillow case” on your favorite Pinterest board