By Julie on April 20th, 2020 This site contains affiliate links to products. We may receive a commission for purchases made through these links.
Looking for FREE embroidery designs and PDF patterns?
Subscribe to the Machine Embroidery Geek newsletter
For tips, how-tos, loads of inspiration and access to the resource library full of free machine embroidery designs and PDF patterns.
Thank you!
You have successfully joined our subscriber list.
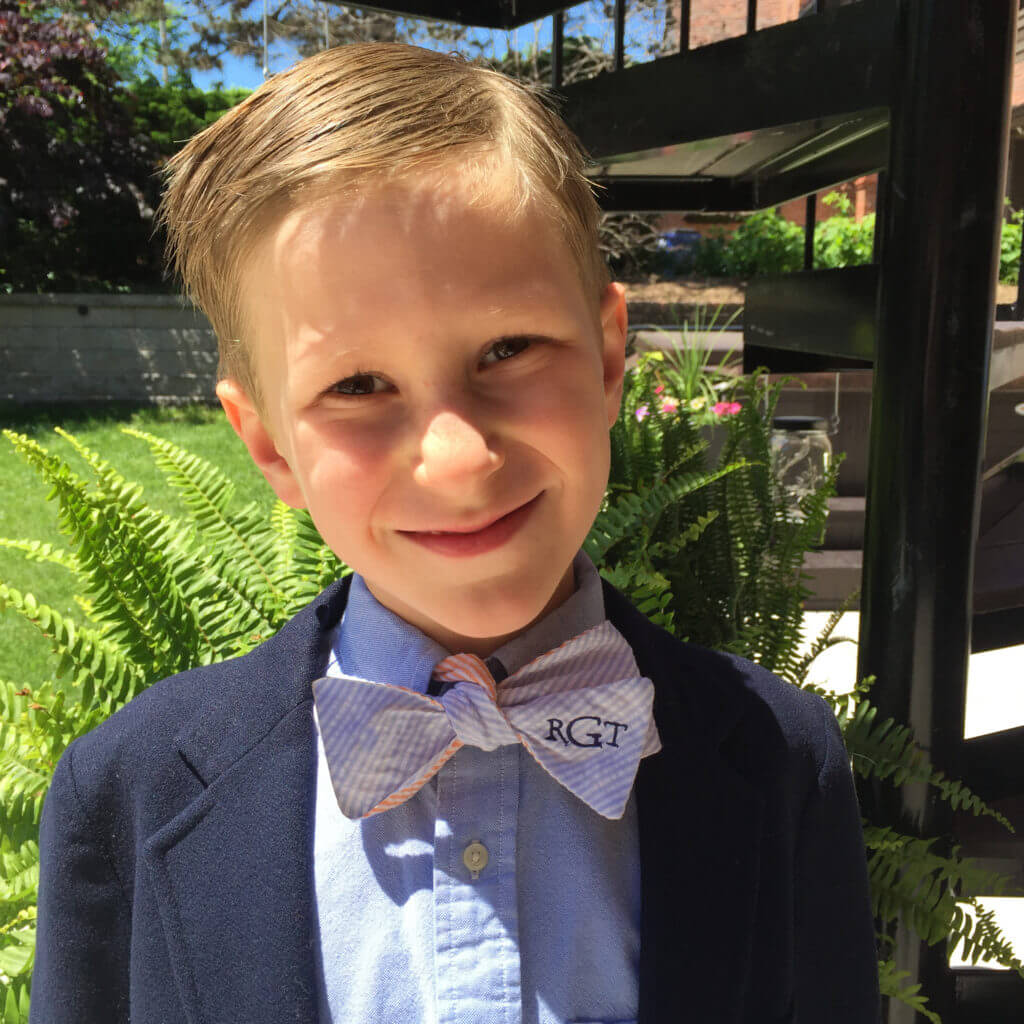
A few years ago, I was looking for the perfect accessory for my son’s First Communion outfit. Little girls get new crosses, dresses, headbands, etc… but what about the boys? They deserved something special too. So, I took matters into my own hands and made my little guy a monogrammed bow tie for his big day. And, I have to say, it turned out pretty well, despite the fact I had no idea how to make a monogrammed bow tie.
Thomas in his monogrammed bow tie on his First Communion
Why make a monogrammed bow tie?
Turns out, making a monogrammed bow tie is actually pretty easy. And it makes a great gift for men and boys of any age. In fact, shortly after I made the monogrammed bow tie for my son, I made another one for a friend (which is why you will see pictures of two different ties below). You can make monogrammed bow ties for graduation gifts, birthday gifts, Christmas gifts. Heck, you could even get a jump start on a Father’s day gift and whip one up for dad! If you are feeling particularly ambitious, you may even offer to make a set of coordinating monogrammed bow ties for the groomsmen for an upcoming wedding. See? Super versatile project.
And, as an additional bonus, bow ties are a one size fits all kind of accessory. So, no worries about sizes whatsoever. The pattern I developed was based on a standard man’s bowtie, but it was still suitable for my young son. So, you can use this pattern to make a bow tie for a man or a boy of any age.
Adjustability is built into the design. While most bowties have a series of hooks and eyes along the back to make it tighter or looser in the neck, I borrowed the Brooks Brother’s system for adjustable bow ties which were a series of buttons and button holes as opposed to hooks and eyes. To me, it looked just a little bit more classy. Plus, buttons are pretty easy to install.
Choosing fabric for the bow tie
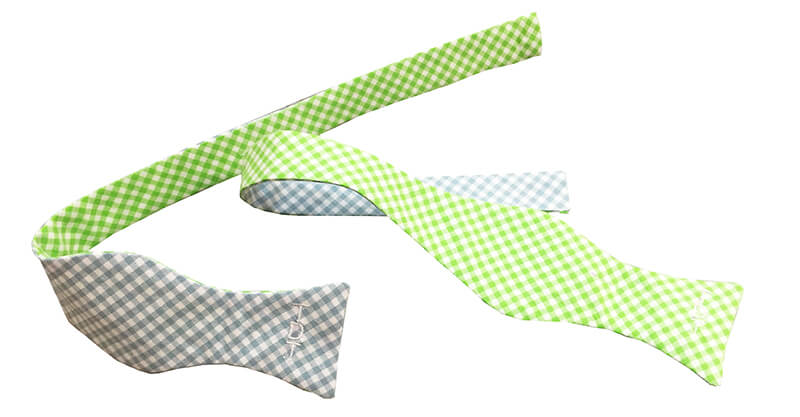
Because this bow tie pattern is reversible, you obviously want to make the pick out two fabrics that complement each other. It will be in inevitable that you see the secondary fabric when wearing either way.
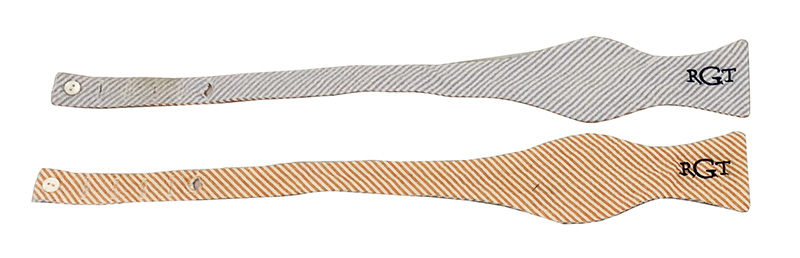
You also want to make sure that the fabric you choose is not very thick. Cotton broadcloth works fine. You can see in my examples that I used gingham on one tie and seersucker on another which seemed appropriate for springtime occasions. While most any lightweight fabric will work for this project, I would definitely choose a fabric that is not too busy, because you do want the monogram to stand out. I would also be judicious about the scale of the pattern on the fabric as well. Any pattern that is too large will not be appropriate for a the small area of a bow tie.
Recommended Products
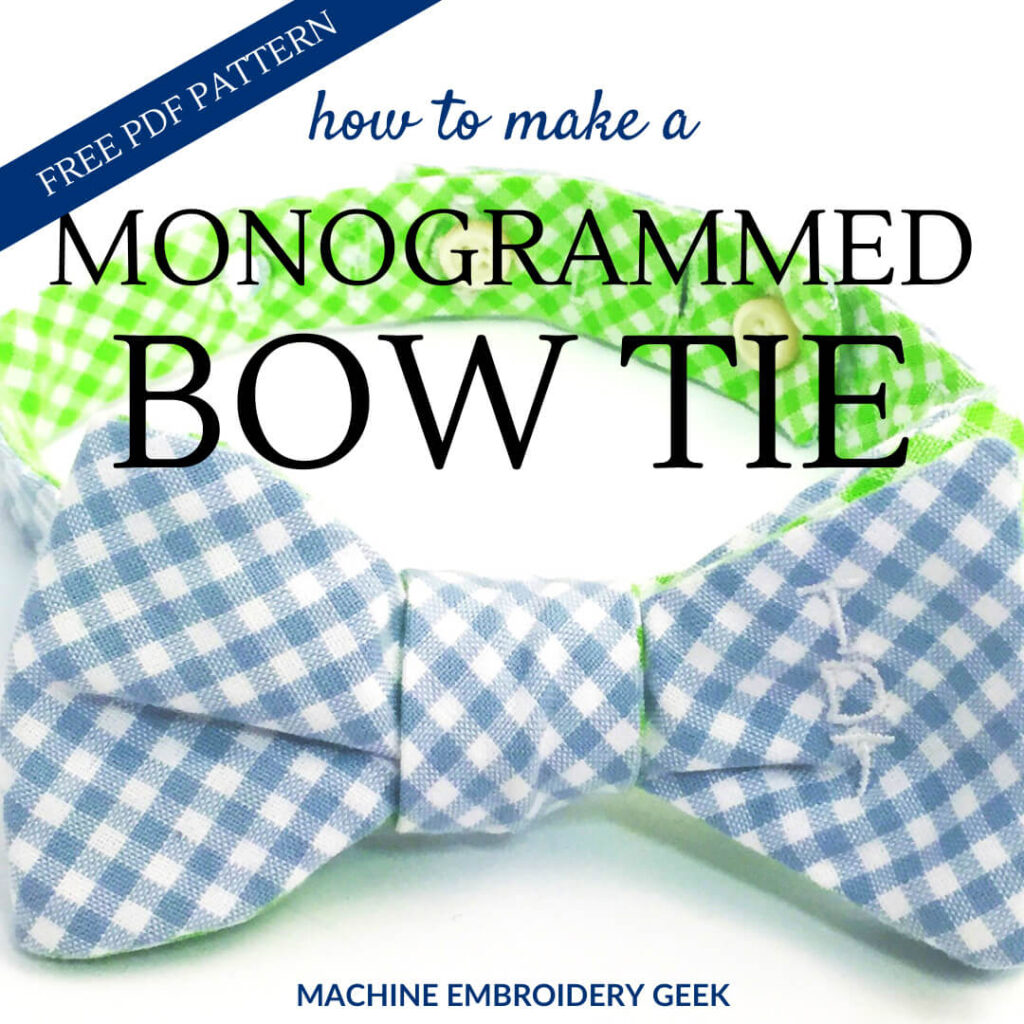
How to make a monogram bow tie
Supplies to make the monogrammed bowtie
Approximately 1/2 of a yard of two different types of coordinating fabrics. I personally like gingham and seersucker.
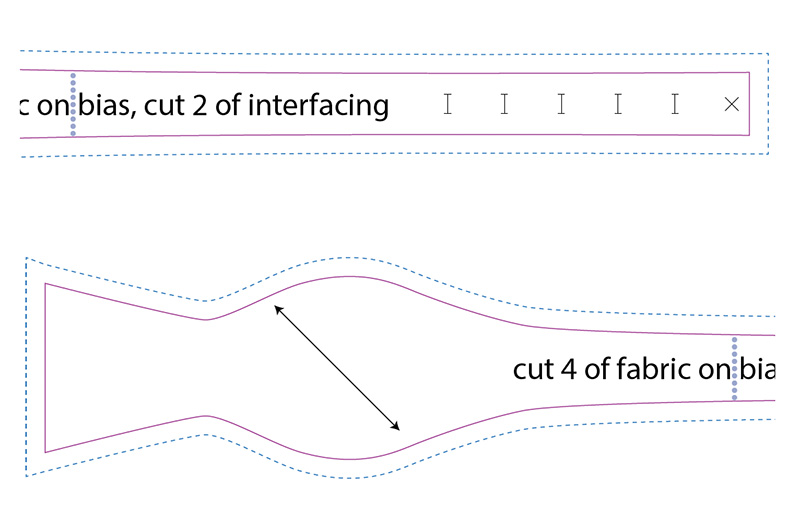
Print out the PDF bow tie pattern (available in the Resource Library) and tape the pieces together lining up the lavender dots.
Cut out the fabric and the interfacing
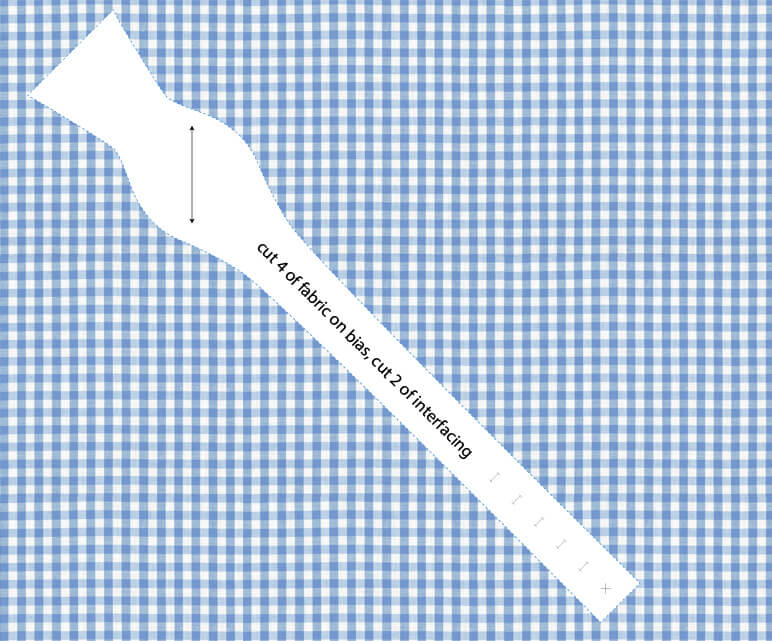
Fold the fabric in half along the grain. Now, lay the pattern on the bias (at a 45 degree angle from the fold). The arrow on the pattern should align with the grain of the fabric. Cut out the pattern piece. Repeat this step with the second fabric. This will produce four pieces total, two of one fabric and two of the other.
Cut out two pieces of the pattern on the interfacing as well. If you fold the interfacing in half before you cut out the pattern piece, you will obviously get two pieces.
Monogram the tie
Before you stitch the bow tie together, you will want to stitch out the monograms. In order to have the monogram appear on either side of the bow tie, you will need to stitch it out on the ends of both of the fabrics.
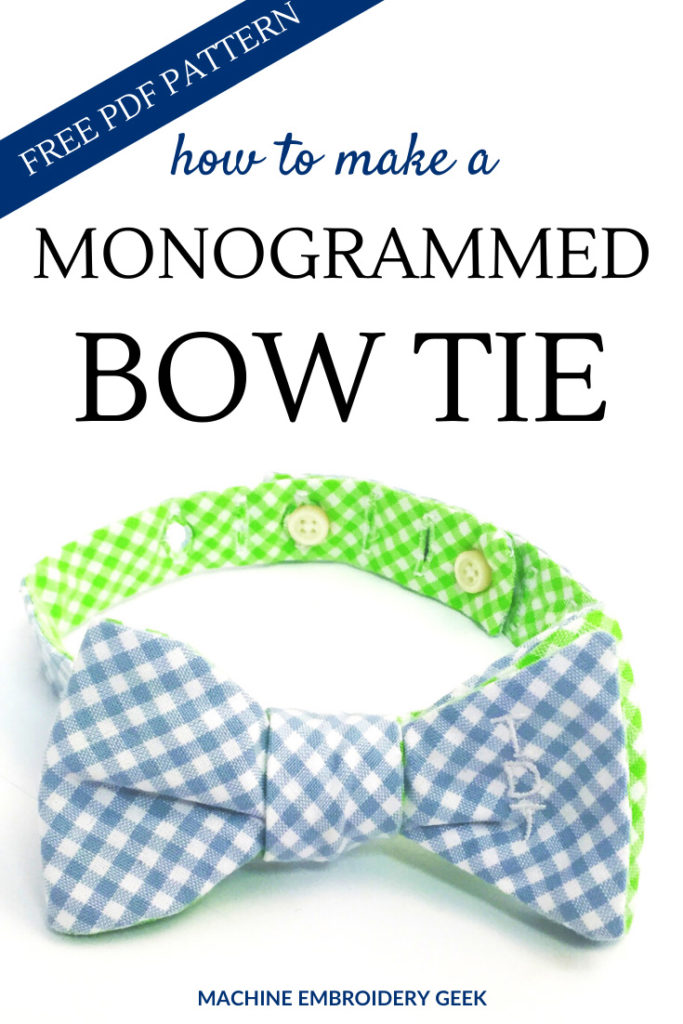
While this is a picture of the finished tie, you can see that the monogram is stitched on both sides of the tie. The opposite sides of each of these tie pieces are not monogrammed.
You can see that in my example, I used a traditional serif monogram with a larger last name initial. I stacked monogram works well too as I did on the other tie. In both examples, each of the letters are about 1/2″ high.
Stitching the bow tie together
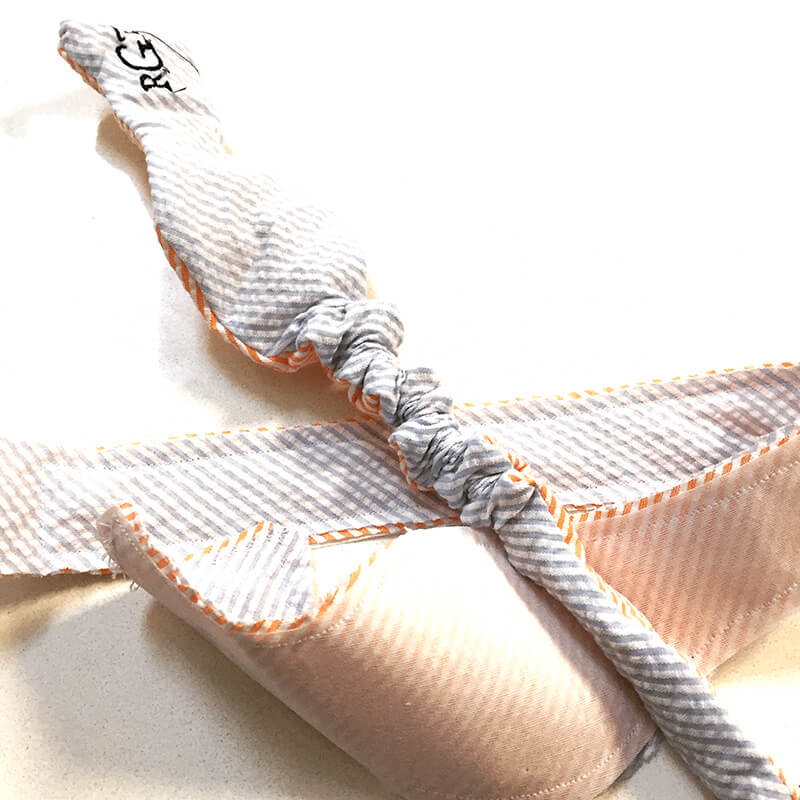
After you have monogrammed the tie, fuse the interfacing onto one of the wrong sides of the pieces of the tie. Then, with right sides facing, sew the pieces of the tie together. Be sure to sew one of the non-monogrammed tie pieces to the monogrammed tie piece. Leave the short end of the tie open so that you can turn it right side out using a loop turner.
Turn the tie right side out and PRESS it.
It helps to use a loop turner when turning the bow tie right side out.Be sure to press the bow tie well using a lot of steam.
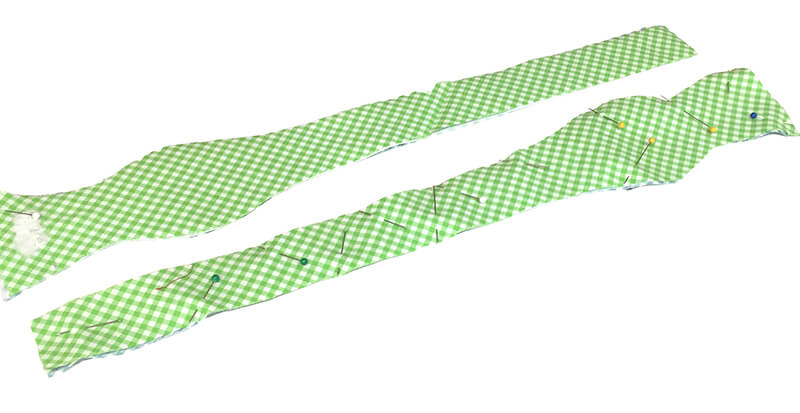
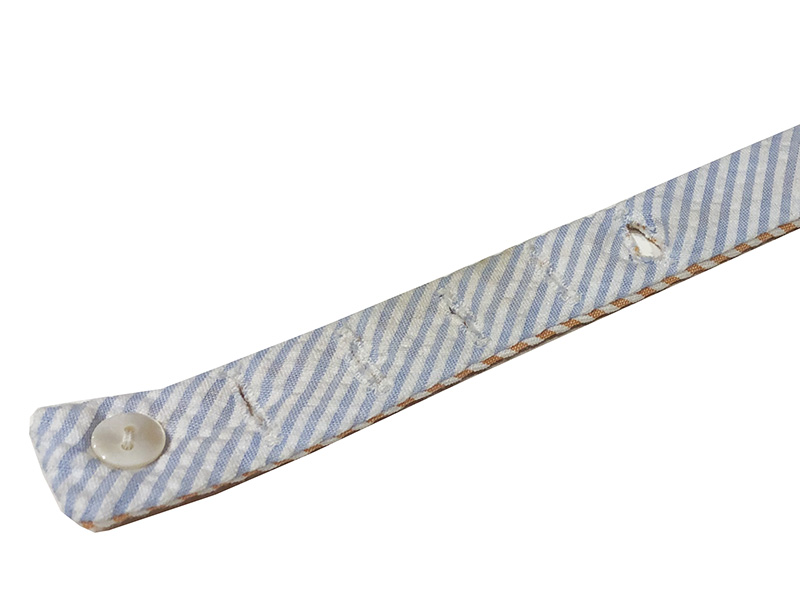
Adding the buttons and button holes
Translate the button hole marks on the pattern pieces using a disappearing ink pin. Stitch out the five button holes using your button hole setting on your embroidery machine. Sew buttons on both sides of the end of the bow tie where the “X” is marked on the pattern.
And that’s it! Super easy, right?
Hot Tip
It always bugs me that you have to use so much fabric when you cut a pattern on the bias, so why not make a few bow ties while you are at it? If you buy just a half yard of each fabric, you’ll have enough material for a few.


 fabric")