How to embroider on a sweater with an embroidery machine
This site contains affiliate links to products. We may receive a commission for purchases made through these links.

One of the best things about the end of the end of a season is scoring some bargain basement clothing. At (what stores consider to be) the end of the winter season (February) you can find tons of sweaters for next to nothing. For example, I hit Old Navy the other day and picked up 3 for about $10 each. It was a great deal, but the Plain Jane sweaters were SUPER BORING. Fortunately it’s pretty easy to embroider on a sweater using your embroidery machine and completely transform the look.
Where to find inspiration to embroider on a sweater
There are tons of fun things to embroider on a sweater. It seems like once I got the idea, I found inspiration almost everywhere.
Recently I discovered a DARLING sweater featured in US magazine had a lowercase cursive “love” stitched across the chest. It was from the Lauren Conrad collection at Kohl’s and retailed for $54.

You could probably make a similar sweater that costs less with a whole lot more personality by just stitching out my love appliqué design with some cool fabric on any old sweater. AND – the Lauren Conrad sweater is acrylic. Ewww! Make your version better by stitching out the appliqué design on a sweater made of a natural fabric such as cotton, wool or even cashmere. So take that – Lauren Conrad – we can make a much cuter, nicer version.
And now that I have revealed my love for trashy magazine, on to the next source of inspiration! Recently, Heidi Klum was featured in US wearing another fun sweater that we can SO EASILY recreate using an embroidery machine.
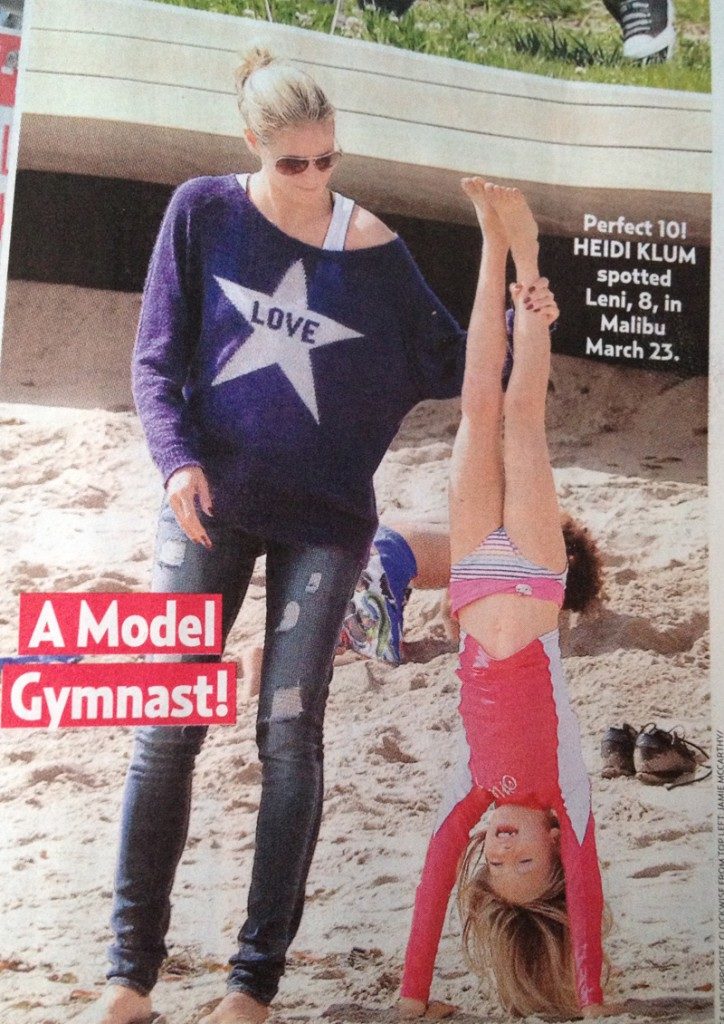
The star graphic with the love writing inside is just up my alley and oh so perfect for digitizing. I mocked it up in Photoshop and digitized away. I made it an appliqué file so the star could be filled with an appliqué fabric. Here is the resulting design stitched out. I think it will look great on t-shirts, sweatshirts, you name it, baby. Want to stitch it out? The file is available for free in my resource library.
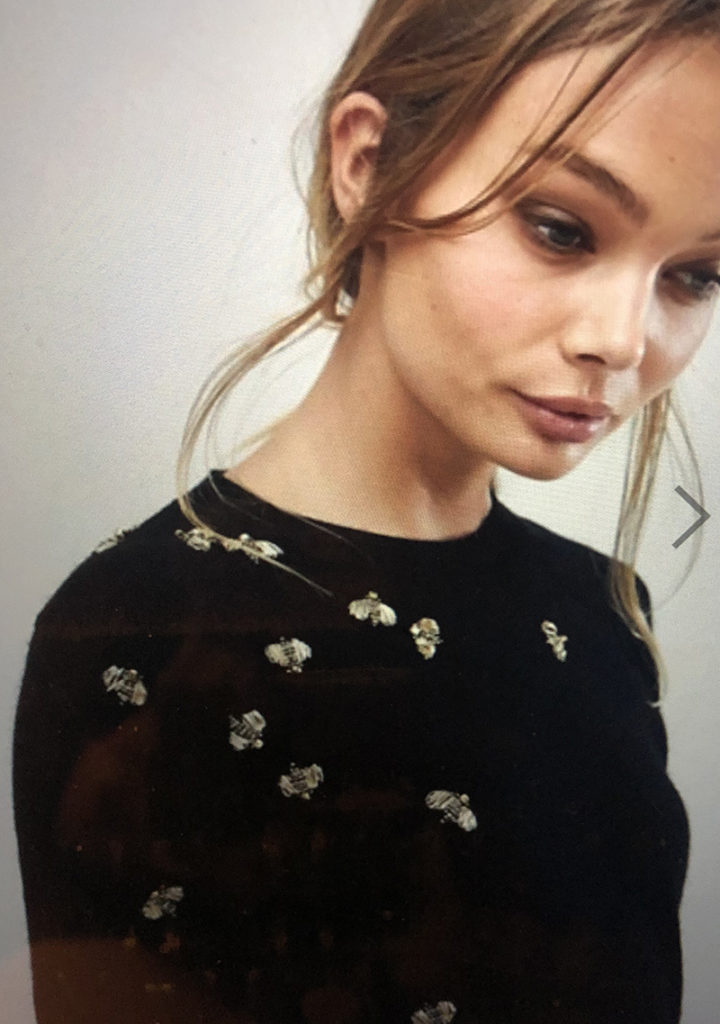
But my most recent inspiration is truly the best. I spotted this bee sweater online and I was inspired to create my own version. Plus, it was a great opportunity to try out SewArt to digitize the bee embroidery design. Learn more about SewArt.
Don’t like the designs? Looking for something more personal? Why not try monogramming a sweater?
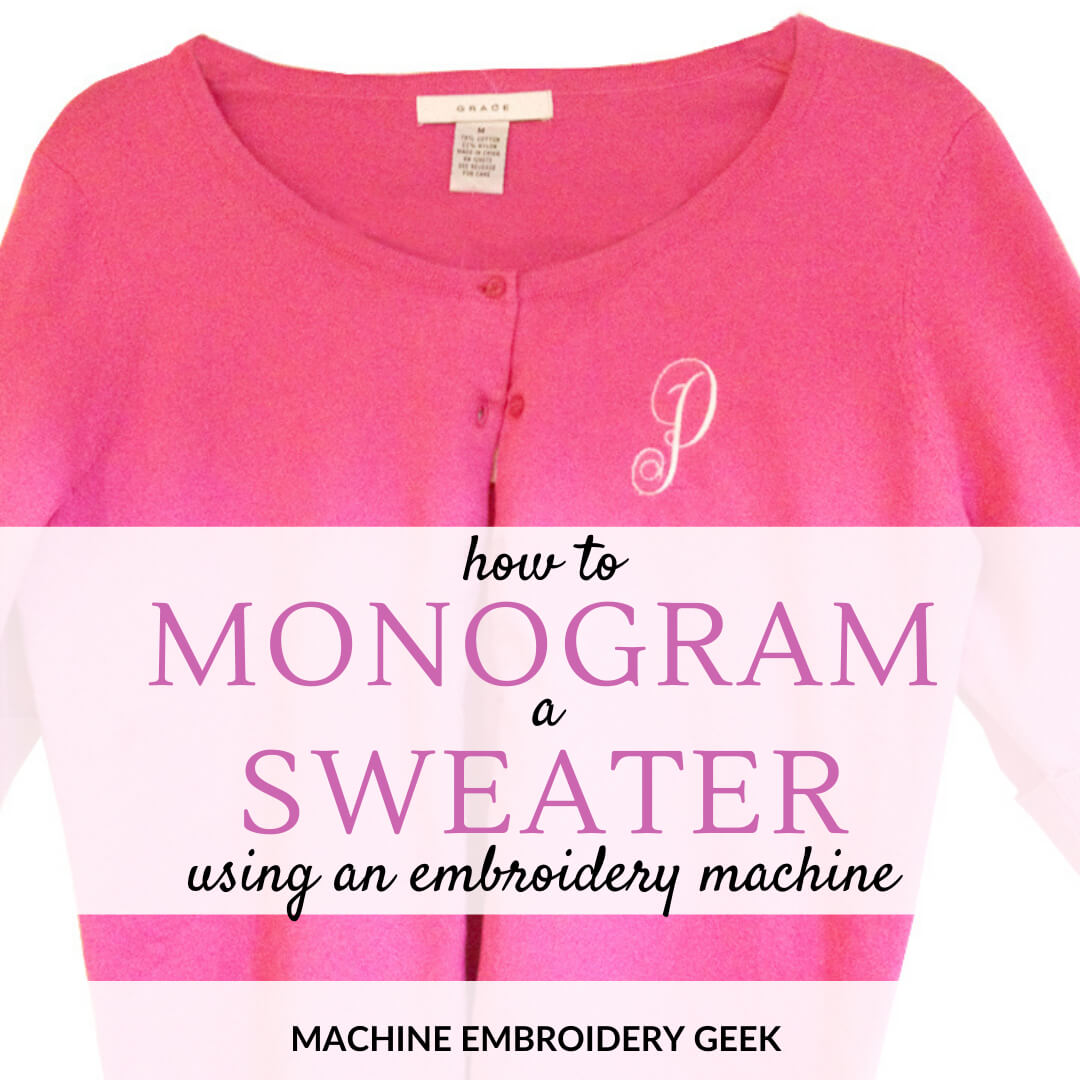
If you are wanting to make something more personal, you can always monogram a sweater instead of stitching out a design on the sweater. A while back, I monogrammed a simple cardigan for my mom for a Mother’s Day gift. I did a simple Laverne style single initial monogram, and it turned out great.
Where to find sweaters for embroidery?
Here’s the thing. If you are wanting to add embroidery to a sweater, simple is better. And while I purchased mine on clearance from Old Navy at the end of the season, you can find some perfect sweaters for embroidery on Amazon any time of the year.
How to embroider on a sweater
Embroidering on a sweater seemed a bit daunting to me. I thought that the sweater would stretch all over the place while I was embroidering, but actually it did not.
Another concern I had was that the stitching would rip out of the sweater when I put it on. You see, a sweater is stretchy, and embroidery is not. But really, as long as the embroidery doesn’t completely cover a sweater, there is enough stretch built in to the non-embroidered area that it usually isn’t a problem.
Supplies needed
- No show mesh stabilizer
- Adhesive backed tearaway stabilizer or regular tearaway stabilizer and some temporary adhesive spray
- Machine embroidery thread
- Plain sweater (see aforementioned options)
- Sewing pins
- Water soluble embroidery topper
Steps to take
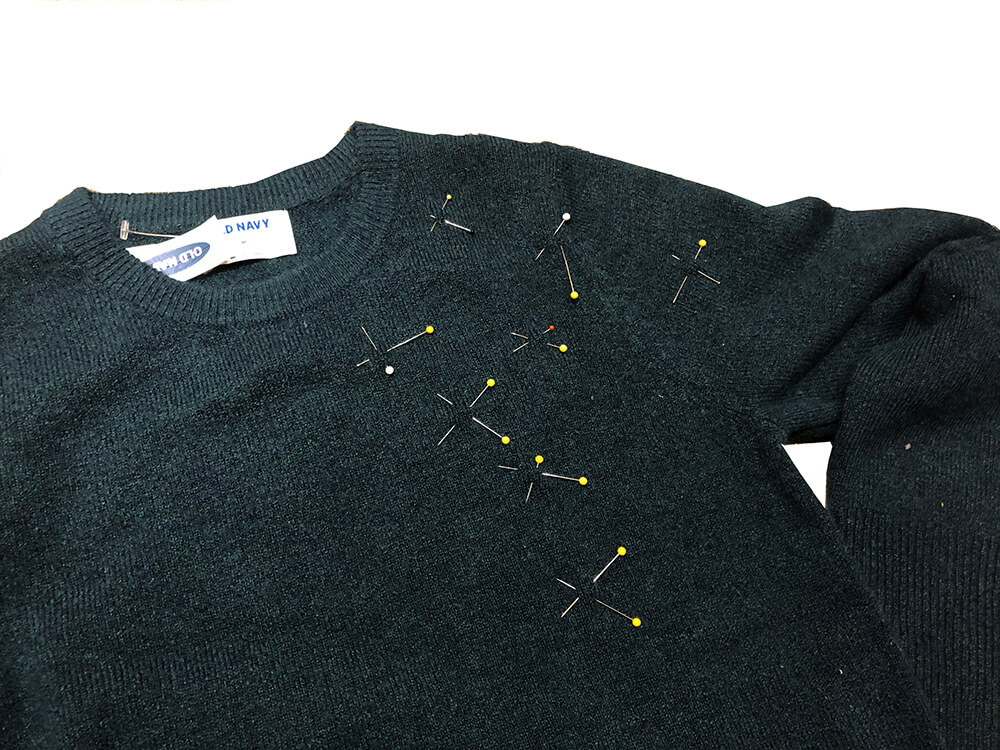
First, mark the location of your embroidery design. In the case of the bee sweater, I wanted them to be kind of clustered around the shoulder but positioned and oriented randomly. I used pins to mark the location of my bees.
Next, I hooped a piece of adhesive-backed tearaway stabilizer, scored around the inside edge of the hoop and peeled back the paper to reveal the sticky surface.
Then, I cut out small pieces (at least 2X larger than my bee embroidery design) of poly mesh stabilizer and sprayed them with temporary adhesive. At the location of each bee, I stuck the poly mesh on the wrong side of the sweater. Finally, I stuck the sweater onto the hooped adhesive backed tearaway stabilizer, centering the location of the bee with the center of the embroidery hoop.
Before I started stitching out the embroidery design, I covered the sweater with a water soluble topper. Then I started stitching out the bee design.
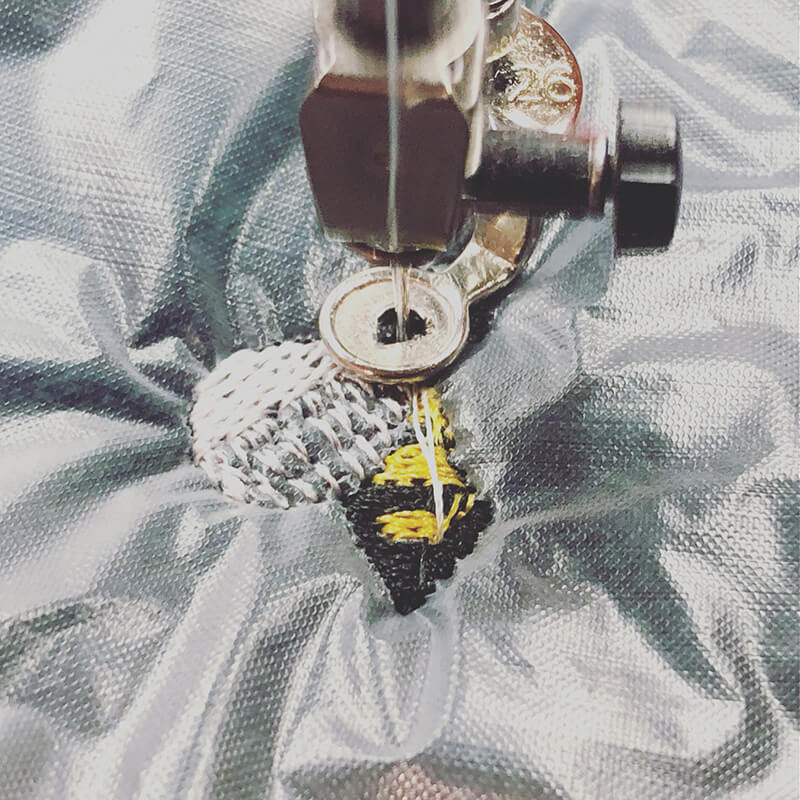
I repeated this process again and again in multiple locations, slightly rotating the bee every time. I clustered most of the bees on the shoulder, but I made sure to add a few on the back of the sweater as well as the bottom front on the opposite side of the shoulder cluster.
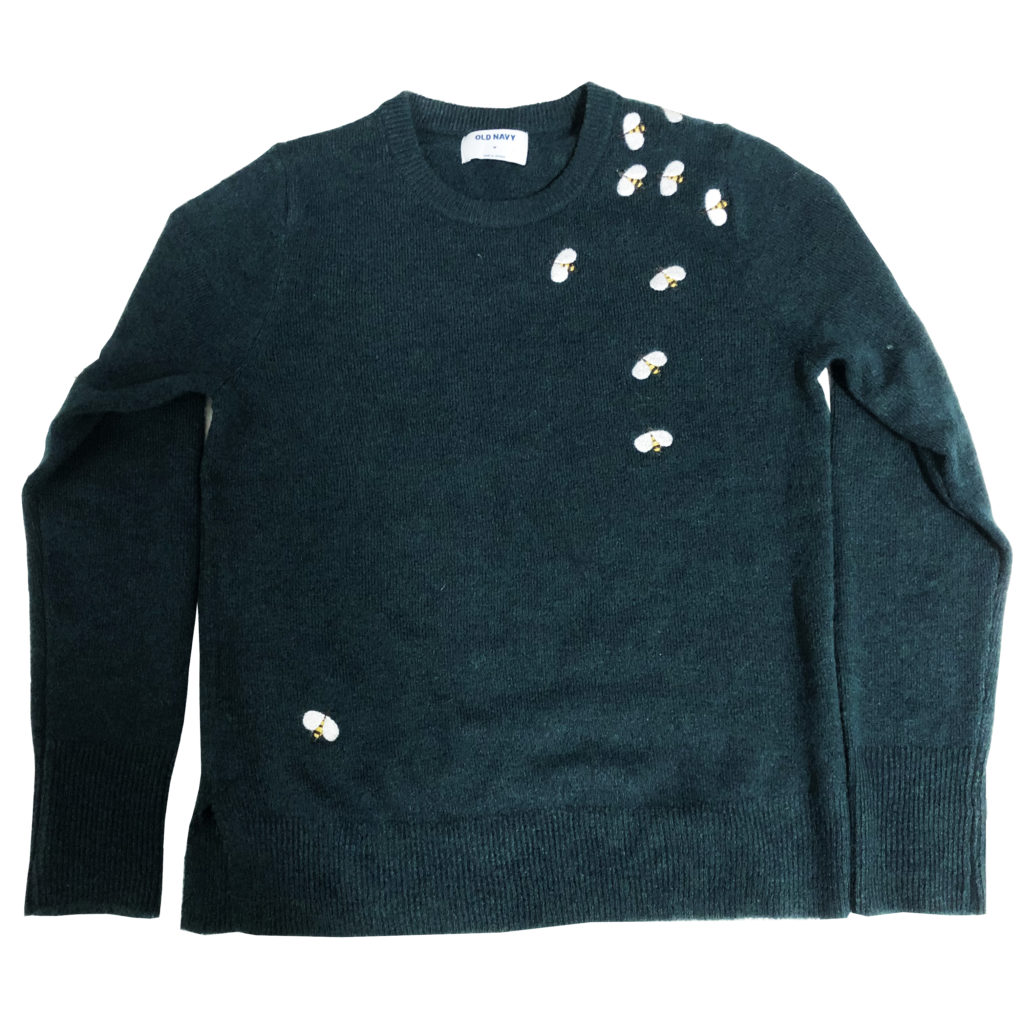
My thoughts about machine embroidery on a sweater
Geez. This was a lot easier than I could have imagined. The trick is to float the sweater on the embroider, use a water soluble topper, and don’t attempt a super large design that will make an area of the sweater too rigid. I think these bees are actually perfect. They are small so they don’t impair the stretch and they are super quick to stitch out. But they would be a lot more efficient to stitch out on a multi-needle embroidery machine.
I’m pretty happy with how this project turned out. And guess what? So is my teenage daughter. She’s already taken over the bee sweater! Oh well! Onto the next project.
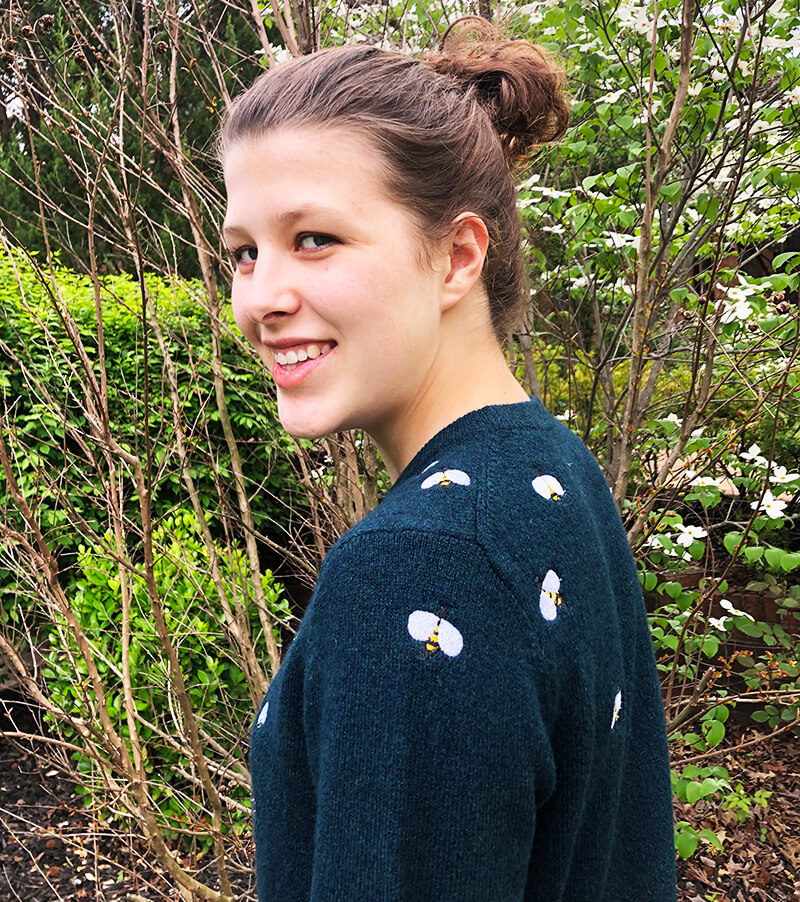
Would you like to try this project? The bee machine embroidery design is available in the resource library.
Good luck and happy stitching!
xo
Julie






Awesome! The sweater is cute, but I love that famous people are just now getting with what embgirls have been doing for a while… that’s SO last week/month/season!
Haha!!!