Disclosure: Some of the links on this site are affiliate links. This means that if you click on them and make a purchase, I may earn a small commission at no extra cost to you. Please know that I only recommend products and services I trust and use myself.
There is nothing better for a sewing and embroidery geek then coming up with a new idea for a project and having it turn out better than expected. My latest win was a velvet shawl that I made for my sister, sister-in-law, my friend Anna, and myself. It turned out AMAZING. So, I thought you may be interested in learning how to make a shawl like mine.
My issues with Christmas stitching
Confession time. I have a problem. Every Christmas, it seems like I come up with a gift to make someone. But, the inspiration will strike WAY too close to Christmas. Oh – and the project is always something I’ve never made before.
Of course, this year was no different. But, the idea I got was just SO PERFECT that I couldn’t stand to not go for it.
Inspiration for a pom pom trimmed modern shawl
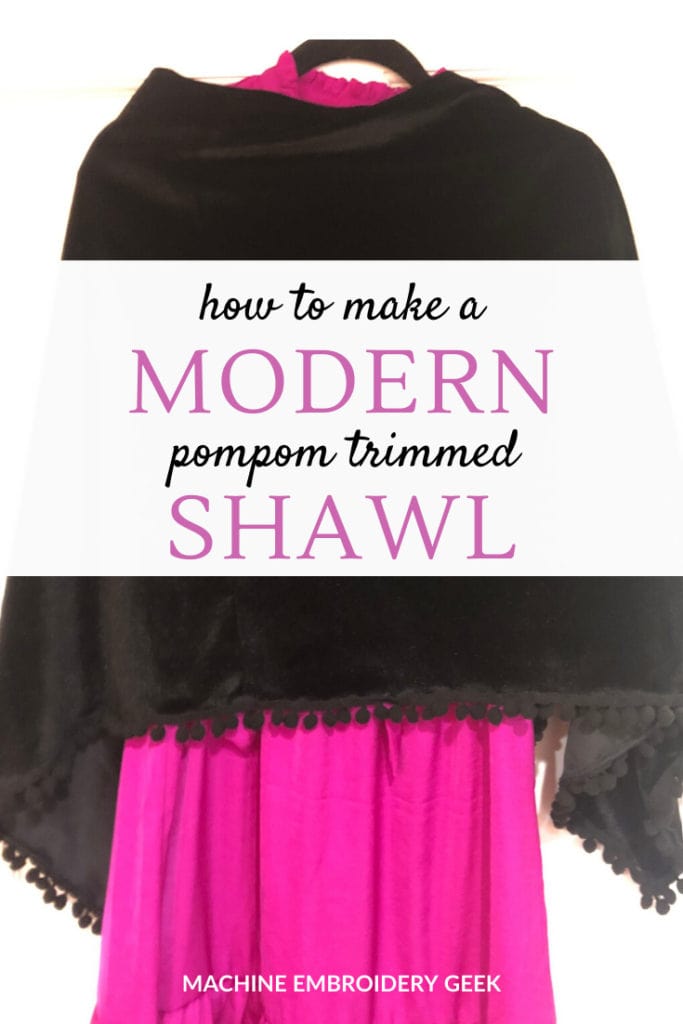
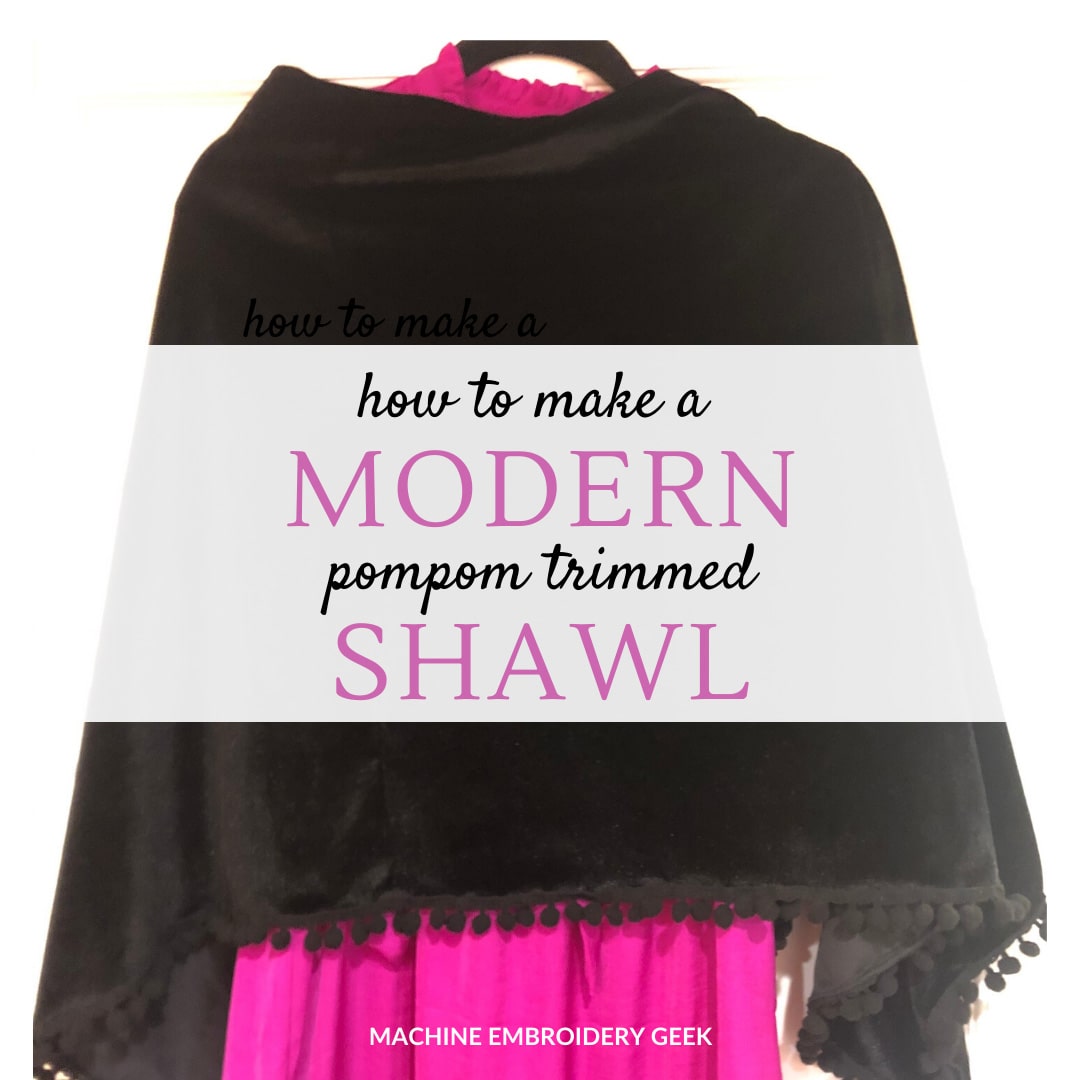
I first got the idea for a fringe or pom-pom trimmed modern shawl when I saw my very hip aunt wearing one over a dressy outfit at a party. It was just perfection. Every wrap I have ever owned requires me to hang onto it in some fashion in order to keep my shoulders warm. But this shawl was different. It had a hole for the head, but then draped kind of loosely and casually, framing her face nicely. Although it may not sound like it from my description, It didn’t look like a heavy poncho or a blanket. It just looked elegant and cool. And, I knew I wanted one.
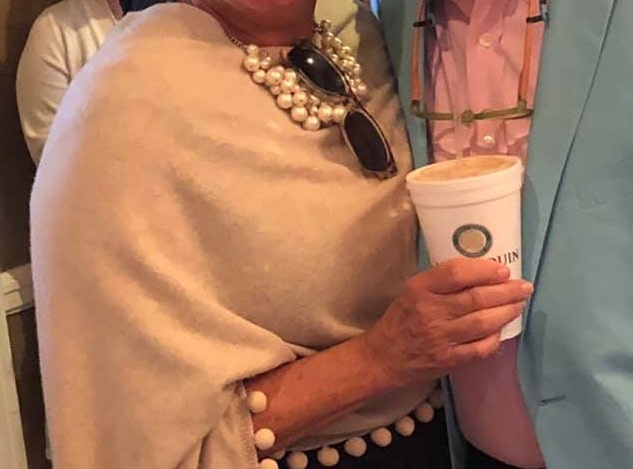
Unfortunately, she bought my aunt bought this totally perfect shawl in Italy. Bummer. And, at that moment, it didn’t occur to me to make my own. This was summertime, and remember, inspiration only strikes for me when the pressure is on.
When and how I decided to make my own pom pom trimmed modern shawl
10 days before Christmas I still hadn’t come up with a gift idea for my sister or sister-in-law. So, I popped in one of our favorite local boutiques to find something for them. I noticed they had very simple velvet wraps, similar to the one I had admired of my aunt’s. However, they were not trimmed with cute pompoms and the price was $100/each. WHAAA?? And that’s when the crazy kicked in.
I took one into the dressing room to confirm it was the style I liked. Check. Time to take some notes and measurements. But, unfortunately I did not have my tape measure that I usually keep in my purse. I didn’t want to go through the hassle of buying the wrap then returning it. Plus, the design was so simple, I felt confident I could figure it out.
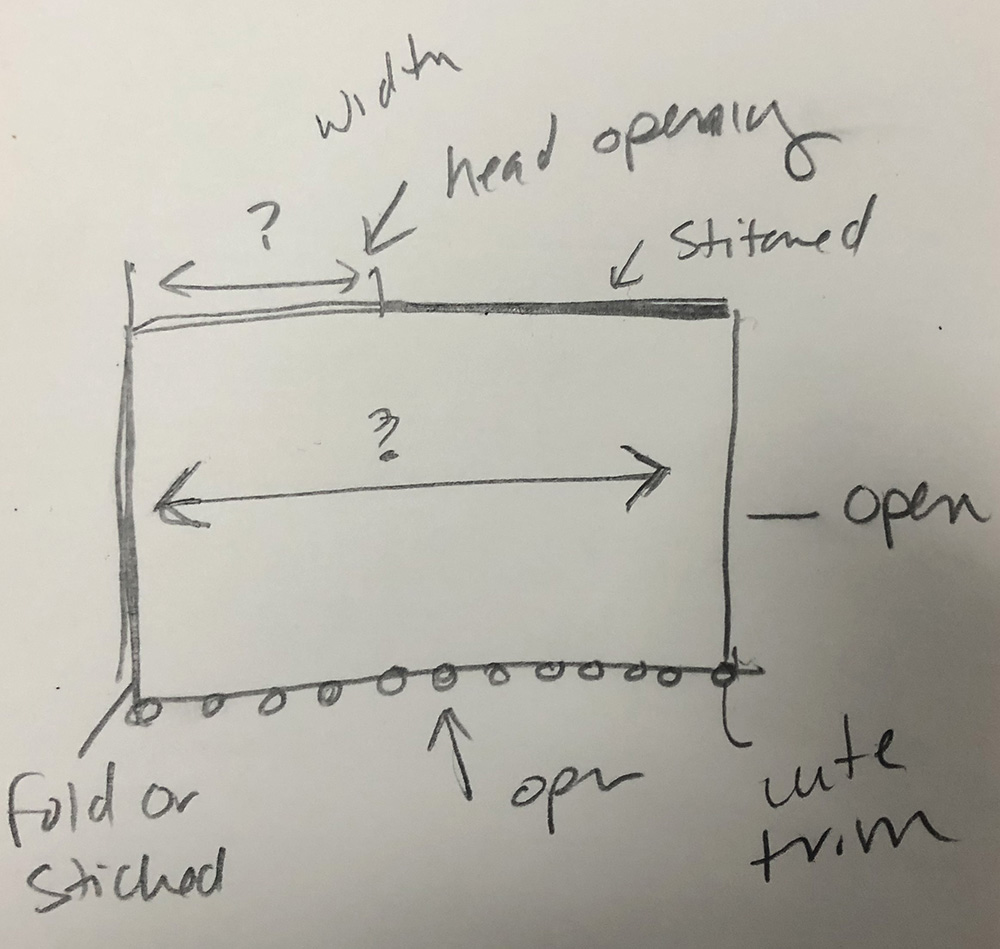
So, I took a few pictures of the shawl, (which proved to be not that helpful), and made some mental notes. It was a single piece of fabric folded in half and sewn together along the top, but leaving a hole for the head at the fold. I noticed that it was about as long as it was wide. I estimated that the width was about 22 inches which made sense because it was clearly made from a 45 inch wide fabric and the length was about as long as the (folded) width, so 22 inches.
All of the raw edges looked like they had a serged edge. I could do that; I had a serger, I just hadn’t figured out how to use it yet.
So, instead of dropping $100 for the shawl, I headed over to Joanns. I felt sweaty in the fabric cut line, because I knew this was not a good idea. I had vowed to myself that I would stay away from stressful last minute projects before Christmas. Of course, at the cut table I was standing behind a woman with 30 different bolts of Christmas fleece. And, I felt nauseous.
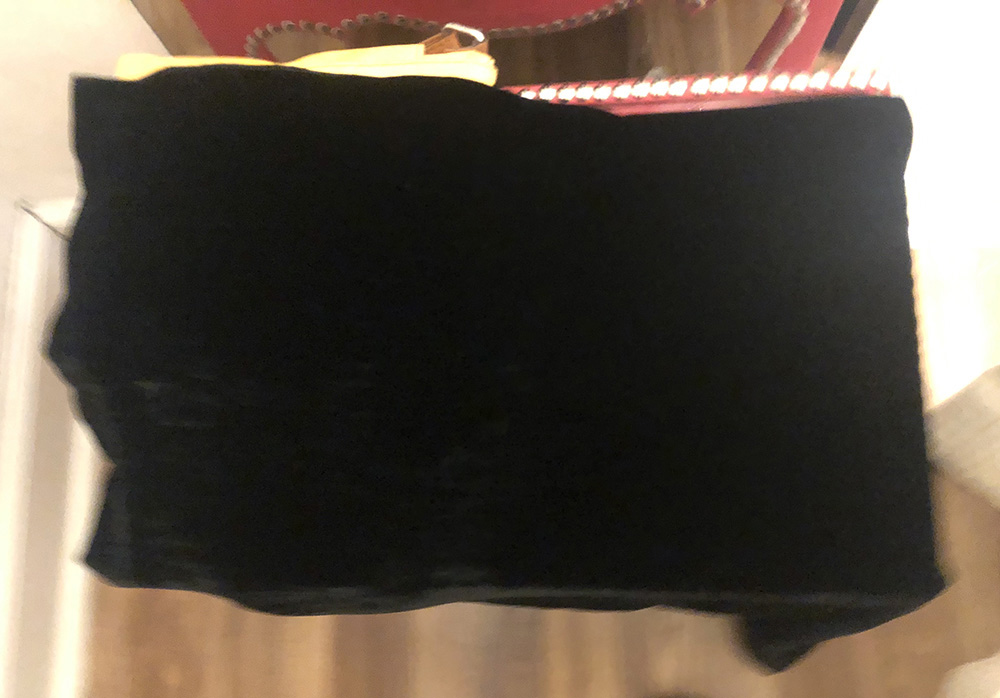
But I just couldn’t help myself. I purchased four pieces of stretch black velvet, each 2/3 of a yard long. I wasn’t happy with their trim selection so I ordered my pompom trim through Amazon. I also bought four black large spools of thread for the serger, because I vowed that I was going to learn how to use the damn thing once and for all.
[do_widget id=custom_html-5]
Making the modern shawl
Once I got it home, I had to face my fears of the serger. I got lessons with the serger when I first bought it, but I haven’t made the time to attend them. I figured – this could not be rocket science. I poured myself a big glass of wine, headed down to my sewing room and pulled up some YouTube videos. After about an hour, I got the dang thing threaded, and I was on my way.
One thing I was nervous about was getting a wavy effect around the edges of the shawl since the velvet was a stretch velvet. But, I found this not to be a problem. The finished edge look beautiful. If you don’t have a serger, though you could probably use a zigzag stitch on a regular sewing machine with a short stitch length.
The most time-consuming part of the project, however, was attaching the trim to the outside edges of the wrap. I changed my presser foot to one that was very narrow to allow me to get close to the pompoms while stitching it on around the edges of the shawl.
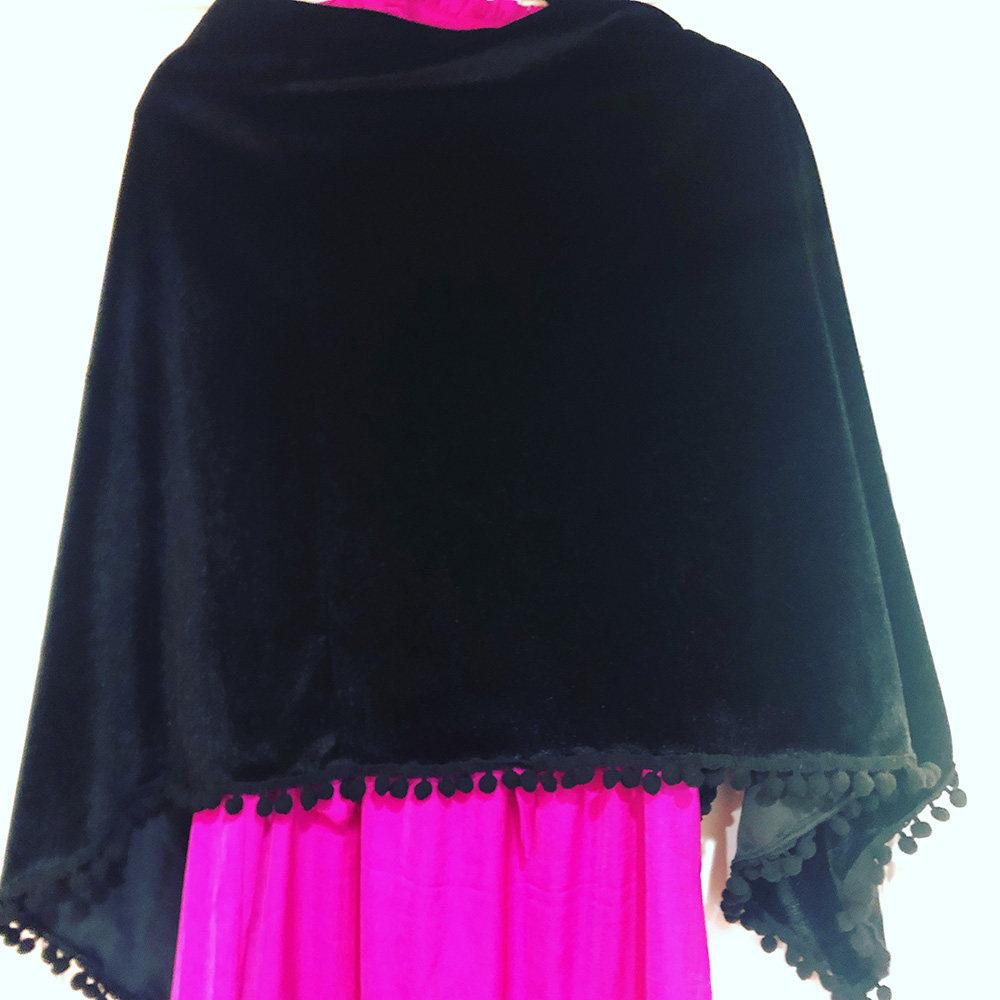
After I had finished my first shawl, I was, (needless to say), pretty impressed with myself. I had gotten comfortable with my serger and made some amazing gifts, plus a great accessory for my own Christmas Eve look. I wore my shawl with a hot pink dress underneath. And, I think it looked great.
What was super fun though, was having my sister-in-law complement me on my shawl when I walked in for dinner Christmas Eve. Then, I got to watch her open her gift a few minutes later. She said, “wait you made this?” Mic Drop.
So enough humble bragging (or not so humble bragging) here. Let me show you how to make this awesome velvet pompom trimmed shawl.
How to make a shawl with pompom trim
Supplies needed:
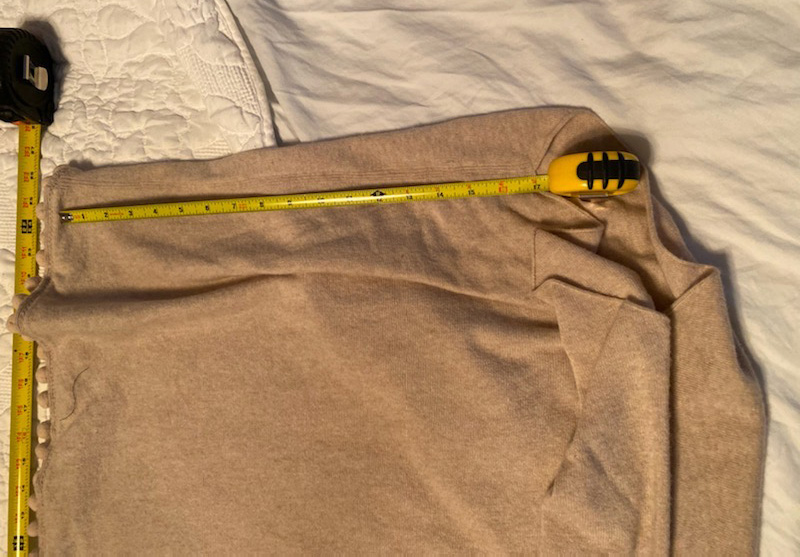
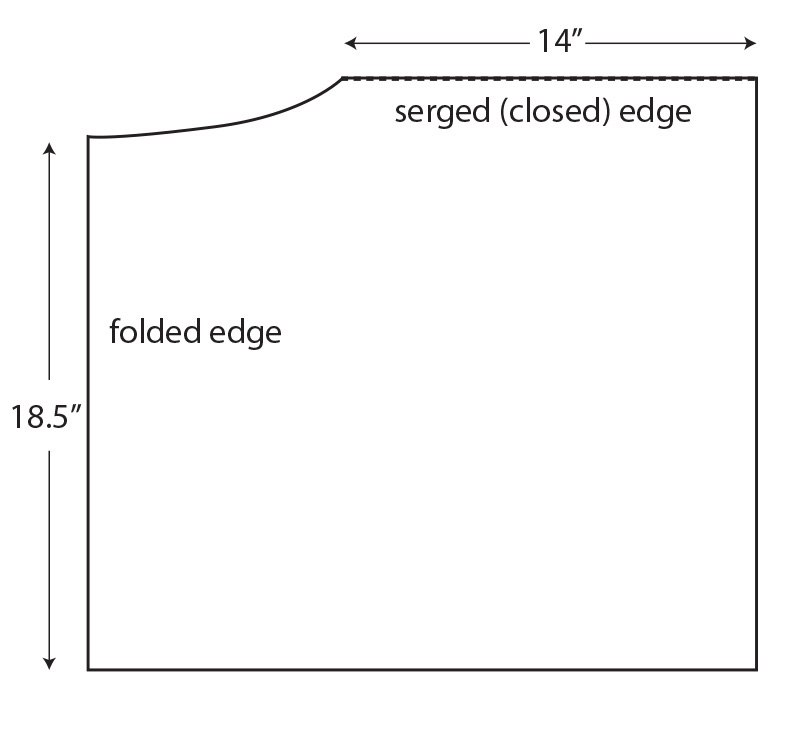
- A piece of 2/3 of a yard of stretch velvet – actually you want about 20″ in length Note: if you buy 60″ wide fabric, you will want to cut down the width so that your piece is about 45″ wide.
- Pompom trim – at least 3 yards.
Step by step instructions:
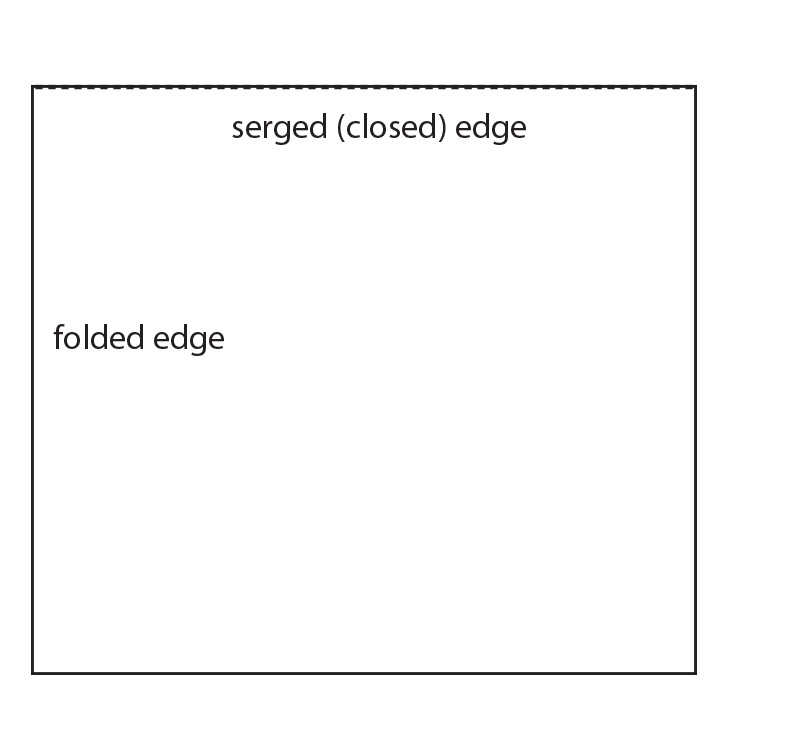
Fold fabric in half along the short edge.

Serge the top edge together
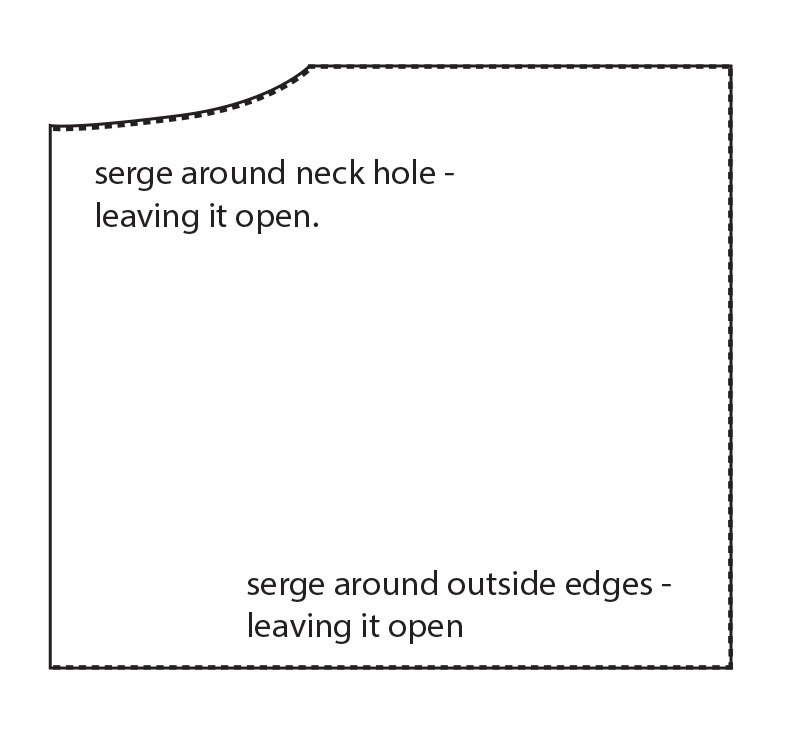
Cut a neck hole surge around the unfinished edge.
Serge the neck hole as well as all the open edges around the shawl. You will leave the sides and the bottom open.
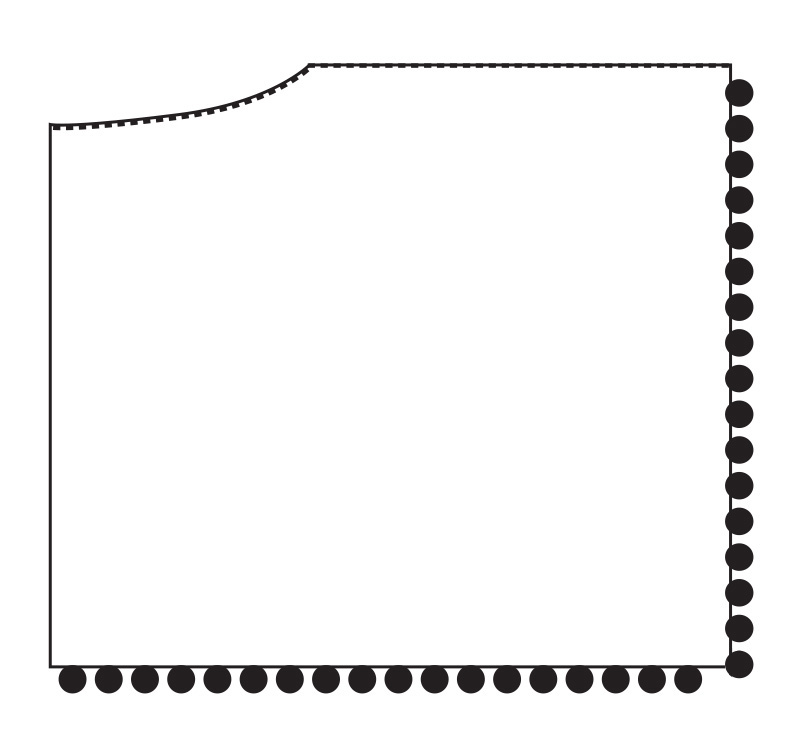
Now attach the trim to the open edges on the side in the bottom. You will need about 90 inches or 3 yards of trim. I pinned the trim onto the wrap like crazy, because it wanted to slip around quite a bit on the velvet. When I got to the corners, I just carefully tucked one end of the trim underneath the other one coming from the other direction and folded that folded over the top piece.
And there you have it! All done!
So, I realize Christmas has now passed but maybe you can find some stretch velvet on clearance and be more prepared than I was for next year. You may also try out this project it is the perfect accessory for a holiday party or any formal winter event so if you have a an opportunity to make a gift for a win winter birthday girl, this is a good one.
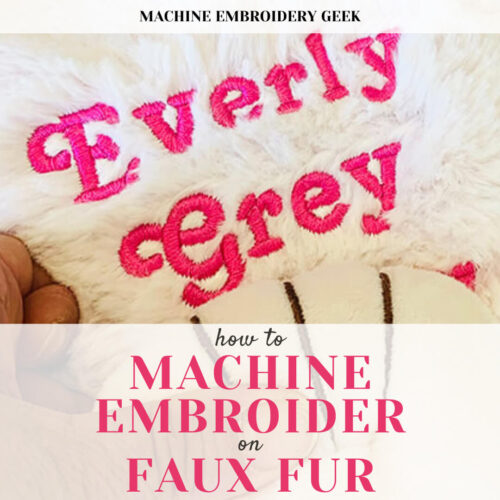
Also – if you have a little more time – why not personalize it? A subtle black on black monogram would have looked great on this. I just ran out of time.
Good luck and happy stitching! And please let me know if you made this! I’d love to see how it turned out.
Helpful shopping links
Want to remember this? Post “How to make a shawl for a dressy occasion” on your favorite Pinterest board!