Disclosure: Some of the links on this site are affiliate links. This means that if you click on them and make a purchase, I may earn a small commission at no extra cost to you. Please know that I only recommend products and services I trust and use myself.
Want to digitize an appliqué design, but don’t want to spend the money on digitizing software? Fortunately, there is a free and open-source program called Inkscape with a module you can add on called Ink/Stitch (also free) which will allow you to do exactly that. You can download Inkscape onto your Mac or PC and it will allow you to create SVG graphics. Then, once you add the Ink/Stitch plug-in, you can convert those SVG files to embroidery designs. While this software doesn’t have the capabilities of a full-blow embroidery digitizing program, you can still do a lot with it. And, in this blog post, I will show you how to digitize an appliqué design using Ink/Stitch.
Products mentioned in this post
What is Inkscape?
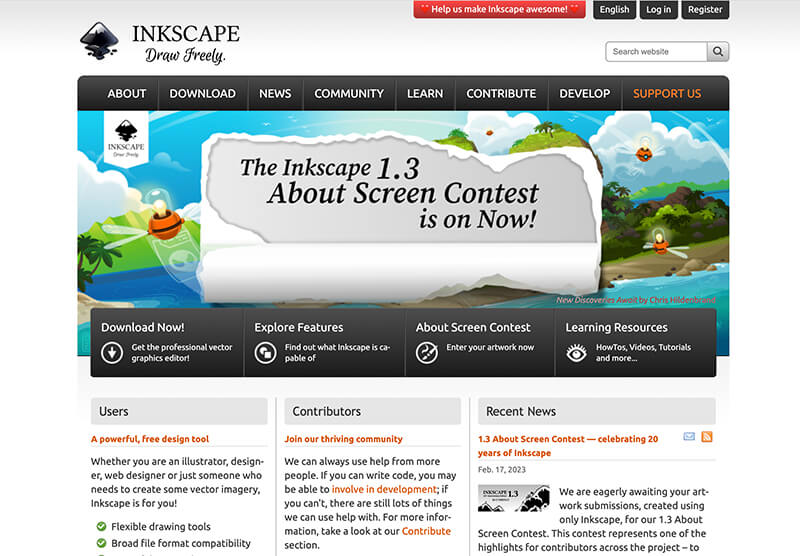
Inkscape is a free vector-based drawing program that allows you to create and manipulate vector images (SVGs). This means that Inkscape can be used to design logos, illustrations, and more.
Inkscape is very similar to professional-level vector-based drawing programs like Adobe Illustrator. In fact, when I was exploring Inkscape, I deliberately tried to do all of the common tasks I would normally do in Adobe Illustrator, and I was very pleasantly surprised to find that I could do just about all of them using Inkscape.
What is Ink/Stitch?
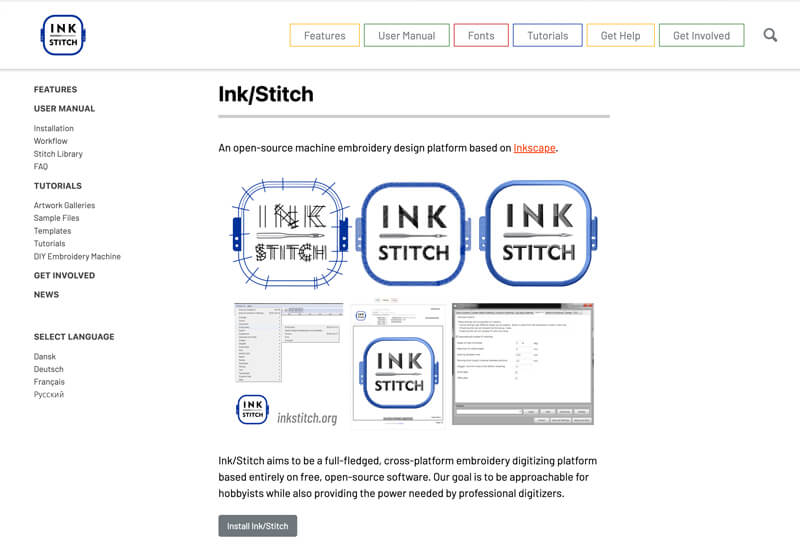
Ink/Stitch is an add-on for the Inkscape software that allows you to save your SVG artwork as an embroidery design. The module is open source and is free to download and use. It’s also regularly updated with new features.
Using Ink/Stitch, you can make quite a variety of embroidery designs. You can even digitize an appliqué design using Ink/Stitch.
What is open source software?
Open source software offers accessible and editable code, so that anyone can inspect, modify, or improve upon the existing code. This means that users have a greater level of control over their project’s development.
The open source nature of these programs means that all sorts of developers can work on new enhancements for it. But, me, personally? I’m not interested in changing any of the code inside of either of these programs. In my opinion, it works pretty darn well as it is.
So if you’re like me, just go ahead and download the Inkscape and Ink/Stitch and install it on your computer. And keep your focus on learning how to use it.
Why learn how to use Inkscape?
Inkscape’s strength is in creating vector-based graphics. And, the most well-known vector-based file format is SVG. If you aren’t aware of it already, you can do quite a bit with SVG graphics.
For example, you can use it as a cut or draw a line in your Cricut machine. Any software that comes with a cutting machine will allow you to import SVG files.
In addition, you can also use an SVG file as the basis for an embroidery design. Many embroidery digitizing programs will allow you to import SVGs which you can then convert to an embroidery design.
So, in my opinion, Inkscape is definitely worth learning. I’ll admit, it does have a little bit of a learning curve, but once you get the hang of it, you’ll be able to create some awesome graphics. And then you can use Ink/Stitch to digitize those designs into embroidery patterns.
If you are interested in learning Inkscape, check out my course: Inkscape Express.
Ink/Stitch for SVG to embroidery design conversion
While many of the professional-level digitizing programs offer robust features for SVG to embroidery file conversion, Ink/Stitch (at least in its current iteration) is a bit limited and a bit less intuitive. Nevertheless, you can create quite a range of embroidery design styles using Inkscape and Ink/Stitch.
One of the simplest types of embroidery files you can make using Inkscape and Ink/Stitch is a raw edge appliqué file.
A raw edge appliqué file is simply an appliqué that does not have a finished satin stitch edge. The raw edge of the fabric are exposed. Typically the appliqué fabric is stitched onto the base garment with a bean (or triple) stitch.
Raw edge appliqué files are typically comprised of two thread colors. The first thread color is a running stitch used for placement purposes. And, the second thread color is the bean stitch. You simply trim the excess fabric away from the bean stitching and you are done.
Raw edge appliqué files have a casual and light look. I especially like them because they stitch out quickly.
So let’s dive in and learn how to use Inkscape and Ink/Stitch together to create an appliqué design!
How to digitize an appliqué design using Ink/Stitch
Since our goal in this post is to create an appliqué file using this free software, we’re going to keep our vector-based drawing pretty simple. In fact, we’re just going to create a simple letter appliqué.
Install Inkscape and Ink/Stitch
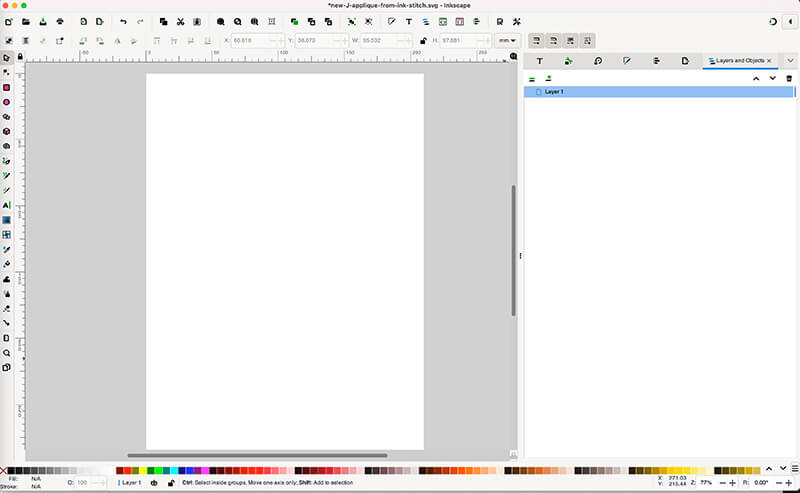
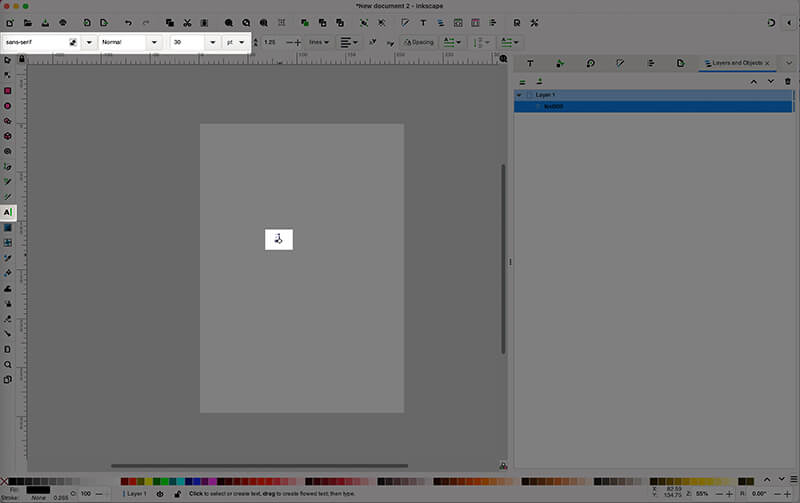
The first thing you need to do is to install Inkscape, and then load in the plug-in Ink/Stitch. Once you’re all set up and running, and you start up the program, a new document will be created by default.
Create your letter
Next, you need to make the graphic that you want to convert to an appliqué. I decided to make an appliqué file based on the J which is the first initial of my first name. But, of course, you can make whatever letter you want. Simply click on the type tool, and then click in the blank document area and type your desired letter.
The font that the letter is rendered in, is chosen by default by the program. You can easily change the font though by selecting the letter, and then heading over to the Type panel and selecting a different type style.
Scale up your letter
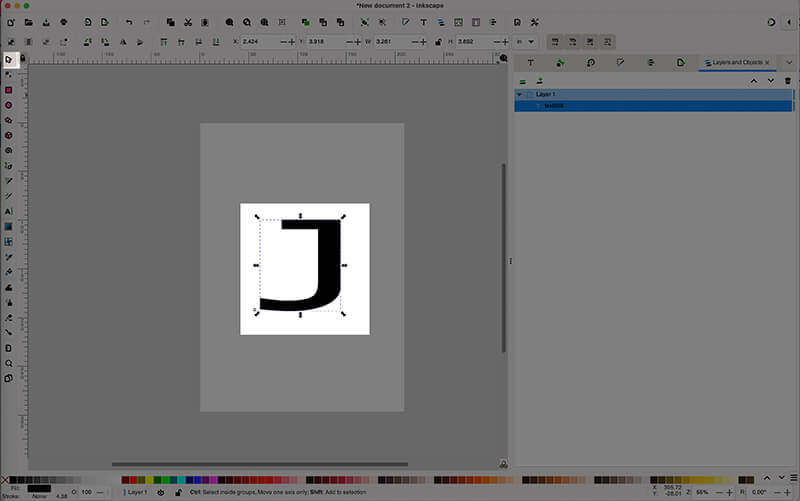
Now, you probably want to make the letter quite a bit bigger. If you’re working in a 4” x 4” hoop, then you probably want your appliqué letter to be slightly less than 4” x 4”. To make your letter larger, you simply choose the select tool, then click and drag on the handle surrounding the letter to enlarge it. If you hold down the shift key while doing this, the letter is scaled up proportionally.
Change your unit of measure (if you want)
By default, the unit of measure in Inkscape is millimeters. If you have a hard time, visualizing the size in millimeters because you’re used to the English system, then switch the drop down at the top to inches to.
Convert the letter to a path
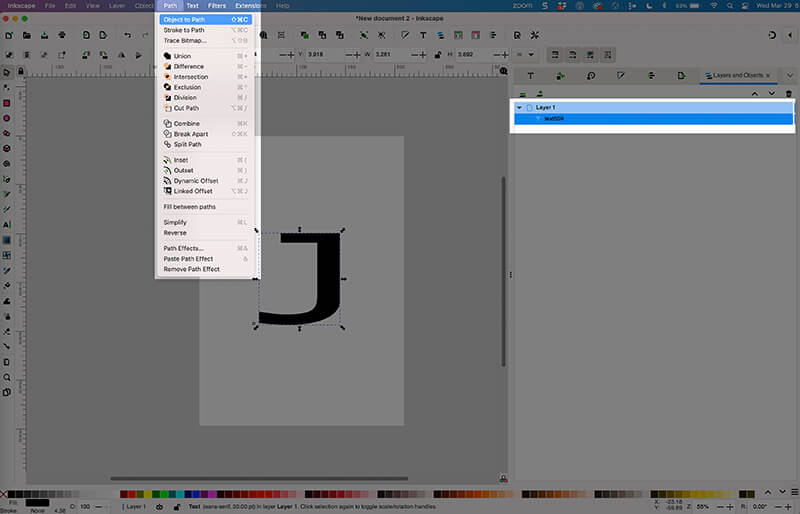
Now you need to convert the letter to a simple vector path. You need to tell the program that it should interpret the letter shape as an object instead of text. Select the letter then go to the Path menu and choose “Object to Path.”
Pop the letter out of the group
When you convert a letter to an object in Inkscape, it will create the path and put it inside of a folder inside of a group. We don’t want this to be grouped so go over to your object panel select the object and then from the Object menu, select “Pop Selected Object Out of Group.”
Delete the empty folder underneath the object by right-clicking on it and selecting “Delete”
Change the properties of the letter
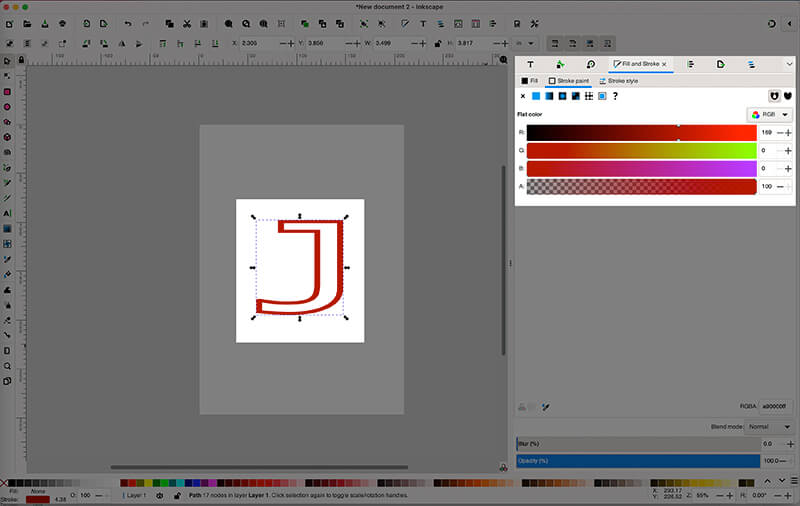
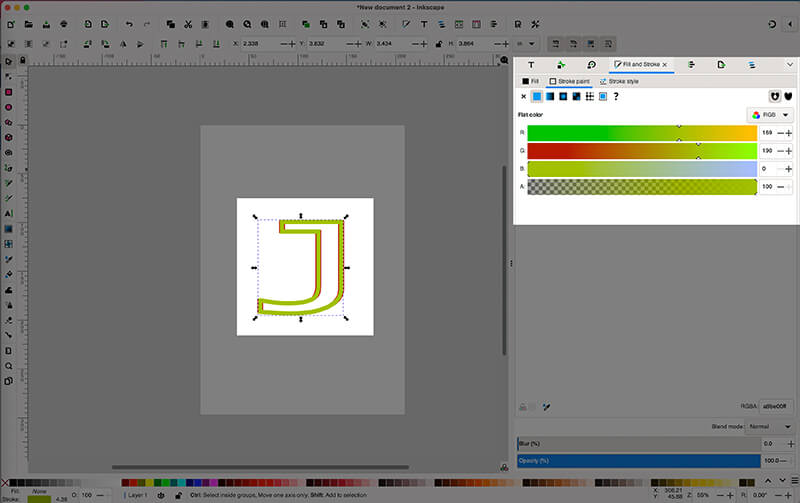
Now you need to change the properties of the letter. By default the letter is filled black. Simply select the letter then go to the Fill and Stroke tab and change the fill to nothing and the stroke to a color.
Duplicate the path
Since our file is going to be a raw edge appliqué design, it needs to be comprised of two thread colors: a placement stitching line, and then a bean stitch line that is more prominent. So we need to duplicate this letter path to make – one for each thread color.
To duplicate the letter path, simply select the letter that is on your in your document, then choose Edit -> Copy, then Edit -> Paste in Place. Now you have two letter shapes on top of each other.
Change the color of the one you just created.
Change the properties of the paths
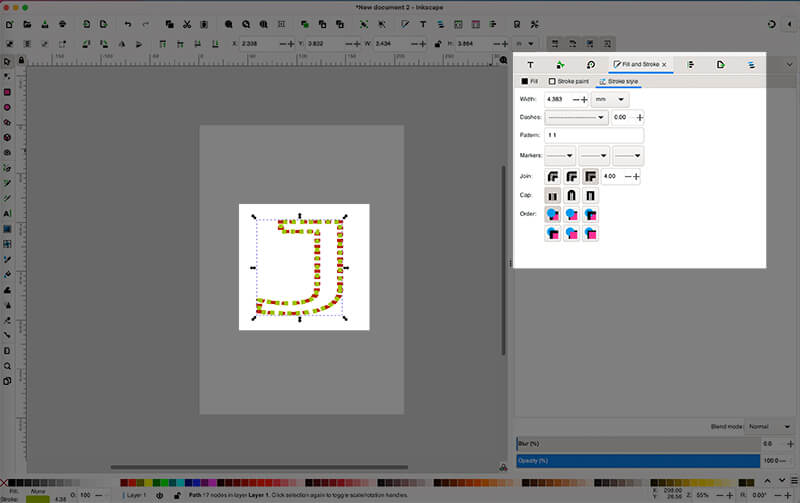
In order for Ink/Stitch to interpret the path as a running or bean stitch, you need to set the stroke style of each path to be a dashed line. So, select each of the paths using the Layers and Objects panel, then go to the Stroke Properties tab inside of the Stroke and Fill panel and choose a dashed line as the stroke style.
Now you need to differentiate the the paths. Remember we want the first thread color to be a running stitch and the second thread color to be a bean stitch. The version of the letter that is at the bottom of the stacking order is fine as it is. But, you need to make a change to the object that is at the top of the stacking order in the Layers and Objects panel in order to have it be a bean stitch.
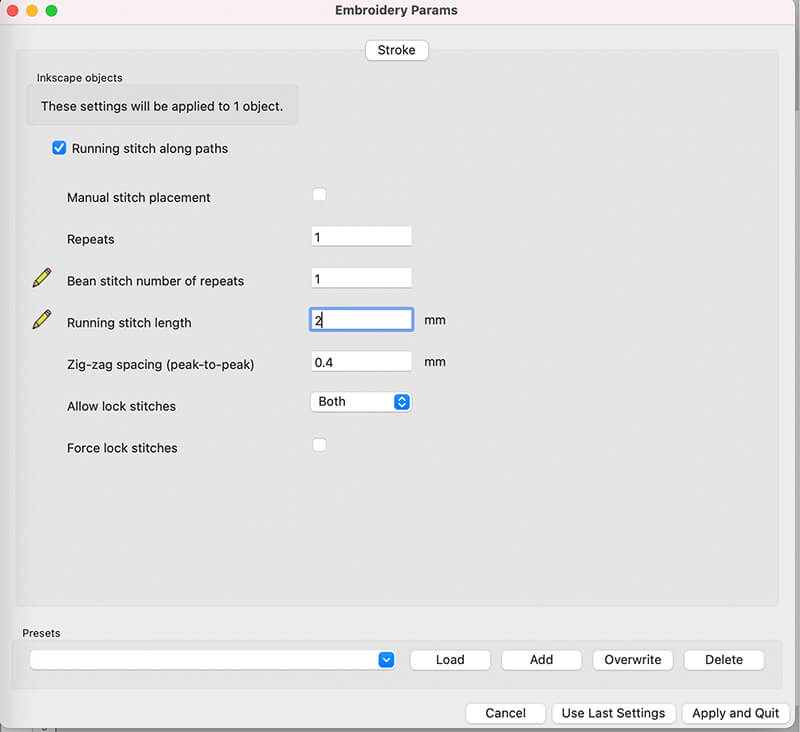
Select that object, then go to Extensions -> Ink/Stitch, and choose Params. Change the “Bean Stitch Repeats” to 1. You can also change the length of the bean stitch here. By default, the stitch length is 1.5 mm. I prefer a 2mm length bean stitch, so I would change that settings. After you change these settings, select Apply and Quit.
Saving the SVG as an embroidery design
In order to turn this SVG into an appliqué design, simply choose File -> Save and select your desired embroidery file format.
If you do not see your preferred embroidery file format listed here, don’t fret. There are free embroidery file conversion programs available which will allow you to open an embroidery file in one format and save it as another format.
Preview the embroidery design
Before you load the embroidery file onto your embroidery machine, it’s a good idea to preview the stitch out. Many of the free embroidery programs will do a preview of the stitch out.
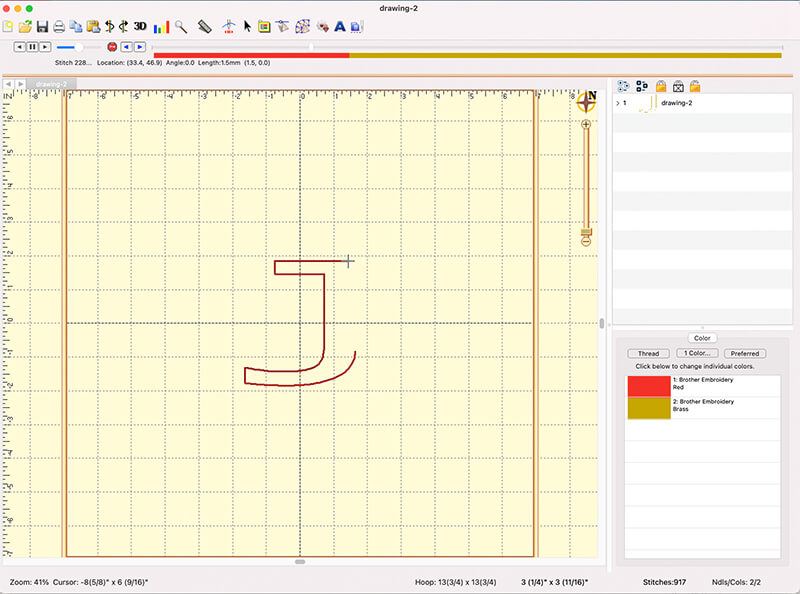
I actually have and Embrilliance Essentials on my computer which does A LOT including the ability to preview an embroidery file stitch out. From the preview, I could see that the embroidery file was set up properly, with the first thread color as a running stitch (for placement) and the second thread color as a bean stitch.
Stitching out the appliqué letter you digitized using Ink/Stitch
Load your file onto your embroidery machine
Now that you have created and previewed an appliqué embroidery design, all that is left to do is load it onto your embroidery machine.
Stitch out the embroidery design
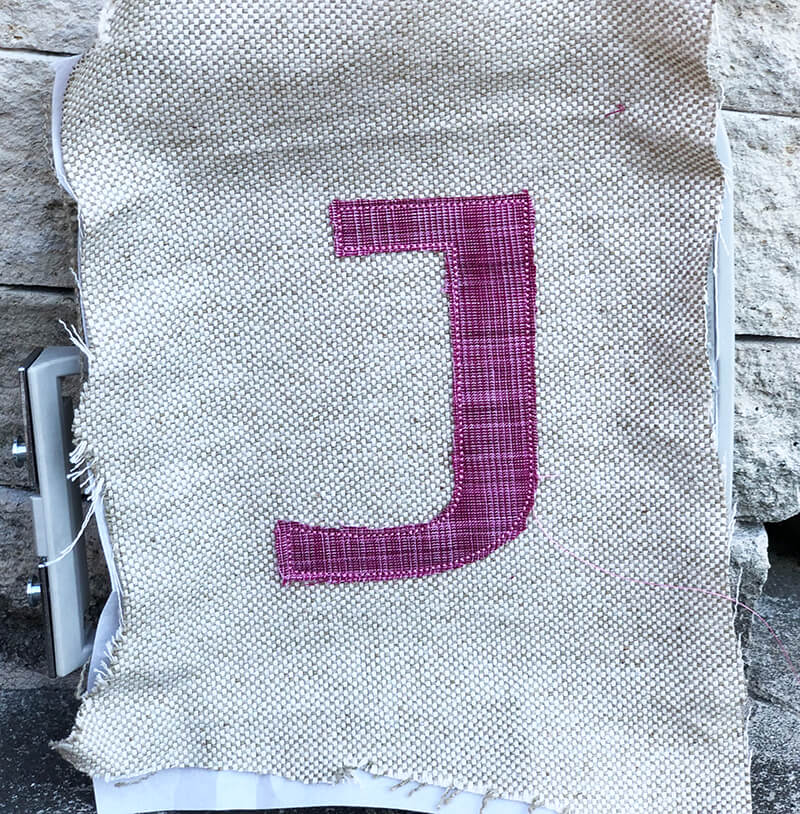
I floated a piece of linen fabric on some cutaway stabilizer, using some temporary adhesive spray to stick my fabric to the stabilizer, and, of course, using my spray shield before I started spraying near my embroidery hoop.
Then, I started stitching the first thread color which created a clear placement line for my appliqué.
Next, I laid my appliqué fabric over the placement stitch line. I always prepare my appliqué fabric with by fusing some HeatnBond Lite onto the back of it to give it a bit more tackiness and keep it from puckering.

Finally I stitched out the next thread color which was the bean stitch. When the machine was done stitching, I removed the hoop from the embroidery machine and trimmed the fabric around the bean stitch line leaving about 1/8″ to 1/16″ of excess fabric. Remember the design is intended to have an exposed raw edge.
Admire your work
Pretty cool, huh? Now I bet you’re wondering how to create a satin stitch appliqué using the same method. I do believe it is possible using Inkscape and Ink/Stitch, but let’s save that for a future post.
Happy stitching, and enjoy.
Want to remember this? Save “How to digitize an appliqué design using Ink/Stitch”
Love this! I have a digitizing software, but am curious about this. Seems rather simple. I’m going to give it a try. Thanks so much for the creative ways to get our projects done!
Thank you, Terri! I’m so glad that you found it interesting and useful.