Disclosure: Some of the links on this site are affiliate links. This means that if you click on them and make a purchase, I may earn a small commission at no extra cost to you. Please know that I only recommend products and services I trust and use myself.
In-the-hoop machine embroidery projects are pretty remarkable. All you have to do is lay pieces of fabric and zippers on top of floated stabilizer, following the directions of the pattern designer. Then, when you’ve made it through the steps, remarkably, you have a finished project! I love in-the-hoop projects. In fact – I’m a member of the “Totally Addicted to In-the-hoop Projects” Facebook group. That’s just how big of a nerd I am. Anyway – one of my favorite things to do on my embroidery machine is to make an in-the-hoop pouch for my friends and kids.
[do_widget id=custom_html-5]
What is an in-the-hoop pouch?
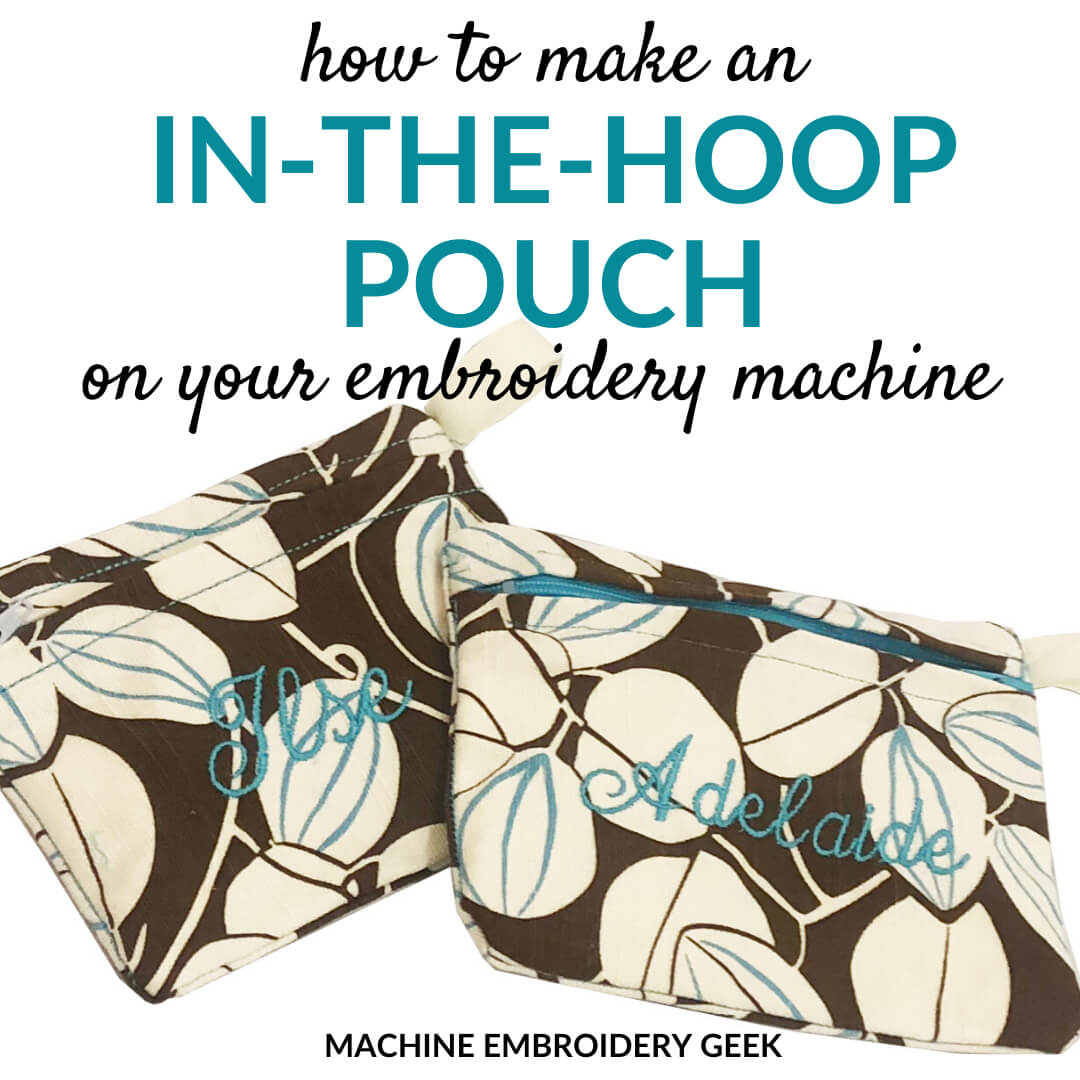
An in the hoop Pouch is just a simple clutch like bag with a zipper closure that can be attached to anything. You can make one several different sizes but even if you have a small hoop A small and are limited to making a smaller pouch it’s still quite functional. In fact I made a few new a little pouches that I made in a 5 x 7 hoop and my daughter explained that they would be perfect for all of her gift cards.
How to make an in-the-hoop pouch on your embroidery machine
To show you how to make an in-the-hoop pouch, I created a very simple and straight-forward in-the-hoop design that you can purchase and download. This pouch can be made in a 5″ x 7″ hoop or stitched out at a larger size.
Supplies needed
- Simple and straight-forward in-the-hoop pouch machine embroidery design.
- Adhesive backed stabilizer
- Machine embroidery thread
- Machine 75/11 embroidery needle
- Three pieces of fabric durable: 7.5″ x 3″ and 7.5″ x 5″ and 7.5″ x 5.5″ – if you are making the smaller sized bag.
- A zipper – the size depends on the size of the pouch you are making. For the smallest pouch that can be stitched out in a 5″ x 7″ hoop, an 8″ zipper should work well.
- 5″ piece of 5/8″ ribbon
Steps to take
Tip: Slow down your machine when you assemble this project. It’s easy for an embroidery machine to get hung up on all these layers you are putting together. And if it does, it’s a lot easier to prevent a disaster if your machine is running a slowly.
Step 1
Prepare your two fabric pieces for the front of your pouch. These are the pieces that are 7.5″ x 3″ and 7.5″ x 5″ Fold over 1/2″ of fabric along the long edge, then press. You will not need to press the back piece of your pouch.
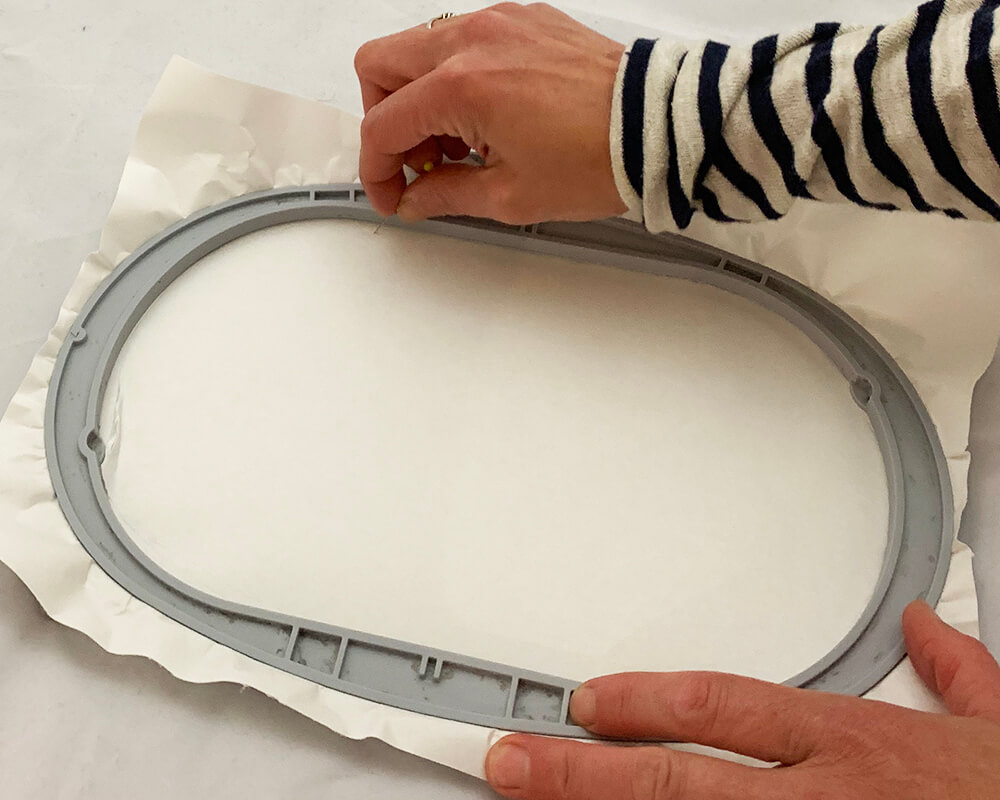
Step 2
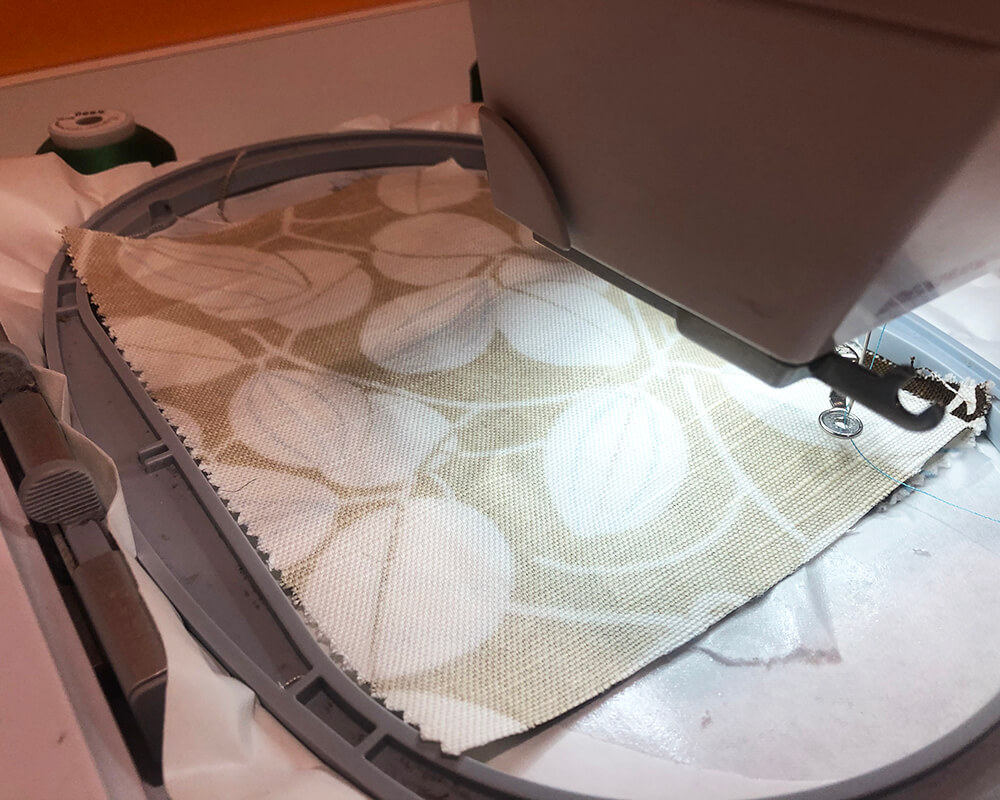
Hoop a piece of sticky back stabilizer, making sure it is taut. Then score the inside edge of the stabilizer around the hoop to make a light tear so that you can peel back the paper and expose the sticky surface.
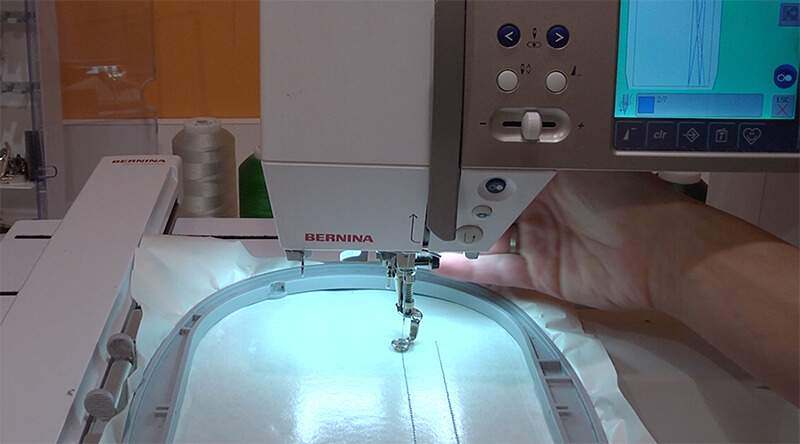
Step 3
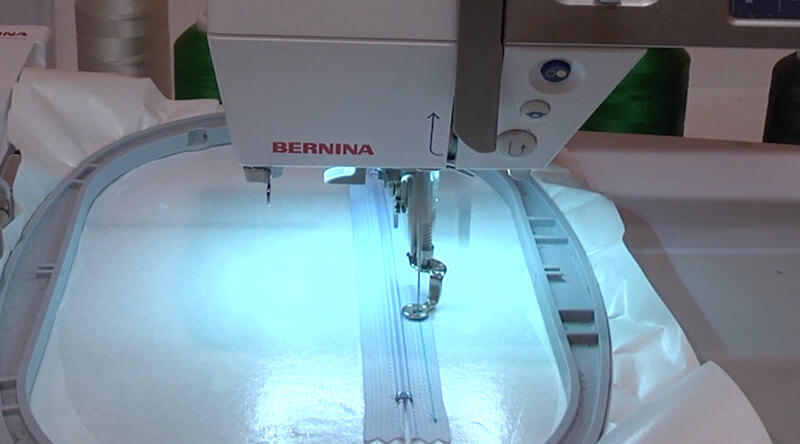
Start the first round of stitching. This will be a placement line for your zipper.
Step 4
When the stitching is done, stick your zipper onto the stabilizer. Make sure that the zipper pull is outside of the parallel lines of stitching. Also make sure that the metal end piece is away from the end of the parallel lines. Your zipper should obscure the two parallel lines.
Step 5
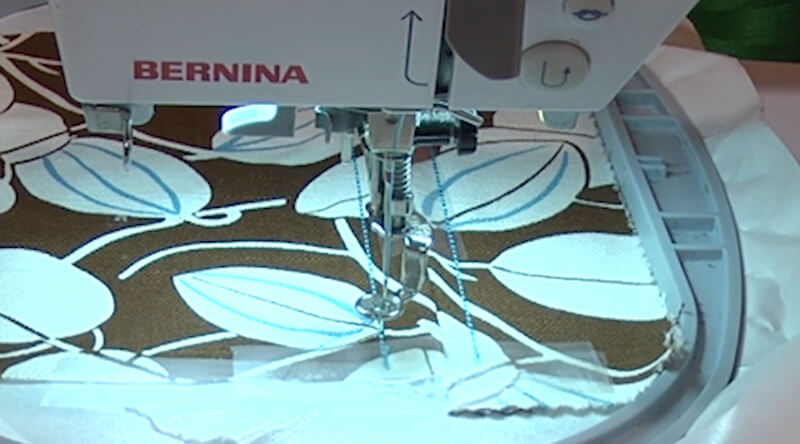
Start your next round of stitching. This will attach your zipper to the stabilizer
Step 6
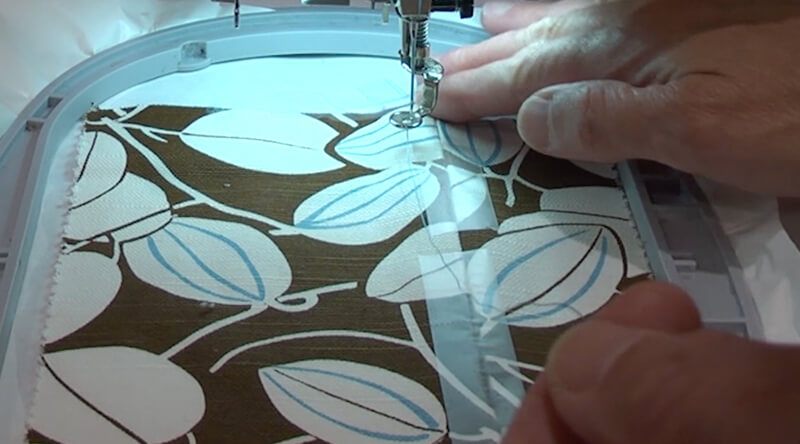
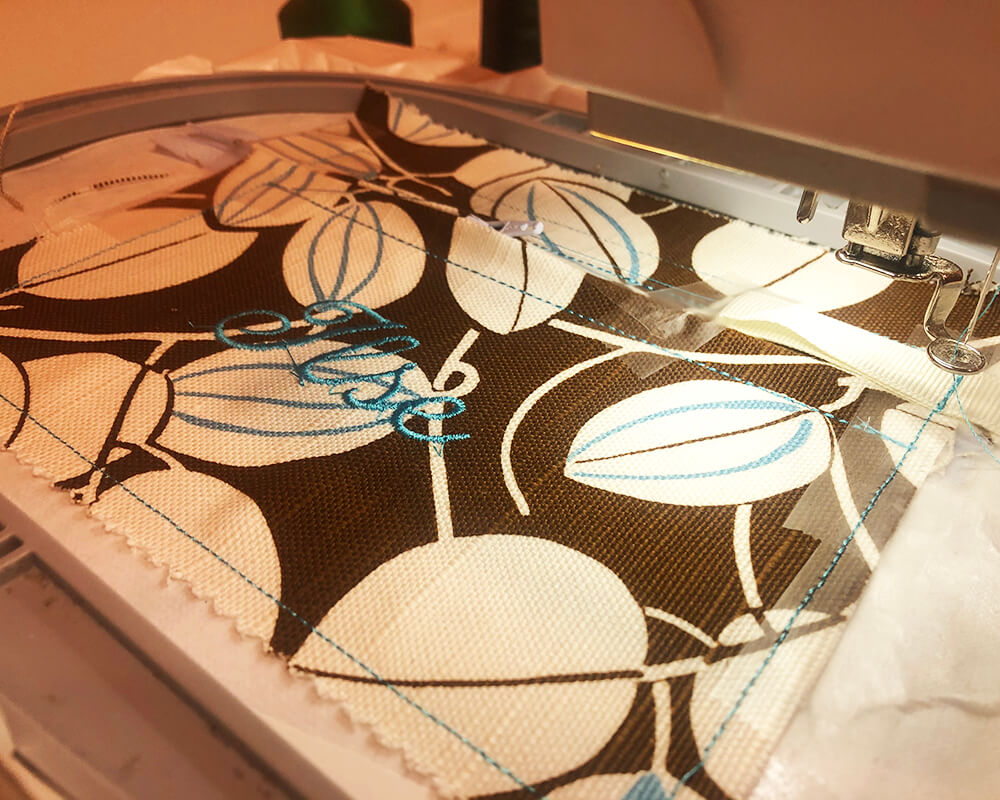
Stick the two front pieces of fabric to your stabilizer. The smaller piece should cover the smaller area above the zipper and the larger piece should cover the larger area below the zipper. The folds that you pressed into these two pieces of fabric should line up over the center of the zipper. Tape in place, then start the next round of stitching. This stitching will attach the fabric to the zipper.
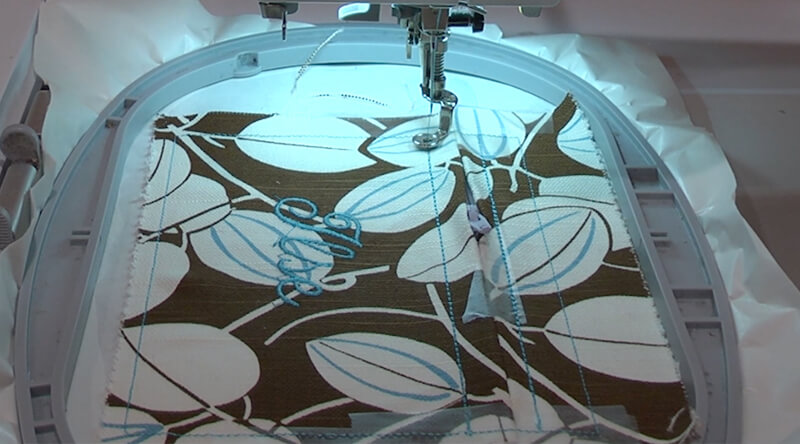
Step 7 (optional)
If you want to add a name or a monogram to the front of the pouch, then exit the design and stitch it out on the large panel you just stitched down.
Step 8
VERY IMPORTANT! Move the zipper pull to the center of the zipper. You are going to be stitching the pouch together and you don’t want the zipper pull to be left out of the pouch.
Step 9
Tape down the fabric to the stabilizer there the folded edges come together. It’s easy for your embroidery machine to get hung up on the fold so you want to tape these openings down so that your presser foot doesn’t get stuck.
Step 10
Now start the next round of stitching. It is a placement line to show you where you should place your back piece of your pouch.
Step 11
Start your next round of stitching. This is a placement line for your ribbon loop attachment.
Step 12
Fold your ribbon in half along the short edge. Tape it down to the fabric so that the two raw edges overlap the stitch line you just created. The folded end of the ribbon should be on the inside of the pouch. Tape it in place, then start stitching.
Step 13
Now, lay your back piece down (right side of fabric down) on top of the placement stitching. Tape it in place in a few spots and start the next round of stitching.
Step 14
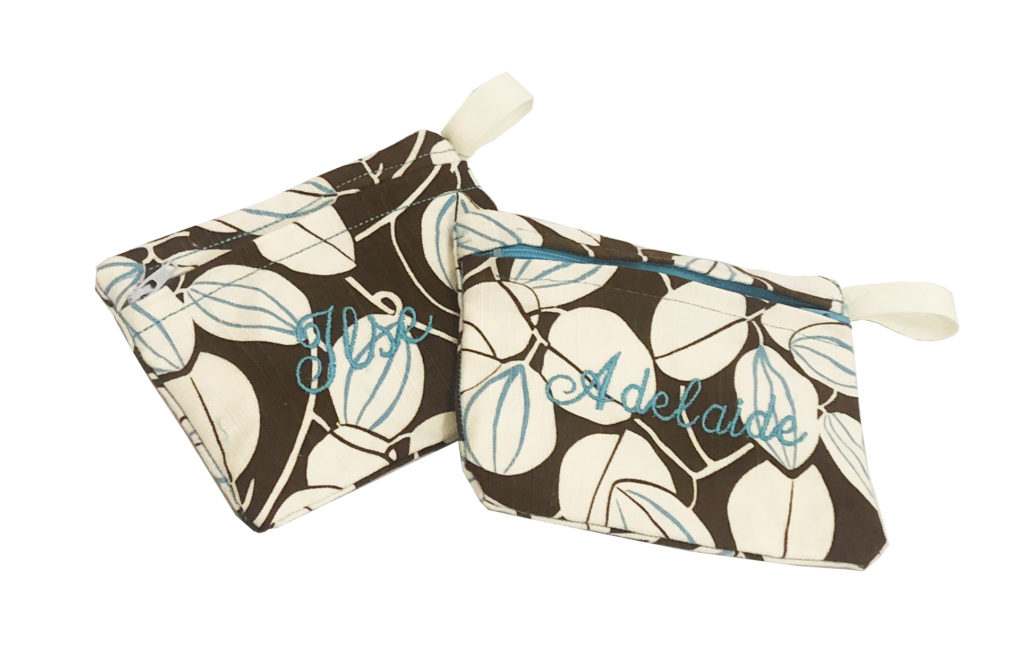
You are all done! Simply tear the pouch out of the stabilizer. Trim off the excess fabric to leave about 1/4″ seam allowances. You will need to access the zipper to be able to open it and turn the pouch inside out. Carefully scrape away a bit of the tear away stabilizer and open the zipper and turn the pouch right side out.
You will likely need to scrape off some tape and cut some strings but the pouch should clean up quite nicely.
Other interesting and unique in-the-hoop pouch designs that look like fun to make
Once you are feeling confident making my basic in-the-hoop pouch, you may want to try some of these more elaborate and complex in-the-hoop designs. Here are a few of my favorites.
Double zipper cosmetic bag from Pixie Willow Patterns
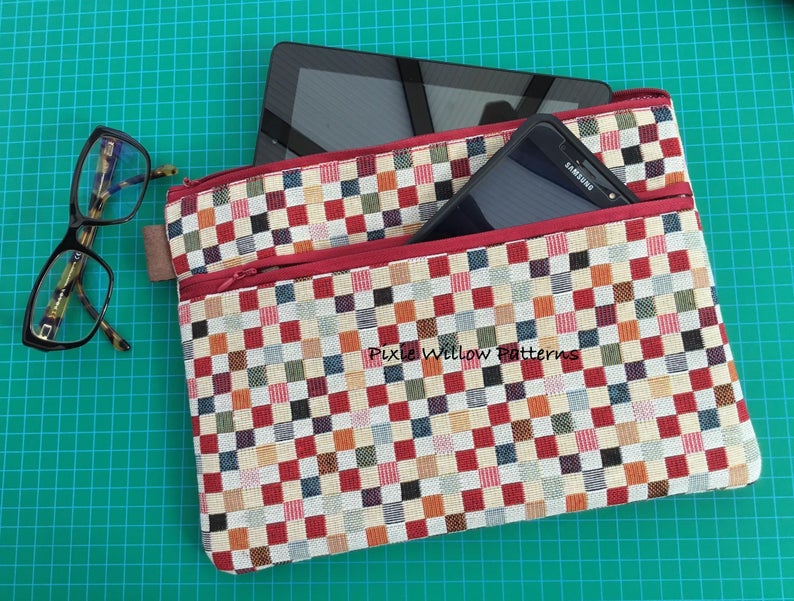
This in-the-hoop pouch from Pixie Willow Patterns offers two zippered areas. What a great way to protect your technology, glasses, etc. within a larger bag. This simple design calls for a fun and bold fabric.
In-the-hoop jeep pouch from Phantom DesignZ
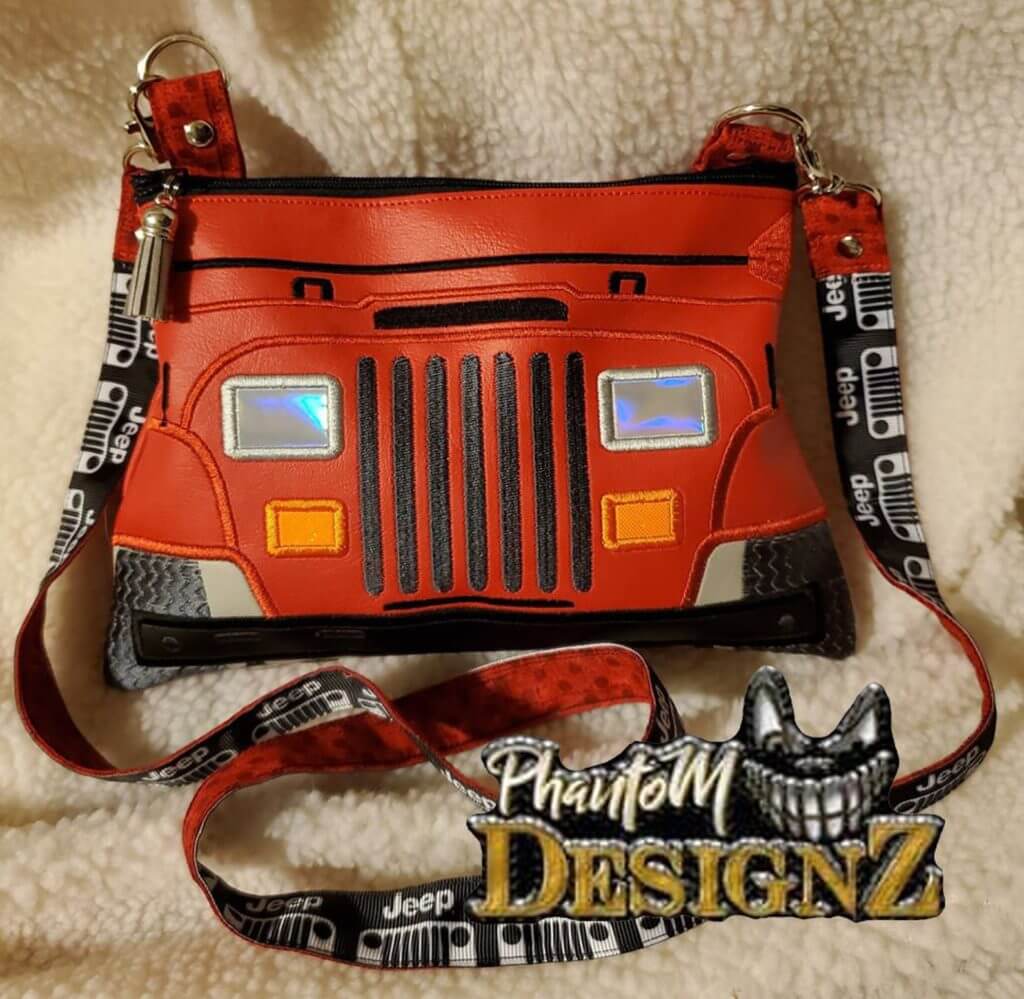
How crazy awesome is this in-the-hoop pouch Jeep design from Phantom Designz? As a Jeep drive, I may just have to make one for myself.
High Top In-the-hoop Pouch
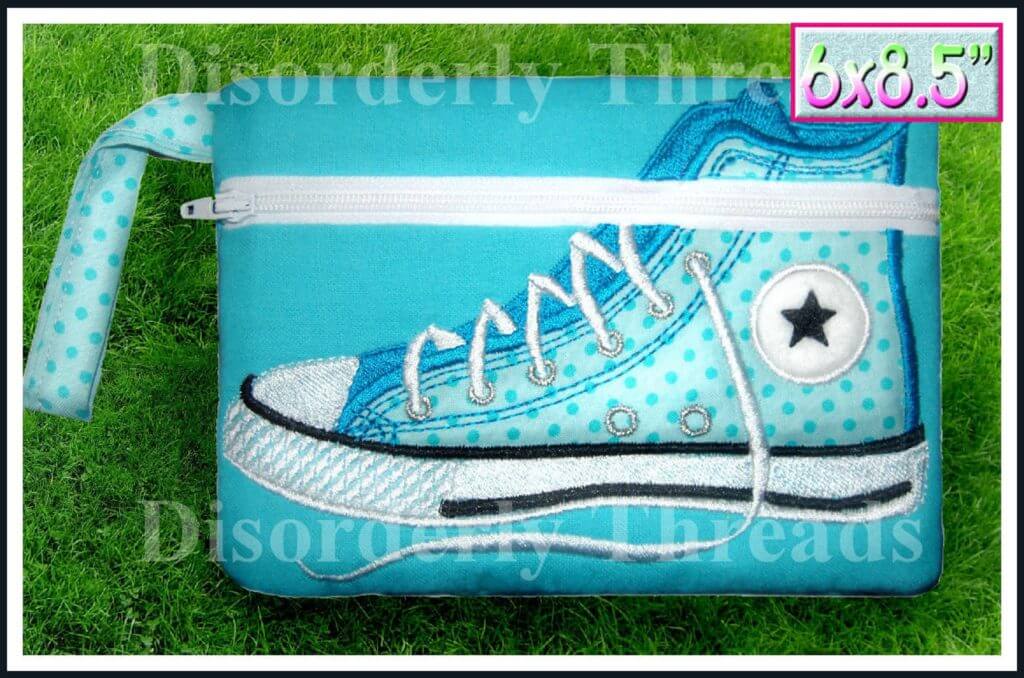
This adorable in-the-hoop high top pouch from Disorderly Threads may be the perfect gift for a sassy teen or tween.
“Bee Happy” In-the-hoop Pouch
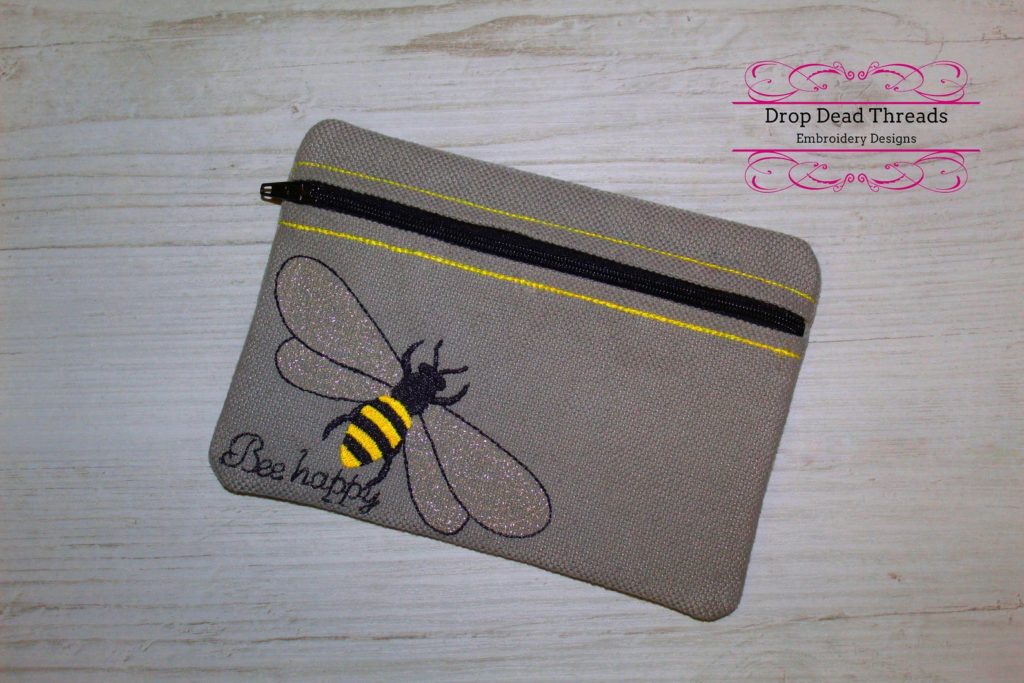
I am a big fan of bees which is why I love this cute “bee happy” clutch by Drop Dead Threads. Also, just a great reminder, don’t you think?
Drop Dead Threads owner, Jade, says:
These types of bags are great scrap busters and work well with most fabrics, I used a scrap piece of upholstery weight fabric for my example and it worked really well. I also made the largest size with some PLU fabric and it made a great wet pouch to keep in my baby’s changing bag.
So there you have it? Get rid of some random fabric scraps and make something useful? Ready to make an in-the-hoop pouch? Or are do you still have questions? If so…
Check out my video tutorial that shows how I made this in-the-hoop pouch
And if you like the video please give me a thumbs up on YouTube and subscribe to the channel.
Enjoy!
Happy stitching.
xo
Julie
[do_widget id=custom_html-10]
[do_widget id=custom_html-9]
Want to remember this? Save “How to make an in-the-hoop pouch on your embroidery machine” on your favorite Pinterest board.