Disclosure: Some of the links on this site are affiliate links. This means that if you click on them and make a purchase, I may earn a small commission at no extra cost to you. Please know that I only recommend products and services I trust and use myself.
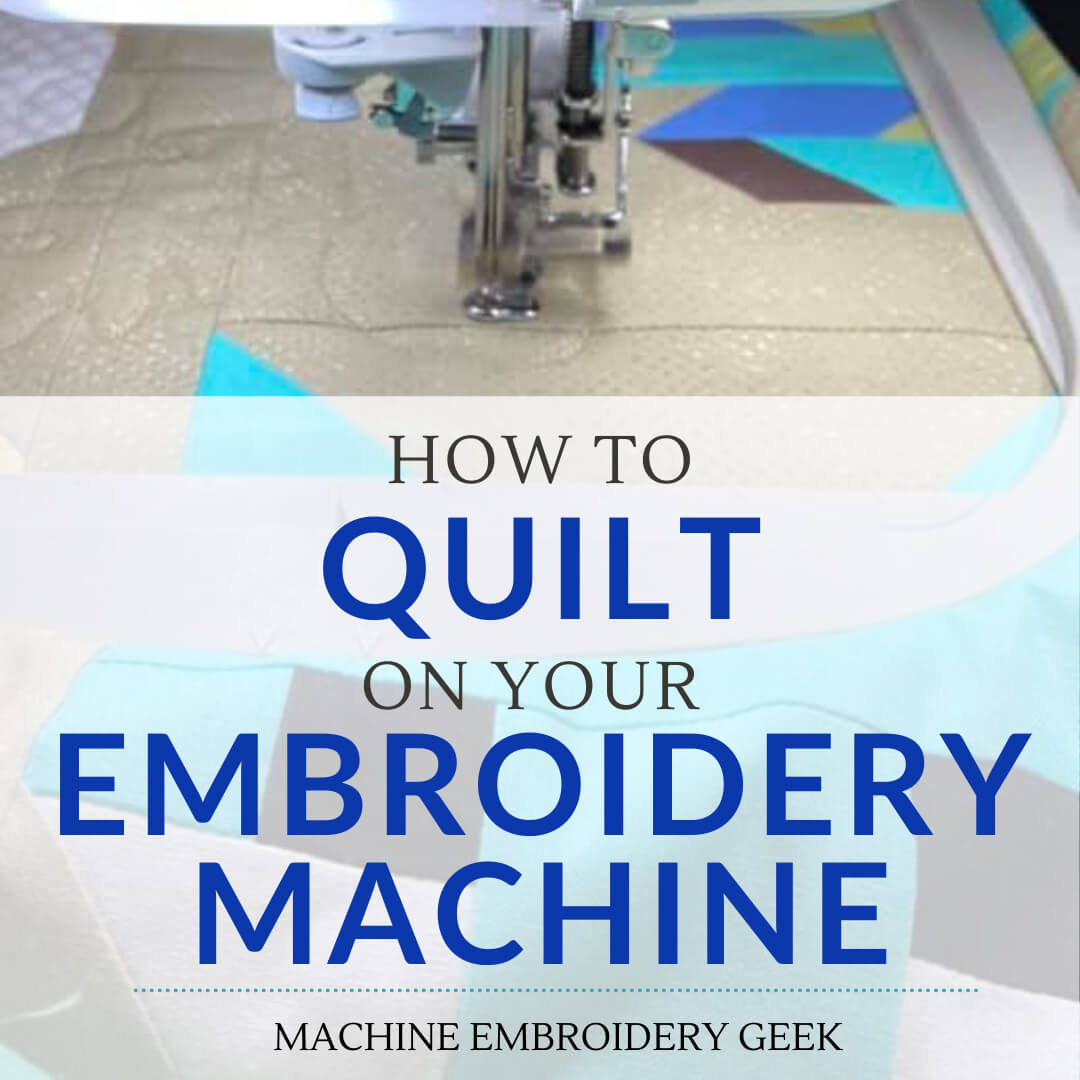
If you own an embroidery machine, you have probably used it to add names, monograms and designs to clothing and accessories. But, did you know that you can actually quilt with your embroidery machine? In fact, an embroidery machine can make quilting quicker and easier than doing it entirely with a sewing machine, and can save you a lot of money if you send it out to be quilted. You can even stitch out more intricate quilting patterns using your embroidery machine than you be able to on a regular sewing machine. So, now are you intrigued? Here’s how to quilt using your embroidery machine.
Products mentioned in this post
- Rotary cutter and mat
- Sizzix
- Quilt die
- Rotating Star Quilt Block
- Starish Quilt Block
- Quilt Block Set
- 15 different design of Quilt Blocks
- Quilt block set
- Swirls quilt block stippling
- Circles quilt block stippling
- Crazy zig zags quilt block stippling
- JL Dizains continuous quilting designs
- In-the-hoop quilted burp cloth / bib combo
What is quilting?
Quilting is a centuries old craft in which small pieces of fabric are stitched together arranged in some soft of a design to make a much larger piece. Then the resulting piece becomes the top layer in a sandwich with a batting material on the inside and a backing fabric underneath. Then, decorative stitching is done through all three layers to secure the sandwich together. Finally, some type of fabric is sewing around the outside edges to give it a finished look.
The term quilting is often used to describe the final decorative stitching in the quilt making process. So, you can quilt fabric without doing any piecing. The purpose of quilting is to create a finished blanket-type fabric and keep the middle part (the batting) from moving around between the top and the bottom layers of fabric.
How do you quilt?
Quilting traditionally is a multi-step process. First you must precisely cut out a bunch of pieces of fabric that make up the design of the quilt. You can either cut these pieces by hand (typically with a rotary cutter and mat) or by using a fabric cutting tool like a Sizzix and an appropriate quilt die.
Next, you must stitch all the pieces together. And, most importantly… your stitching needs to be precise! If you want all the pieces to fit together properly, you need to sew the pieces together with a consistent seam allowance.
Once you are done with the top decorative piece, the you need to assemble the aforementioned sandwich. For many quilters – this means sending the quilt out to be finished by someone who owns a long arm quilting machine. This is because it can be difficult to get a huge quilt on your sewing machine and do any type of decorative stitching while you wrestle with that volume of fabric.
[do_widget id=custom_html-54]
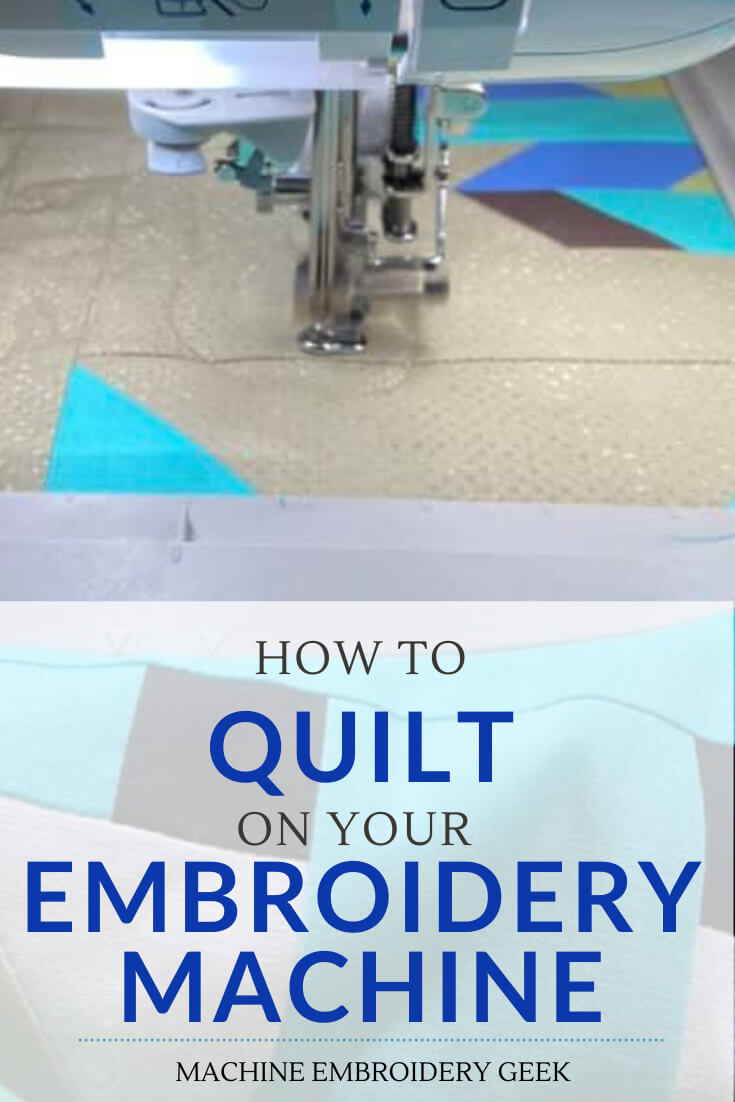
Can I quilt with an embroidery machine?
Yes! Your embroidery machine can help you quilt in a variety of ways. You can buy in the hoop designs that allow you to stitch out quilt blocks and use your embroidery machine to build those blocks. You can also buy embroidery designs that stitch out quilting patterns that will secure the top decorative piece to the batting and the bottom.
Read on for more details.
Traditional in-the-hoop quilt blocks
One way you can make the piecing part of quilting go faster is to use an in-the-hoop design to help you piece together your fabric. There are several different designs available that will piece an entire quilt block together. Here’s how it work.
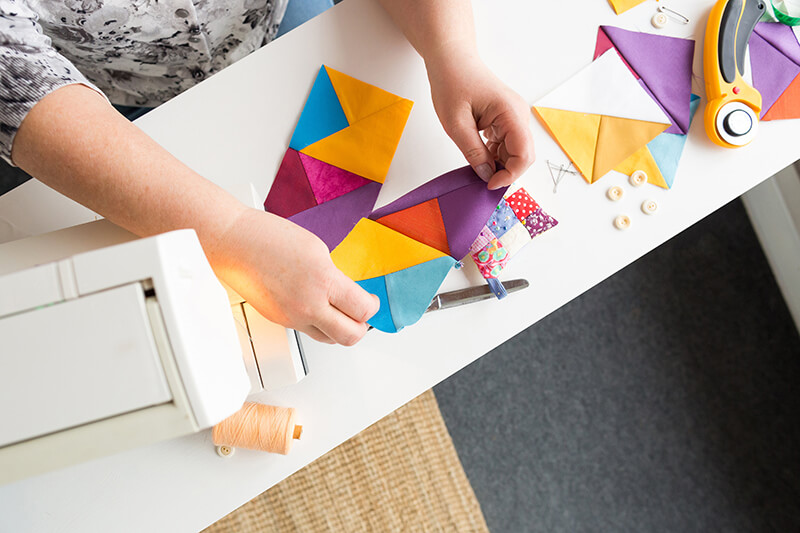
You start by hooping a piece of water soluble stabilizer. Then you start stitching out the design. Typically, the first round of stitching is for placement of the first pieces of fabric that you place facing up. Next, you lay down adjacent pieces of fabric – right sides together with the seam allowances overlapping.
After connecting each piece, you will want to unfold it and repeat the previous step with the next piece. You can use temporary adhesive to keep each piece in place.
There are several different designs of in-the-hoop quilt blocks that come in a range of sizes. Some of my favorites include:
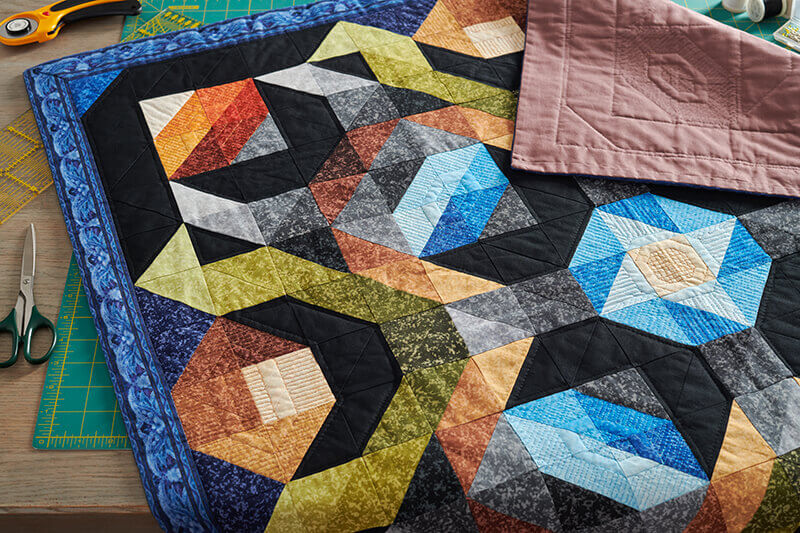
Quilt blocks with embroidery and appliquéd elements
There are some quilt block styles that include embroidered or appliqué elements. Using your embroidery machine is the perfect way to add an embroidery or appliqué design to a quilt. This is exactly what your machine was built for!
There are quite a few in-the-hoop quilt blocks that incorporate coordinating imagery so that the resulting quilt will be comprised of several different quilt blocks, each featuring a unique design element.
I especially like… this dino themed quilt block set. This one has the quilting stippling within this file. So you would stitch out the design on the top piece and then quilt the square all in one hooping. Not sure what I mean about doing the actual quilting on your embroidery machine? Keep reading.
[do_widget id=custom_html-33]
How to assemble quilting blocks made on your embroidery machine
Once you make your top pieces of your quilt, you have a couple of options on how you might proceed.
Stitch together the quilt blocks prior to quilting
You can connect all your blocks together, and then send your quilt to be finished by someone else. Or, if you are ambitious, you can do it yourself. You just need to pin your entire top piece to a layer of batting and a bottom piece. To secure it all together you will need to stitch through all three layers (typically) in a series of rows.
My friend, Anna, has quilted her own quilts on her regular sewing machine. She says that she just rolls up the sides she’s not working with and then stitches through the middle of the quilt. She uses big clamps to hold the rolled up sides of the quilt together while she is doing the quilting.
Quilt the quilt blocks independently on your embroidery machine
After you have the top quilt block pieces made, you can turn them into independent quilted squares. And you can do this on your embroidery machine. Just make your little square quilt sandwiches and secure it in your embroidery hoop. You actually don’t need to use any stabilizer when you do this step. The batting in the quilt provides enough stabilization.
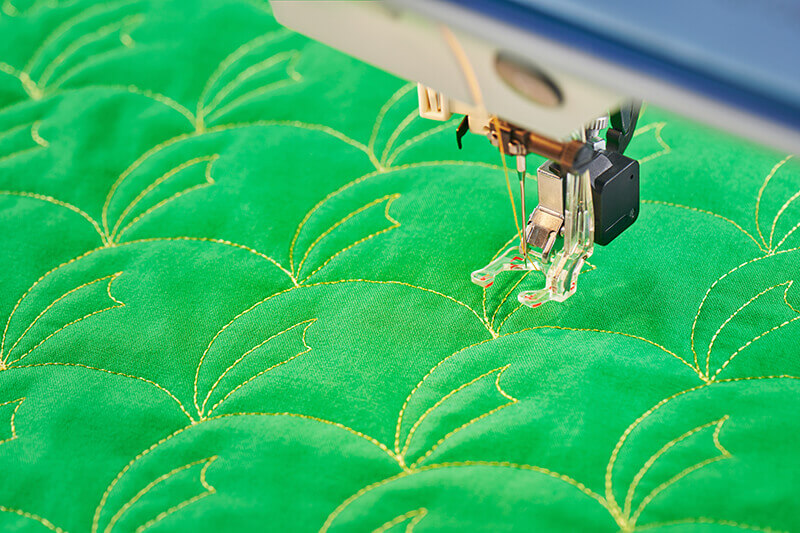
Next, load up a “stippling” design (sold by many embroidery designers) and let it rip! The embroidery machine will stitch your quilt sandwich all together.
There are loads of stippling designs available, perfect for quilting individual quilt blocks.
The advantage of quilting the blocks individually is that you don’t have to go through that painful process that my friend Anna does when she runs a huge bulky piece of bedding through her sewing machine row by row.
But, now you must be wondering…
How do you join quilting blocks together?
Good question. There are actually a few different ways you can go about it. If you plan to attach your quilt blocks right next to each other (one butting up against the next), you will need to leave some extra fabric around the outside of your finished quilting blocks.
You simply put right sides of the adjacent quilting blocks together and pin the fronts together along the edge you are going to connect. Stitch these pieces together. Then, on the back, you will have to hand stitch that seam closed.
You can also create quilted strips to connect the quilted squares together. It’s a quilt – you can get creative here!
How do you do continuous quilting on an embroidery machine?
Yet another way you can use your embroidery machine to quilt, is to do edge to edge quilting. In this scenario, you fully assemble your quilt. You have the entire top piece done and you have pinned together the sandwich of quilt top, batting and quilt bottom. Then you load a continuous quilting design into your embroidery machine and then start stitching it through all three layers of a portion of your quilt. Once you are done, you un-hoop your quilt, re-hoop it in the next location and stitch the design out again.
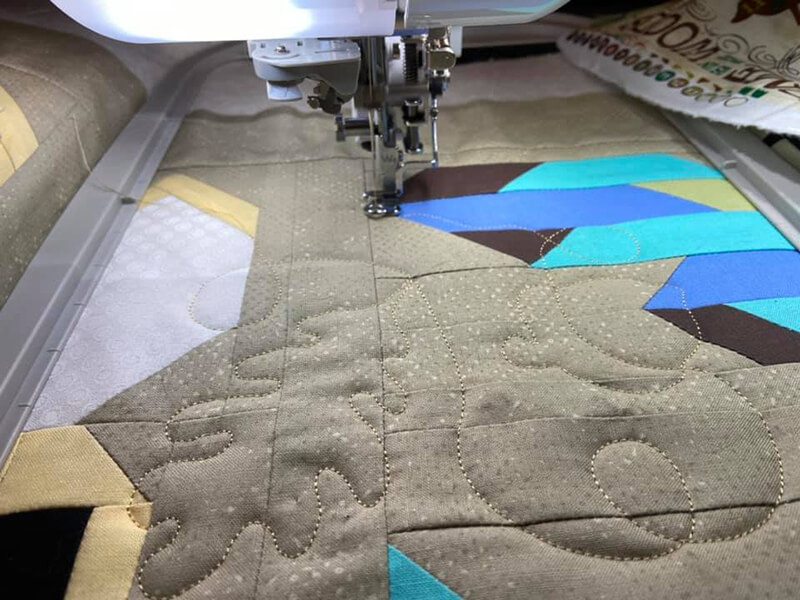
The key here is to precisely place the design in the correct location so that the stitching looks continuous. If you position each section correctly the neighboring sets of stitching will look like one long run of stitching.
JL Dizains has tons of continuous quilting designs that are perfect for edge-to-edge quilting.
Quilting on an embroidery machine is not just for quilts
If you are interested in creating quilting blocks – but no so interested in acquiring more bedding in your home, you can use quilting blocks for other purposes. Some people make baby and doll blankets, hot pads, oven mitts and even handbags with the quilted squares they have made on their embroidery machine.
Some digitizers even incorporate quilting into other finished pieces. For example, the quilting incorporated into this in-the-hoop quilted burp cloth / bib combo set gives it some character, softness and body. It would make an adorable baby shower gift.
Frequently asked questions about quilting on an embroidery machine
What is the average size of a quilt block?
Quilt blocks can be any size you want them to be. But if you plan on attaching them together, you probably want to make several quilt blocks that are the same size.
The only limitation to the size of your quilt block (if you are making the quilt block in the hoop on your embroidery machine) is the size of your embroidery hoop. Don’t despair if you only have an embroidery machine with a 4″ x 4″ hoop. Many digitizers make quilting blocks in this size so that no one is left out of the fun of in-the-hoop quilting.
Is there a special hoop or frame for quilting on an embroidery machine?
A magnetic embroidery hoop can be a huge time saver when quilting on an embroidery machine. It’s easier and quicker to get the quilt in and out of the hoop and to place the quilt more precisely in the hoop.
Are there free embroidery machine quilting designs?
Yes. there are a few on the Kreative Kiwi site and I am sure if you dig around a bit – you will find more. But, honestly – they are pretty cheap to purchase.
Actually – why buy them? It’s actually pretty easy to make them yourself using SewArt.
So are you ready to get quilting?
I hope you found this to be helpful and inspiring!
Happy stitching
xo
julie
[do_widget id=custom_html-33]
[do_widget id=custom_html-10]
Want to remember this? Save “How to quilt on an embroidery machine” on your favorite Pinterest board
How do you position each embroidery section correctly the neighboring sets of stitching to look like one long run of stitching.
Very carefully. I would just mark the quilt off in sections and then before you stitch out each quilting area – make sure that the design fits right in that space. I would also choose quilting patterns that are a little more forgiving so that each one doesn’t need to be lined up perfectly. DIME has some good resources for quilting using your embroidery machine.