Disclosure: Some of the links on this site are affiliate links. This means that if you click on them and make a purchase, I may earn a small commission at no extra cost to you. Please know that I only recommend products and services I trust and use myself.
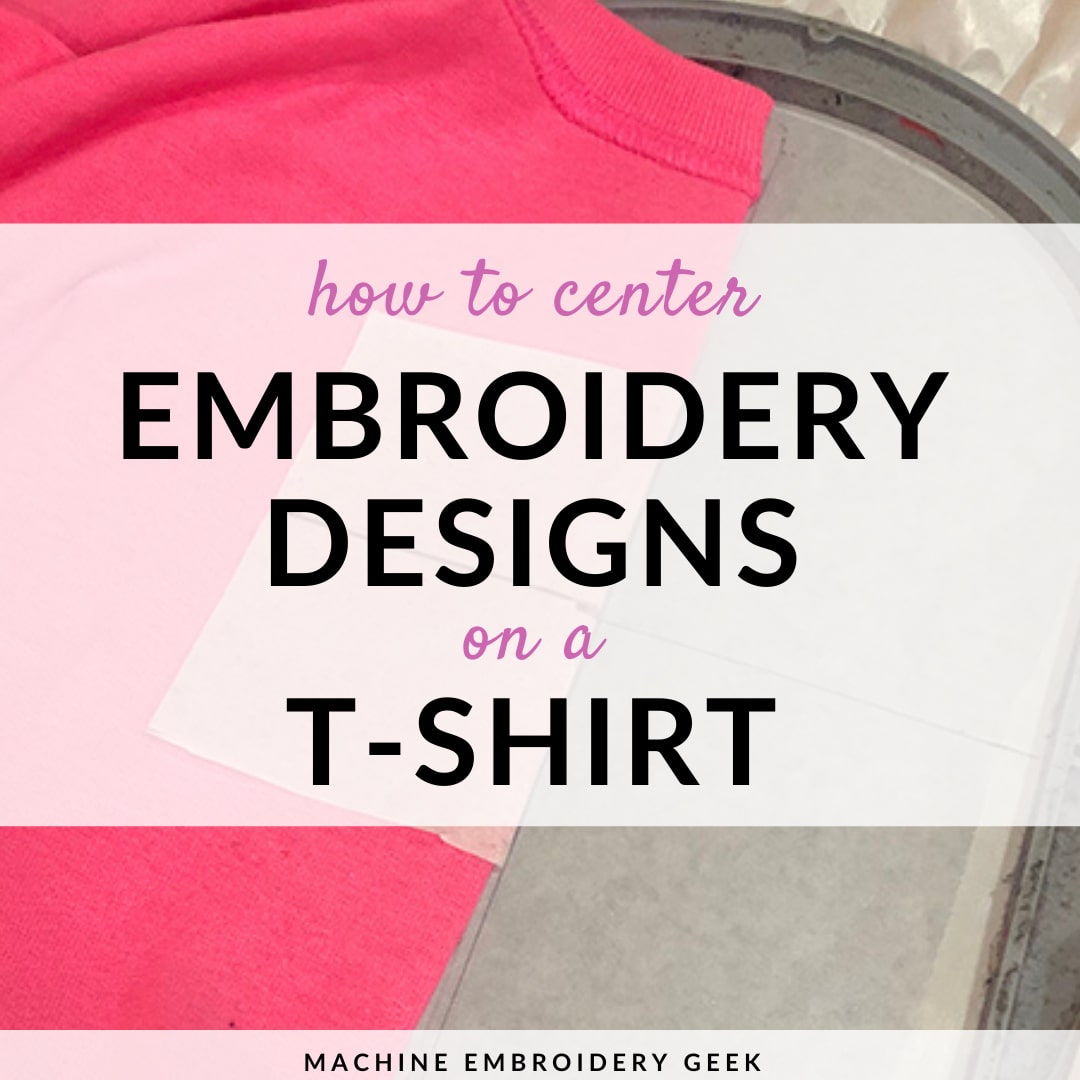
When it comes to machine embroidery, there isn’t much more frustrating than screwing up the placement of an embroidery design on a t-shirt, especially when you go through the painstaking process of stitching out an appliqué design. I was completely at my wits end when I stitched out an appliqué crown crookedly on a t-shirt not too long ago. But now that I’ve gotten more experience, and I learned about the folding method for centering, I rarely screw it up anymore. Curious? Here’s how to center machine embroidery designs on a t-shirt using the folding method.
Why center an embroidery design on a garment?
But, before we get into the weeds of how to do this folding method, you may be wondering when and why would you want to center an embroidery or appliqué design on a t-shirt or a sweatshirt. There are a lot of great appliqué designs for kids that are meant to be stitched out front and center on a t-shirt.
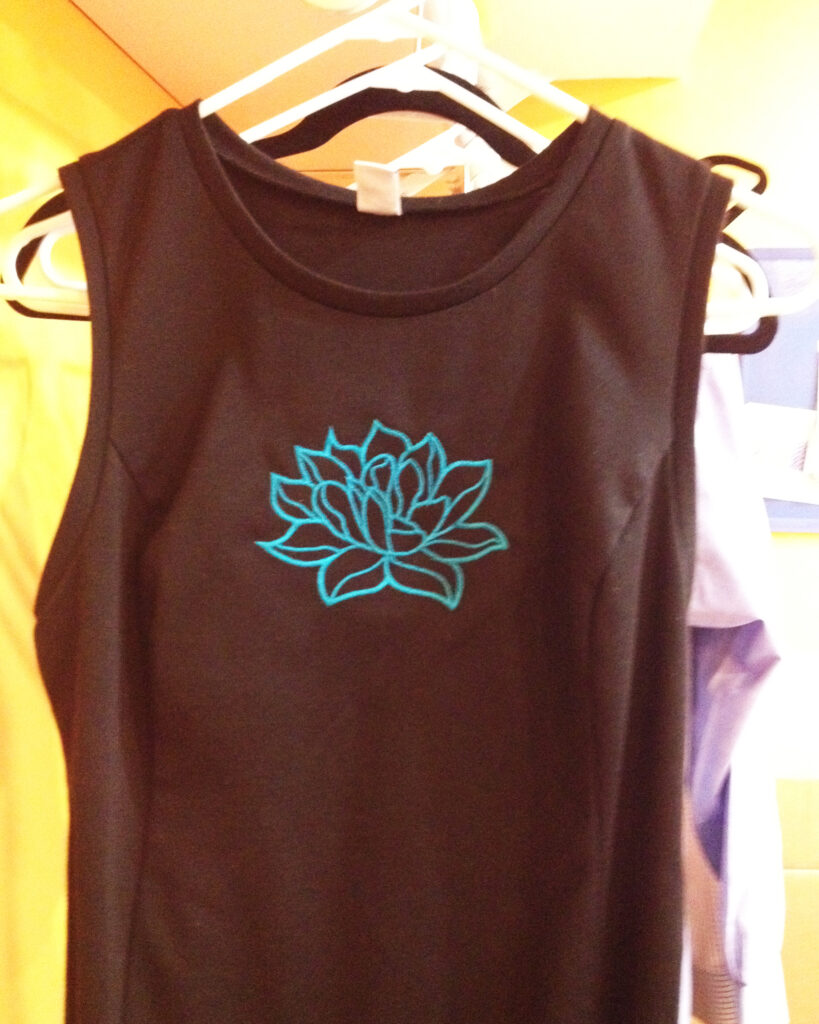
Even many ladies garments look great with a design centered right on the front. For example, I stitched out this fun lotus design front and center on a black dress for my friend and I love the way it turned out.
Typically kids’ t-shirts, baby onesies and crewneck sweatshirts are often embroidered with the design right in the center. Therefore, identifying that center line and lining it up with the center line of your embroidery hoop is crucial.
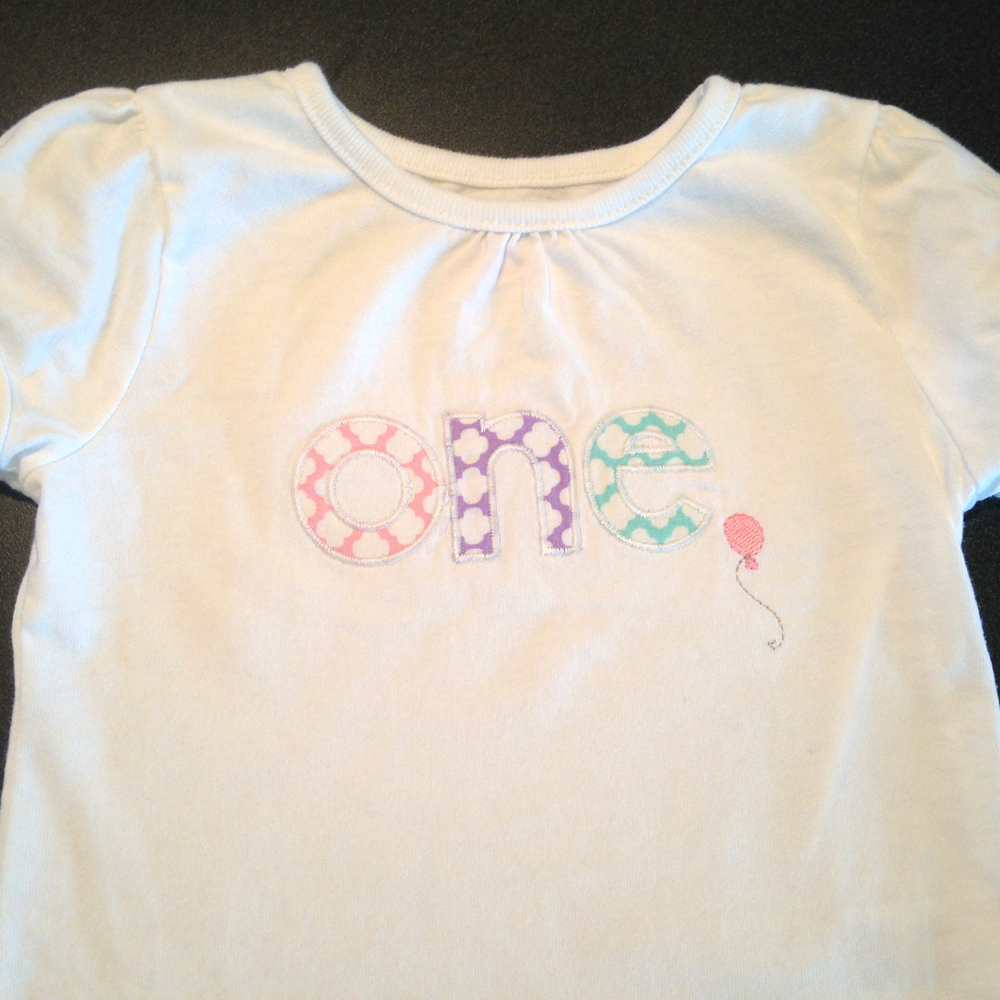
Some designs can be tricky, because the true center of the design is not the aesthetic center. For, example, in the “one” design with balloon below, the balloon hangs off to the right. However, I would still center the design based on the the word one. When you load a design like this into your embroidery machine, you will want to move it over a bit to center the design over the word “one,” and not the design as a whole.
How to center machine embroidery designs on a t-shirt or sweatshirt
Prepare your t-shirt or sweatshirt
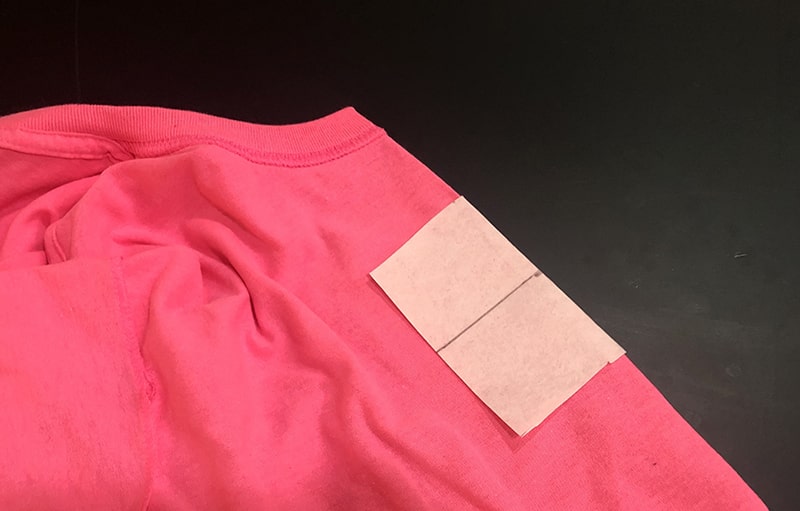
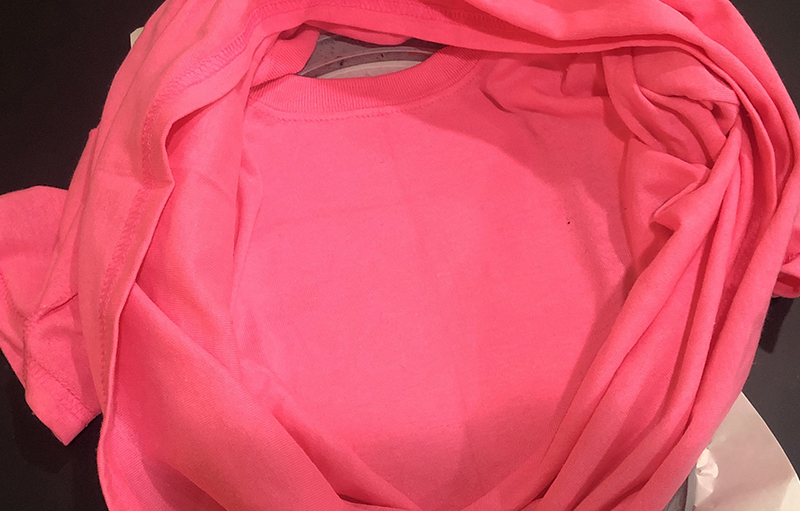
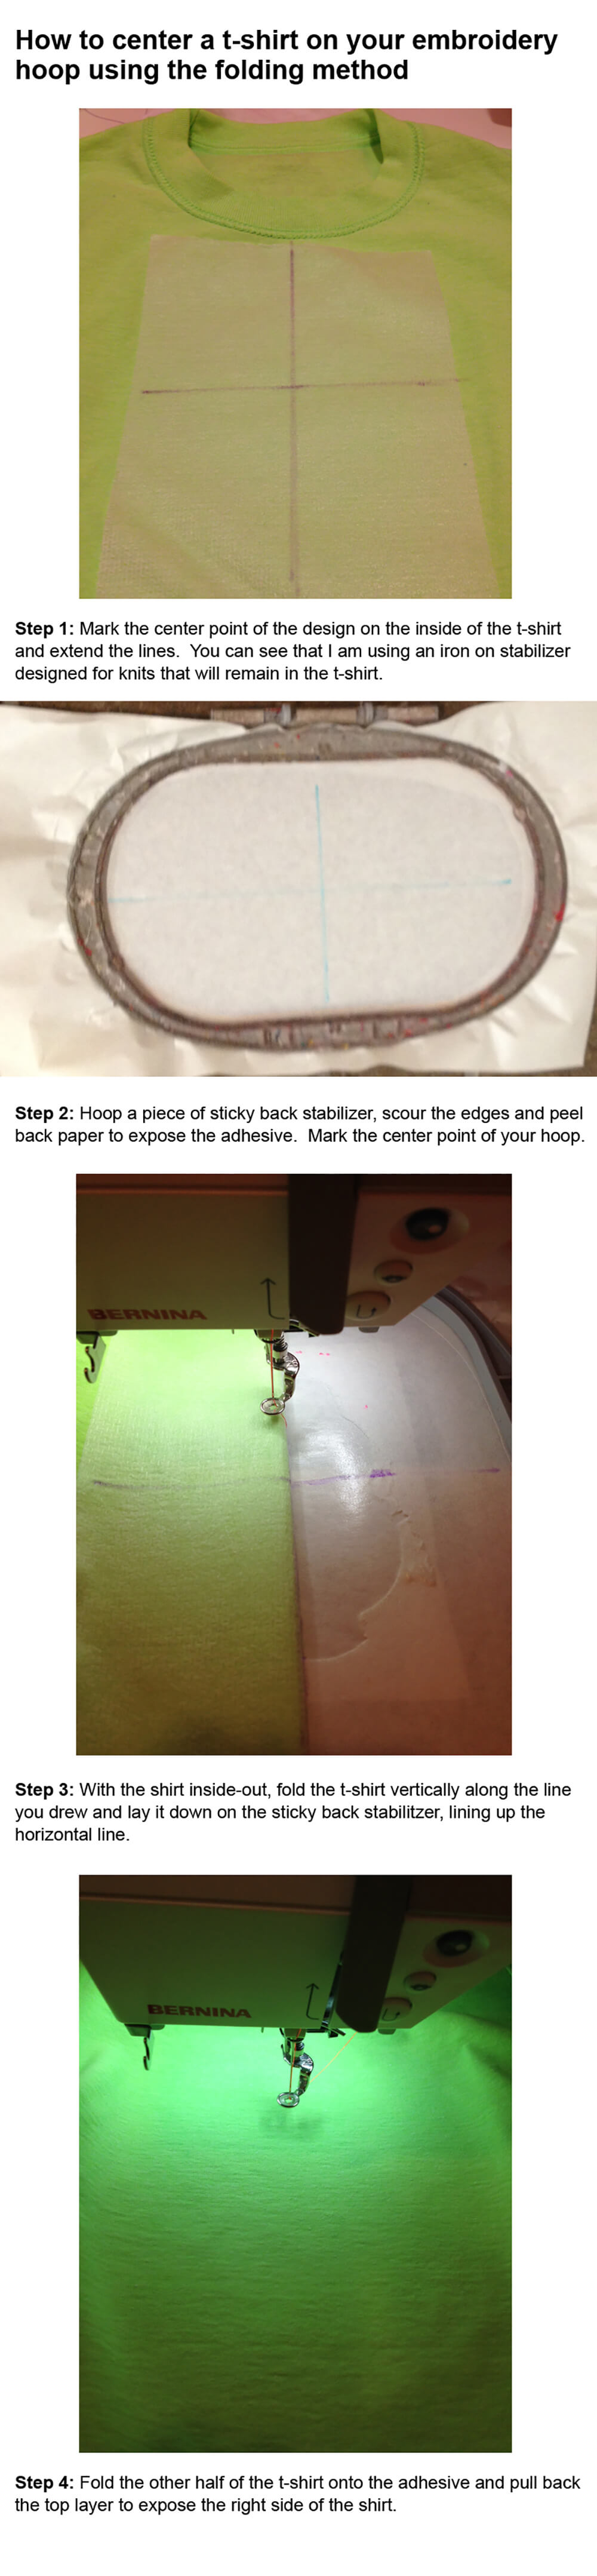
STEP 1: Turn the t-shirt or sweatshirt inside out. In the example, below, you can see that I have fused a piece of fusible poly mesh stabilizer on the inside of the shirt. This is my typical choice for permanent stabilizer inside of a knit garment – like a t-shirt.
STEP 2: Line up the side seams and the shoulder seams.
STEP 3: Press to create a fold line down the center of the garment.
STEP 4: Now identify the vertical center of your design.
Typically on a women’s t-shirt or sweatshirt, the top of the design should be about 2-3 inches from the top center neck opening.
For babies, on a onesie, for example, the distance should be about 1″.
Kids’ t-shirts would be about 2″. Therefore, if your design is 4″ in height, and you are stitching it on a ladies t-shirt, the vertical center point would be about 4.5″ down from the top center of the neck opening.
Draw a horizontal line perpendicular from the vertical fold line at the vertical center point.
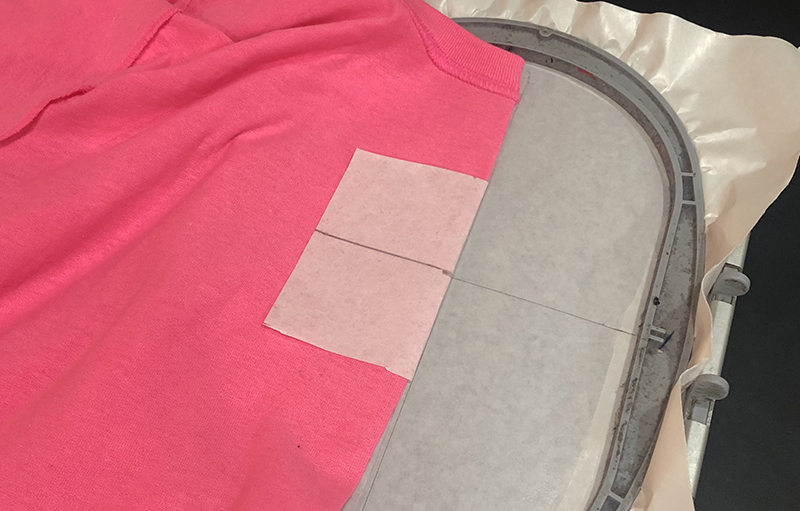
Prepare your embroidery hoop
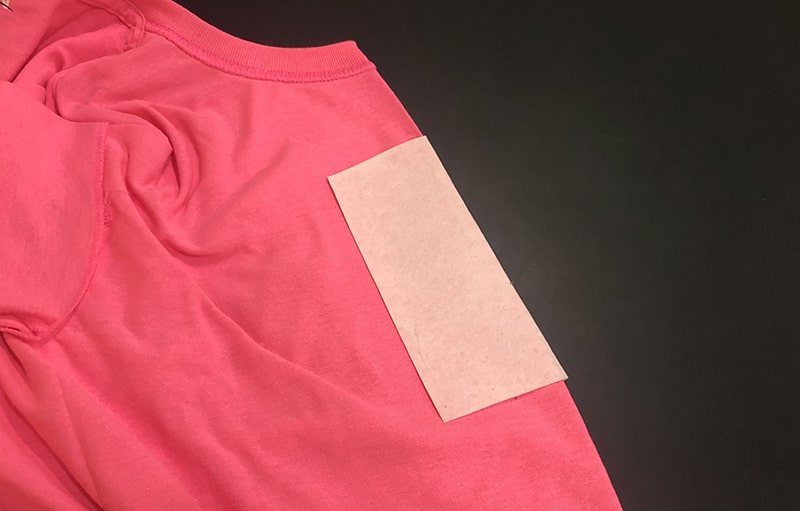
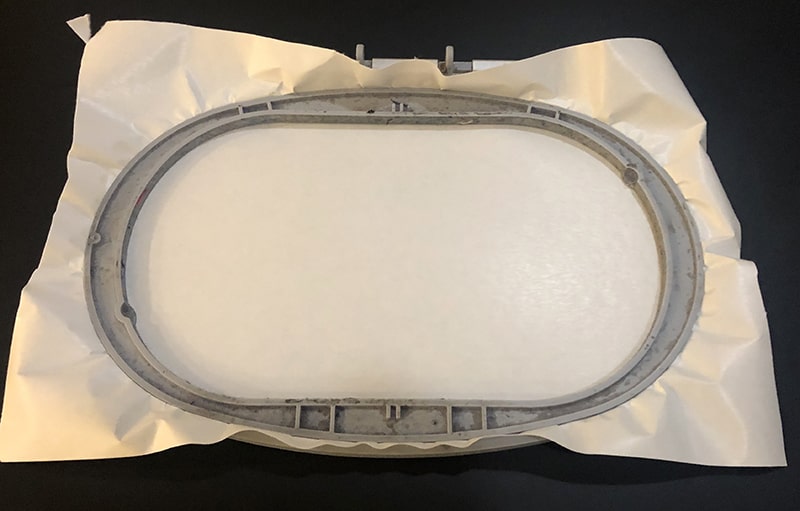
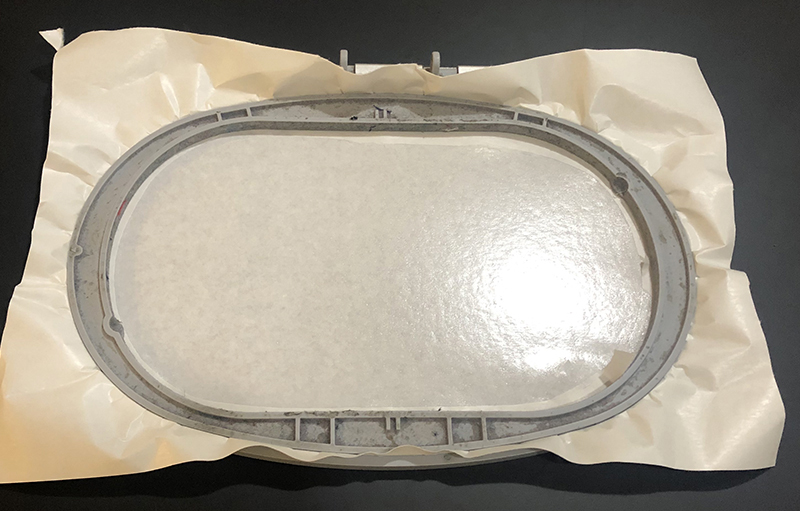
STEP 5: Hoop a piece of adhesive backed stabilizer. Score the inside edges of the stabilizer with a pin and peel the paper away to expose the sticky surface.
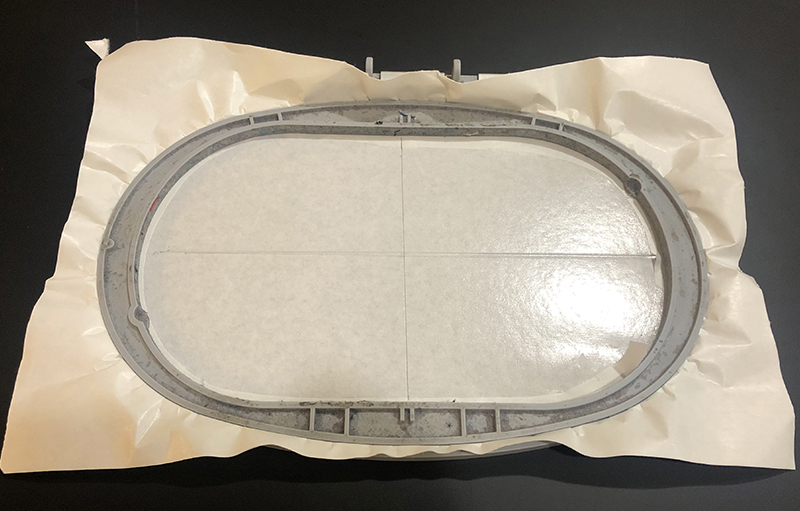
STEP 6: Draw a line on the adhesive stabilizer to mark the center point and the horizontal and vertical axis extending from these points.
Float your t-shirt on the hooped stabilizer
STEP 7: Line up the folded shirt along the vertical line, matching the fold line to the vertical line drawn on the stabilizer in the hoop. Align the center point on the shirt with the center line drawn on the stabilizer int he hoop.
STEP 9: Gently press down the shirt. Push it off to the sides so that you can stitch your embroidery design!
How to align an embroidery design over the left breast on a shirt
You can also using the folding method to align a design over the left breast, which is a typical location for embroidery design placement.
To create the vertical fold line that you will line up with the center line drawn on the stabilizer, you simply fold the shirt again, lining up the center fold line and the side seam. Press the shirt again to establish this line. Again, you will draw a horizontal line perpendicular to the fold to help you line up the shirt with the hoop.
Check out how I embroidered a logo on a polo.
Of course, this method is not necessary if the shirt has a breast pocket. It there is a pocket, alignment is easy, Just center the design over the center of the pocket.
If you are embroidering a lot of polos with logos over the left chest, consider investing in one of these Embroiderer’s Helpers. These little doodads help you location the center of your embroidery designs when you are trying to embroider over the left chest, centered over a pocket, etc…
I hope this method helps you with your placement. It certainly has been super helpful for me. Good luck and happy stitching!
Julie
Want to remember this? Post “How to center machine embroidery designs on a t-shirt” on your favorite Pinterest board.
Want to remember this? Post “How to center machine embroidery designs on a t-shirt or sweatshirt” on your favorite Pinterest board!
Why do you use both an iron-on stabilizer and the sticky-backed stabilizer? This seems like it would make the design quite stiff as both stabilizers would remain after the stitching (at least under the design). Do you use a water soluble on the top so that the stitching doesn’t sink into the fabric?
The tear away just makes it easy to float. I usually just always have it hooped, patch it and then go to the next project. It mostly comes off in the wash. And yes – I usually use a topper on a t-shirt.
Pingback: How one can make a monogrammed wreath sash - Craftersoutlet