Disclosure: Some of the links on this site are affiliate links. This means that if you click on them and make a purchase, I may earn a small commission at no extra cost to you. Please know that I only recommend products and services I trust and use myself.
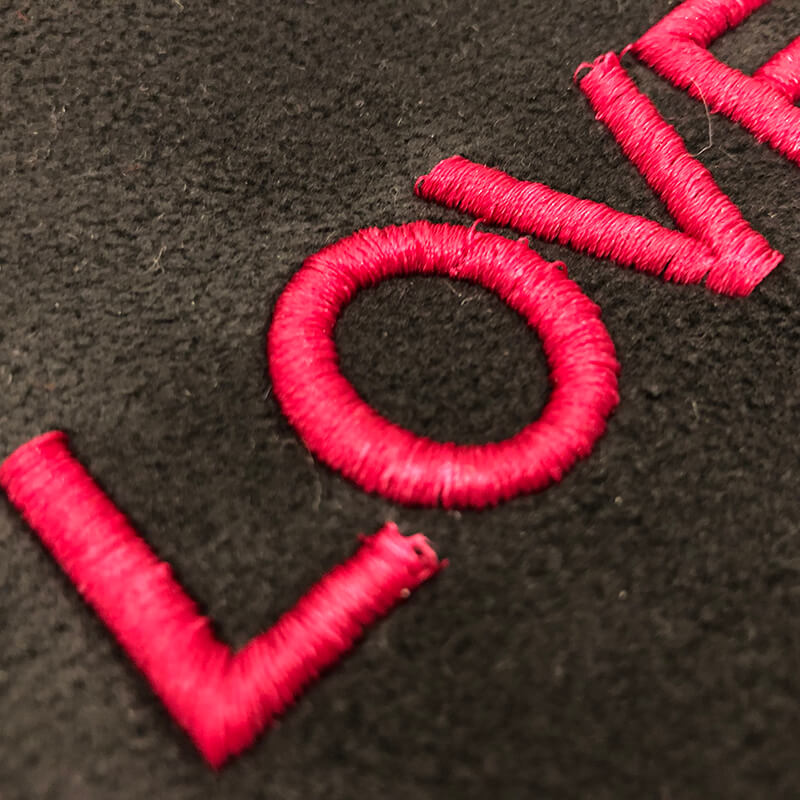
Ever seen embroidered items with a three-dimensional effect and wonder how they do it? Here’s the secret. There’s FOAM underneath the stitching, and that extra layer of foam underneath the embroidery is what gives the design some extra depth and really makes it pop. Machine embroidery on foam can also keep your stitches from sinking into the item you are embroidering.
How do you use the craft foam in machine embroidery?
Incorporating foam into your machine embroidery is actually pretty simple. First, you want to match the color of the foam to the color of the thread. Then, you simply lay it down before you start stitching – like a topper. Once you’re done, you can just tear away the excess. The form under the stitching stays underneath the embroidery, boosting it up a bit.
When is the 3D / foam effect best used?
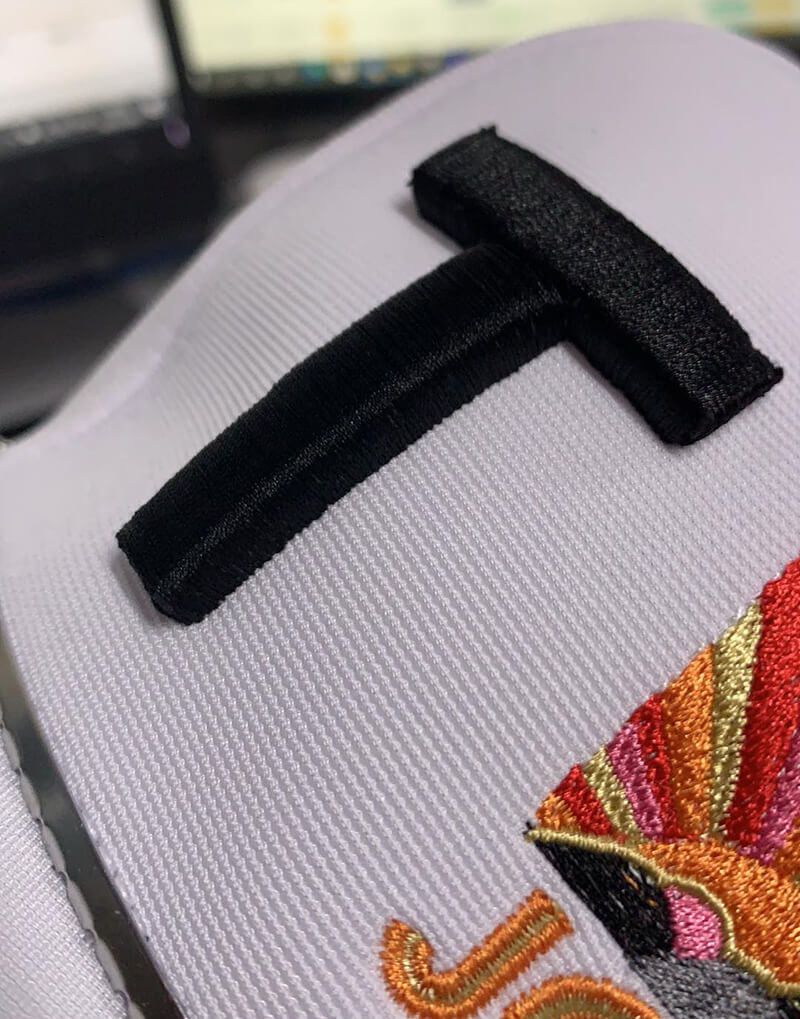
You can really use foam to create a 3D effect on a lot of different types of items. However, it’s commonly done with lettering on a hat to make the emblem more prominent. I’ve also seen it done on kids clothing for a fun 3D look.
Foam is also helpful when you are trying to embroider on a porous material like straw. The foam gives the embroidery machine another layer to bite into so that the stitches don’t just get lost in the texture.
What type of foam should you buy?
You can buy craft foam at places like Walmart or Michaels or even on Amazon. It comes in sheets. However, this type of craft foam is not recommended for machine embroidery for a couple of reasons. One – standard craft foam is not machine washable. It’s also not very durable so it can disintegrate underneath your stitches. And finally, it can fall apart while it’s being stitched on and the little particles can get into the embroidery machine causing damage.
Your best bet is to buy the foam specifically for machine embroidery. Foam specifically for machine embroidery can easily be ordered from Amazon or other embroidery suppliers. There are a few different brands. And, it comes in a range of colors and thicknesses. Sulky, for example, a company known for its water soluble topper, also makes an embroidery foam in different colors and thicknesses.
[do_widget id=custom_html-5]
Alternatives to foam for 3D effects
A cool alternative to foam is 3D Puff Stuff which available on the Embroidery Legacy website. You simply lay it over your embroidery project and then embroider the design. After you are done embroidering, you cut away the excess and then wet the rest. The 3D Puff Stuff will raise your embroidery, giving it a 3D look.
Breaking the rules…
Ok – I admit – I’ve actually embroidered on regular craft foam when I have monogrammed straw hats. At the time I didn’t know that the foam could damage my embroidery machine. But, honestly, I don’t know if that knowledge would have stopped me. I really don’t use foam much so any damage would probably be negligible. If I were using foam every day in my embroidery, then yes – I would be getting the good stuff.
Concerns that the foam on the straw hat would fall apart in the wash was really not an issue. I wouldn’t be putting a straw hat into the washing machine.
If you do decide to work with craft foam, be sure to buy the non-adhesive variety. The sticky surface of the foam can gum up your machine. The Dollar store and Walmart have craft foam packs that are not peel ‘n stick.
If your goal to stitch out lettering or a design with a dramatic 3D effect, you will want to be sure to buy the thicker foam specifically for machine embroidery and use designs specifically digitized for 3D effects.
How are embroidery designs intended for 3D different from regular embroidery designs?
If you are stitching out embroidery with a substantial 3D effect, you should be using designs specifically digitized for stitching on foam. Designs digitized specifically for 3D differ from regular embroidery designs. Specifically, the underlay is removed and the density is increased to accommodate for the foam and not squish it down.
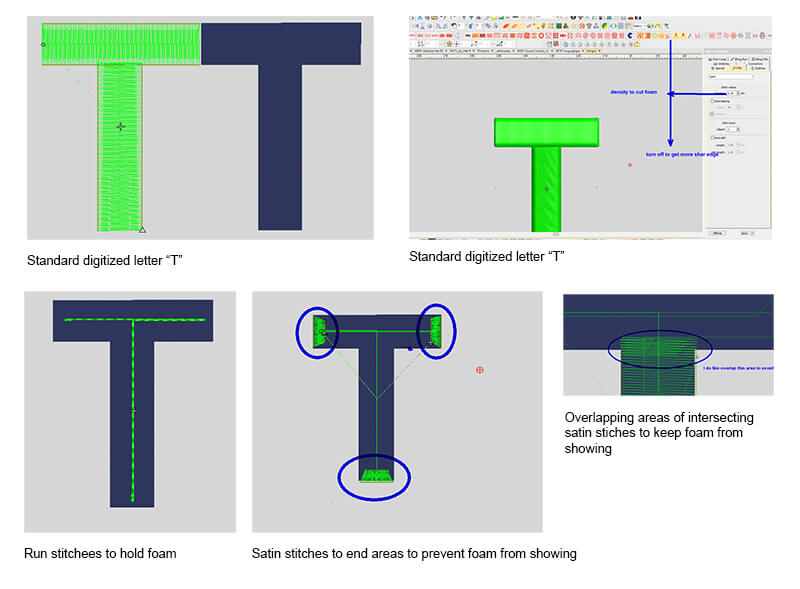
Luis from Vitor Digitizing recently explained some of the unique steps he takes to digitize letters designed for stitching on foam. For example, he starts by adding run stitches to hold down the foam. Then he adds satin stitching at the ends of the letter forms. He also increases the density of the stitching at points of intersection between lines of satin stitching.
In his screen shots below, Luis clearly shows the differences between a regularly digitized letter T and one designed for stitching on foam. It’s pretty significant. So, if you are getting a design custom digitized, be sure to explain to the digitizer that you are using them to create 3D effect and will be embroidering on foam.
Using regular embroidery fonts for 3D effects
You can make some of these adjustments yourself if you have digitizing software and want to “convert” any satin stitch font to one suitable for 3D. Start by increasing the density to 1.2 and test it out. If it’s a skinny font, adjust your pull to make it a tad thicker. You can also try adding some of the extra effects explained by Luis.
You may not need to make any adjustments or use special 3D fonts if you’re just using a thin layer of craft foam to keep your stitches from sinking into the item you are embroidering. For example, when I used craft foam underneath the monogram I stitched on as straw hat, I used a regular embroidery font and it turned out fine. But, remember, there’s a big difference between thin craft foam and the thicker stuff specifically designed for machine embroidery.
If your stitching does not totally cover the foam and there are gaps in the thread, you can use a heat gun or a hair dryer to melt the foam away.
Where to buy 3D fonts for machine embroidery?
Many companies specialize in 3D embroidery designs. Check out their collections.
Helpful shopping links
Want to remember this? Save “Machine Embroidery on Foam” to your favorite Pinterest board.
Pingback: How to Machine Embroider on Puffy Foam – Needle Work
Pingback: Machine Embroider on Puffy Foam – Needle Work - Origami
Pingback: How to Machine Embroider on Puffy Foam – Needle Work – While Windows Shopping
Pingback: How to Machine Embroider on Puffy Foam – Needle Work – Crypto News