Disclosure: Some of the links on this site are affiliate links. This means that if you click on them and make a purchase, I may earn a small commission at no extra cost to you. Please know that I only recommend products and services I trust and use myself.
Some of the best tips, tricks and hacks I’ve learned throughout my journey in machine embroidery are not the kind of things you read about in books. I’ve gotten some of the best (albeit unconventional) tips from the ladies at the sewing store, my embroidery buddies I’ve met in Facebook groups and my few friends who do machine embroidery. These genius machine embroidery hacks often involve using non-sewing related objects and supplies to solve everyday embroidery challenges and problem prevention.
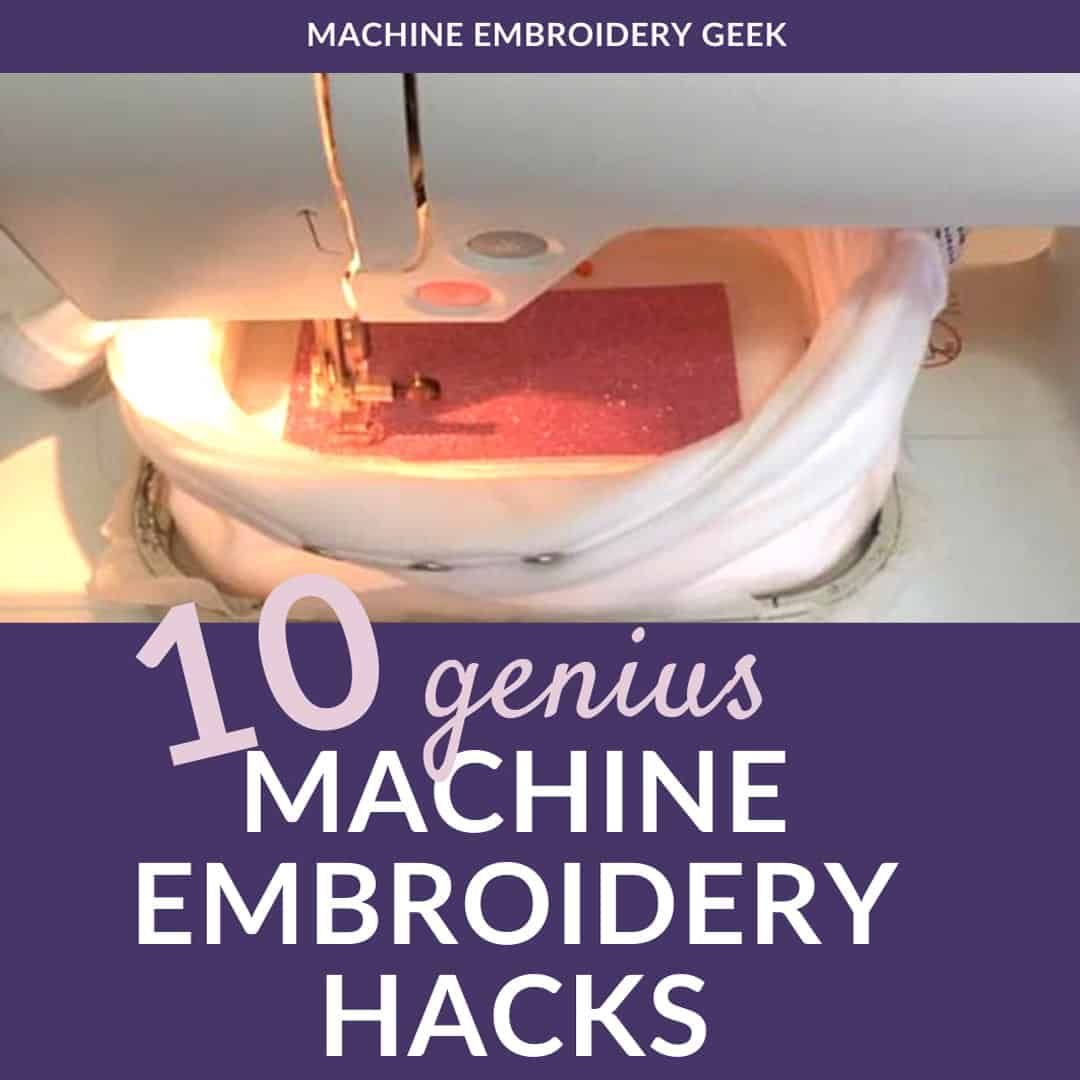
Since I’ve picked up a lot of these tips via chance encounters over years of practice, I thought it would be helpful to deliver this specialized knowledge in a more expedited form. So, here goes – 10 of the best machine embroidery hacks I know that will make your machine embroidery process a WHOLE. LOT. EASIER.
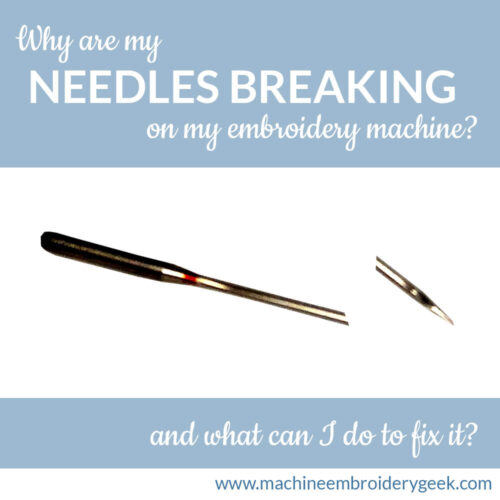
Prevent thread breakage on your embroidery machine
Instead of putting your thread on the post on the back of your embroidery machine – place it in a cup. I know this machine embroidery hack sounds ridiculous – but trust me – this works.
One might think that the best place to put your thread is on the designated spot on your embroidery machine. But, for certain types of embroidery thread – like metallics, the thread needs a chance to unspool a bit before it makes its way to your machine.
Putting your embroidery thread in a cup a few feet from your machine, gives the thread a chance to “relax.” And, as a result, it feeds more smoothly into your machine and tends to break less.
Check out these other reasons why your thread may be breaking on your embroidery machine and how to fix it.
Prevent stitching through other parts of your garment when embroidering
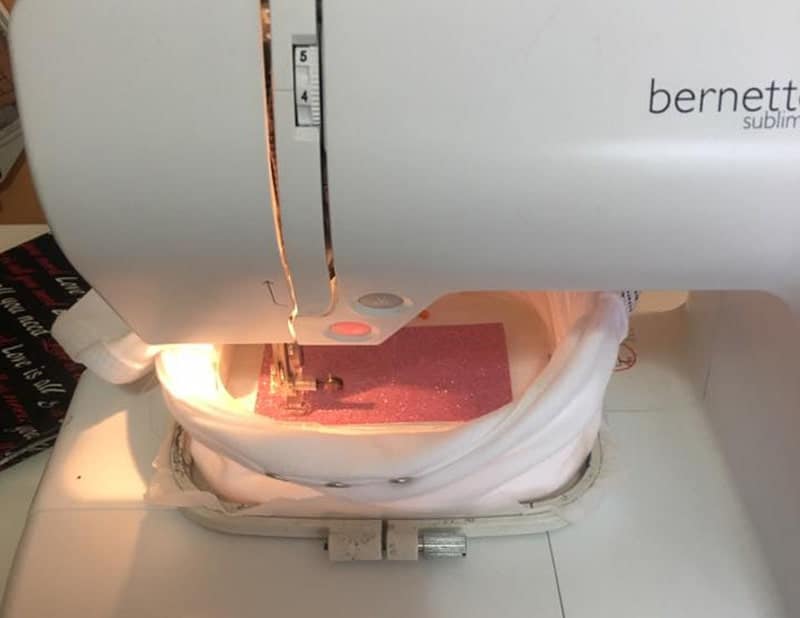
A genius way to keep excess fabric out of your way when embroidering is to use a cheap food storage container.
If you have ever tried embroidering on a tiny item like a baby onesie, you are well aware of the fact that it can be challenging to keep your excess onesie out of the way of your embroidery machine.
One solution is to cut the bottom out of cheap food storage plastic container. Then, position the bottomless container around the embroidery area. The walls of the container will keep the extra fabric from flopping back into the embroidery area.
Clean up your finished embroidery
Use a torch or a flame to burn off your excess loops and thread. If you have some excess fray peeking out of the satin stitching of your appliqué or an extra loop or thread hanging off your design, you can often “clean it up” by burning it. The flame will melt the excess thread or fray away.
A great tool for burning your threads is a simple gas lighter that you would use to light some candles or a grill. But, I would highly recommend that you try this trick on some scrap fabric first.
Fill in gaps in your finished embroidery
Does the idea of burning your threads frighten you a bit? If you are afraid your entire project may go up in flames by burning the frays or excess threads, you may prefer a different solution. A clever way to fill in the gaps in your finished embroidery is to color it in.
You can often hide fiber that poke through your stitching by coloring them with a permanent marker in the same color of your stitching. If you get a good match between marker and thread, the frays will immediately blend in. Just make sure you are using permanent markers!
You can get yourself a set of 30 permanent makers in a rainbow of colors for less than $10!
Keep broken sewing and embroidery needles out of your feet
One of my biggest fears is that the tip of a broken needle will end up in my foot. Whenever I break a needle on my embroidery machine (which happens a lot), I immediately put it in the trash can.
But little pieces of metal can easily bounce out of the trash, poke through the trash can liner or just not quite make it into the garbage.
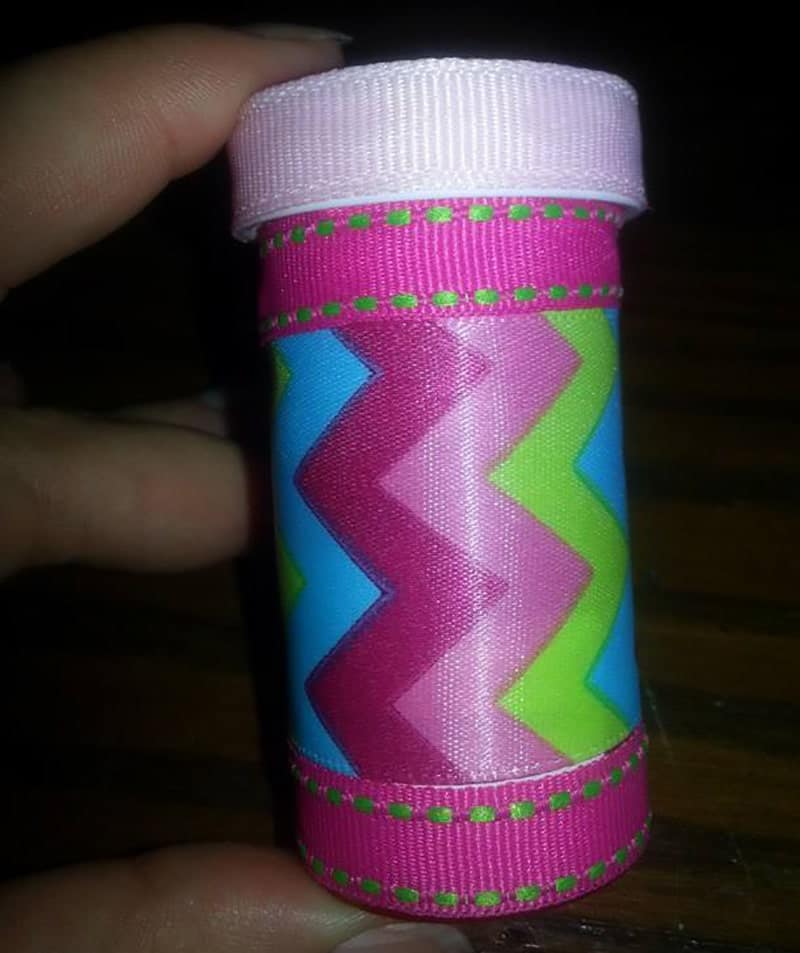
A great way to store pieces of broken needles to prevent potential injuries is to put them in a pill bottle. You simply need to poke a hole into the cap so that you can slide them right in. A small hole in the cap will make it less likely that the needle pieces will fall out of the pill bottle.
Hold your embroidery project in place on your floated stabilizer
You have probably read embroidery how-tos that recommend pinning your product to a piece of hooped stabilizer. Pinning is a great idea if the pin holes won’t leave a permanent hole in your fabric. The only problem with pins is that they can be difficult to get them in and back out of your project and your stabilizer.
For this reason I use quilting pins for this purpose as they are a bit longer than standard pins so it’s easier to get them through all layers of your project and back out.
An alternative to regular or quilting pins is to use upholstery pins. You simply need to mash them together a bit with pliers so they are not quite as long. Then you should file off the burr at the end. Screw them into your stabilizer and floated project from the bottom up. You don’t want the sharp edge of the pin rubbing against the arm of your machine.
Trim your appliqué fabric in tight spots
A great solution for trimming your appliqué fabric in tight spots is to use cuticle scissors. The curved tip and small size of cuticle scissors make them a perfect tool for trimming away the appliqué fabric in a tight spot.
Another benefit of cuticle scissors is that they naturally prevent you from cutting into the fabric underneath.
Clean your embroidery machine in hard to reach areas
Another item from your bathroom that can help you out with your embroidery machine are Q-tips! Q-tips are handy for removing lint from your bobbin case and underneath the bobbin plate. It may surprise you how much lint they pick up. And once they do, the Q-tip can go right in the trash.
Remove dust and lint from inside your embroidery machine
A clever solution for removing dust and lint from inside your embroidery machine is to vacuum out your machine.
Sound crazy? It’s actually not! If you add one of these inexpensive attachments to your vacuum, you can use it to suck the lint and debris out of the crevices of your embroidery machine.
Finishing touches for free standing lace projects
Consider drying out your free standing lace projects in your food dehydrator. After whipping up a batch of beef jerky, you can use your food dehydrator to dry your embroidery projects, QUICKLY! Items like free standing lace can be soaking wet. But, a food dehydrator dries an item very fast and flat.
Plus, your embroidery project may take on that delicious smoked meat scent. Just kidding!
So, there you have it, friends! I bet you already have a lot of these items in your home. Now you will be able to use them even more!
Happy stitching!
xo
Julie
[do_widget id=custom_html-32]
[do_widget id=custom_html-10]
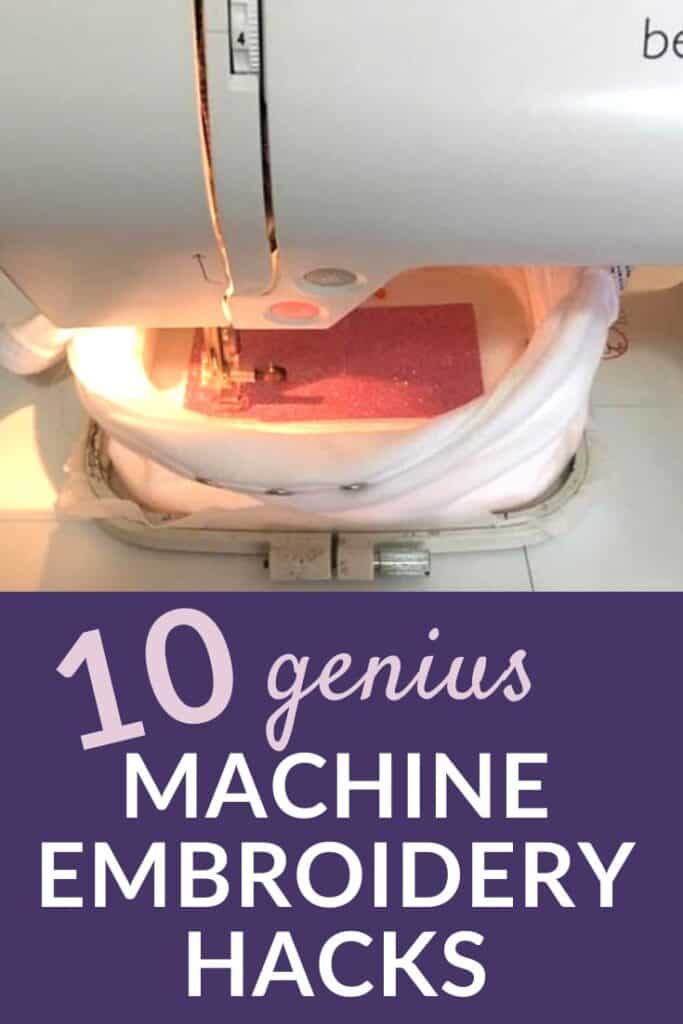
Want to remember this? Save “10 Genius Machine Embroidery Hacks” on your favorite Pinterest board

Love all your tips
Wonderful hacks, thanks 😊❤️
I love the hack using the plastic container to keep fabric from going under the needle I will definately be trying this. Thank you for sharing!, Rita